
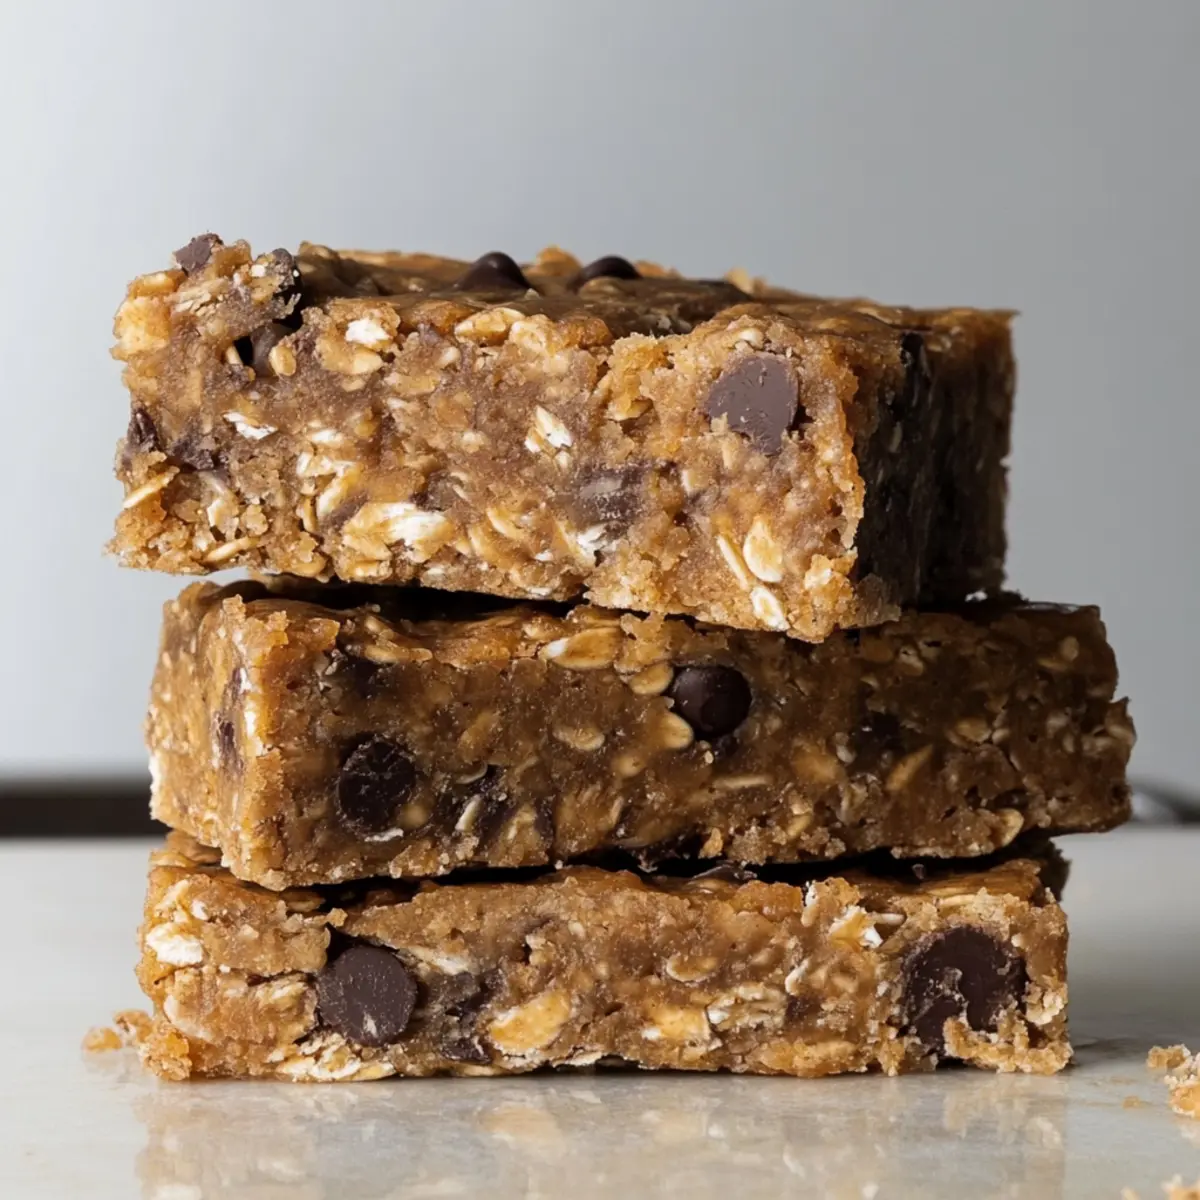
As the kitchen fills with the aroma of simple ingredients coming together, I can’t help but feel a wave of satisfaction. Today, I’m excited to share my go-to recipe for Easy No-Bake Workout Bars—a delicious, hassle-free snack that comes together in no time. These bars are not only quick and easy to whip up, but they also pack a high-protein punch that will fuel your body before or after your workouts. Whether you’re a busy professional or a parent juggling activities, these kid-friendly snacks offer a perfect blend of wholesome ingredients. Say goodbye to processed snacks, and hello to homemade nutrition! Curious about how these delightful bars can energize your day? Let’s dive into the recipe!
Why Choose No-Bake Workout Bars?
Quick and Easy: These bars come together effortlessly without the need for baking, making them a perfect choice for anyone short on time.
Nutritious Energy Boost: Packed with high-protein ingredients, they offer sustained energy, ideal for fueling your busy lifestyle or post-workout recovery.
Kid-Friendly Fun: These bars are not only nutritious but also delicious, keeping the kids happy and satisfied, perfect for after-school snacks!
Versatile Ingredients: Feel free to customize the mix-ins. Swap raisins for your favorite nuts or replace chocolate chips with dried fruit for a unique spin. Check out Brown Butter Bars for more delightful snack ideas!
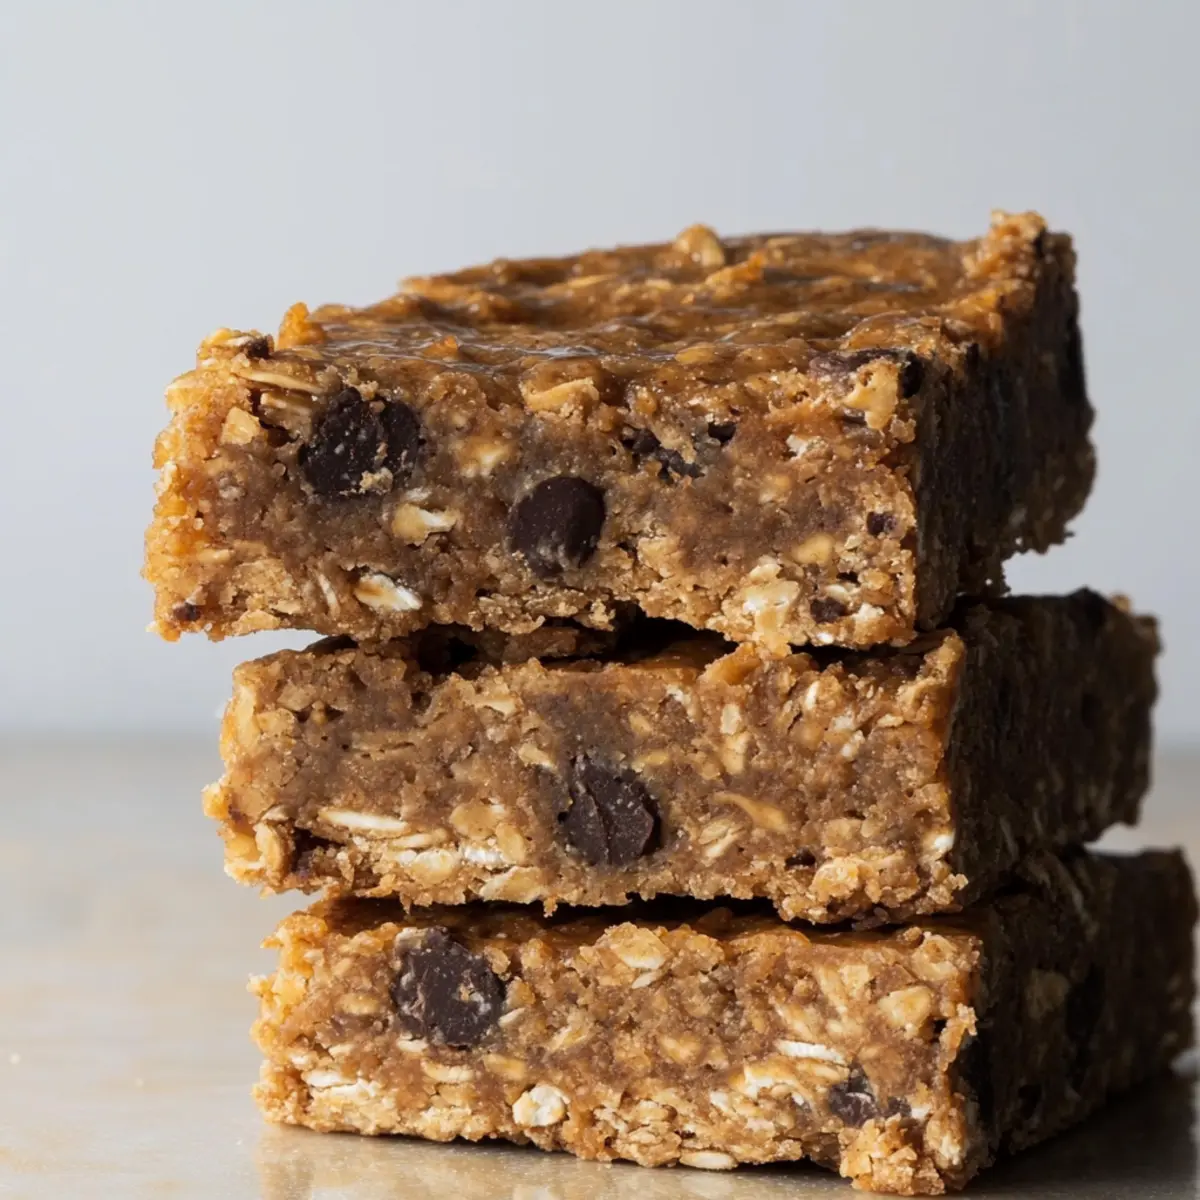
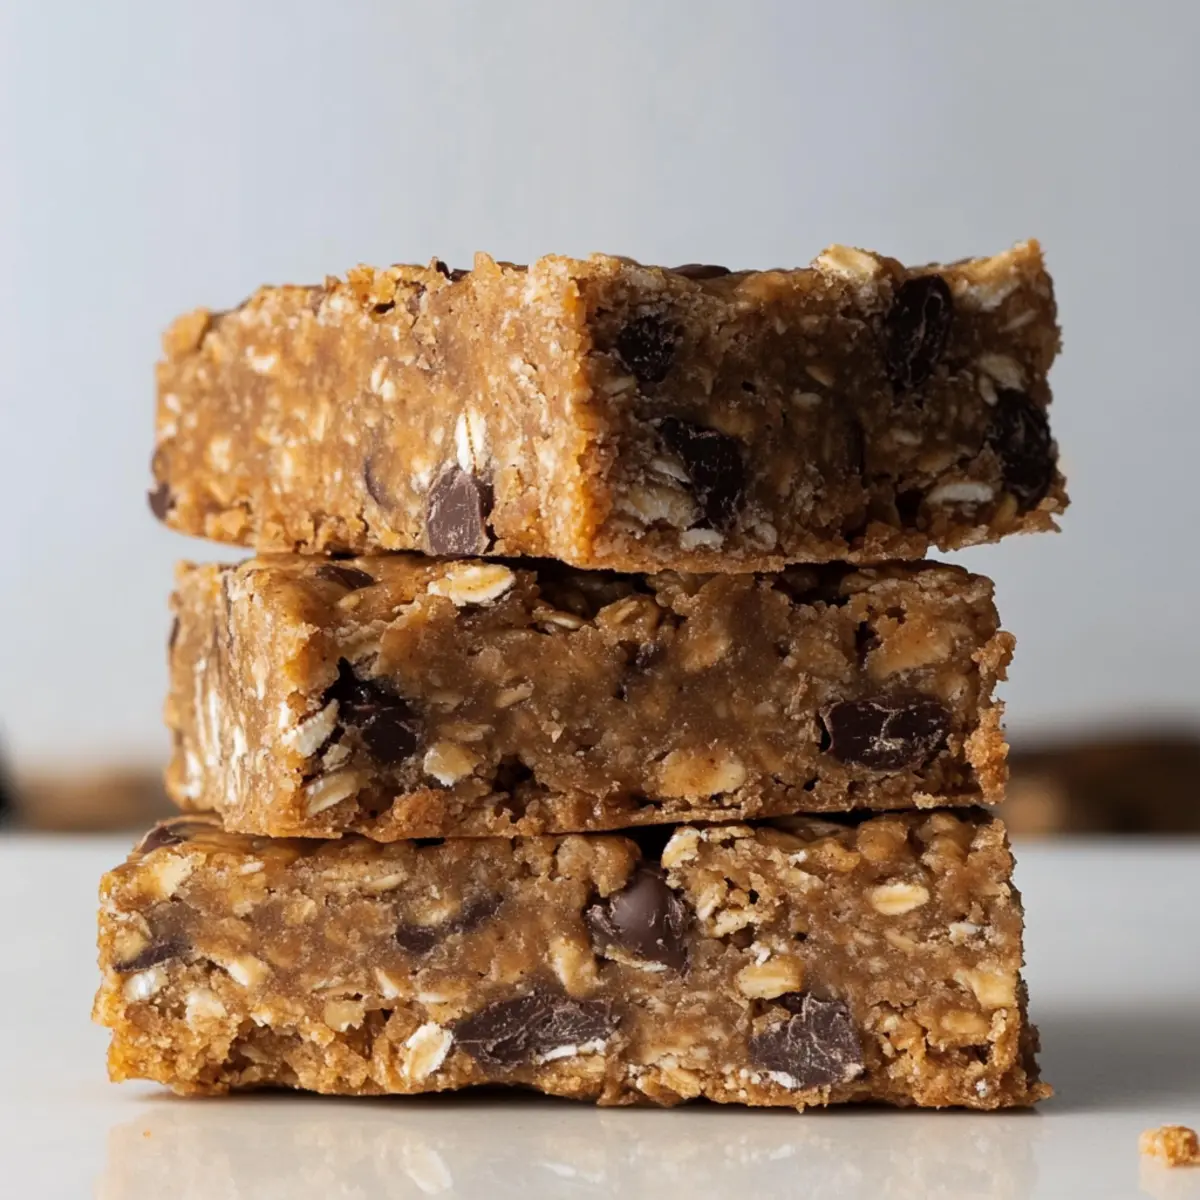
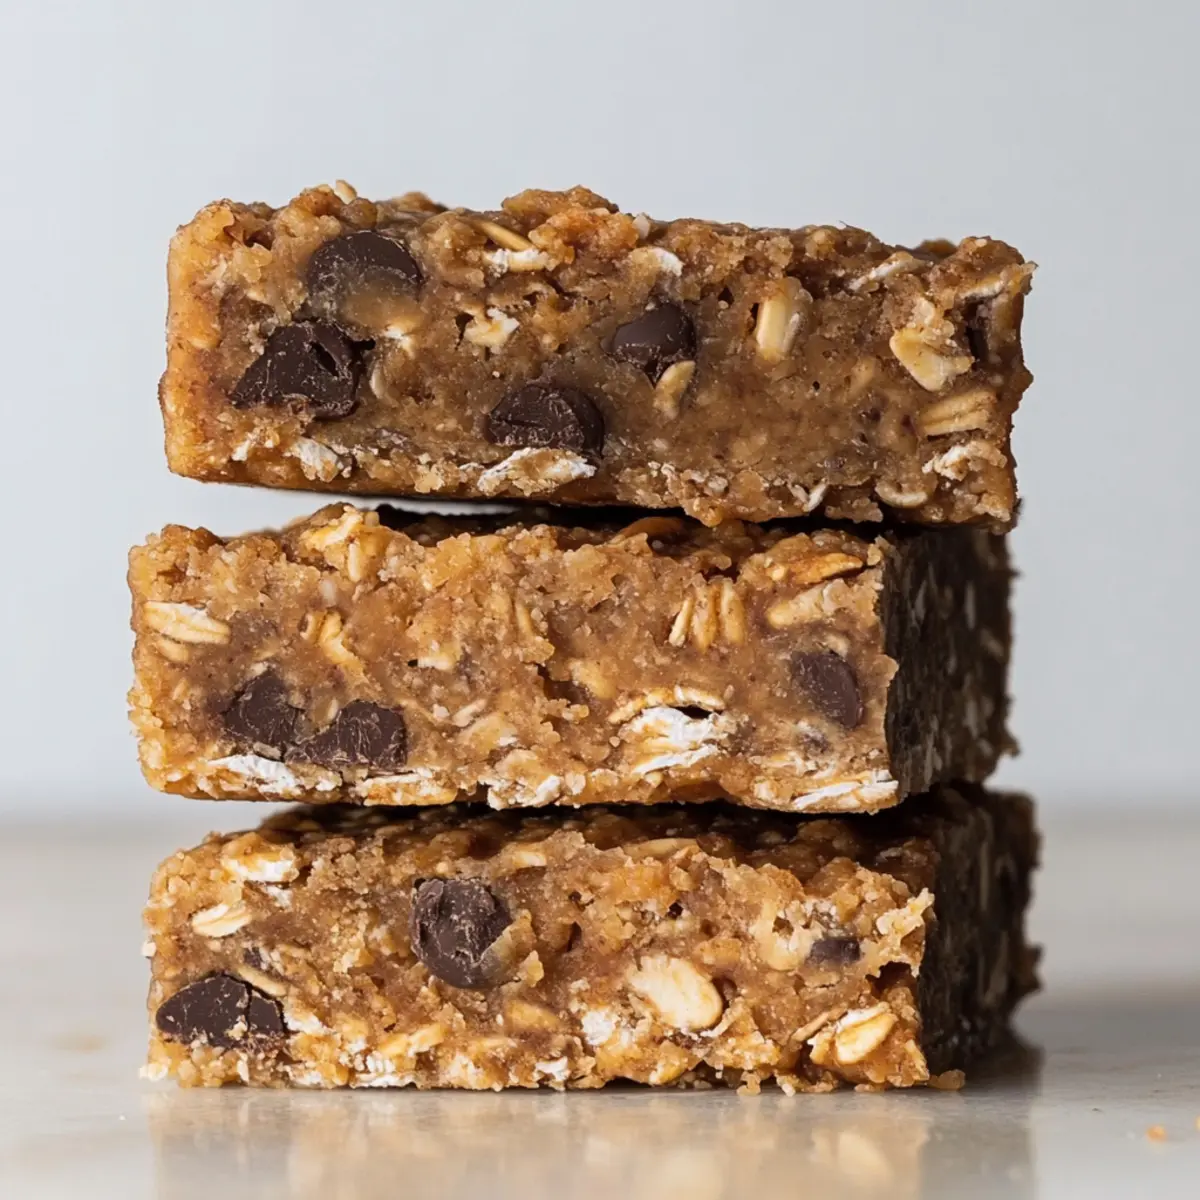
Delicious Texture: With a chewy consistency reminiscent of fudgy granola bars, these treats are sure to satisfy your sweet cravings in a healthier way.
Store with Ease: They store perfectly in the fridge for up to a week, or freeze them for grab-and-go convenience. Enjoy a homemade snack that meets your nutritional needs!
No-Bake Workout Bars Ingredients
For the Base
• Rolled oats – A great source of fiber and texture; can substitute with oat flour for a smoother base.
• Clean protein powder – Provides that essential protein boost; choose plant-based protein for a vegan-friendly version.
For the Sweetness
• Mini chocolate chips – Add a delightful chocolatey flavor; consider dark chocolate chunks or cacao nibs for a healthier option.
• Raisins – Bring natural sweetness and chewiness; swap for dried cranberries or omit for a lower sugar treat.
For Binding and Texture
• Natural peanut butter – Binds everything together while adding healthy fats; almond butter or sunflower seed butter are great nut-free alternatives.
• Lite coconut milk – Gives the bars moisture; almond milk is a perfect substitute for a different flavor profile.
• Raw honey – Acts as a natural sweetener and binder; agave syrup is a good vegan substitute.
For Additional Nutrition
• Chia seeds or ground flax seeds – Excellent sources of omega-3 fatty acids and fiber; either option enhances the nutritional value of your bars.
Enjoy mixing these wholesome ingredients that make your no-bake workout bars a delicious and energizing snack!
Step‑by‑Step Instructions for No-Bake Workout Bars
Step 1: Blend Oats
Begin by pulsing 1 ½ cups of rolled oats in a blender until they reach a fine, flour-like consistency. This transformation will give your No-Bake Workout Bars a wonderfully smooth base. It typically takes about 30 seconds to achieve the desired texture; just ensure there are no large pieces left behind.
Step 2: Mix Dry Ingredients
In a large mixing bowl, combine the oat flour with the remaining ½ cup of rolled oats, your choice of protein powder, mini chocolate chips, chia or ground flax seeds, and raisins. Use a spatula to gently fold the ingredients together until they’re evenly mixed. This step enhances the flavors and creates a well-balanced dry mixture.
Step 3: Combine Wet Ingredients
In a medium bowl, stir together 1 cup of natural peanut butter, ½ cup of lite coconut milk, and ¼ cup of raw honey. Mixing until completely smooth will only take about 2 minutes. The result should be a creamy blend that’s both delicious and ready to bind your No-Bake Workout Bars together.
Step 4: Combine Mixtures
Pour the wet mixture over the dry ingredients in the large bowl, and mix thoroughly. Use a spoon or spatula to press down and ensure all the dry ingredients are coated and incorporated. This step usually takes about 3 minutes; the mix should resemble a thick, sticky dough.
Step 5: Press and Chill
Spread the mixture into a greased 9×9-inch baking pan, pressing down firmly. You want to ensure it’s compact and even for the best texture. Cover the pan and refrigerate for at least 4 hours or overnight to let the bars set perfectly. They will firm up considerably, making them easier to cut later.
Step 6: Cut Bars
Once the mixture is firm to the touch, carefully remove it from the pan. Use a sharp knife to cut it into 12 even-sized bars for optimal portions. Store your No-Bake Workout Bars in an airtight container in the refrigerator, where they’ll stay fresh for up to a week, or freeze for longer storage.
Expert Tips for No-Bake Workout Bars
Natural Peanut Butter: Ensure you’re using natural peanut butter without added sugars or oils for a healthier snack option.
Measure Carefully: Accurately measure your ingredients, especially wet ingredients, to avoid overly sticky or crumbly bars.
Chill Time: Don’t skip refrigeration; allowing the bars to set for at least 4 hours or overnight is crucial for the best texture.
Use Sharp Knives: When cutting the bars, use a sharp knife for cleaner edges and easier portioning.
Storage Matters: Store your No-Bake Workout Bars in an airtight container in the fridge for up to a week, or freeze for longer-lasting snacks.
No-Bake Workout Bars Variations & Substitutions
Feel free to get creative with these No-Bake Workout Bars; enhancing the recipe is as fun as making them!
- Nut-Free: Replace peanut butter with sunflower seed butter for a deliciously nut-free version.
- Vegan Option: Use agave syrup instead of honey for a fully plant-based treat that doesn’t sacrifice sweetness.
- Crunchy Twist: Swap raisins for your favorite nuts like almonds or walnuts to add a delightful crunch.
- Flavor Boost: Incorporate coconut flakes instead of chocolate chips for a tropical flair that brightens each bite.
- Different Sweeteners: Experiment with maple syrup as an alternative sweetener that lends a unique flavor profile.
- Protein Punch: Add 1/4 cup of hemp seeds or pumpkin seeds for extra protein and a nutritional boost.
- Chocolate Lovers: Switch out mini chocolate chips for dark chocolate chunks if you crave a richer chocolate experience.
- Cocoa Twist: Dust the mixture with cinnamon or cocoa powder for added warmth and flavor complexity.
For even more delicious snack ideas, don’t miss the incredible Brown Butter Bars as you explore new culinary adventures!
Storage Tips for No-Bake Workout Bars
Fridge: Store your No-Bake Workout Bars in an airtight container in the refrigerator for up to 1 week to maintain freshness and prevent them from drying out.
Freezer: For longer storage, freeze the bars in an airtight container or freezer bag for up to 1 month. Just thaw them overnight in the fridge before enjoying!
Wrapping: Consider wrapping each bar individually in plastic wrap before freezing for grab-and-go convenience, ensuring you can easily enjoy a quick snack.
Reheating: These bars are best enjoyed cold or at room temperature; however, if you prefer them slightly warmed, microwave for about 10-15 seconds for a soft texture.
What to Serve with Easy No-Bake Workout Bars?
Get ready to elevate your snacking experience with these delightful pairings that nourish both body and soul.
- Fresh Fruit Salad: A zesty mix of seasonal fruits adds vibrant colors and refreshing flavors, enhancing the chewy texture of the bars.
- Greek Yogurt Parfait: Creamy Greek yogurt layered with berries provides a protein boost while balancing the bars’ sweetness for a fulfilling treat.
- Nutty Trail Mix: A crunchy blend of nuts and seeds pairs beautifully, offering additional healthy fats and a satisfying crunch alongside your bar.
- Dairy-Free Smoothie: A smoothie made with spinach and banana creates a refreshing contrast and fills you with nutrients and energy for your workout.
- Herbal Iced Tea: This refreshing beverage keeps you hydrated and adds a calming element to your snack time; a perfect complement for post-workout relaxation.
- Chocolate Hummus: Spread some rich chocolate hummus on your bars for an indulgent twist, balancing the flavors beautifully and appealing to your sweet tooth.
- Peanut Butter Banana Toast: This combo bridges flavors with creaminess and sweetness, providing an extra protein hit while keeping you satisfied between workouts.
- Cottage Cheese Bowl: Creamy cottage cheese topped with sliced almonds brings a delightful contrast in texture and adds protein for better recovery.
- Chia Seed Pudding: This light pudding serves as a perfect base for your workout bars, enhancing the texture and packing it with healthy nutrients.
- Sparkling Water with Citrus: A sparkling drink with a splash of fresh lemon or lime offers a refreshing way to cleanse your palate and stay hydrated.
Make Ahead Options
These Easy No-Bake Workout Bars are a fantastic choice for meal prep, saving you time on busy weekdays! You can prep the dry ingredients (oat flour, oats, protein powder, chocolate chips, seeds, and raisins) up to 3 days in advance and store them in an airtight container at room temperature. Additionally, mix the wet ingredients (peanut butter, coconut milk, and honey) and refrigerate them up to 24 hours before finishing your bars. When you’re ready to assemble, simply combine the wet and dry mixtures, press into the pan, and chill. This method ensures that when you enjoy your homemade no-bake workout bars, they are just as delicious and nourishing as if made fresh!
No-Bake Workout Bars Recipe FAQs
How do I know if my oats are fresh?
Absolutely! To check if your rolled oats are fresh, look for any signs of rancidity, such as a sour or off smell. Fresh oats should have a mild, slightly nutty aroma and no dark spots. Store your oats in a cool, dry place in an airtight container to keep them fresh longer.
How should I store my No-Bake Workout Bars?
Very! You can store your No-Bake Workout Bars in an airtight container in the fridge for up to 1 week. For longer storage, freeze them in an airtight container or freezer bag for up to 1 month. Just remember to thaw them overnight in the fridge for the best taste and texture before enjoying!
Can I freeze No-Bake Workout Bars? If so, how?
Absolutely! To freeze your No-Bake Workout Bars, first, cut them into individual pieces. Wrap each bar in plastic wrap or parchment paper, then place them in a freezer-safe container or bag. They’ll last up to 1 month in the freezer. When you’re ready to enjoy, simply take one out and thaw it overnight in the fridge.
What can I substitute for peanut butter if there are allergies?
I recommend using sunflower seed butter or tahini as excellent nut-free alternatives. They both offer a similar texture and flavor profile. Additionally, if you’re looking for a lower-calorie option, Apple Sauce can also be used to bind the ingredients together, though it may alter the flavor slightly.
My bars turned out too crumbly. What went wrong?
Very! If your No-Bake Workout Bars are too crumbly, it may be due to insufficient moisture or not enough binding ingredients. Be sure to measure your wet ingredients accurately and consider adding a bit more peanut butter or honey if the mixture seems dry. Additionally, pressing the mixture firmly into the pan before refrigerating is crucial for proper cohesion.
Can I make these bars vegan?
Certainly! To make your No-Bake Workout Bars vegan, use plant-based protein powder, and substitute honey with agave syrup or maple syrup. Additionally, opt for almond butter or sunflower seed butter instead of peanut butter to keep them nut-free, if needed. These changes will maintain the delicious flavor while catering to a vegan lifestyle!
No-Bake Workout Bars for Easy Energy and Delicious Snacking
Ingredients
Equipment
Method
- Blend Oats: Pulse 1 ½ cups of rolled oats in a blender until they reach a fine, flour-like consistency.
- Mix Dry Ingredients: In a bowl, combine oat flour, the remaining ½ cup of rolled oats, protein powder, mini chocolate chips, chia or ground flax seeds, and raisins.
- Combine Wet Ingredients: In a medium bowl, stir together 1 cup of natural peanut butter, ½ cup of lite coconut milk, and ¼ cup of raw honey until smooth.
- Combine Mixtures: Pour the wet mixture over the dry ingredients and mix thoroughly until all dry ingredients are coated.
- Press and Chill: Spread the mixture into a greased 9x9-inch baking pan and refrigerate for at least 4 hours.
- Cut Bars: Once firm, remove from the pan and cut into 12 even-sized bars.
Leave a Reply