
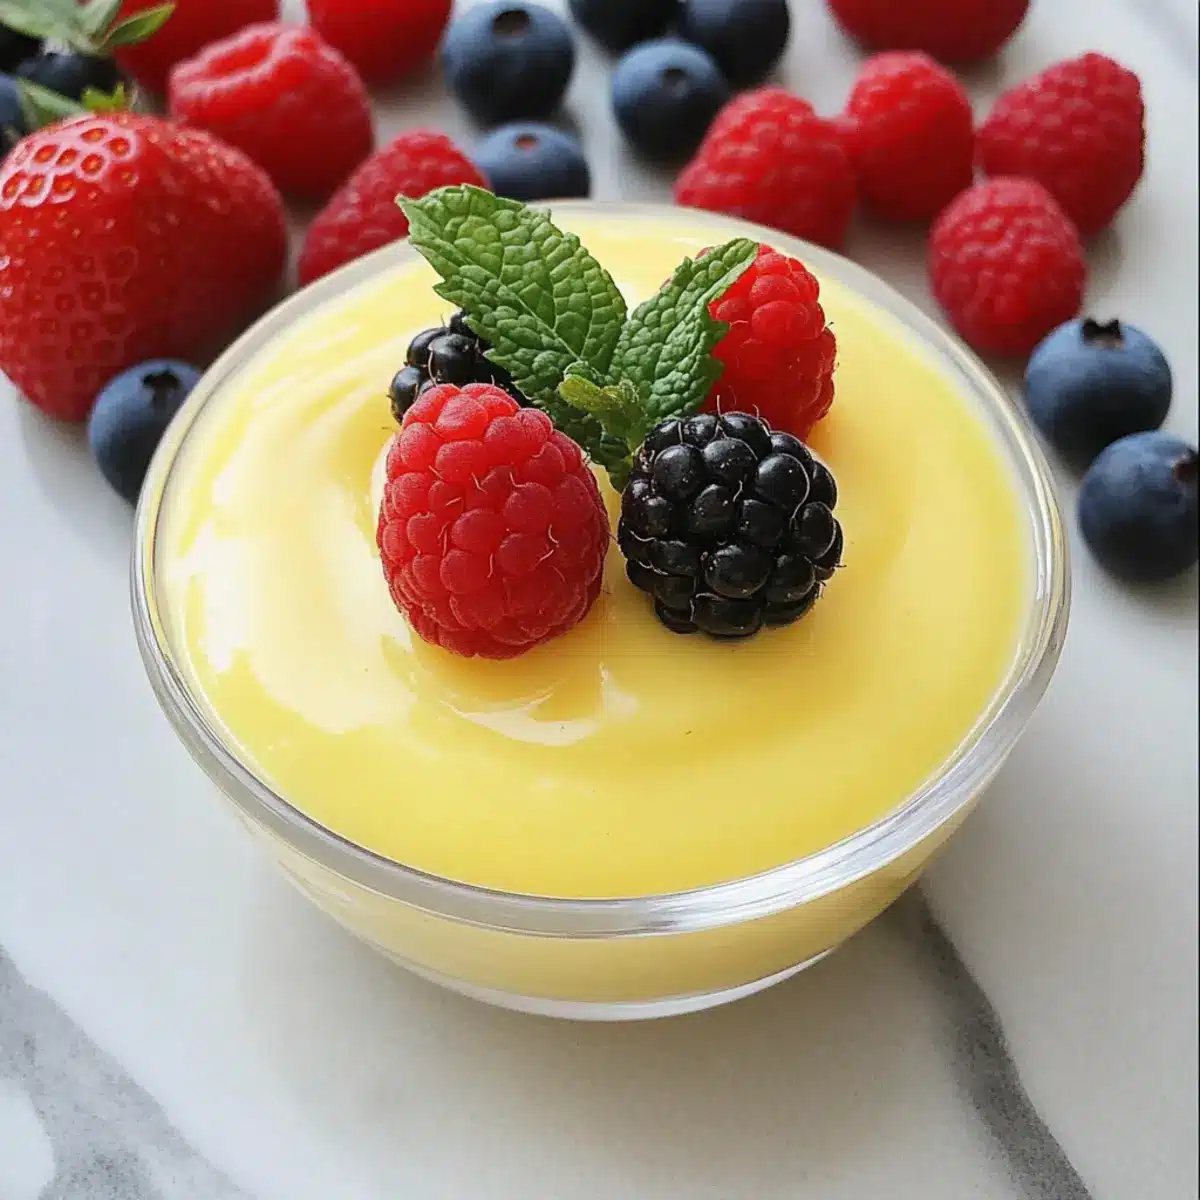
In a bustling kitchen filled with laughter and the aroma of sweet nostalgia, I found myself craving something comfortingly classic yet decadently satisfying. That’s when I decided to create my own Homemade Vanilla Custard. This stovetop egg custard is not just a simple dessert; it’s a creamy masterpiece that brings warmth and joy to every spoonful. Whip it up in no time and savor its lusciousness, perfect for drizzling over fresh berries or layering into indulgent trifles. The beauty of this recipe lies in its quick prep and the sheer delight it brings—whether it’s a cozy night in or a special gathering. So, are you ready to embrace the magic of homemade custard and elevate your dessert game? Let’s dive in!
Why is Homemade Vanilla Custard Amazing?
Creamy indulgence awaits you! This homemade vanilla custard is a delightful embrace of rich flavors and smooth textures. Quick and easy to prepare on the stovetop, you’ll impress friends and family without breaking a sweat. Versatile and adaptable, drizzle it over fruits or layer it into desserts like banana pudding or trifles. Plus, it’s the perfect chance to elevate your dessert game while rediscovering the joy of homemade treats. Don’t forget to check out my Homemade Butter Chicken for a savory pair to complement this sweet delight!
Homemade Vanilla Custard Ingredients
• Ready to create your own delightful Homemade Vanilla Custard? Here’s what you’ll need:
For the Custard
- Whole Milk – Provides creaminess and richness; avoid low-fat or skim for the best results.
- Vanilla Bean Paste/Extract – Offers a robust vanilla flavor; try using whole vanilla beans for a gourmet touch.
- Sugar – Sweetens the custard, nicely balancing the richness; feel free to reduce the sugar for a healthier option.
- Cornstarch – Acts as a thickening agent for that perfect custard consistency; for pipeable pastry cream, increase to 1/4 cup.
- Salt – Enhances the overall flavor; omit for a low-sodium version if you prefer.
- Egg Yolks – Delivers richness and creaminess; use fresh, room-temperature yolks for the best outcome.
- Unsalted Butter – Contributes additional creaminess and flavor; for an adult twist, replace with bourbon.
Optional Extras
- Fruit Toppings – Fresh berries or sliced bananas will complement the custard perfectly.
- Chocolate or Coffee Flavorings – Experiment with these variations for unique custard profiles.
Dive into making this luscious Homemade Vanilla Custard, and get ready for a dessert experience unlike any other!
Step‑by‑Step Instructions for Homemade Vanilla Custard
Step 1: Heat the Milk
Begin by pouring the whole milk into a medium saucepan over medium heat. Add the vanilla bean paste or extract, stirring gently to combine. Heat the mixture until it reaches a low simmer—look for gentle bubbles forming around the edges but avoid boiling, which should take about 5–7 minutes. This aromatic base will infuse your Homemade Vanilla Custard with a delightful flavor.
Step 2: Whisk the Egg Mixture
In a separate mixing bowl, whisk together the sugar, cornstarch, salt, and egg yolks until the mixture becomes pale yellow and slightly thickened, taking about 2–3 minutes. Ensure everything is well combined, as this will help create a smooth custard without any lumps. This initial blending is crucial for a perfectly creamy Homemade Vanilla Custard.
Step 3: Combine Hot Milk and Egg Mixture
Once the milk has simmered, carefully drizzle a small amount of the hot milk mixture into the egg mixture while whisking constantly. This process, known as tempering, is essential to prevent the eggs from curdling. Gradually add the remaining hot milk, continuing to whisk until thoroughly blended. This harmonious combo ensures a silky consistency in your custard.
Step 4: Thicken the Custard
Return the blended custard mixture back to the saucepan over medium-low heat. Stir continuously with a whisk for about 3–5 minutes, maintaining a close eye on it. You’ll know it’s thickened when it coats the back of a spoon and forms soft ribbons. Be patient; this step is vital for achieving the rich, creamy texture of your Homemade Vanilla Custard.
Step 5: Add Butter
Once thickened, promptly remove the saucepan from the heat and whisk in the unsalted butter until fully melted and incorporated. The butter adds an extra layer of richness and shine to your custard, enhancing its overall flavor. As you mix, feel the velvety texture beginning to form—it’s the hallmark of a well-made Homemade Vanilla Custard.
Step 6: Chill the Custard
Transfer the custard into a clean bowl and press a piece of plastic wrap directly against the surface to prevent skin formation while it cools. Refrigerate for at least 3 hours, allowing the custard to thicken further and chill completely. This final step is what transforms your delicious mixture into the luxurious Homemade Vanilla Custard you can’t wait to enjoy!
Expert Tips for Homemade Vanilla Custard
- Whisking Technique: Always whisk the egg yolks constantly while adding hot milk to avoid scrambling and achieve a smooth custard.
- Heat Control: Keep the heat on low when thickening the custard. Remove it just before boiling for the best texture.
- Lump Prevention: If lumps form, strain the custard immediately or blend it with an immersion blender to restore its silky consistency.
- Skin Formation: Press plastic wrap directly on the surface of the custard while cooling to prevent unsightly skin from forming.
- Serving Versatility: Use your homemade vanilla custard as a delicious drizzle over fresh fruits or layer it into desserts for added charm.
Storage Tips for Homemade Vanilla Custard
- Fridge: Store your homemade vanilla custard in an airtight container for up to one week. For the best flavor and texture, enjoy it within 3-4 days.
- Preventing Skin: To avoid a skin forming on the surface, press plastic wrap directly against the custard before refrigerating.
- Freezer: If needed, homemade vanilla custard can be frozen for up to 2 months. Thaw it in the fridge overnight before serving and whisk to restore creaminess.
- Reheating: Gently reheat your custard on the stovetop over low heat, stirring constantly to return it to its silky consistency.
What to Serve with Silky Homemade Vanilla Custard
Indulge your senses while creating a delightful meal that harmonizes beautifully with the luscious creaminess of your custard.
-
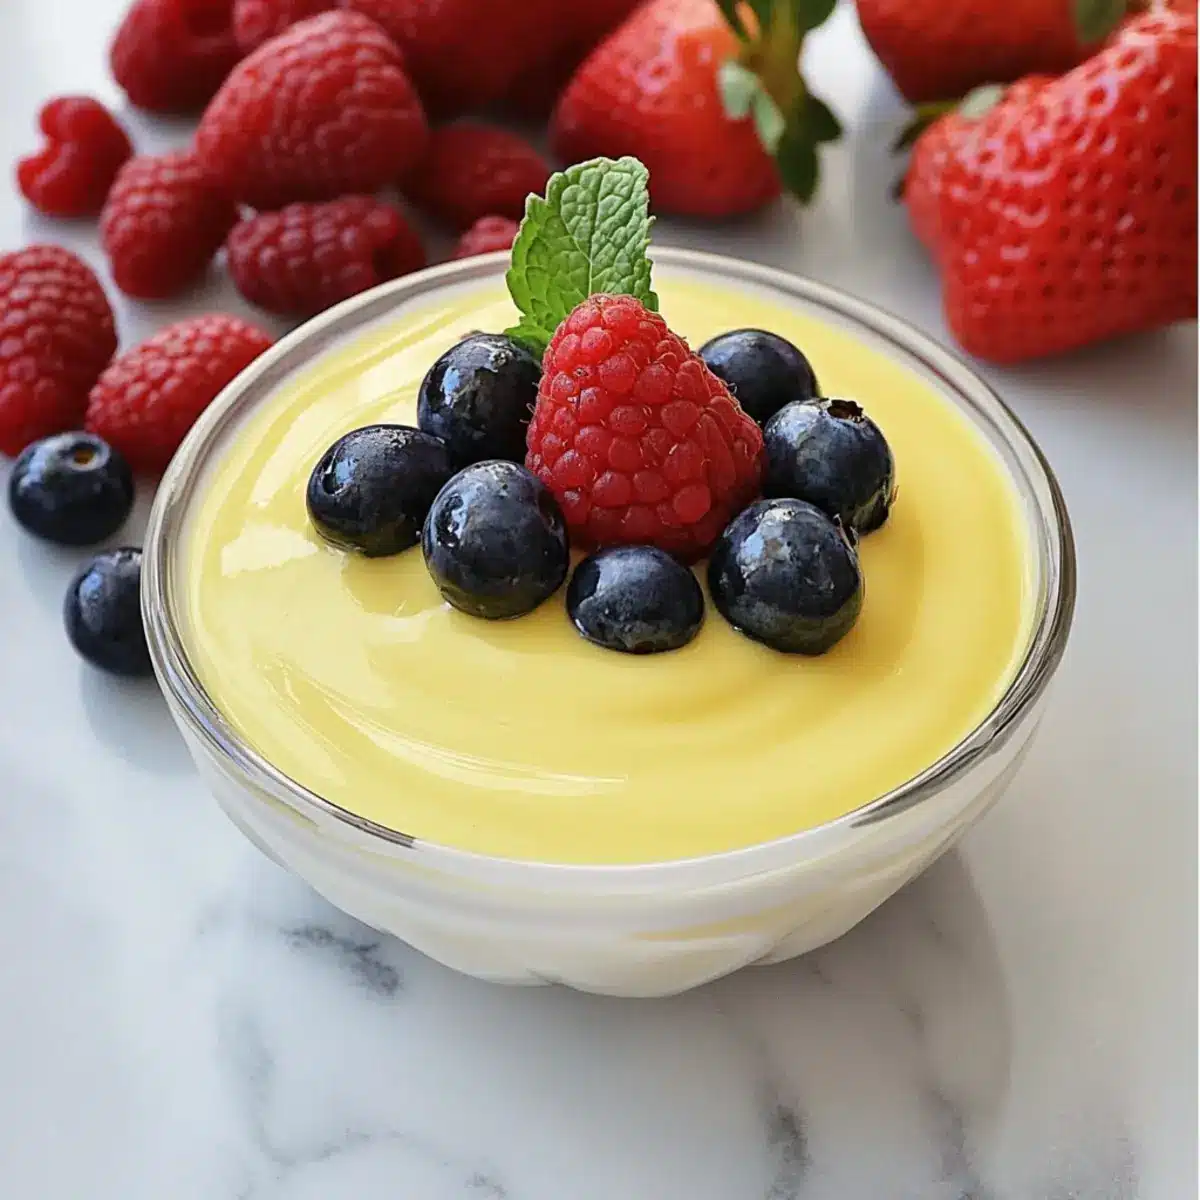
Fresh Berries: Sweet, juicy berries like strawberries or raspberries provide a tart contrast, brightening the rich custard with their vibrant flavors.
-
Classic Trifle: Layer your custard with sponge cake, whipped cream, and fruit for an elegant dessert that’s as stunning as it is delicious. Each layer offers a textural delight!
-
Banana Pudding: This comforting dessert combines soft bananas with creamy custard, creating a nostalgic treat that will remind you of cherished family gatherings.
-
Chocolate Mousse: The light and airy texture of chocolate mousse pairs perfectly with your rich custard, making for a decadent dessert experience with every spoonful.
-
Almond Biscotti: A crunchy, nutty treat to dip into your creamy custard adds a wonderful layer of texture and an irresistible flavor combination that feels upscale.
-
Coffee or Espresso: A warm cup of coffee enhances the vanilla notes in your custard while providing a charming balance of flavor and warmth, perfect for evening enjoyment.
-
Pineapple Upside-Down Cake: The caramelized fruit and moist cake complement the silky texture of the custard, creating a delightful contrast that celebrates classic flavors.
-
Coconut Sorbet: A scoop of refreshing coconut sorbet introduces a light and tropical twist to your dessert lineup, enticing your palate with every bite.
Homemade Vanilla Custard Variations
Customize your homemade vanilla custard and let your creativity shine, bringing delightful twists to this classic treat!
- Bourbon Twist: Replace unsalted butter with bourbon for a rich, adult flavor. It adds warmth and depth that’s perfect for special occasions.
- Dairy-Free Delight: Use coconut milk instead of whole milk. This swap adds a tropical flair while keeping it creamy and luscious.
- Chocolate Fudge: Melt chocolate into the custard mixture for a decadent chocolate custard. This variation is a dessert lover’s dream!
- Coffee Kick: Brew strong coffee and substitute some of the milk for a delicious coffee custard. Pair it with biscotti for an elegant touch.
- Fruit Fusion: Blend pureed fruits like strawberries or mangoes into the custard after cooking. This fruity twist brings a burst of freshness to each bite.
- Alternative Thickeners: Use arrowroot starch instead of cornstarch for a different thickening agent; this works great for a gluten-free option. Its smoothness is delightful!
- Spiced Variations: Add a pinch of cinnamon or nutmeg during cooking for a warm spiced flavor that adds a lovely aroma to your custard.
- Layer it Up: Use the custard as a delicious layer in desserts like trifles or parfaits for a stunning visual and flavor combination! Check out my recipe for Birria Tacos Homemade for a savory dish to enjoy alongside your sweet custard.
Make Ahead Options
Preparing your Homemade Vanilla Custard in advance is a fantastic way to save time during busy weeknights or special occasions! You can whisk together the sugar, cornstarch, and egg yolks up to 24 hours in advance, storing this mixture in an airtight container in the refrigerator. Additionally, feel free to heat and thicken the custard a day ahead—just remember to press plastic wrap against the surface to prevent a film from forming. When you’re ready to serve, simply reheat gently over low heat to regain that silky texture before drizzling it over desserts or fruits. With these make-ahead options, you’ll enjoy a delicious custard without the last-minute rush!

Homemade Vanilla Custard Recipe FAQs
How do I choose the right vanilla for my custard?
Absolutely! When selecting vanilla, opt for high-quality vanilla bean paste or extract for a robust flavor. Using whole vanilla beans elevates the gourmet experience; simply split the bean, scrape the seeds, and add both seeds and pod into the milk while heating—this creates the richest aroma!
What’s the best way to store homemade vanilla custard?
I recommend storing your homemade vanilla custard in an airtight container in the refrigerator for up to one week. However, for the best flavor and texture, try to enjoy it within 3-4 days. Don’t forget to press plastic wrap against the surface to keep it from forming a skin!
Can I freeze homemade vanilla custard?
Yes, you can! To freeze your custard, pour it into a freezer-safe container, leaving room for expansion. It can be frozen for up to 2 months. When you’re ready to use it, thaw it overnight in the refrigerator, then whisk gently to restore its creamy consistency before serving.
What should I do if my custard turns out lumpy?
If you encounter lumps, don’t worry! Immediately strain the custard through a fine-mesh sieve to remove any lumps. Alternatively, you can use an immersion blender to smoothen it out. It’s all about keeping that beautiful, silky texture, so don’t hesitate to correct it!
Is this vanilla custard safe for those with allergies?
Great question! This homemade vanilla custard contains eggs and dairy, making it unsuitable for those with egg or dairy allergies. For a dairy-free version, consider using almond or oat milk, and substitute eggs with silken tofu blended until smooth. Always check with your guests for any allergies before serving!
What should I do if my custard doesn’t thicken properly?
If your custard isn’t thickening, ensure you’re cooking it over low heat and whisking continuously. This process usually takes about 3-5 minutes. If it still doesn’t achieve the desired consistency, don’t fret! Simply mix an additional teaspoon of cornstarch with a little cold milk to create a slurry, and whisk it into the custard while it’s on the heat until it thickens. Happy cooking!
Creamy Homemade Vanilla Custard for Dessert Lovers
Ingredients
Equipment
Method
- Begin by pouring the whole milk into a medium saucepan over medium heat. Add the vanilla bean paste or extract, stirring gently to combine. Heat the mixture until it reaches a low simmer, about 5–7 minutes.
- In a separate mixing bowl, whisk together the sugar, cornstarch, salt, and egg yolks until pale yellow and slightly thickened, about 2–3 minutes.
- Carefully drizzle a small amount of the hot milk mixture into the egg mixture while whisking constantly. Gradually add the remaining hot milk, continuing to whisk until thoroughly blended.
- Return the blended custard mixture back to the saucepan over medium-low heat. Stir continuously for about 3–5 minutes until it thickens and coats the back of a spoon.
- Once thickened, remove from heat and whisk in the unsalted butter until fully melted and incorporated.
- Transfer the custard to a clean bowl, pressing plastic wrap against the surface to cool. Refrigerate for at least 3 hours.
Leave a Reply