
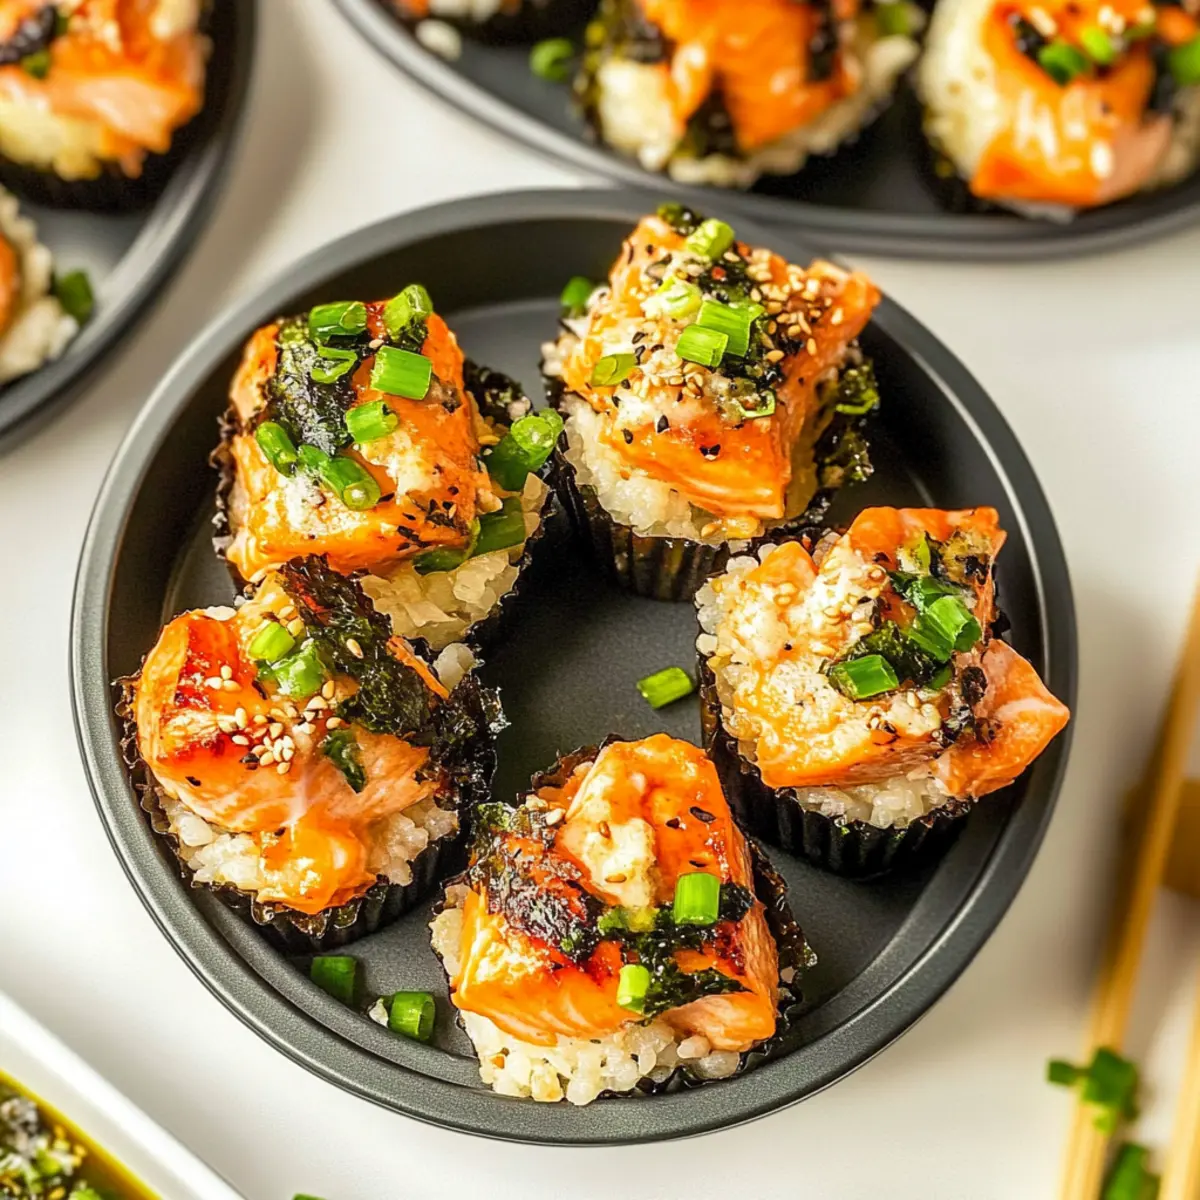
“Can you believe that sushi can be fun and simple enough for any occasion?” That’s the magic of these Easy Baked Salmon Sushi Cups—an innovative twist on traditional sushi that’s ready to impress. With a warm and inviting cupcake-like texture, each cup is filled with tender salmon, delectable sushi rice, and crispy nori, all topped with a drizzle of spicy mayo and fresh green onions. Perfect as a quick appetizer for gatherings or a satisfying snack any time of day, these baked sushi cups are not only a crowd-pleaser but also a celebration of flavors crafted in your own kitchen. Whether you’re a seasoned home chef or just getting your feet wet, this recipe offers an exciting way to embrace the sushi experience without the fuss. Ready to dive into this delicious adventure?
Why are Baked Salmon Sushi Cups a hit?
Innovative Twist: These Baked Salmon Sushi Cups redefine traditional sushi with their unique cupcake-like form, making them fun and approachable for everyone.
Flavor Explosion: Each cup packs a punch of tender salmon, savory sushi rice, and crispy nori—topped with spicy mayo for that irresistible kick.
Quick and Easy: Fast prep time means you can whip these up in no time, making them perfect for impromptu gatherings or weeknight cravings.
Crowd-Pleaser: Ideal for entertaining, these sushi cups are perfect for impressing guests and satisfying appetites alike.
Versatile Ingredients: Feel free to switch up the fillings and toppings; crab, shrimp, or even a veggie version with avocado can create new favorites! Want to keep the flavor excitement going? Check out our Pumpkin Apple Baked for another delicious twist on comfort food.
Baked Salmon Sushi Cups Ingredients
For the Sushi Cups
• Salmon – Use fresh or high-quality sushi-grade salmon for tender flavor.
• Uncooked Sushi Rice – Sticky short-grain rice is essential for maintaining the cup structure.
• Nori Sheets – Provides a savory seaweed flavor; feel free to swap with rice paper for variety.
• Rice Vinegar – Balances the dish; apple cider vinegar or white vinegar can also work.
• White Sugar – Sweetens and complements the acidity; honey or agave are good substitutes.
• Light Soy Sauce – Adds umami and saltiness; opt for tamari to keep it gluten-free.
For the Filling
• Kewpie Mayo – This rich mayo gives creaminess; regular mayo can be used in a pinch.
• Sesame Oil – Provides a nutty flavor; omit for a lighter alternative.
• Sriracha – Add for a spicy kick; adjust to taste for heat preference.
For Garnishing
• Green Onion – Fresh and crunchy topping; chives or shallots can stand in.
• Furikake – Optional garnish for an extra flavor boost; sesame seeds can be used instead.
Cooking Essentials
• Cooking Spray – Prevents sticking; using oil or butter is a fine alternative.
These Baked Salmon Sushi Cups are not only a treat for your taste buds but also a fantastic way to get creative in the kitchen!
Step‑by‑Step Instructions for Baked Salmon Sushi Cups
Step 1: Cook Sushi Rice
Begin by cooking your sushi rice according to the package instructions until it’s tender and sticky, usually about 20 minutes. Once done, transfer the rice to a bowl and mix in rice vinegar and white sugar while it’s still warm. This mixture will enhance the flavor, giving your base for the Baked Salmon Sushi Cups a delightful sweetness.
Step 2: Preheat Oven
Preheat your oven to 400°F (200°C) so it’s hot and ready for baking. This temperature will ensure a perfect crisp on the outside of your sushi cups while keeping the salmon inside tender. Just a few minutes in the oven will transform everything into a warm, delicious treat.
Step 3: Prepare Salmon Mixture
In a bowl, combine cubed fresh salmon with light soy sauce, Kewpie mayo, sriracha, and sesame oil, mixing everything until well coated. This flavorful mixture boasts a creamy, spicy punch that plays beautifully against the rice and nori. Let it sit briefly to meld the flavors while you prepare the other components.
Step 4: Prepare Nori
Cut your nori sheets into squares roughly 5 inches wide, ensuring they’re large enough to fit inside the muffin tin. This’ll be the structure for your Baked Salmon Sushi Cups. Use scissors for a clean cut and set them aside for easy assembly to maintain your cooking rhythm.
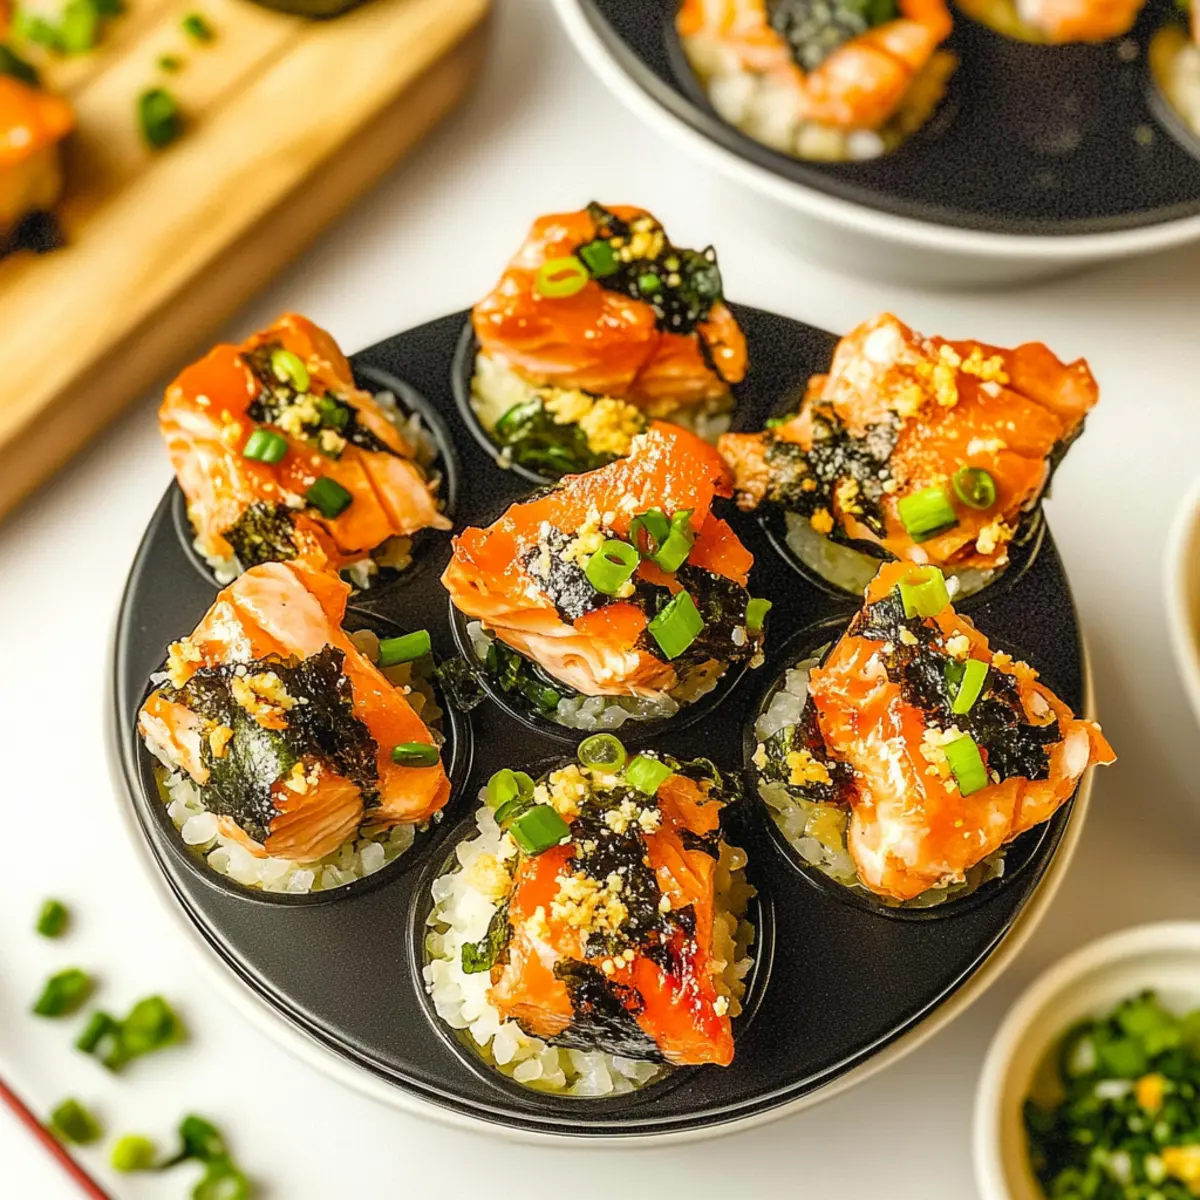
Step 5: Assemble Cups
Lightly spray your muffin tin with cooking spray to prevent the cups from sticking. Lay the nori squares in each muffin cup, and using your fingers, gently press in a layer of sushi rice, forming a base. Top the rice with the salmon mixture, evenly distributing it across all cups for a balanced flavor in every bite.
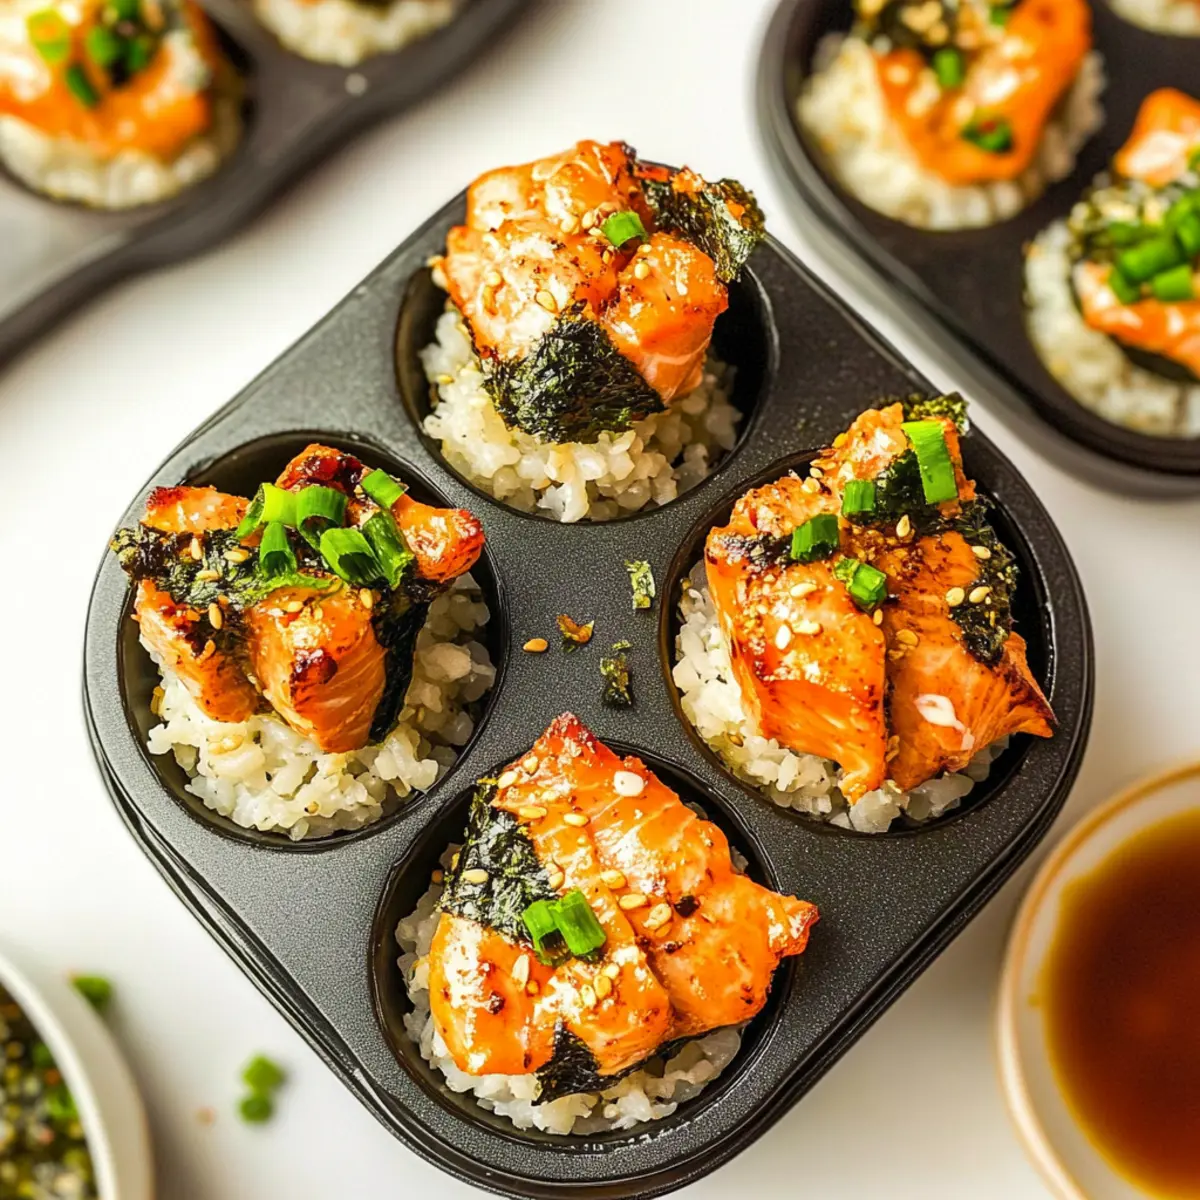
Step 6: Bake
Place the muffin tin in the preheated oven and bake for 15 minutes. You’ll know they’re ready when the salmon is cooked through, and the tops turn a golden brown. The aroma wafting through your kitchen will be irresistible, promising a tasty bite ahead.
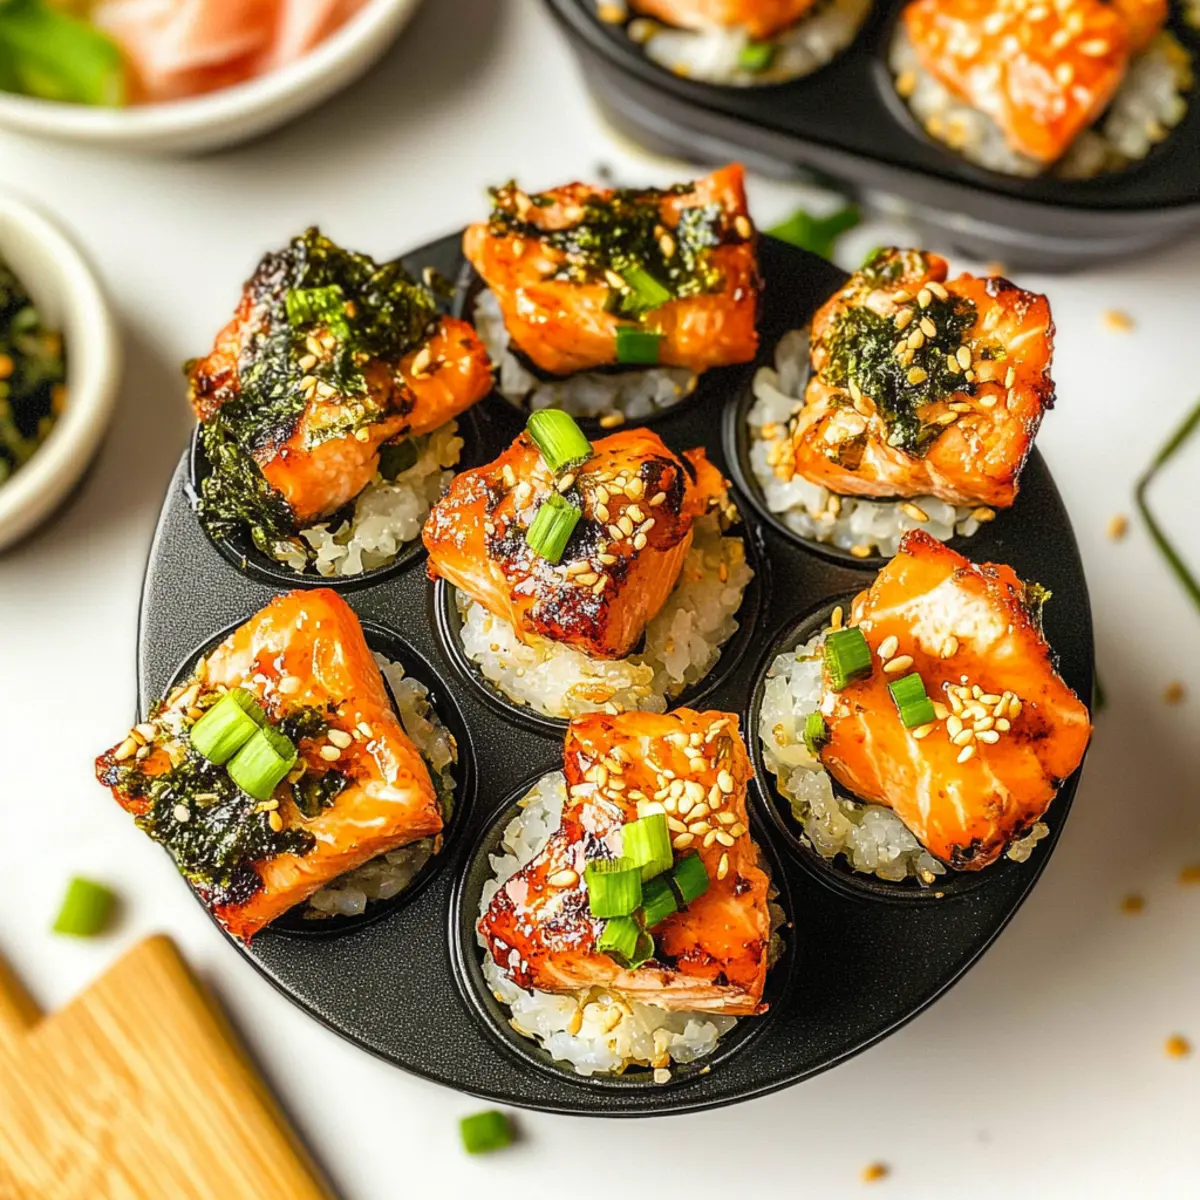
Step 7: Garnish and Serve
After removing the cups from the oven, allow them to cool for a couple of minutes. Drizzle with sriracha or spicy mayo, then sprinkle furikake and chopped green onions on top for added flavor and crunch. These beautiful Baked Salmon Sushi Cups are now ready to be enjoyed warm and fresh!
What to Serve with Easy Baked Salmon Sushi Cups
Create a memorable meal with delightful pairings that compliment these flavorful sushi cups.
-
Crispy Tempura Vegetables: Their light, crunchy texture contrasts beautifully with the warm sushi cups, adding depth to your dish.
-
Miso Soup: This traditional Japanese soup’s savory broth enhances the sushi experience, warming the soul with every sip.
-
Edamame with Sea Salt: A simple, fresh starter that adds protein and a bit of fun—perfect for scooping and popping as you enjoy the cups.
-
Cucumber Salad with Rice Vinegar: This refreshing salad adds a crunchy, tangy contrast to the savory cups, brightening up the entire meal.
-
Pickled Ginger: A traditional sushi accompaniment, its sweet and tangy crunch cleanses the palate beautifully between bites.
-
Sake or Sparkling Water: An elegant drink choice, either will elevate your meal—sake adds a festive touch, while sparkling water refreshes.
Embrace these pairings to create an unforgettable dining experience with your Baked Salmon Sushi Cups!
Make Ahead Options
These Baked Salmon Sushi Cups are perfect for busy home cooks looking to save time! You can prepare the sushi rice and salmon mixture up to 24 hours in advance. Simply cook the sushi rice, mix in the rice vinegar and sugar, and refrigerate it in an airtight container. For the salmon mixture, combine the diced salmon with soy sauce, Kewpie mayo, sriracha, and sesame oil, then store it covered in the fridge. When you’re ready to “serve,” just assemble the cups in your muffin tin with the nori and rice, top with the salmon mixture, and bake at 400°F (200°C) for about 15 minutes. This way, you’ll enjoy restaurant-quality sushi cups with minimal last-minute effort!
How to Store and Freeze Baked Salmon Sushi Cups
Fridge: Store leftovers in an airtight container for up to 3 days. Reheat gently in the oven at 350°F (175°C) for about 10 minutes before serving.
Freezer: For longer storage, freeze the cooled sushi cups in a single layer on a baking sheet. Transfer to a freezer bag once frozen, and enjoy within 1 month for best quality.
Reheating: For frozen Baked Salmon Sushi Cups, thaw in the fridge overnight, then reheat in the oven for a crispy texture, about 15 minutes at 350°F (175°C).
Wrapping: If storing individual cups, wrap them in plastic wrap or foil to prevent freezer burn and maintain their delicious flavor while stored.
Baked Salmon Sushi Cups Variations
Feel free to explore these delightful twists and substitutions to make the recipe your own!
-
Vegetarian Delight: Swap salmon for tofu or tempura veggies for a delicious veggie version. It’s a great way to embrace plant-based flavors while still enjoying that signature sushi experience.
-
Heat It Up: Mix in diced jalapeños or sriracha with the salmon for an extra spicy kick. This adds a delightful punch that will excite your taste buds!
-
Alternative Fish: Replace salmon with crab meat or shrimp to create a new flavor profile. Both options provide a delightful seafood experience, offering a creative twist on traditional sushi.
-
Different Flavors: Add fresh avocado slices or even mango for a fruity undertone that adds sweetness to the savory components. These additions will elevate the flavor in unexpected ways, making each bite a treat.
-
Herb-Infused: Mix fresh herbs like cilantro or basil into the salmon mixture for a fresh twist that brightens the dish. These flavorful accents will give your sushi cups a refreshing dimension!
-
Nori Alternatives: Use rice paper instead of nori for a different texture and flavor. This swap creates a softer bite and opens up new possibilities for presentation and enjoyment.
-
Crunchy Toppings: Top with crushed wasabi peas or panko breadcrumbs before baking for an added crunch. This unexpected texture will contrast beautifully with the soft fillings and create a delightful eating experience.
Want to try more delicious recipes? Dive into our Healthy Baked Feta or whip up some vibrant Pearl Couscous Salmon for more culinary adventures!
Expert Tips for Baked Salmon Sushi Cups
- Rice Rinsing: Ensure to rinse your uncooked sushi rice thoroughly to remove excess starch. This step is crucial for achieving the sticky texture needed for the Baked Salmon Sushi Cups.
- Oven Monitoring: Keep a close eye on your sushi cups as they bake; overbaking can result in dry salmon. Aim for golden brown tops while ensuring the fish remains moist.
- Ingredient Freshness: Use the freshest ingredients possible, especially the salmon and nori. Quality ingredients significantly enhance the flavor and texture of your Baked Salmon Sushi Cups.
- Nori Assembly: Be careful when pressing the nori into the muffin tin; it should be snug but not overstuffed, allowing the cups to hold their shape and not rip.
- Experiment with Toppings: Don’t hesitate to riff on the recipe by trying other toppings or fillings, such as avocado or spicy tuna mix, to keep your Baked Salmon Sushi Cups exciting!
Baked Salmon Sushi Cups Recipe FAQs
What type of salmon should I use for the Baked Salmon Sushi Cups?
Absolutely! Using fresh or high-quality sushi-grade salmon is key to achieving the best flavor and texture in your Baked Salmon Sushi Cups. If you can’t find sushi-grade salmon, ensure the salmon is very fresh and keep in mind that cooking it thoroughly is essential for food safety.
How should I store leftovers from the Baked Salmon Sushi Cups?
Very simply, store any leftover Baked Salmon Sushi Cups in an airtight container for up to 3 days in the refrigerator. To keep them fresh and delicious, you can reheat them in the oven at 350°F (175°C) for about 10 minutes, which will help regain some of that lovely crispiness.
Can I freeze Baked Salmon Sushi Cups?
Absolutely! To freeze your Baked Salmon Sushi Cups, first let them cool completely. Then, arrange them in a single layer on a baking sheet and freeze until solid. After that, you can transfer them to a freezer bag for better storage. They’ll remain at their best for up to 1 month. When you’re ready to enjoy them, thaw in the fridge overnight and reheat in the oven for about 15 minutes at 350°F (175°C) for that freshly-baked taste.
What should I do if my sushi rice isn’t sticky enough?
If your sushi rice hasn’t reached that all-important sticky consistency, don’t worry! Make sure you rinse the rice thoroughly before cooking to remove excess starch, as this is crucial for optimum stickiness. After cooking, stir in the rice vinegar and sugar mixture while the rice is still warm; this not only enhances flavor but encourages the desired sticky texture you need to hold those Baked Salmon Sushi Cups together!
Can I make Baked Salmon Sushi Cups ahead of time?
Yes, you can! The filling and sushi rice can be prepared in advance and stored in separate airtight containers in the refrigerator for up to 2 days. When you’re ready to bake, simply assemble the cups, and they’ll be oven-ready in no time. This technique is especially helpful for surprizing your guests or for quick meal prep!
Are Baked Salmon Sushi Cups suitable for gluten-free diets?
Very much! To make Baked Salmon Sushi Cups gluten-free, simply substitute the light soy sauce with tamari, which has a similar flavor profile. Ensure that all other ingredients, like the mayonnaise and rice, are gluten-free as well. Now, everyone can enjoy these delightful treats!
Warm and Delicious Baked Salmon Sushi Cups You’ll Love
Ingredients
Equipment
Method
- Cook sushi rice according to the package instructions until tender and sticky, about 20 minutes. Transfer to a bowl and mix in rice vinegar and white sugar while warm.
- Preheat your oven to 400°F (200°C).
- In a bowl, combine cubed salmon with soy sauce, Kewpie mayo, sriracha, and sesame oil. Mix until well coated.
- Cut nori sheets into squares about 5 inches wide for muffin tin lining.
- Lightly spray muffin tin with cooking spray. Lay nori squares in each cup and press in sushi rice layer, followed by salmon mixture.
- Bake for 15 minutes until salmon is cooked through and tops are golden brown.
- Allow to cool for a couple of minutes, then drizzle with sriracha or spicy mayo, sprinkle with furikake and green onions, and serve.
Leave a Reply