
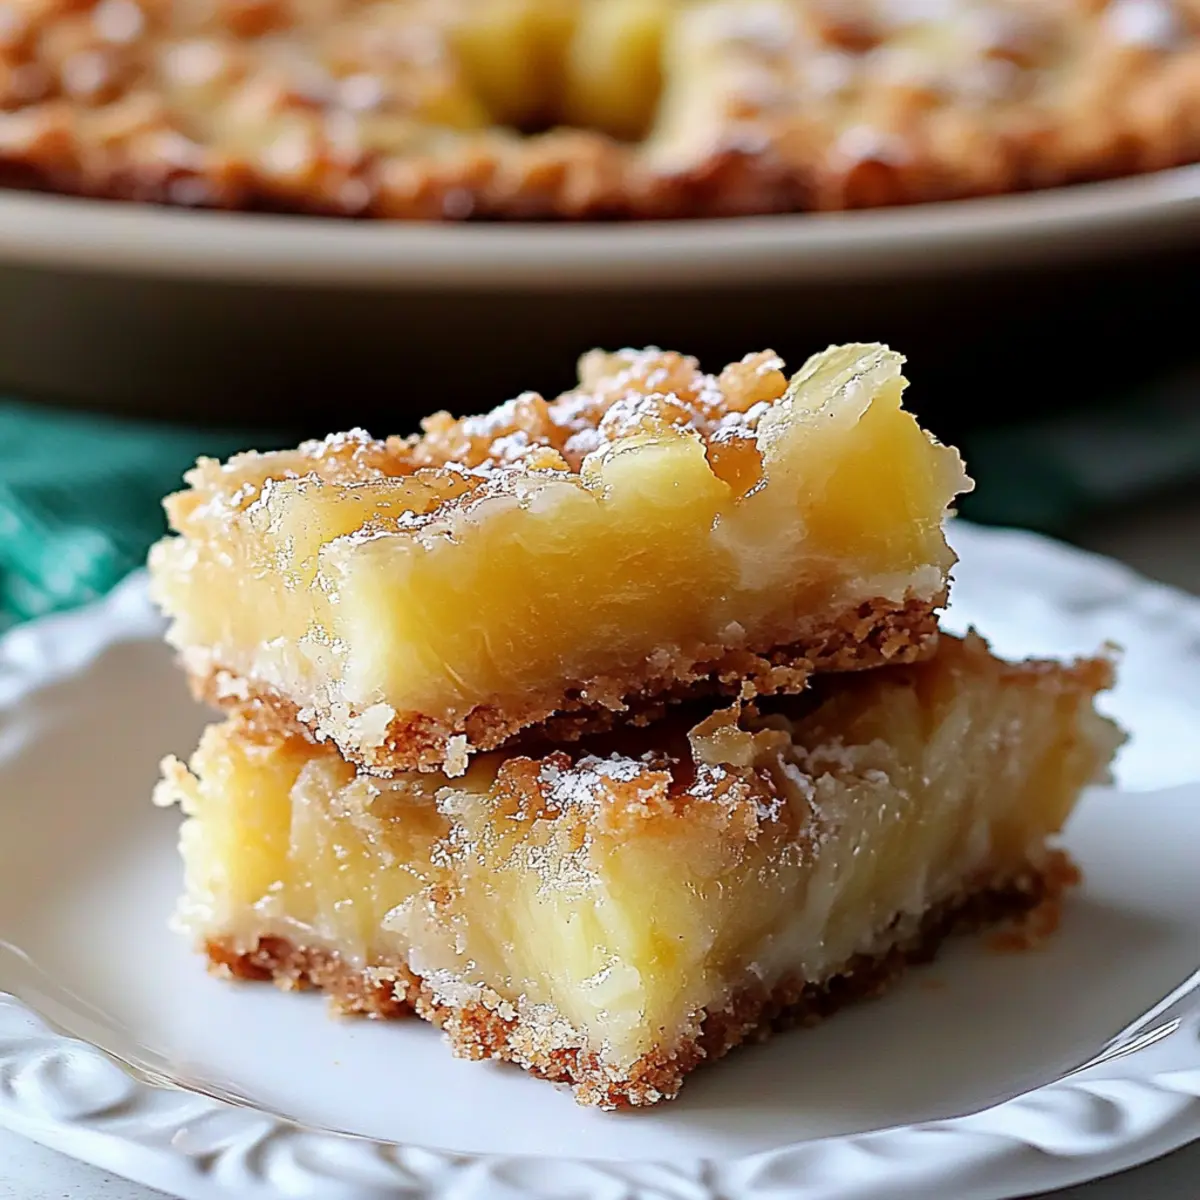
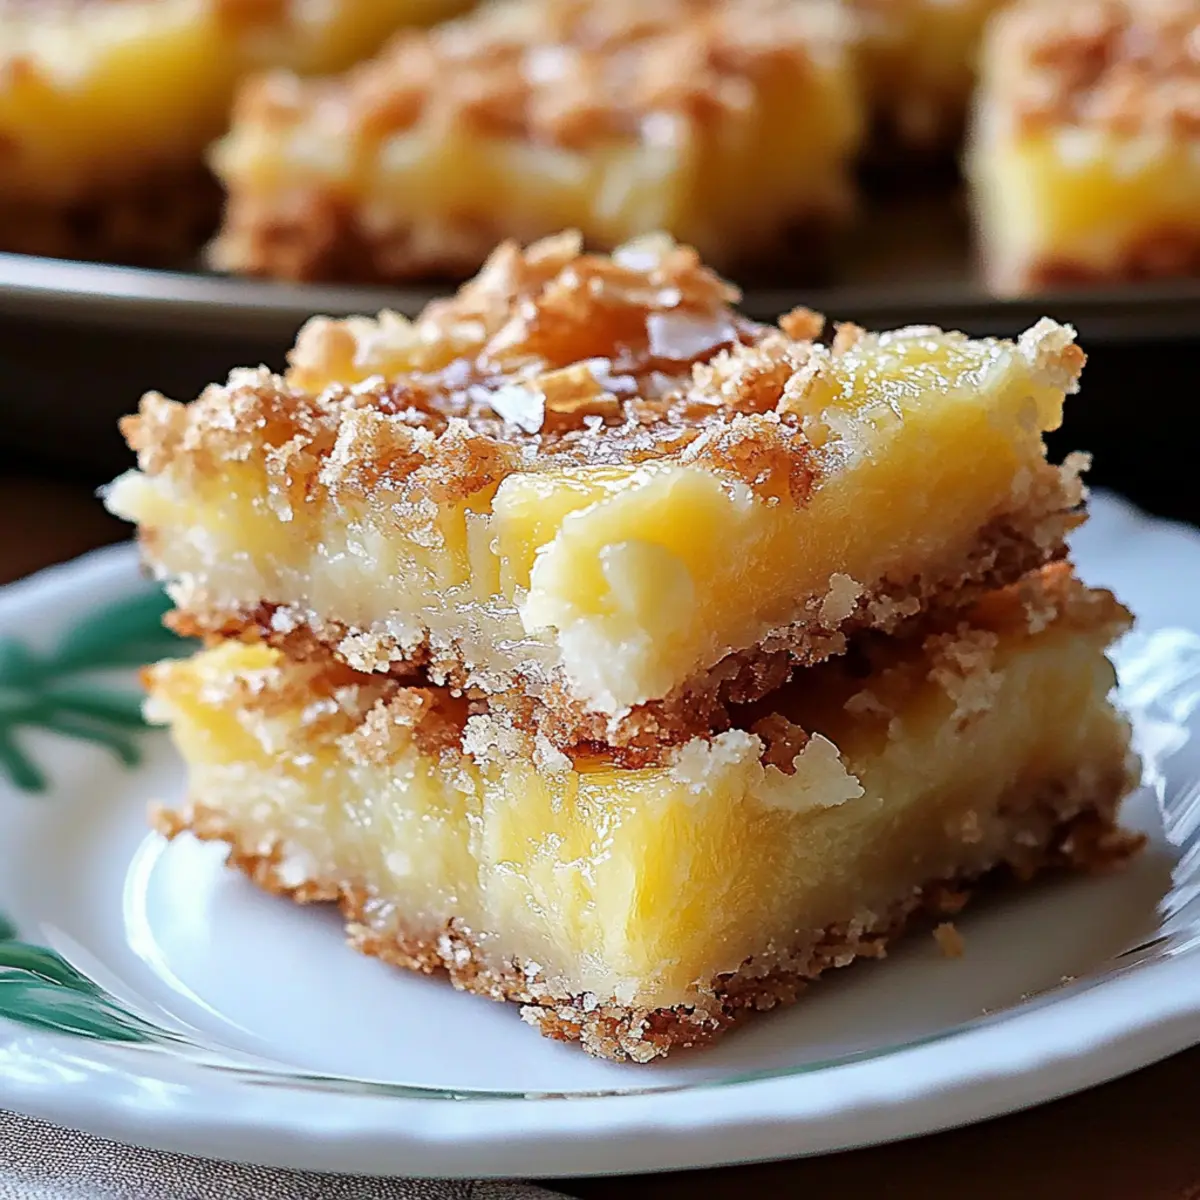
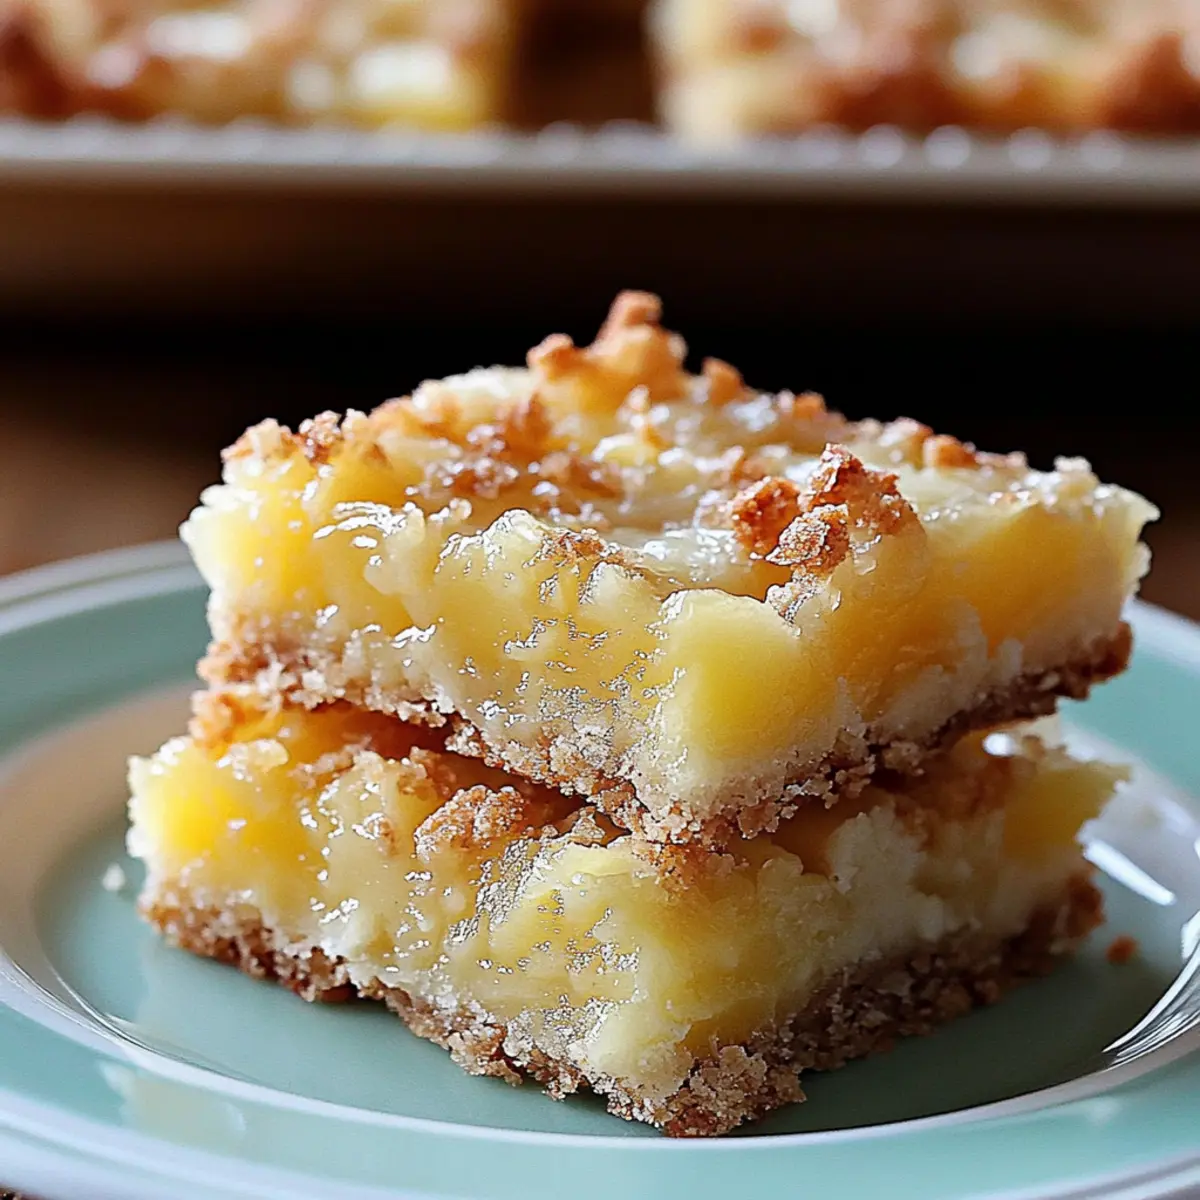
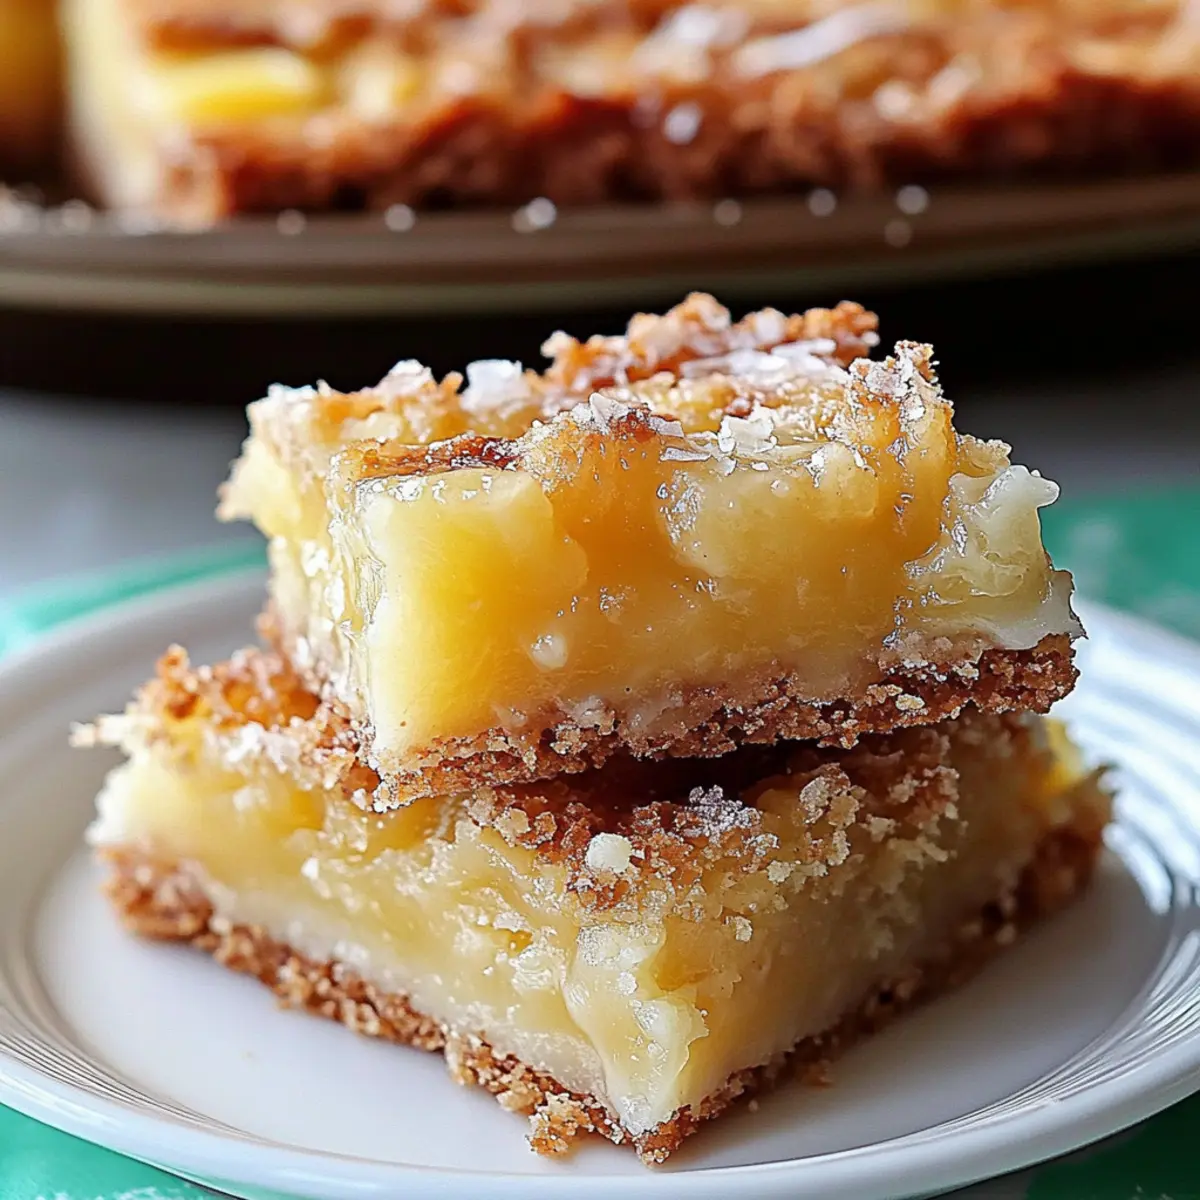
As I bit into my first Pineapple Bliss Bar, the taste transported me straight to sun-soaked beaches and gentle ocean breezes. These delightful treats effortlessly balance sweet and tart flavors, making them a refreshing escape from the ordinary. With a buttery shortbread base harmoniously topped with luscious pineapple filling, these bars are not only easy to whip up but also make the perfect companion for gatherings or a sweet finish to a cozy dinner. What I adore most about this recipe is its versatility—feel free to swap in brown sugar for added depth or sprinkle in some shredded coconut to elevate the tropical vibe. Ready to indulge in a slice of paradise? Let’s dive into the recipe!
Why Pineapple Bliss Bars Will Delight You
Tropical Escape: Let your taste buds travel with these Pineapple Bliss Bars, offering a flavor profile that’s as refreshing as a breezy island day.
Easy to Make: You don’t need to be a pro in the kitchen; these bars come together effortlessly, making them ideal for beginners.
Versatile Options: Whether you opt for brown sugar for an added depth or mix in shredded coconut for extra flair, there are plenty of ways to customize and elevate the bars.
Crowd-Pleaser: Serve them at your next summer gathering or casual barbecue, and watch as they quickly disappear—everyone loves a sweet tropical treat!
Perfect Texture: Enjoy the delightful contrast of a buttery shortbread crust paired with a gooey pineapple filling that will leave everyone craving more.
Don’t forget to check out other tropical delights like Crockpot Chipotle Pineapple or the luscious Thick Chewy Pumpkin Chocolate Chip Cookies to round out your dessert spread!
Pineapple Bliss Bars Ingredients
For the Crust
- All-Purpose Flour – Provides structure and a buttery base for the crust; consider using gluten-free flour blend if needed.
- Granulated Sugar – Adds sweetness to both the crust and filling; brown sugar can enhance flavors beautifully.
- Salt – Elevates the flavor; feel free to swap for sea salt for a delightful texture.
- Cold Unsalted Butter – Ensures richness and moisture; must be cold for that perfect crumb.
For the Filling
- Crushed Pineapple – The star of the filling; ensure it’s well-drained for the best texture and flavor in your Pineapple Bliss Bars.
- Large Eggs – Binds the filling together, adding richness; alternatives like flax eggs may not provide the same results.
- Baking Powder – Acts as a leavening agent; vital for achieving the right texture.
- Vanilla Extract – Infuses depth of flavor; consider vanilla bean as a lovely substitute if you have it on hand.
For the Topping
- Powdered Sugar – Perfect for a sweet dusting before serving; can be omitted for a less sugary finish.
Step‑by‑Step Instructions for Pineapple Bliss Bars
Step 1: Preheat and Prepare the Pan
Begin by preheating your oven to 350°F (175°C). While it heats up, take a 9×13 inch baking pan and line it with parchment paper, ensuring some overhang for easy removal later. This will provide a lovely base for your Pineapple Bliss Bars, preventing them from sticking.
Step 2: Make the Crust
In a mixing bowl, combine 1 ½ cups of all-purpose flour, ½ cup of granulated sugar, and a pinch of salt. Cut in ½ cup of cold unsalted butter until the mixture resembles coarse crumbs. Press this buttery mixture evenly into the prepared pan. Bake for 15 minutes or until it turns a golden brown, then allow it to cool slightly.
Step 3: Prepare the Filling
In another bowl, whisk together 2 large eggs and 1 cup of granulated sugar until you achieve a smooth consistency. Next, mix in ¼ cup of all-purpose flour, 1 teaspoon of baking powder, and 1 teaspoon of vanilla extract. Gently fold in the well-drained crushed pineapple until the mixture is well-combined and invitingly fragrant.
Step 4: Combine and Bake
Pour the luscious pineapple filling over the cooled crust, spreading it evenly. Bake the bars in your preheated oven for 25-30 minutes, or until the edges are set and the center feels slightly firm to the touch. You’ll know they’re ready when a toothpick inserted in the center comes out mostly clean.
Step 5: Cool and Dust
Once baked, remove the Pineapple Bliss Bars from the oven and cool completely in the pan on a wire rack. Once cooled, gently lift the bars out using the parchment overhang. Before slicing into squares, dust the top generously with powdered sugar for a sweet touch. Enjoy this tropical treat!
Make Ahead Options
These Pineapple Bliss Bars are perfect for busy cooks looking to save time without sacrificing flavor! You can prepare the crust up to 24 hours in advance; simply bake it as directed, then allow it to cool completely before covering it tightly with plastic wrap and refrigerating. The filling can also be mixed and stored in the fridge for up to 3 days. Just make sure to fold in the crushed pineapple right before you’re ready to pour it over the crust. When it’s time to bake, pour the filling onto the chilled crust and follow the baking instructions. This will ensure your bars are just as delicious and fresh when serving!
What to Serve with Pineapple Bliss Bars?
Treat your loved ones to a tropical feast by pairing these delightful bars with a range of complementary flavors and textures.
- Coconut Whipped Cream: This light and fluffy topping adds creamy sweetness that beautifully contrasts the tartness of the bars.
- Tropical Fruit Salad: A refreshing medley of fruits like mango, kiwi, and strawberries enhances the tropical vibe and adds vibrant color to your table.
- Honey-Glazed Ham: The savory, sweet notes of the ham harmonize perfectly with the fruity bars, making for a delightful meal.
- Sparkling Coconut Water: A bubbly and refreshing drink that complements the flavor profile of your Pineapple Bliss Bars while keeping the drink options light.
- Grilled Shrimp Skewers: Charred and flavorful, the shrimp brings a welcome savory element to the dessert, ensuring a balanced meal.
- Mango Sorbet: This light and icy dessert echoes the tropical theme and provides a cool contrast to the warm bars.
- Pineapple Coconut Smoothie: Blend up a delicious smoothie for a creamy drink that ties seamlessly with the tropical flavors of the bars.
By serving one or more of these delightful pairings alongside your Pineapple Bliss Bars, you’ll create an unforgettable dining experience that transports everyone to a sunny paradise!
Storage Tips for Pineapple Bliss Bars
-
Fridge: Store your Pineapple Bliss Bars in an airtight container for up to 5 days to keep them fresh and delicious. This way, you can enjoy a slice of tropical paradise anytime!
-
Freezer: For longer storage, freeze the bars for up to 2 months. Ensure they are fully cooled, pre-sliced, and wrapped tightly in plastic wrap or aluminum foil to maintain texture.
-
Thawing: When ready to indulge, simply thaw in the refrigerator overnight or at room temperature for a couple of hours before serving. This keeps them nice and soft, just like when they were freshly made.
-
Reheating: If you prefer them warm, lightly microwave a slice for about 10-15 seconds. Just be careful not to overheat, as you want to maintain that gooey filling!
Expert Tips for Pineapple Bliss Bars
-
Drain Pineapple Well: Ensure the crushed pineapple is thoroughly drained to prevent excess moisture in the filling, which can lead to soggy bars.
-
Cool Completely: Allow the bars to cool completely in the pan before slicing. This helps them maintain their structure and makes for cleaner cuts.
-
Butter Consistency: Always use cold unsalted butter when making the crust for that perfect crumbly texture. Room temperature butter will result in a denser crust.
-
Variations Galore: Feel free to experiment with brown sugar instead of white for richer flavor or add shredded coconut to the filling for a delightful twist on the classic Pineapple Bliss Bars.
-
Storage Savvy: To keep your bars fresh, store them in an airtight container in the refrigerator for up to 5 days or freeze for longer enjoyment—just remember to slice beforehand!
Pineapple Bliss Bars: Fun Variations
Customize your Pineapple Bliss Bars and make them uniquely yours with these simple, delightful variations!
- Brown Sugar: Swap white sugar for brown sugar for deeper, caramel-like flavors that will elevate your bars to new heights.
- Shredded Coconut: Add ½ cup of shredded coconut to the filling for a wonderful texture contrast and an even more tropical vibe.
- Tropical Fruits: Mix in diced mango or ripe banana with the pineapple for even more fruity goodness and tropical flair.
- Citrus Zest: Stir in some fresh lime or orange zest to the filling for an invigorating burst of brightness that pairs beautifully with the pineapple.
- Nutty Crunch: Sprinkle in chopped macadamia nuts or toasted almonds to the crust for a crunchy texture that balances the soft filling perfectly.
- Sugar-Free: Substitute granulated sugar with a sugar alternative like monk fruit or erythritol for a guilt-free version without sacrificing taste.
- Spicy Kick: Add a pinch of cayenne pepper to the filling for an unexpected spicy kick that beautifully complements the sweetness.
- Decadent Topping: Serve your bars with a drizzle of coconut cream or a scoop of vanilla ice cream for an indulgent tropical dessert experience.
Look for other delicious options like Cider Cinnamon Rolls or the visually stunning Brown Butter Bars to round out your baking adventures!
Pineapple Bliss Bars Recipe FAQs
How do I choose the best pineapple for my bars?
Absolutely! When selecting pineapple, look for one that has a sweet, fruity aroma and is slightly soft to the touch. Avoid pineapples with dark spots or wrinkled skin, as these may indicate overripeness. For this recipe, using fresh pineapple can enhance the flavor, but if you opt for canned, ensure it’s well-drained to prevent excess moisture.
What is the best way to store leftover Pineapple Bliss Bars?
Very! To keep your Pineapple Bliss Bars fresh, store them in an airtight container in the refrigerator for up to 5 days. If you want to enjoy them later, wrap the bars tightly in plastic wrap or aluminum foil and freeze them for up to 2 months. Make sure they are completely cooled before wrapping to maintain their texture.
Can I freeze Pineapple Bliss Bars? If so, how do I do it properly?
Of course! Freezing Pineapple Bliss Bars is a great option for long-term storage. After they’ve cooled completely, slice them into squares. Wrap each square tightly in plastic wrap, then place them in a freezer-safe bag or container. They can be frozen for up to 2 months. When you’re ready to enjoy, simply thaw them in the refrigerator overnight or at room temperature until soft.
Why did my filling turn out soggy? How can I avoid this?
Absolutely! A soggy filling typically occurs when the pineapple isn’t adequately drained or if the bars aren’t baked long enough. To avoid this, make sure to thoroughly drain the crushed pineapple and press out any excess moisture. Additionally, ensure your bars are baked until the edges are set and the center feels firm to the touch, which usually takes about 25-30 minutes.
Are there any dietary concerns I should be aware of?
Definitely! While this recipe is delightful for most, if you or someone you are serving has allergies, be cautious as it contains eggs and gluten from the flour. For those seeking gluten-free options, a gluten-free flour blend can be used, but do note that it may slightly alter the texture. Additionally, for those sensitive to sugar, consider using alternative sweeteners, though it may affect the final flavor.
Can I add different ingredients to the recipe?
The more the merrier! You can customize the Pineapple Bliss Bars by incorporating different flavors. For a extra tropical flair, add ½ cup of shredded coconut into the filling or swap granulated sugar for brown sugar for a deeper flavor. Feel free to experiment and make this recipe your own!
Pineapple Bliss Bars: Your Tropical Escape in Every Bite
Ingredients
Equipment
Method
- Preheat your oven to 350°F (175°C) and line a 9x13 inch baking pan with parchment paper.
- In a mixing bowl, combine 1 ½ cups of all-purpose flour, ½ cup of granulated sugar, and a pinch of salt. Cut in ½ cup of cold unsalted butter until the mixture resembles coarse crumbs. Press this mixture into the prepared pan and bake for 15 minutes.
- In another bowl, whisk together 2 large eggs and 1 cup of granulated sugar. Mix in ¼ cup of all-purpose flour, 1 teaspoon of baking powder, and 1 teaspoon of vanilla extract. Fold in the well-drained crushed pineapple.
- Pour the pineapple filling over the cooled crust and spread it evenly. Bake for 25-30 minutes until the edges are set and the center feels slightly firm.
- Cool completely in the pan on a wire rack, then dust with powdered sugar before slicing into squares.
Leave a Reply