
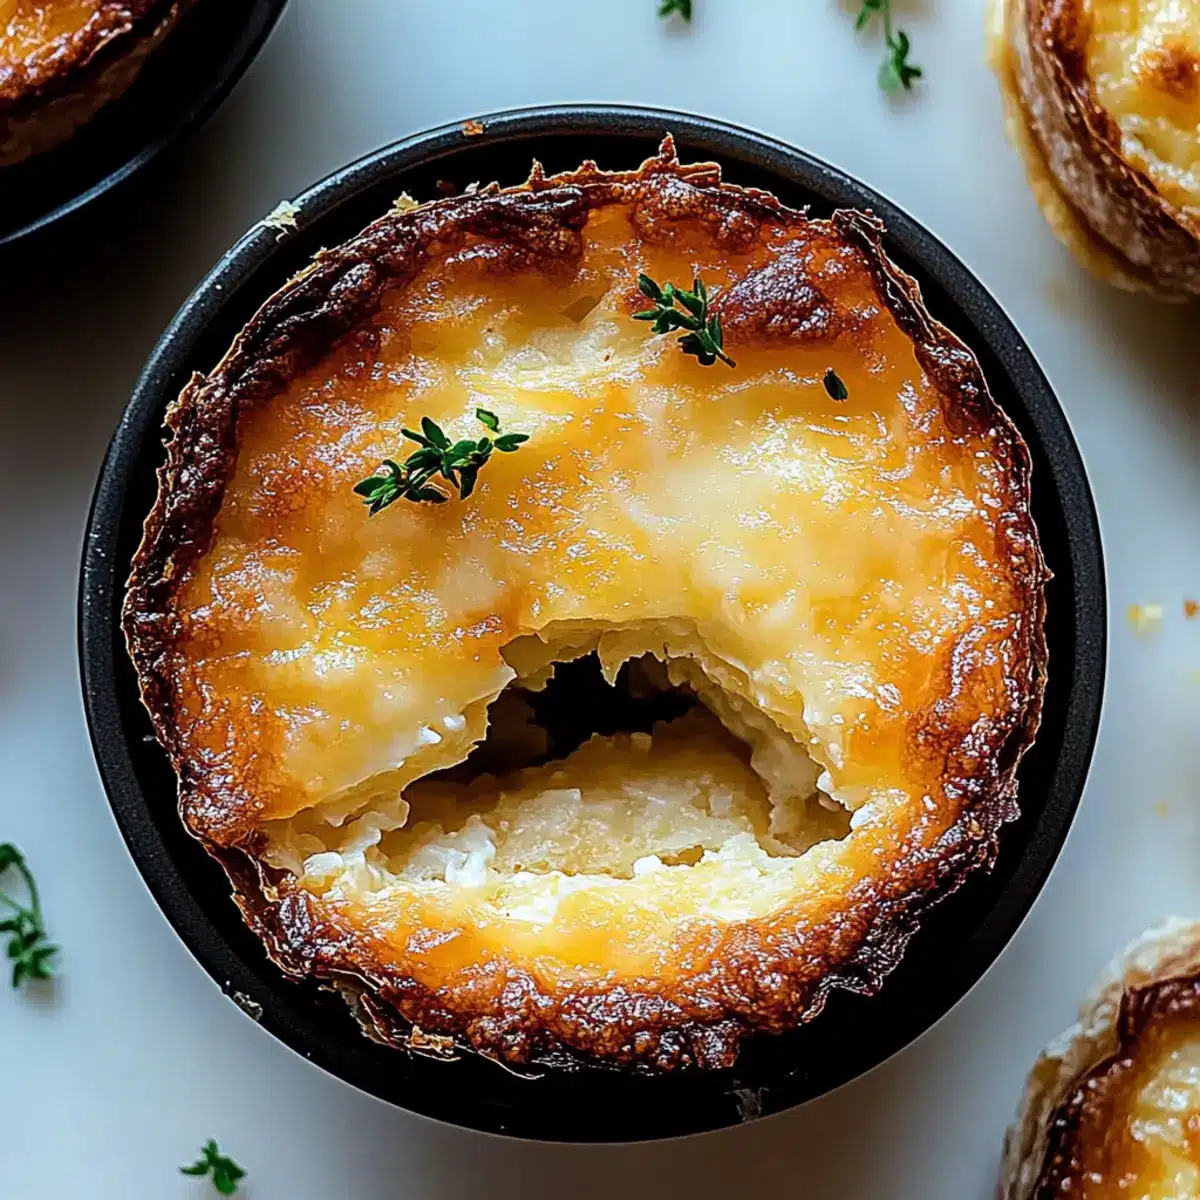
The moment you pull these Cheesy Garlic Cruffins out of the oven, you’ll be enveloped in a warm embrace of buttery goodness that just begs to be savored. These flaky delights are an exciting blend of croissant and muffin, making them the perfect centerpiece for a cozy brunch or an impressive addition to your dinner table. With easy prep that invites even the busiest of home chefs to indulge, they’re not only a crowd-pleaser but also a fun way to elevate your baking game. Imagine sinking your teeth into that crispy exterior followed by a soft, cheesy center—pure bliss! Ready to dive into a recipe that promises warmth and comfort at every bite? Let’s get started on your new favorite treat!

Why are Cheesy Garlic Cruffins a must-try?
Irresistible Aroma: The moment these cruffins come out of the oven, your kitchen will be filled with a heavenly scent that beckons everyone.
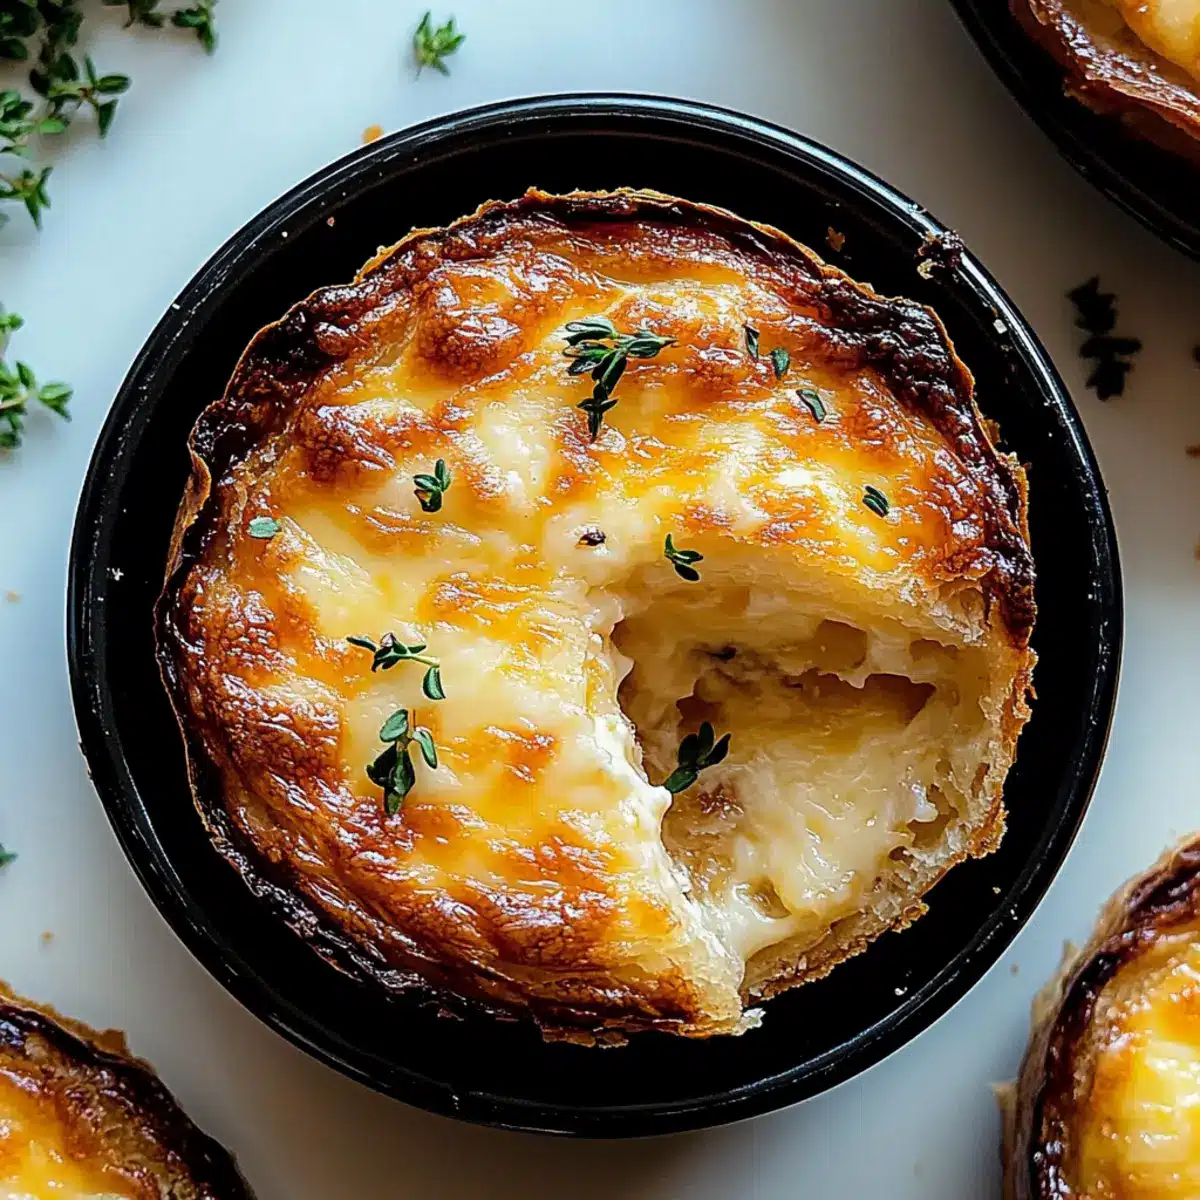
Flaky Perfection: With a beautifully flaky exterior and a soft, cheesy center, each bite offers delightful textural contrasts that are simply heavenly.
Effortless Preparation: The straightforward steps make it an easy project, perfect for home chefs looking to impress without a fuss.
Crowd-Pleasing Treat: Whether it’s a cozy brunch or an evening snack, these cruffins are an instant hit with family and friends.
Versatile Indulgence: Feel free to swap in different cheeses or add savory additions like cooked bacon to customize your cruffin experience.
Pair them with an Aromatic Garlic Chilli for a complete savory feast or serve them alongside a crisp salad for a balanced meal. Enjoy the adventure in your kitchen!
Cheesy Garlic Cruffin Ingredients
-
For the Dough
• All-Purpose Flour – Forms the dough structure; substitute with gluten-free flour for a GF version.
• Granulated Sugar – Adds a hint of sweetness to balance flavors; avoid substitutions unless necessary.
• Salt – Enhances flavors; essential for taste; can reduce if concerned about sodium.
• Instant Yeast – Causes dough to rise and provides airy texture; ensure it’s fresh; can substitute with active dry yeast (adjust proofing time).
• Warm Milk – Hydrates the dough; creates a tender crumb; substitute with almond milk for a dairy-free option.
• Warm Water – Activates yeast and hydrates dough; no substitutes needed.
• Large Egg – Binds ingredients together and adds richness; can use a flax egg for a vegan option. -
For the Filling
• Unsalted Butter (Melted) – Adds richness and flavor; can use coconut oil as a dairy-free alternative.
• Grated Parmesan Cheese – Adds umami flavor; provides a savory bite; substitute with nutritional yeast for non-dairy.
• Shredded Mozzarella Cheese – Provides stretch and creaminess; swap for cheddar for a sharper flavor.
• Minced Garlic – Infuses the dough with flavor; increase for more garlic taste; sauté for a milder flavor.
• Softened Unsalted Butter – Used in the filling to create the buttery garlic spread.
• Fresh Parsley (Chopped) – Adds freshness and color; replace with chives or omit if unavailable.
Step‑by‑Step Instructions for Cheesy Garlic Cruffin
Step 1: Mix Dry Ingredients
In a large mixing bowl, combine 3 cups of all-purpose flour, 2 tablespoons of granulated sugar, 1 teaspoon of salt, and 2 teaspoons of instant yeast. Stir the dry ingredients together until evenly incorporated, ensuring no lumps remain. This mixture sets a strong foundation for your Cheesy Garlic Cruffin dough, inviting warmth and fluffiness.
Step 2: Combine Wet Ingredients
Create a well in the center of the dry mixture and pour in 1 cup of warm milk, 1/4 cup of melted unsalted butter, and 1/2 cup of warm water. Carefully mix the liquids into the flour blend using a spatula or your hands, creating a shaggy dough. The warmth activates the yeast, which is key for fluffy cruffins!
Step 3: Form Dough
Crack in 1 large egg and mix until a cohesive dough starts to form, about 2-3 minutes. Once combined, transfer the dough to a lightly floured surface and knead for 8-10 minutes until it’s smooth and elastic. You want the dough to feel tacky but not overly sticky; this will ensure your Cheesy Garlic Cruffin turns out tender.
Step 4: First Rise
Shape your kneaded dough into a ball and place it in a lightly oiled bowl, covering it with a damp cloth. Let the dough rise in a warm spot until it has doubled in size, approximately 1 hour. This crucial step allows the yeast to work its magic, setting the stage for those light, flaky layers in your cruffins.
Step 5: Prepare Filling
While the dough rises, mix together 1/4 cup of softened unsalted butter, 2-3 cloves of minced garlic, and 2 tablespoons of chopped fresh parsley in a small bowl. This savory filling infuses your Cheesy Garlic Cruffin with rich flavor, making each bite a delightful burst of aroma and taste.
Step 6: Shape Dough
Once the dough has risen, transfer it to a floured surface and roll it into a rectangle about 1/4 inch thick. Spread the garlic butter mixture evenly over the surface, then sprinkle a generous amount of grated Parmesan and shredded mozzarella cheese. Carefully roll the dough tightly into a log shape, ensuring the filling is well-contained.
Step 7: Cut and Arrange
Using a sharp knife, slice the rolled log into 8-10 equal pieces. Place each piece upright in a greased muffin tin, stacking them vertically. This arrangement allows the layers to bloom as they bake, creating that iconic cruffin shape and texture.
Step 8: Second Rise
Cover the filled muffin tin with a clean kitchen towel and let the dough rise again for about 20 minutes. This final rise helps to plump up your Cheesy Garlic Cruffins, ensuring they are light and airy when baked to perfection.
Step 9: Bake
Preheat your oven to 375°F (190°C) and bake the cruffins for 20-25 minutes or until they are golden brown and puffed up. Keep a close eye on them toward the end of baking; they should have a beautifully crisp exterior that promises a satisfying crunch.
Step 10: Cool and Serve
Once baked, remove the Cheesy Garlic Cruffins from the oven and allow them to cool in the tin for 5 minutes before transferring them to a wire rack. Optionally, garnish with additional chopped parsley for a fresh touch. These flaky treats are best enjoyed warm, savoring the rich aroma and cheesy, garlic goodness!
Variations & Substitutions for Cheesy Garlic Cruffin
Feel free to let your creativity shine as you customize these delightful cruffins to suit your taste buds!
-
Cheese Swap: Experiment with different cheeses like cheddar or gouda for distinct flavor profiles. Each cheese brings its own personality, from the sharpness of cheddar to the creaminess of gouda.
-
Bacon Addition: For a savory kick, mix in crispy cooked bacon bits. The salty, smoky flavor of bacon pairs beautifully with the cheesy filling, creating a comforting treat that’s hard to resist.
-
Spinach Delight: Sautéed spinach can add a pop of color and a healthy twist. The earthy taste of spinach complements the garlic and cheese, making every bite a bit healthier.
-
Herb Infusion: Switch up the parsley with fresh basil or thyme for an aromatic twist. Each herb lends a unique fragrance and taste, elevating your cruffins to gourmet levels.
-
Vegan Variation: Replace milk with almond milk and use a flax egg instead of a regular egg. This way, everyone can indulge in these delicious treats without missing out!
-
Sweet Alternative: For a breakfast or dessert twist, swap the garlic butter for cinnamon sugar. Stuff the cruffins with apple pie filling for a sweet surprise that’s perfect with coffee.
-
Heat Things Up: Stir in some red pepper flakes into the garlic butter for a spicy kick. The warmth from the heat balances beautifully with the richness of the cheese.
For a complete meal, serve these cruffins alongside an Aromatic Garlic Chilli or pair them with Crockpot Garlic Butter for an unforgettable dining experience. Enjoy your culinary adventure with these delightful variations!
How to Store and Freeze Cheesy Garlic Cruffin
Room Temperature: Store your Cheesy Garlic Cruffins in an airtight container at room temperature for 1-2 days to maintain freshness and texture.
Fridge: If you want to extend the life of your cruffins, keep them in the fridge for up to a week. Just make sure to place them in a sealed bag or container to prevent them from drying out.
Freezer: For longer storage, freeze individually wrapped Cheesy Garlic Cruffins for up to 2 months. They can be placed in a freezer-safe bag, ensuring to push out as much air as possible.
Reheating: When ready to enjoy, reheat from frozen in a preheated oven at 350°F (175°C) for about 10-15 minutes until warmed through and crisp.
What to Serve with Cheesy Garlic Cruffin
With every bite of these delightful treats, consider pairing them with a selection of dishes that harmonize beautifully, enhancing your dining experience.
-
Mixed Green Salad: A crisp salad with light vinaigrette cuts through the richness of the cruffins, adding freshness and balance to your meal.
-
Tomato Basil Soup: Serve alongside a warm, comforting bowl of creamy tomato basil soup for a cozy and satisfying experience. The cruffins are perfect for dipping!
-
Roasted Vegetables: A medley of roasted seasonal veggies adds a savory touch that pairs nicely with the buttery garlic flavor of the cruffins.
-
Garlic Butter Shrimp: For a flavor-packed option, garlic butter shrimp complements the cruffins with its rich, savory elements, creating an indulgent seafood feast.
-
Herbed Quinoa: Light and fluffy herbed quinoa provides a nutty flavor and great texture, making it an excellent side to accompany the rich cruffins.
-
Prosecco or Sparkling Wine: Toast your meal with a glass of bubbly! Its refreshing effervescence brings an air of celebration that pairs perfectly with flaky treats.
-
Homemade Marinara Sauce: Set a dip beside your cruffins with a side of homemade marinara sauce. It adds a tangy note that brings playful flavors to every bite.
-
Chocolate Espresso Cake: End your meal on a decadent note with a slice of rich chocolate espresso cake— a sweet finale that contrasts with the savory cruffins.
Make Ahead Options
These Cheesy Garlic Cruffins are perfect for those busy weeknights when you want a delightful homemade treat without the rush! You can prepare the dough up to 24 hours in advance; simply follow the recipe through the first rise, then wrap it tightly in plastic wrap and refrigerate. If you prefer, you can also pre-fill the muffin tin with the rolled dough portions and store them covered in the fridge for up to 3 days. To maintain their flaky texture, avoid over-proofing. When you’re ready to bake, allow the cruffins to come to room temperature while preheating the oven, and then follow the baking instructions. Enjoy restaurant-quality bites with minimal effort, just as delicious as freshly made!
Expert Tips for Cheesy Garlic Cruffins
-
Room Temperature Ingredients: Make sure all your ingredients are at room temperature to help the yeast activate properly for a light, fluffy dough.
-
Knead to Perfection: Knead the dough until it’s smooth and elastic. If it’s too sticky, gradually add a bit more flour; it should feel tacky but not overly sticky.
-
Don’t Rush the Rises: Allow the dough to rise until it’s doubled in size, and give it a final rise in the muffin tin—this step is crucial for achieving those flaky layers in your Cheesy Garlic Cruffins.
-
Bake in the Right Spot: Position your muffin tin in the center of the oven for even baking and a perfectly browned exterior; adjust your baking time based on your oven’s characteristics.
-
Watch for Color: Keep a close eye on the cruffins towards the end of the baking time. They should be golden brown but not burned—every oven heats differently!
Cheesy Garlic Cruffin Recipe FAQs
How do I select the best ingredients for my Cheesy Garlic Cruffins?
Absolutely! For the best results, use all-purpose flour that feels soft and fresh. When choosing your cheeses, go for high-quality options; aged Parmesan and fresh mozzarella will yield the best flavor and texture. For garlic, choose firm cloves without dark spots, as these will deliver the strongest aroma and taste.
How should I store Cheesy Garlic Cruffins?
Very simply! You can store your Cheesy Garlic Cruffins in an airtight container at room temperature for 1-2 days. If you want to keep them longer, refrigerate them for up to a week, using a sealed bag or container. Make sure they’re completely cool before placing them in storage to prevent sogginess.
Can I freeze Cheesy Garlic Cruffins? How do I do that?
Yes, you can! To freeze your Cheesy Garlic Cruffins, first let them cool completely. Then, wrap each cruffin tightly in plastic wrap or aluminum foil to prevent freezer burn. Place these wrapped treats in a freezer-safe bag, pushing out as much air as possible. They can be stored for up to 2 months. When you’re ready to enjoy, preheat your oven to 350°F (175°C) and bake for about 10-15 minutes from frozen until warmed through.
What if my dough doesn’t rise properly?
If your dough isn’t rising, there are a few potential issues to check. First, verify that your yeast is fresh and has not expired. If using instant yeast, ensure your liquids are warm (not hot) to activate it properly. If your kitchen is chilly, try placing the dough in a warm, draft-free area, like near a warm oven or in a slightly heated oven (turned off). Covering the dough with a damp cloth can also help create a cozy environment for it to rise.
Are there any dietary considerations for Cheesy Garlic Cruffins?
Yes! You can easily adjust the recipe for various dietary needs. For those avoiding gluten, substitute with a reliable gluten-free flour blend. To make the cruffins dairy-free, use coconut oil in place of butter and almond or oat milk instead of cow’s milk. If you have allergies to garlic, simply reduce the amount or omit it altogether—these treats will still come out delicious!

Cheesy Garlic Cruffin: Your New Favorite Flaky Indulgence
Ingredients
Equipment
Method
- In a large mixing bowl, combine 3 cups of all-purpose flour, 2 tablespoons of granulated sugar, 1 teaspoon of salt, and 2 teaspoons of instant yeast. Stir until evenly incorporated.
- Create a well in the center of the dry mixture and pour in 1 cup of warm milk, 1/4 cup of melted unsalted butter, and 1/2 cup of warm water. Mix to create a shaggy dough.
- Crack in 1 large egg and mix until a cohesive dough forms, about 2-3 minutes, then knead on a floured surface for 8-10 minutes.
- Shape the kneaded dough into a ball in a lightly oiled bowl, cover, and let it rise in a warm spot for about 1 hour.
- Mix together 1/4 cup softened butter, 2-3 cloves minced garlic, and 2 tablespoons chopped parsley to prepare the filling.
- Roll the risen dough into a rectangle about 1/4 inch thick. Spread the garlic butter mixture, sprinkle Parmesan and mozzarella, and roll into a log shape.
- Slice the rolled log into 8-10 equal pieces and place each piece upright in a greased muffin tin.
- Cover the muffin tin and let rise for about 20 minutes.
- Preheat the oven to 375°F (190°C) and bake the cruffins for 20-25 minutes until golden brown and puffed up.
- Cool in the tin for 5 minutes before transferring to a wire rack. Garnish with parsley if desired.
Leave a Reply