
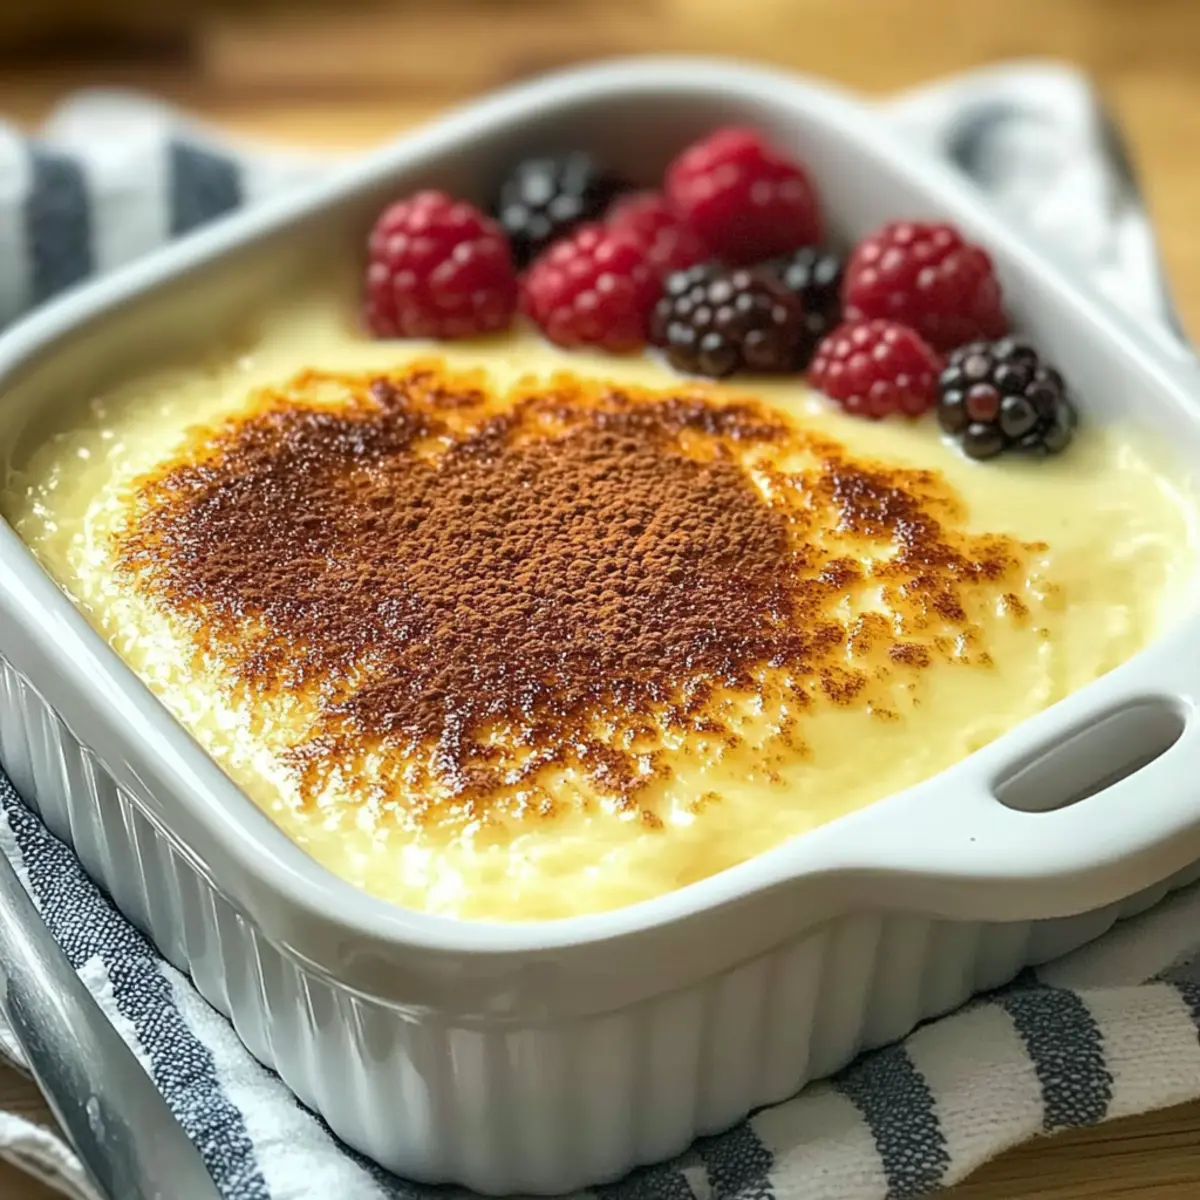
A cozy evening spent reminiscing over childhood favorites always tugs at my heartstrings. As the air fills with the enchanting aroma of vanilla and nutmeg, I find myself whisking together the perfect ingredients for my Dreamy Warm Baked Custard. This gluten-free delight is not just easy to whip up, but it also brings a sense of comfort that delights the soul. Whether you’re preparing it for a family gathering or simply treating yourself to a well-deserved dessert, this recipe is a dream come true. You can easily customize it by adding almond extract or warming spices, making each spoonful a unique treasure. Ready to unlock the secrets of this silky custard? Let’s dive in and create a dessert that’s as pleasing to the palate as it is to the heart!
Why is this custard so irresistible?
Comforting, this Dreamy Warm Baked Custard is perfect for evoking cherished memories of home. Customizable to your taste, feel free to infuse it with almond extract or warm spices for that personal touch. Easy to prepare, even novice cooks can whip this up effortlessly—ideal for busy weeknights or gatherings with friends. Gluten-free, it caters to various dietary needs without compromising on flavor. Finally, make-ahead convenience means you can indulge in its delightful sweetness whenever the craving strikes, whether paired with fresh berries or a dollop of whipped cream. Enjoy this cozy treat that’s sure to impress!
Dreamy Warm Baked Custard Ingredients
For the Custard Base
• Whole Milk – Provides the creamy foundation for the custard; using full-fat ensures richness.
• Eggs – Essential for creating a silky structure; opt for large eggs to achieve the perfect texture.
• Sugar – Sweetens the dish and balances flavors; feel free to adjust based on your taste preferences.
• Vanilla Extract – Infuses deep and inviting flavor; consider almond extract for a lovely twist.
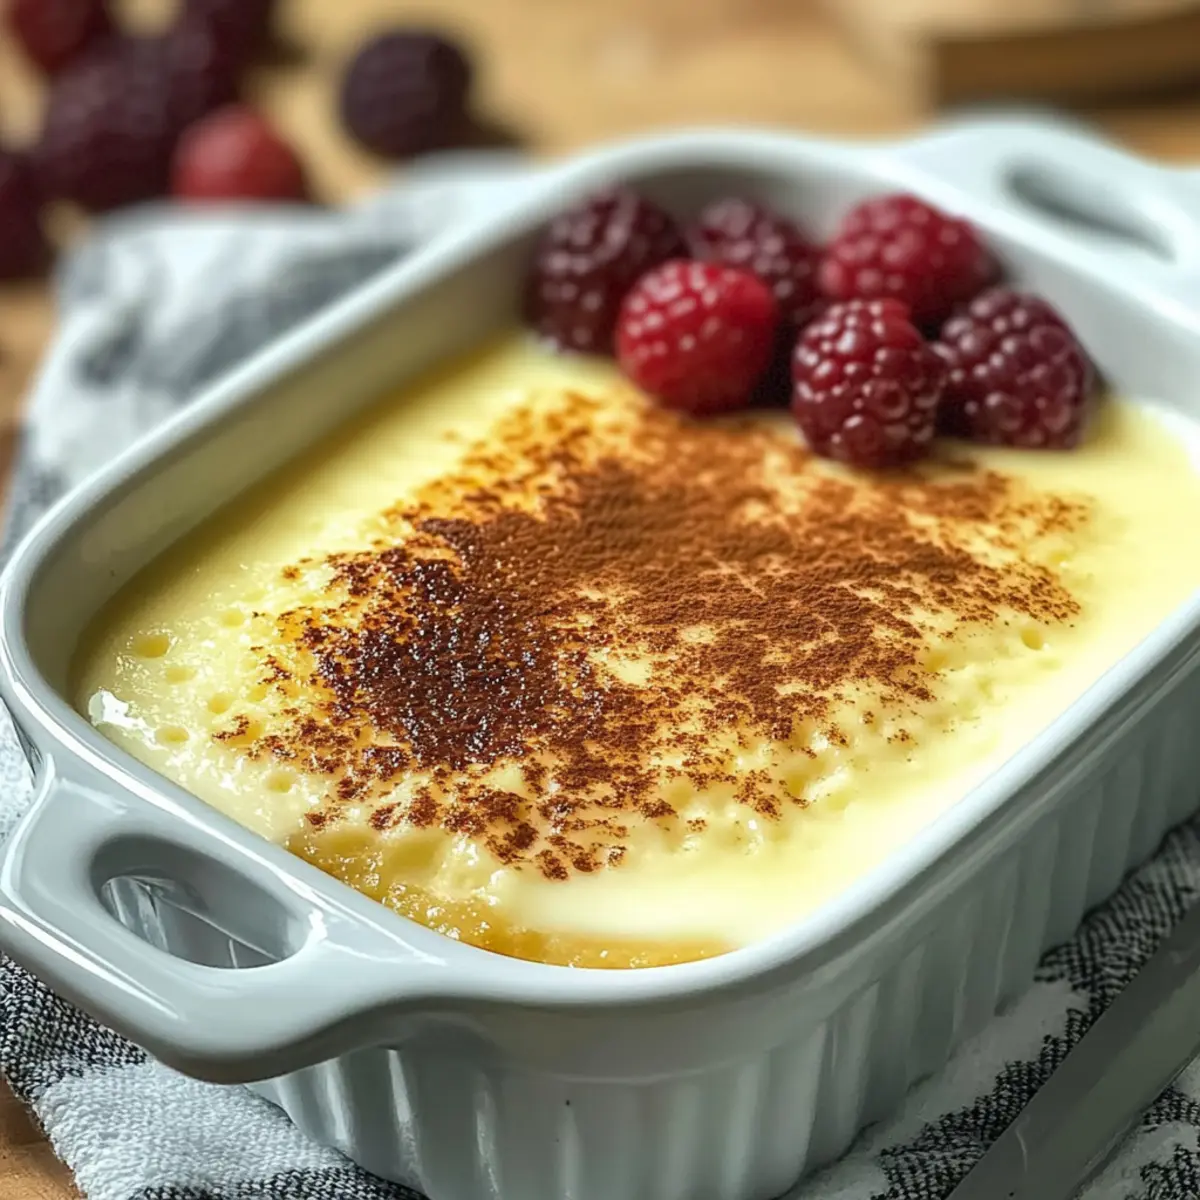
• Ground Nutmeg – Adds a warm spice that enhances comfort; a must for that nostalgic taste.
• Salt – Enhances all the flavors; just a pinch goes a long way in elevating this dreamy custard.
For Optional Toppings
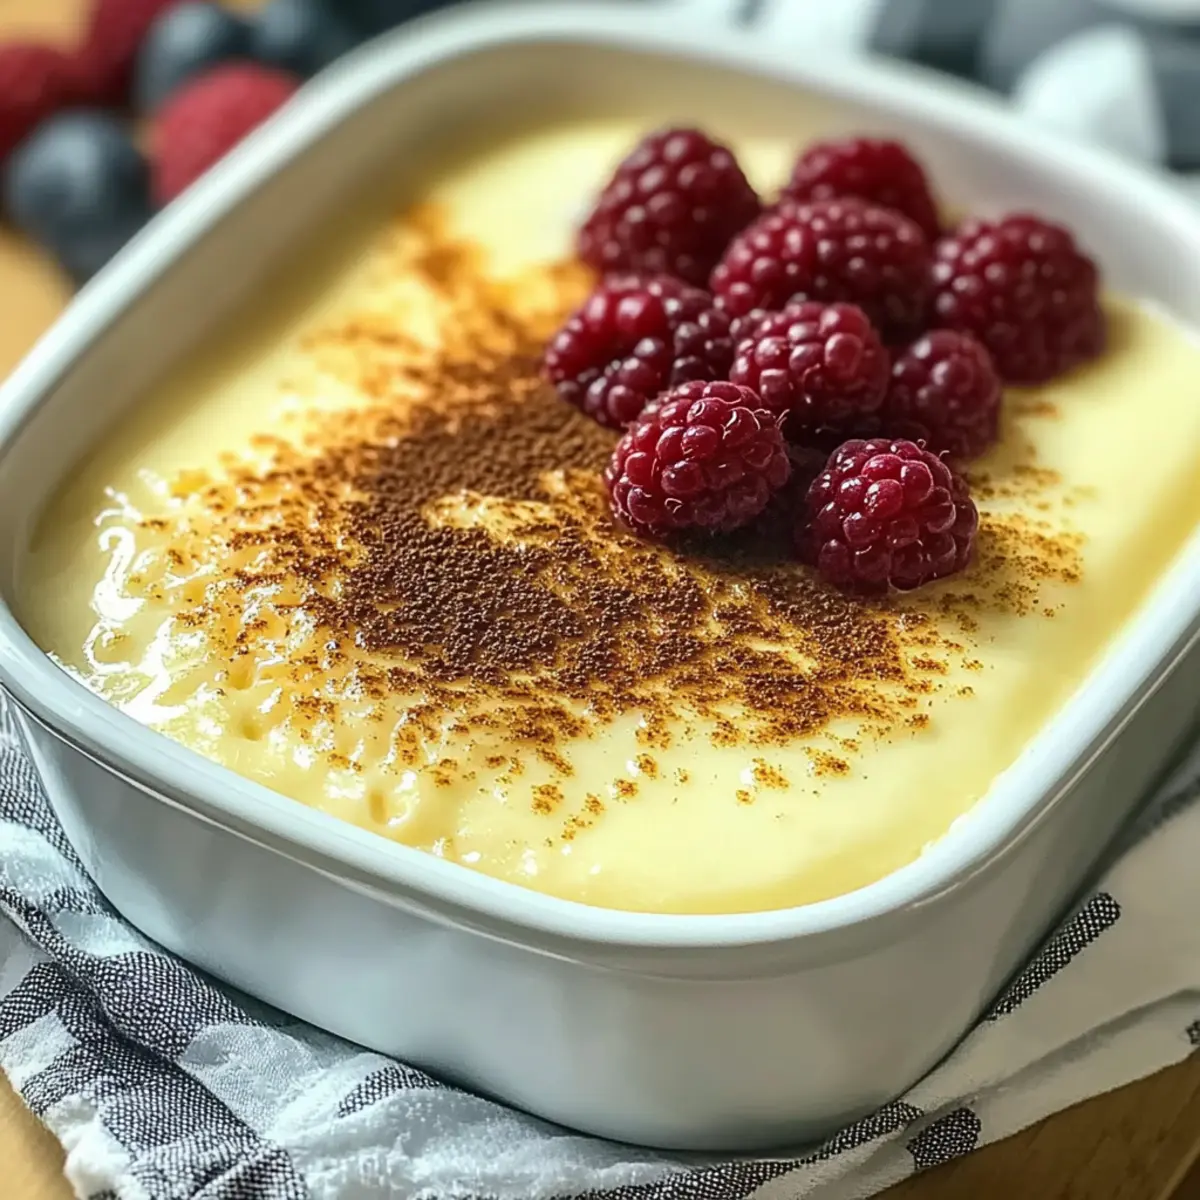
• Fresh Berries – Provides a burst of freshness and beautiful color; perfect for garnishing your custard.
• Whipped Cream – For an indulgent touch, a dollop adds richness and is delightful with every bite.
This Dreamy Warm Baked Custard is a luscious dessert that promises to wrap you in cozy comfort with every spoonful!
Step‑by‑Step Instructions for Dreamy Warm Baked Custard
Step 1: Prepare Milk Mixture
In a medium saucepan, heat 4 cups of whole milk over medium heat until it reaches a gentle simmer, with small bubbles forming around the edges—this should take about 5 minutes. Remove the pan from heat and allow the milk to cool for about 5 minutes to avoid scrambling the eggs later in the process.
Step 2: Mix Eggs and Sugar
While the milk is cooling, crack 4 large eggs into a mixing bowl and add 1 cup of sugar along with a pinch of salt. Whisk the mixture vigorously for about 2-3 minutes until it becomes light and smooth. This step is crucial for creating the creamy texture of your Dreamy Warm Baked Custard.
Step 3: Incorporate Milk
Gradually pour the warm milk into the egg mixture, all the while whisking continuously. This careful incorporation will prevent the heat from cooking the eggs. Make sure the mixture is well combined and smooth without any visible lumps, which is essential for achieving a silky custard texture.
Step 4: Strain Mixture
To ensure an ultra-smooth custard, pour the combined mixture through a fine-mesh strainer directly into a 9×13-inch baking dish. This will capture any coagulated bits of egg and create the velvety custard you desire. Discard any solids left in the strainer for a flawless finish.
Step 5: Prep for Baking
Preheat your oven to 350°F (175°C) while preparing the baking setup. Place the filled baking dish in a larger pan, then pour hot water into the outer pan until it reaches halfway up the sides of the custard dish. This water bath technique ensures gentle cooking, preventing the custard from cracking.
Step 6: Bake
Carefully place the water bath setup into the preheated oven and bake for 55 to 60 minutes. You’ll know the Dreamy Warm Baked Custard is ready when the edges are set and the center jiggles lightly, resembling a custard-like consistency. Keep an eye on it to avoid overbaking.
Step 7: Cool
Once baked, carefully remove the baking dish from the water bath and let it cool on a wire rack for about 30 minutes. This cooling period allows the custard to firm up slightly, making it easier to cut and serve later.
Step 8: Chill and Serve
After the initial cooling, transfer the custard to the refrigerator and let it chill for at least 4 hours or overnight. Chilling enhances the flavors and sets the custard to the perfect texture. Before serving, consider topping with fresh berries for a delightful finishing touch.

Dreamy Warm Baked Custard Variations
Feel free to let your creativity shine as you customize this delightful custard recipe with these easy tweaks!
-
Almond Extract: Swap vanilla extract for almond extract to introduce a nutty flavor that pairs beautifully with the custard’s creaminess.
-
Citrus Zest: Add a teaspoon of lemon or orange zest for a refreshing, zesty twist that brightens the flavors with every bite.
-
Warm Spices: Sprinkle in cinnamon or cardamom for a cozy, aromatic touch; these spices elevate the custard to a new level of warmth and comfort.
-
Chocolate Lovers: Melt a bit of chocolate and stir it into the custard mixture before baking for a decadent silky chocolate version that’s sure to please.
-
Fruit Infusion: Blend in pureed fruit like raspberries or strawberries into the milk mixture for a fruity burst that adds both flavor and color to the custard.
Imagine serving it with a touch of whipped cream or a drizzle of caramel sauce, just like with my favorite Healthy Baked Feta. The combination of textures will create a dish that you’ll cherish.
-
Boozy Variation: Add a splash of bourbon or dark rum to the egg mixture for a rich depth of flavor and a grown-up twist on this creamy dessert.
-
Coconut Cream: Substitute part of the milk with coconut cream for a tropical vibe that enhances the custard’s smoothness and taste.
Once you embrace these variations, every spoonful of your Dreamy Warm Baked Custard will be a personalized treasure!
Make Ahead Options
Busy home cooks will appreciate how easy it is to prepare the Dreamy Warm Baked Custard ahead of time! You can mix the custard base and refrigerate it for up to 24 hours before baking. Simply cover the mixing bowl with plastic wrap to maintain freshness. When you’re ready to bake, pour the mixture into your baking dish and follow the original baking instructions. For optimal texture and flavor, chill the baked custard in the fridge for at least 4 hours or overnight before serving. Consider topping it with fresh berries just before indulging for added freshness. This make-ahead strategy not only saves you time but ensures your dessert is just as delicious as if you’d made it all at once!
What to Serve with Dreamy Warm Baked Custard
Elevate your dessert experience by pairing this silky custard with delightful accompaniments that will tantalize your taste buds.
- Fresh Berries: Their natural sweetness and tartness beautifully complement the creamy custard, adding a burst of freshness to each bite.
- Whipped Cream: A dollop of lightly sweetened whipped cream enriches the custard, creating a luxurious, velvety texture that melts in your mouth.
- Almond Biscotti: The crunchiness of almond biscotti offers a delightful contrast to the smooth custard, making for a wonderful dipping experience.
- Caramel Sauce: Drizzling warm caramel over the custard adds a rich, buttery sweetness that takes the flavor to the next level of indulgence.
- Cinnamon Sugar Toast: Slice up some bread, toast it gently, and dust with cinnamon sugar for a comforting side that pairs perfectly with the custard’s silky richness.
- Espresso or Coffee: Serve a warm cup alongside to enhance the custard’s flavors, as the bold coffee cuts through the dessert’s sweetness wonderfully.
- Chocolate Shavings: For the chocolate lovers, topping the custard with dark chocolate shavings creates a decadent twist that enhances the custard’s flavor profile.
- Mint Leaves: Fresh mint leaves scattered on top add a vibrant color and refreshing aroma, brightening the desert experience with a herbaceous note.
Expert Tips for Dreamy Warm Baked Custard
• Smooth Texture: Whisk just until combined: Avoid over-whisking the egg mixture to prevent incorporating air bubbles, which can make the custard grainy.
• Water Bath Essential: Always use a water bath: This technique helps cook the custard gently, ensuring even texture and preventing cracks on the surface.
• Chill for Flavor: Chill overnight for the best outcome: Allowing the custard to chill enhances its texture and enriches the flavors, making it even more delightful.
• Watch the Bake Time: Check for jiggle: The custard is done when the edges are set, and the center jiggles slightly—keep an eye on it to prevent overbaking.
• Customizable Flavors: Experiment with extracts: Feel free to add almond extract or warm spices like cinnamon to create your unique variation of this Dreamy Warm Baked Custard.
How to Store and Freeze Dreamy Warm Baked Custard
Refrigerator: Store your Dreamy Warm Baked Custard in an airtight container for up to 3 days to maintain its creamy texture and flavor.
Freezer: For longer storage, portion the custard into individual servings, wrap tightly in plastic wrap, and place in a freezer-safe container. It will keep well for up to 2 months.
Thawing: When ready to enjoy, thaw the custard overnight in the refrigerator. Reheat gently in the microwave or oven, ensuring not to overcook, to preserve its silky consistency.
Serving Tip: After reheating, consider topping your custard with fresh berries or a sprinkle of nutmeg for a delightful finish!
Dreamy Warm Baked Custard Recipe FAQs
What type of milk should I use for the custard?
I recommend using whole milk for the richest, creamiest texture. However, if you prefer a lighter version, 2% milk works quite well too, ensuring you still achieve that comforting custard flavor.
How long can I store Dreamy Warm Baked Custard in the fridge?
Absolutely! You can store your Dreamy Warm Baked Custard in an airtight container in the refrigerator for up to 3 days. Just make sure it’s well sealed to keep that lovely creamy texture intact.
Can I freeze Dreamy Warm Baked Custard?
Yes, you can! To freeze, portion the custard into individual servings and wrap each tightly in plastic wrap. Then, place them in a freezer-safe container. It will stay fresh for up to 2 months. When you’re ready to enjoy it, just thaw overnight in the refrigerator.
What if my custard turns out grainy?
If your custard has a grainy texture, it might be due to over-whisking the egg mixture or cooking it at too high a temperature. To avoid this, whisk just until everything is combined and smooth, and always use a water bath during baking for even cooking.
Are there any dietary considerations I should be aware of when serving this custard?
Certainly! This Dreamy Warm Baked Custard is gluten-free, making it suitable for those with gluten sensitivities. However, do check that any additional toppings, like whipped cream or store-bought sauces, are also gluten-free, especially if you’re serving guests with dietary restrictions.
Dreamy Warm Baked Custard - A Cozy Gluten-Free Treat
Ingredients
Equipment
Method
- In a medium saucepan, heat 4 cups of whole milk over medium heat until it reaches a gentle simmer.
- Remove the pan from heat and allow the milk to cool for about 5 minutes.
- In a mixing bowl, crack 4 large eggs and add 1 cup of sugar along with a pinch of salt. Whisk for 2-3 minutes until light and smooth.
- Gradually pour the warm milk into the egg mixture while whisking continuously.
- Pour the combined mixture through a fine-mesh strainer into a 9x13-inch baking dish.
- Preheat your oven to 350°F (175°C). Place the filled baking dish in a larger pan, then pour hot water into the outer pan until halfway up the sides of the custard dish.
- Bake for 55 to 60 minutes until the edges are set and the center jiggles lightly.
- Remove the baking dish from the water bath and let it cool on a wire rack for about 30 minutes.
- Transfer the custard to the refrigerator and chill for at least 4 hours or overnight.
- Before serving, consider topping with fresh berries.
Leave a Reply