
There’s something special about desserts that come together with minimal effort but deliver a big wow factor. This Decadent No-Bake Brownie Refrigerator Cake perfectly encapsulates that sentiment, bringing together soft, fudgy brownies and creamy layers of chocolate pudding, all topped with fluffy whipped filling. What makes this dessert a standout is its versatility—perfect for family gatherings or quiet evenings at home—and, best of all, it’s gluten-free with a few handy substitutions for diverse dietary needs. You can whip it up ahead of time and let it chill, allowing the flavors to meld into a harmonious treat that will leave everyone coming back for more. Don’t you just love desserts that taste even better as they sit? So, are you ready to dive into this delightful no-bake wonder?
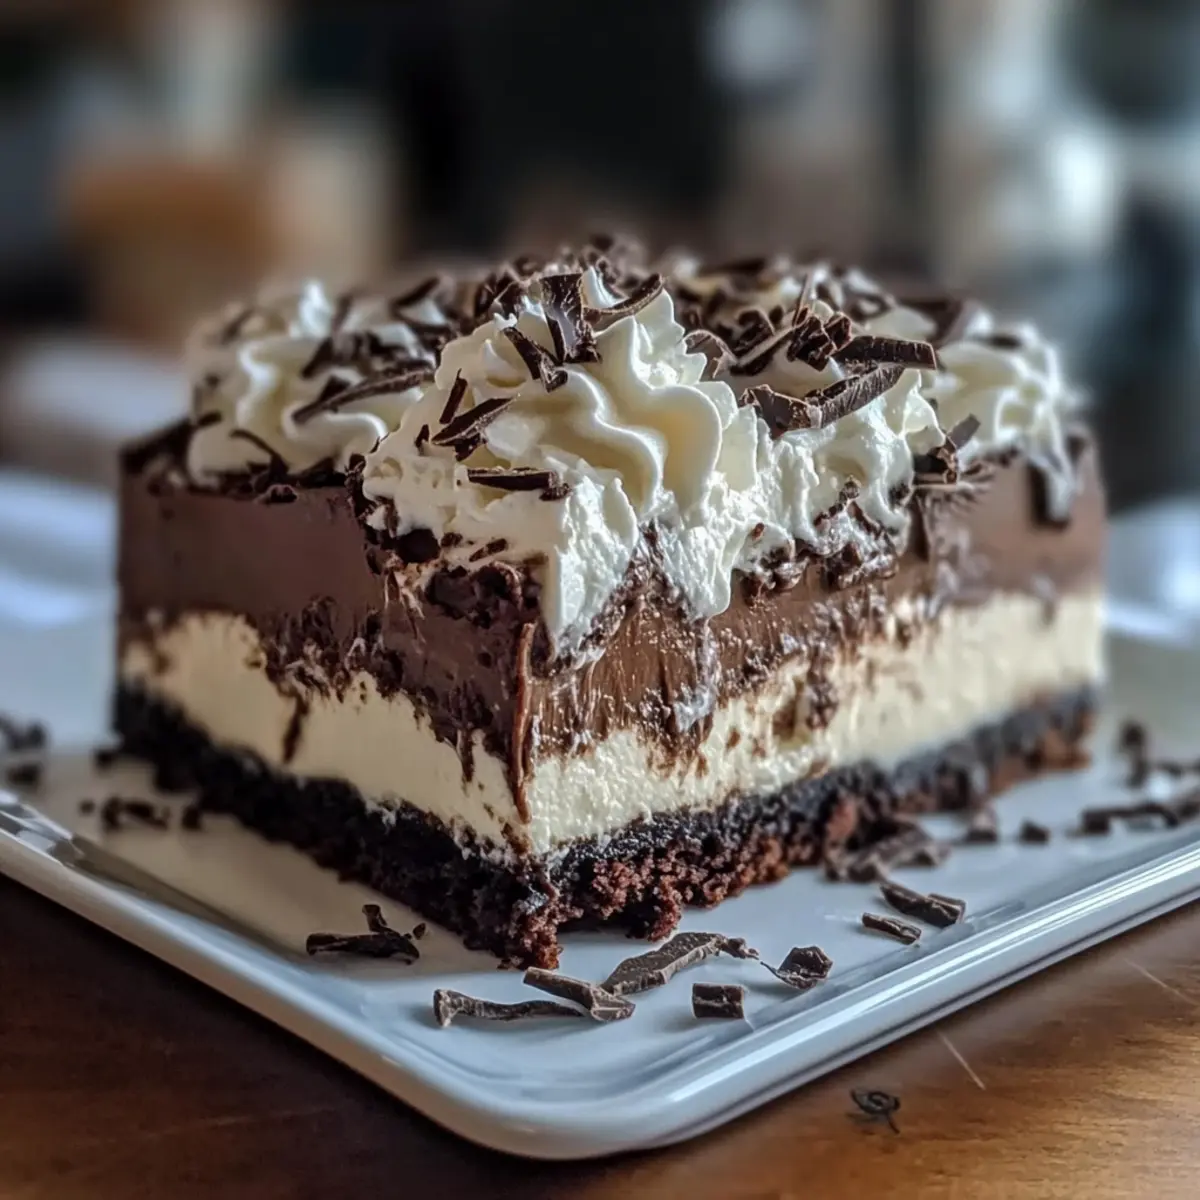
Why is this Brownie Refrigerator Cake a must-try?
Easy to Make: This no-bake dessert requires minimal effort, perfect for home cooks of any skill level. Irresistibly Creamy: The delightful layers of cream cheese and chocolate pudding create a wonderfully rich yet light texture. Versatile Toppings: Dress it up with fresh fruits or nuts for added flavor and crunch. Consider pairing it with a scoop of vanilla ice cream to balance the chocolate richness! Make Ahead: Ideal for parties or picnics, prepare this showstopper in advance and let it chill, enhancing the flavor. You’ll fall in love with how it tastes even better the next day! Give it a try, along with an indulgent twist like our Peach Cake Brown for your next gathering!
Brownie Refrigerator Cake Ingredients
• Get ready to create this scrumptious dessert with essential ingredients!
For the Brownie Base
- Brownie mix – Choose a gluten-free mix to suit dietary preferences; these brownies form the cake’s delicious foundation.
For the Cream Cheese Layer
- Cream cheese – Adds a luscious creaminess; for a dairy-free option, swap with dairy-free cream cheese.
- Whipped topping – Use thawed whipped topping for easy spreading; consider dairy-free varieties for a lighter finish.
For the Chocolate Layer
- Chocolate pudding – Provides a smooth chocolaty layer; try butterscotch or caramel pudding for a delightful twist.
- Milk – Needed to prepare the pudding; almond or oat milk works beautifully for dairy-free recipes.
- Espresso powder (optional) – Enhances the chocolate flavor in the whipped topping; feel free to omit it for a milder taste.
Feel free to play around with these ingredients according to your taste and dietary requirements, and enjoy every delightful layer of your Brownie Refrigerator Cake!
Step‑by‑Step Instructions for Brownie Refrigerator Cake
Step 1: Prepare Brownie Base
Begin by preheating your oven according to the instructions on the brownie mix package. Prepare the brownie batter as directed, ensuring it is well-mixed. Pour it into a greased baking dish and bake for 20–25 minutes, or until a toothpick inserted into the center comes out with a few moist crumbs. Once baked, allow the brownies to cool completely in the pan—this should take at least 1 hour.
Step 2: Mix Cream Cheese Layer
In a mixing bowl, add the softened cream cheese and beat with an electric mixer on medium speed until smooth and creamy, about 2–3 minutes. Next, gently fold in one container of thawed whipped topping until fully incorporated. This will create a rich, creamy layer that will be spread atop the cooled brownie base, ensuring it remains light and fluffy.
Step 3: Prepare Pudding Layer
In a separate bowl, whisk together the chocolate pudding mix with the milk of your choice. Continue whisking for about 2 minutes, until the mixture thickens nicely. Allow it to sit for an additional 5 minutes; this resting time will help achieve a better consistency. The pudding layer will add a decadent, chocolaty richness to your Brownie Refrigerator Cake.
Step 4: Assembly
Once the brownies are fully cooled, carefully spread the cream cheese mixture evenly over the brownie base. Following that, pour the prepared chocolate pudding layer on top, smoothing it gently with a spatula for an even finish. Finally, dollop the remaining whipped topping on top, spreading it out to cover the pudding layer, creating a fluffy cloud of deliciousness.
Step 5: Chill
Cover the assembled Brownie Refrigerator Cake with plastic wrap or a lid to prevent it from drying out. Place it in the refrigerator for at least 2 hours, but ideally overnight. This chilling period allows the flavors to meld beautifully and the layers to set perfectly, resulting in a delightful texture.
Step 6: Serve
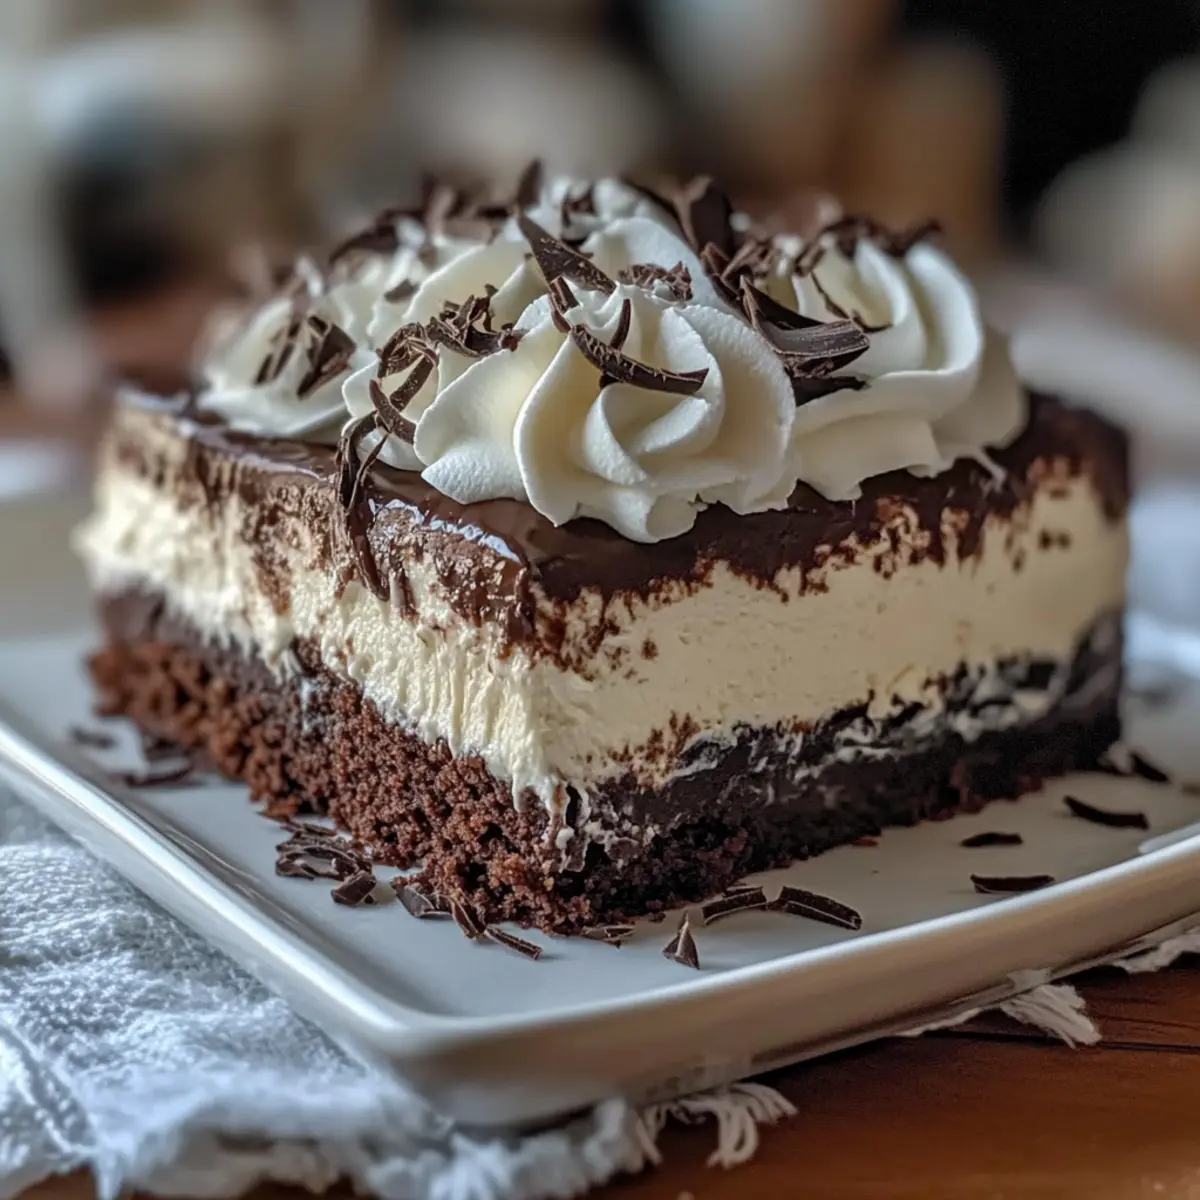
When you’re ready to serve, remove the cake from the refrigerator. Use a sharp knife to slice the cake into squares, wiping the knife between cuts for clean edges. Each slice will reveal beautiful layers of brownie, cream cheese, and chocolate pudding, making your Brownie Refrigerator Cake a showstopper at any gathering.
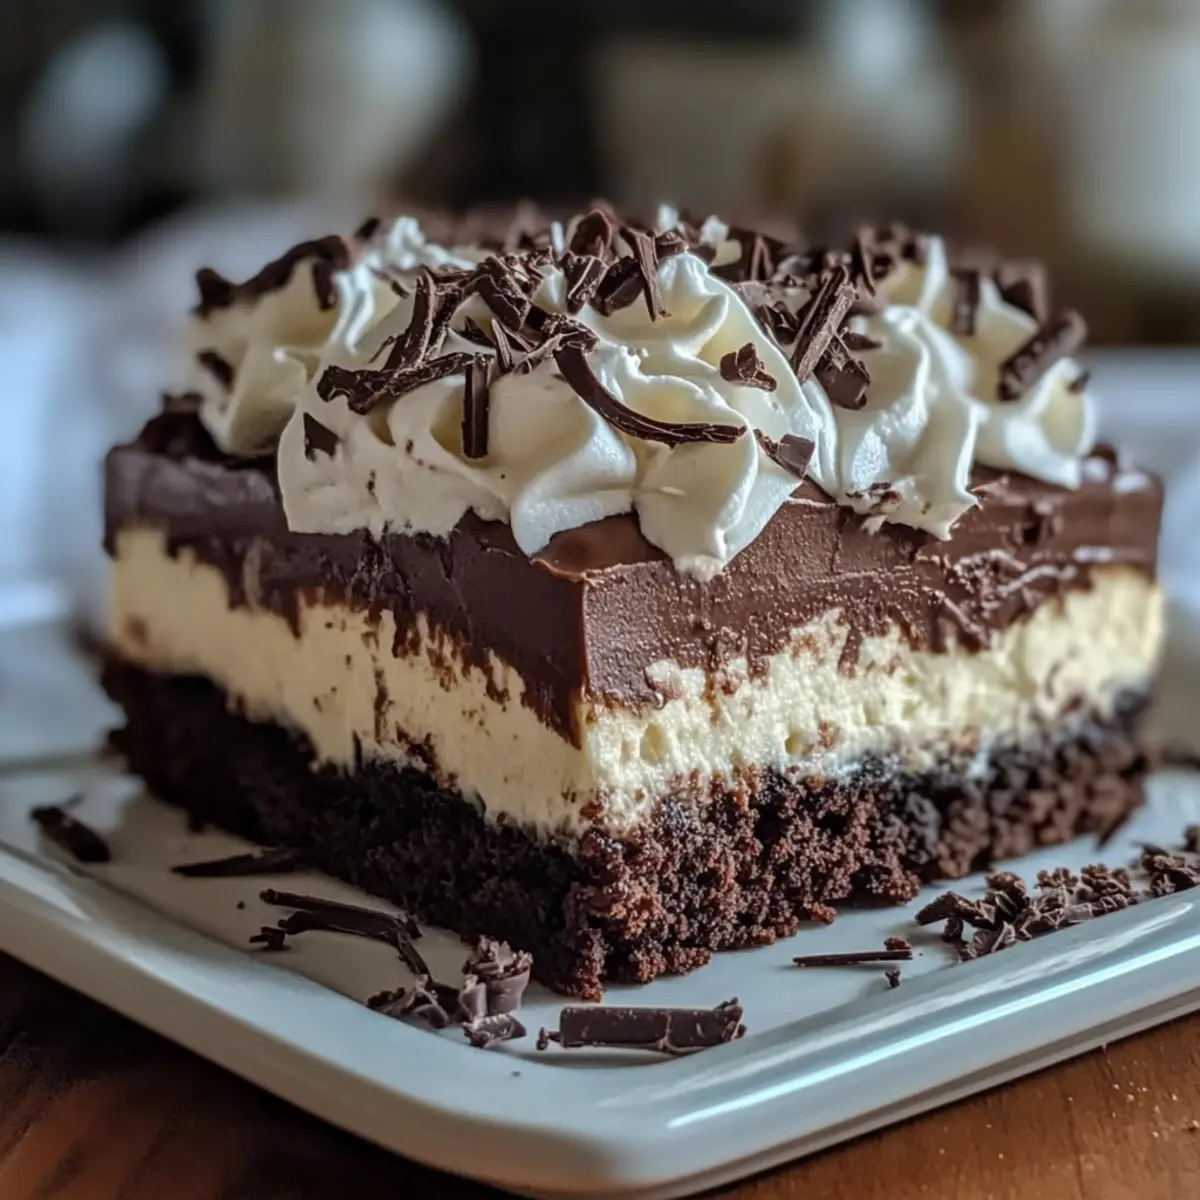
Make Ahead Options
This Brownie Refrigerator Cake is perfect for busy home cooks looking to save time without sacrificing flavor! You can prepare the brownie base and the cream cheese layer up to 24 hours in advance. Simply bake the brownies and allow them to cool completely before layering with the cream cheese mixture. Cover tightly with plastic wrap to maintain moisture and flavor. The chocolate pudding can also be prepared ahead of time and stored in the fridge for up to 3 days; just give it a quick whisk before layering. When you’re ready to serve, layer the pudding over the cream cheese and top with whipped topping, then chill for at least 2 hours before slicing. This way, you’ll enjoy a delicious dessert that’s just as delightful when made ahead!
What to Serve with Decadent No-Bake Brownie Refrigerator Cake
There’s nothing like pairing a rich dessert with complementary flavors and textures to elevate your dining experience.
- Vanilla Ice Cream: A scoop adds a creamy coolness that’s perfect for cutting through the chocolate richness.
- Fresh Berries: Juicy strawberries or raspberries provide a burst of freshness, balancing the cake’s sweetness beautifully.
- Chocolate Drizzle: Elevate the chocolate experience with a warm drizzle of chocolate sauce, enhancing the indulgence.
- Crushed Nuts: Sprinkle chopped walnuts or almonds on top for a delightful crunch that contrasts with the soft layers.
- Coffee: Serve with a rich cup of coffee to amplify the chocolate flavor and offer a comforting finish.
- Whipped Cream: A dollop on top adds extra lightness, making each bite feel decadent yet airy.
Imagine enjoying this delightful cake alongside your favorite scoop of ice cream or a refreshing cup of coffee—what a perfect way to end a meal!
Expert Tips for Brownie Refrigerator Cake
- Cool Brownies First: Ensure your brownies are completely cooled before adding the cream cheese layer; this prevents melting and maintains structure.
- Perfect Pudding Consistency: Only mix the pudding until it’s just thickened. Over-mixing can lead to a runny layer, affecting the overall texture of your Brownie Refrigerator Cake.
- Don’t Rush Refrigeration: Allowing the cake to chill for at least 2 hours—preferably overnight—is essential for melding flavors and achieving the ideal set.
- Cutting Technique: For clean slices, chill the cake an extra hour before cutting. A sharp knife and wiping between cuts will yield beautiful layers.
- Layered Flavor Variations: Experiment with different pudding flavors or toppings such as fresh fruit to elevate your Brownie Refrigerator Cake and keep it exciting!
Storage Tips for Brownie Refrigerator Cake
- Fridge: Once assembled, store your Brownie Refrigerator Cake tightly covered in the refrigerator. It’s best enjoyed within 3-4 days, as the flavors meld beautifully while chilled.
- Freezer: To freeze, wrap the entire cake tightly in plastic wrap, then aluminum foil. This method preserves it for up to 2 months, allowing you to enjoy a decadent treat whenever you desire.
- Thawing: When ready to enjoy, transfer the cake to the fridge for several hours or overnight to thaw gently. Avoid microwaving, as it can alter texture.
- Reheating: While best served cold, if you like it slightly warm, consider warming individual slices in a microwave for 10-15 seconds—topped with ice cream for an indulgent touch!
Brownie Refrigerator Cake Variations
Feel free to explore and elevate your brownie refrigerator cake with these delightful twists that invite you to customize your dessert experience!
-
Gluten-Free: Use a gluten-free brownie mix for those with dietary restrictions, ensuring everyone can enjoy this delicious treat.
-
Dairy-Free Swap: Substitute regular cream cheese and whipped topping with dairy-free alternatives, ideal for lactose-sensitive dessert lovers.
-
Flavorful Puddings: Experiment with pudding flavors like butterscotch, vanilla, or lemon for a refreshing twist that changes the entire dessert vibe. Each option offers a different flavor profile that is worth exploring!
-
Fresh Fruit Toppings: Add a layer of fresh berries, such as strawberries or raspberries, for a pop of color and natural sweetness that balances out the rich chocolate.
-
Nuts for Crunch: Incorporate crushed nuts or chocolate crumbles on the top for an added crunch and nutty flavor contrast that brings texture to every bite.
-
Espresso Boost: For a mocha flavor, add espresso powder to the cream cheese mixture; it intensifies chocolate richness and creates a delightful kick.
-
Layered Chocolate: Drizzle melted chocolate or a chocolate ganache over the whipped topping for extravagance that will wow your guests with added decadence.
-
Decadent Accents: Serve with a scoop of vanilla ice cream or alongside a slice of our Gingerbread Pudding Cake for a delightful dessert pairing that enhances your indulgence.
The possibilities are endless, so embrace your creativity, and let your taste buds guide the way!
Brownie Refrigerator Cake Recipe FAQs
What type of brownie mix should I use?
Absolutely! For the brownie base, you can use a gluten-free brownie mix to accommodate dietary restrictions. Be sure to follow the package instructions for baking to achieve that fudgy texture that pairs perfectly with the creamy layers.
How should I store the Brownie Refrigerator Cake?
Very! Once assembled, keep your Brownie Refrigerator Cake tightly covered in the refrigerator for maximum freshness. It’s best enjoyed within 3-4 days as the flavors meld beautifully. If you have leftovers, place it in an airtight container to protect it from drying out.
Can I freeze the Brownie Refrigerator Cake?
Definitely! To freeze, wrap the entire cake tightly in plastic wrap and then in aluminum foil to prevent freezer burn. This method will keep it fresh for up to 2 months. When you’re ready to enjoy it again, move it to the fridge to thaw slowly for several hours or overnight. Keep in mind that the texture might be slightly different, but it will still be delicious!
What should I do if the pudding layer is runny?
I understand! If your pudding layer turns out runny, it may have been mixed too much or the milk measurement was off. To remedy this, gently whisk the pudding mixture until it just starts to thicken. If it still seems too thin, you can add a little more pudding mix and let it sit for an additional 5 minutes to firm up.
Is there a dairy-free option for the Brownie Refrigerator Cake?
Absolutely! You can make this dessert dairy-free by using dairy-free cream cheese and whipped topping. For the pudding layer, opt for dairy-free milk like almond or oat milk, and a dairy-free pudding mix. This way, everyone can indulge without worry!
How do I know when the brownies are completely cooled?
Absolutely! To ensure your brownies are cool, touch the top with your finger; it should feel at room temperature and not warm. Leave them in the pan for at least 1 hour, or you can transfer them to a wire rack to expedite the cooling process. This step is crucial for keeping the cake layers intact!
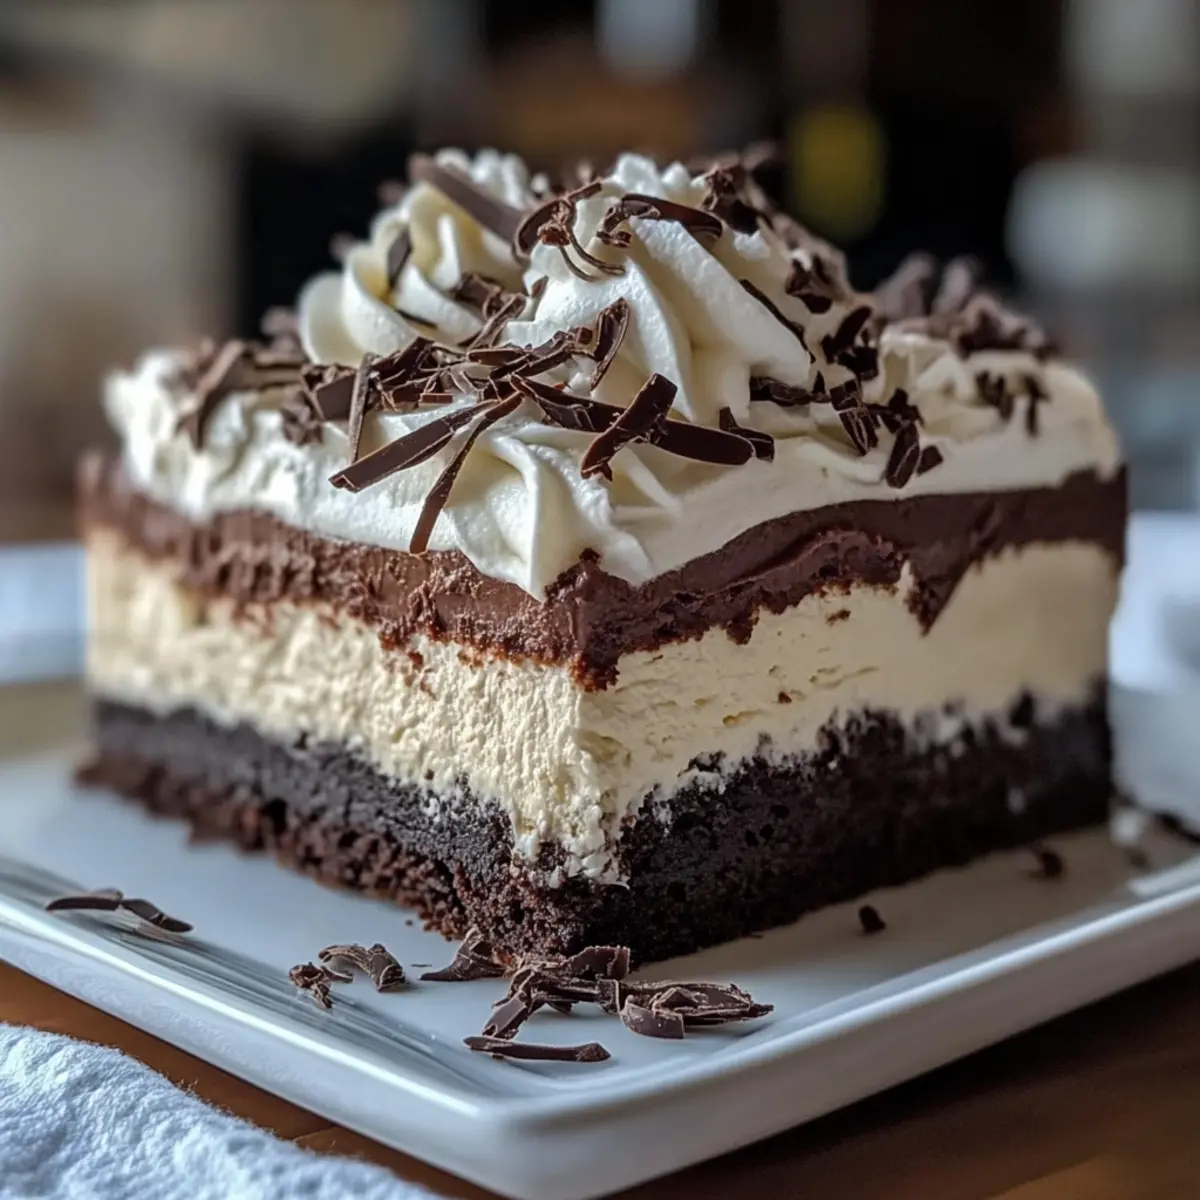
Irresistible Brownie Refrigerator Cake for Easy Indulgence
Ingredients
Equipment
Method
- Preheat oven as per brownie mix instructions. Prepare brownie batter and pour into a greased baking dish. Bake for 20-25 minutes until a toothpick comes out with moist crumbs. Cool in pan for at least 1 hour.
- In a mixing bowl, beat softened cream cheese with an electric mixer until smooth and creamy. Fold in thawed whipped topping until fully incorporated.
- Whisk together chocolate pudding mix and milk in a separate bowl until thickened. Let sit for 5 minutes to improve consistency.
- Spread the cream cheese mixture over the cooled brownie base. Pour chocolate pudding layer on top, smoothing with a spatula. Top with remaining whipped topping.
- Cover with plastic wrap and refrigerate for at least 2 hours or overnight to allow flavors to meld and layers to set.
- Slice the cake into squares, wiping the knife between cuts for clean edges and serving.
Leave a Reply