
“Did you bring dessert?” This eager question rang out at a recent gathering, and I knew exactly what was needed. Allow me to share my answer: Kit Kat Cookies! A creative twist on classic chocolate chip cookies, these delightful treats incorporate that nostalgic Halloween candy we just can’t resist. The beauty of these cookies lies in their easy preparation—no chilling time required! Imagine pulling a batch from the oven, each soft, chewy bite offering a delightful crunch from the Kit Kat pieces within. Not only are these cookies a perfect way to use up leftover candy, but they also bring a sense of joy whenever they’re served. As you gather your ingredients, will you be tempted to swap in your favorite chocolate bar for a unique spin?
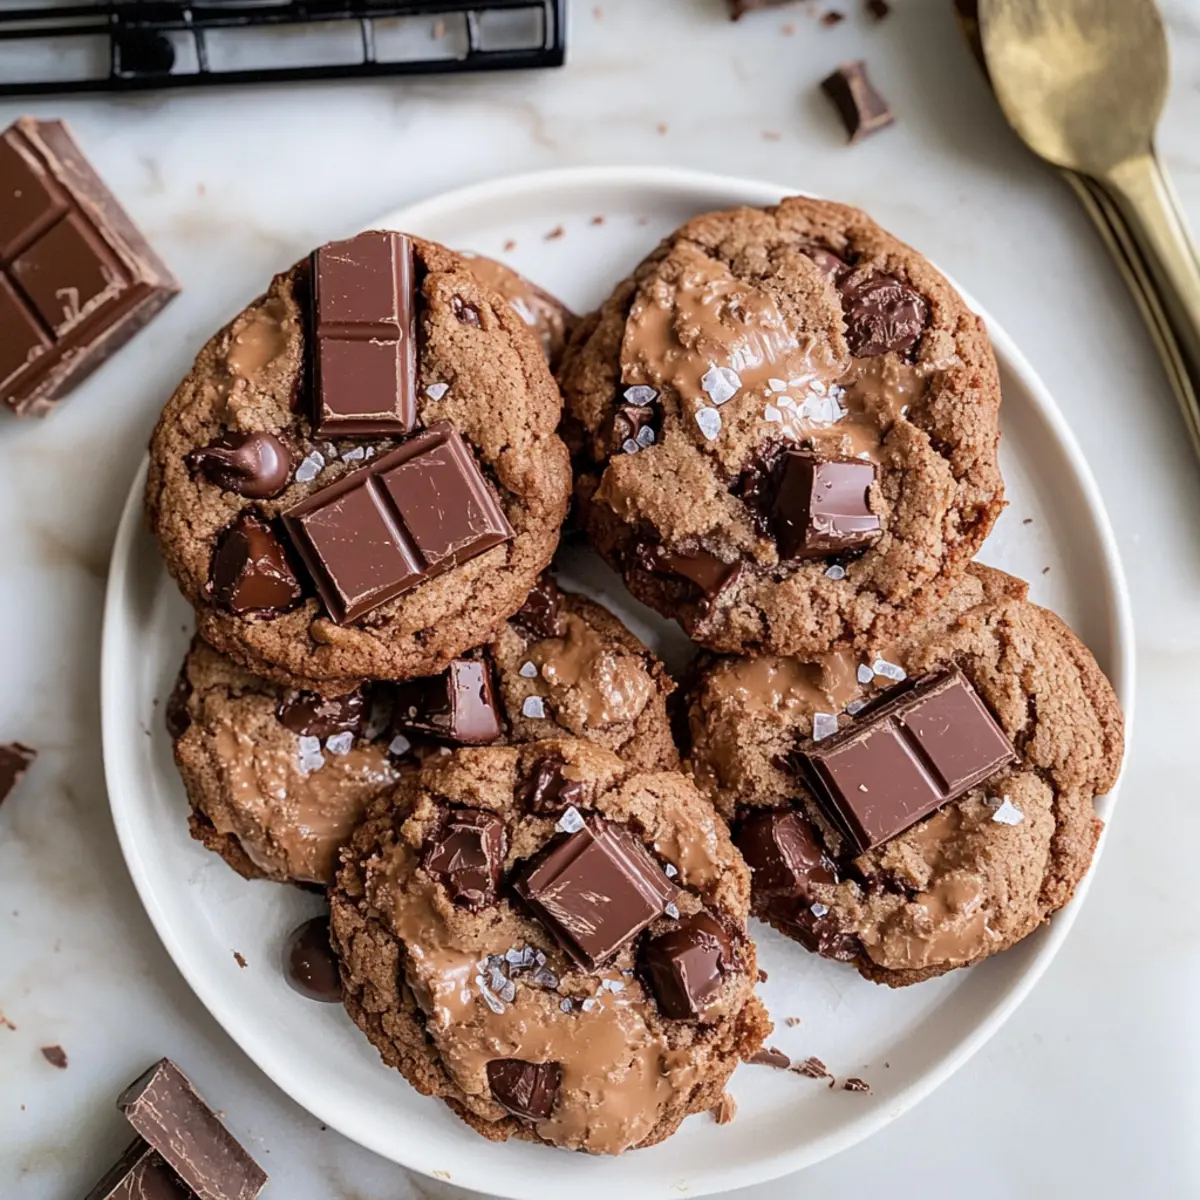
Why are Kit Kat Cookies a must-try?
Irresistible Flavor: These cookies deliver the perfect balance of decadent chocolate and the unique crunch of Kit Kats, creating an unforgettable treat.
Quick and Easy: With no chilling time required, you can whip up a batch of these cookies in under 30 minutes, making them a fantastic option for any last-minute craving or unexpected guests.
Crowd-Pleasing Delight: These cookies are guaranteed to impress friends and family at any gathering, as they’re both nostalgic and utterly delicious.
Versatile Variations: Feel free to swap out the Kit Kats for your favorite candy bar—Twix or Snickers would work beautifully!
Freshness Guaranteed: Best enjoyed fresh, these cookies are perfect for snack time, dessert, or even a sweet breakfast treat alongside a cup of coffee. If you’re interested in similar delights, don’t miss my Thick Chewy Cookies or Gingerbread Thumbprint Cookies.
Kit Kat Cookies Ingredients
For the Cookie Base
• Unsalted Butter (250g) – Ensures richness and moisture; let it sit at room temperature for easy creaming.
• Granulated Sugar (200g) – Adds the ideal sweetness and structure to your cookies.
• Brown Sugar (120g) – Increases moisture and introduces a subtle caramel flavor; both light and dark varieties work.
• Egg (1) & Egg Yolk (1) – The yolk lends richness and chewiness, while the white supports cookie structure.
• Vanilla Extract (1 tsp) – Enhances the cookies’ flavor profile with a warm touch.
• All-Purpose Flour (200g) – Forms the foundation of your cookie dough; sift it for added lightness.
• Cocoa Powder (80g) – Gives a rich chocolate flavor; consider substituting with more flour for a non-chocolate version.
• Kosher Salt (1 tsp) – Balances out the sweetness and amplifies the flavors in your cookies.
• Baking Powder (½ tsp) – Provides essential leavening for a wonderfully soft texture.
• Baking Soda (½ tsp) – Aids with spreading and browning during baking.
For the Kit Kat Addition
• Chopped Kit Kats (300g) – The star ingredient! They bring a delightful crunch and sweet flavor; add more on top for a beautiful presentation.
• Chopped Chocolate (150g) – Deepens the chocolate flavor; dark chocolate is recommended for a rich contrast.
Enjoy making your Kit Kat Cookies—the perfect treat to satisfy any sweet tooth!
Step‑by‑Step Instructions for Kit Kat Cookies
Step 1: Preheat the Oven
Start by preheating your oven to 350°F (175°C). This ensures that when you’re ready to bake your Kit Kat Cookies, the heat is perfectly distributed for even baking. Prepare two baking sheets by lining them with parchment paper—this prevents sticking and makes cleanup a breeze.
Step 2: Cream the Butter and Sugars
In a large mixing bowl, combine the room temperature unsalted butter, granulated sugar, and brown sugar. Using an electric mixer, cream them together on medium speed until the mixture is light and fluffy, which should take about 2-3 minutes. This step is crucial for aerating the cookie dough, contributing to the soft and chewy texture.
Step 3: Incorporate Wet Ingredients
Add one egg, an additional egg yolk, and vanilla extract to the butter-sugar mixture. Beat on low until everything is well combined, about 1 minute. The addition of the yolk infuses richness that enhances the overall taste of your Kit Kat Cookies, ensuring a wonderfully chewy consistency.
Step 4: Mix Dry Ingredients
In a separate bowl, whisk together the all-purpose flour, cocoa powder, kosher salt, baking powder, and baking soda until fully combined. This step evenly distributes leavening agents and cocoa, which is essential for achieving the desired texture. Sifting the dry ingredients will incorporate air, giving your cookies a lightness that melts in your mouth.
Step 5: Combine Wet and Dry Mixtures
Gradually add the dry ingredients into the wet mixture, mixing on low speed until just combined. Be careful not to overmix at this stage; you want to keep the dough tender. You should see a thick chocolate dough forming, ready to welcome the delicious Kit Kat chunks.
Step 6: Fold in Kit Kats and Chocolate
Using a spatula, gently fold in the chopped Kit Kats and chopped chocolate until they are evenly distributed throughout the dough. The Kit Kats will add a delightful crunch and sweetness to your cookies, making each bite a nostalgic treat that complements the soft chocolate base.
Step 7: Scoop Cookie Dough
Scoop generous portions of dough (about the size of a tablespoon) onto the prepared baking sheets, spacing them about 2 inches apart. The cookies will spread as they bake, so adequate spacing ensures each Kit Kat Cookie has room to achieve that perfect shape.
Step 8: Bake the Cookies
Place the baking sheets in the oven and bake for 10-12 minutes. Keep an eye on them; the edges should be set while the centers remain soft. This is key for achieving the perfect chewy texture that pairs beautifully with the crunchy Kit Kat pieces.
Step 9: Cool and Enjoy
After baking, allow the cookies to cool on the baking sheets for about 5 minutes before transferring them to wire racks. This cooling period lets the cookies firm up slightly while still retaining that warm, gooey center. These Kit Kat Cookies are best enjoyed fresh, but they also make for delightful snacks throughout the day!
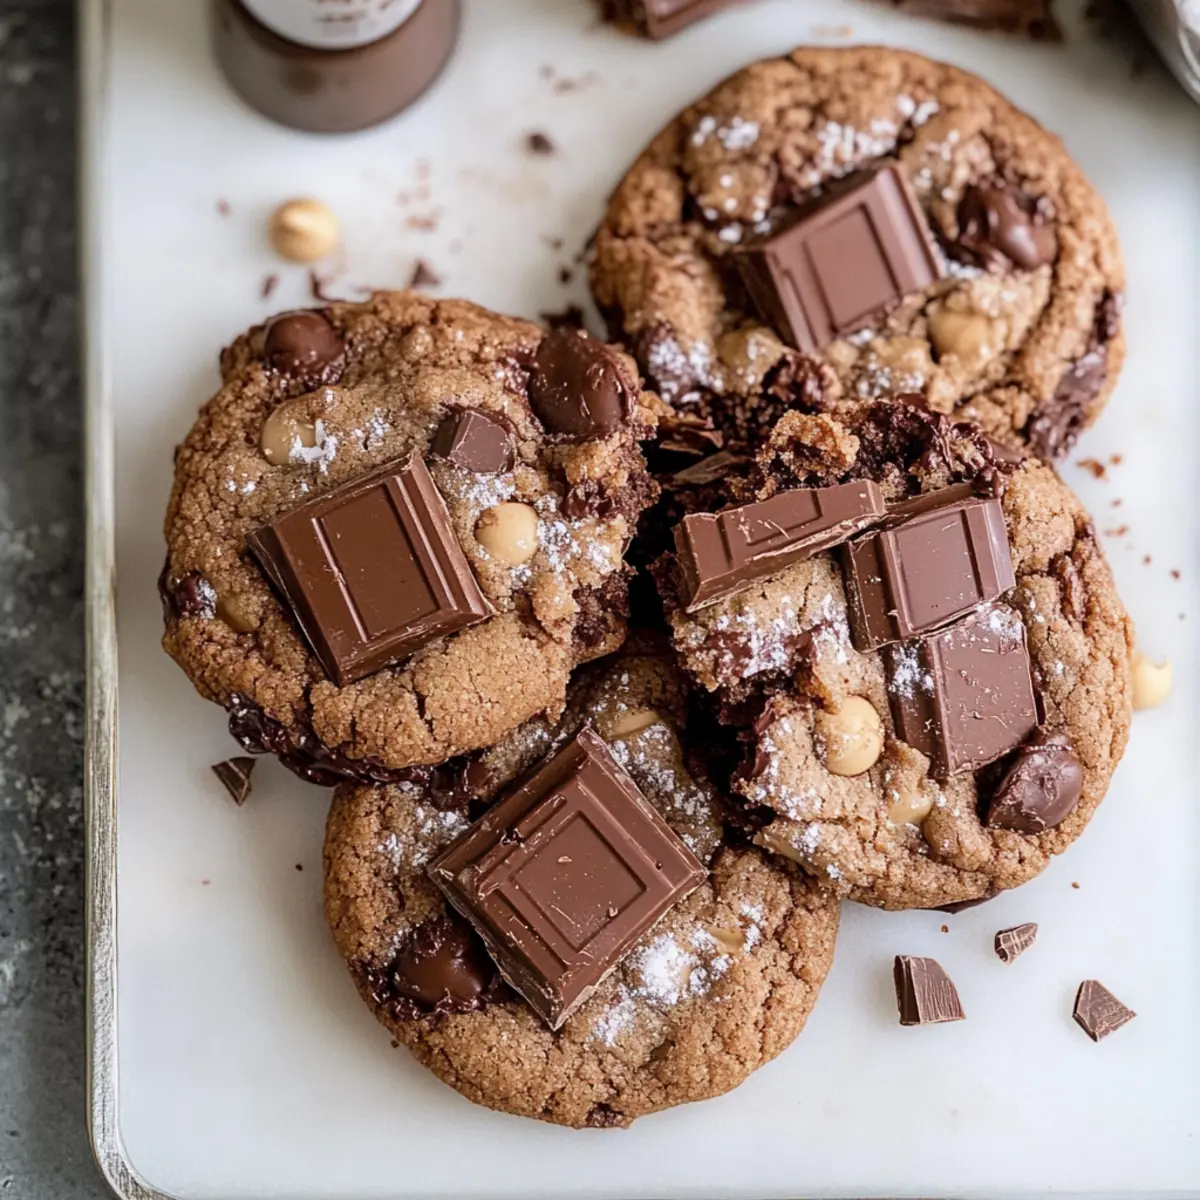
What to Serve with Kit Kat Cookies
Imagine enjoying every rich, chocolatey bite of your cookie creation alongside delectable pairings that elevate your treat experience.
-
Cold Milk: The classic go-to for cookies, its creamy richness contrasts beautifully with the crunchy sweetness of Kit Kats, making each bite even more enjoyable.
-
Coffee or Espresso: A warm cup brings out chocolate’s richness while cutting through sweetness, enhancing the chewy texture of each morsel.
-
Vanilla Ice Cream: The creamy, cool counterpart transforms every Kit Kat Cookie into an indulgent sundae, perfect for dessert lovers.
-
Chocolate Dipping Sauce: For the ultimate chocolate fix, serve warm dipping sauce to complement the soft centers and crispy edges of your cookies.
-
Fruit Salad: A light and refreshing choice, fresh fruit balances the richness of the cookies, adding a delightful, juicy contrast.
-
Chewy Caramel Sauce: Drizzle or dip your cookies in caramel for an extra layer of indulgence. The gooey texture complements the crunchiness of the Kit Kat pieces.
-
Nutty Snack Mix: A crunchy, salty addition provides delightful textural contrast to the cookie’s soft and chewy nature, creating a harmonious snack experience.
-
Sparkling Water with Lime: The zesty, refreshing bubbles cleanse your palate beautifully, ensuring your cookies remain the star of the show with each bite.
Expert Tips for Kit Kat Cookies
-
Room Temperature Butter: Make sure your butter is at room temperature for easier creaming and a better texture in your Kit Kat Cookies.
-
Avoid Overmixing: Once you combine the dry ingredients with the wet, mix just until incorporated to maintain that soft and chewy consistency.
-
Perfect Baking Time: Check your cookies a minute early; the edges should be set while the center remains soft for ideal chewiness.
-
Top with Extra Kit Kats: For a beautiful presentation and added crunch, sprinkle extra chopped Kit Kats on top of the cookie dough before baking.
-
Storage Tip: Enjoy your Kit Kat Cookies fresh for the best texture, as they may not freeze well due to the candy.
Kit Kat Cookies Variations & Substitutions
Feel free to customize these delicious cookies with various alternatives that suit your taste!
-
Nutty Delight: Swap in chopped nuts like walnuts or pecans for added crunch and a delightful nutty flavor.
-
Dairy-Free: Use coconut oil or a plant-based butter substitute to make these Kit Kat Cookies dairy-free, perfect for lactose intolerant friends.
-
Fun Flavor: Try adding a teaspoon of almond or orange extract to create an exotic twist on the traditional chocolate flavor.
-
Choco-Peanut Butter Swirl: Fold in a spoonful of peanut butter for a creamy, nutty addition that pairs beautifully with chocolate.
-
Heat It Up: Add a pinch of cayenne pepper or a sprinkle of red pepper flakes to introduce a surprising kick.
-
Gluten-Free: Substitute all-purpose flour with your favorite gluten-free blend; just make sure it contains xanthan gum for structure!
-
Candy Bar Swap: Replace Kit Kats with other favorite candy bars like Reese’s or Twix for a more personalized flavor combination. Each option transforms the cookie experience!
Making these Kit Kat Cookies your own can be a fun adventure in the kitchen! If you’re ever curious for more cookie recipes, my Chewy Pumpkin Cookies and Chocolate Chip Cookies are beloved by many and can be adjusted as well!
Storage Tips for Kit Kat Cookies
Room Temperature: Store your Kit Kat Cookies in an airtight container at room temperature for up to 3 days. This keeps them soft and chewy, perfect for snacking anytime!
Refrigerator: If you want to extend freshness, you can refrigerate the cookies in a tightly sealed container for up to 5 days. Just let them come to room temperature before enjoying their delightful texture.
Freezer: These cookies are best enjoyed fresh, as Kit Kats may not freeze well. However, if you have leftovers, you can freeze them in a single layer, then transfer to a freezer bag for up to a month.
Reheating: To bring back that fresh-from-the-oven goodness, reheat cookies in the microwave for about 10-15 seconds. They’ll regain some of that gooey chocolate charm, making each bite reminiscent of their original state!
Make Ahead Options
These Kit Kat Cookies are perfect for meal prep, allowing busy home cooks to enjoy homemade treats with less hassle! You can prepare the cookie dough up to 24 hours in advance—simply mix the ingredients as directed, scoop the dough onto parchment-lined baking sheets, and then refrigerate. This helps maintain the cookies’ texture and flavor until you’re ready to bake. When you’re set to enjoy your delicious cookies, just preheat your oven and bake them straight from the fridge for 10-12 minutes. This way, you can serve fresh, soft cookies even on the busiest weeknights—just as delightful as if they were made on the spot!
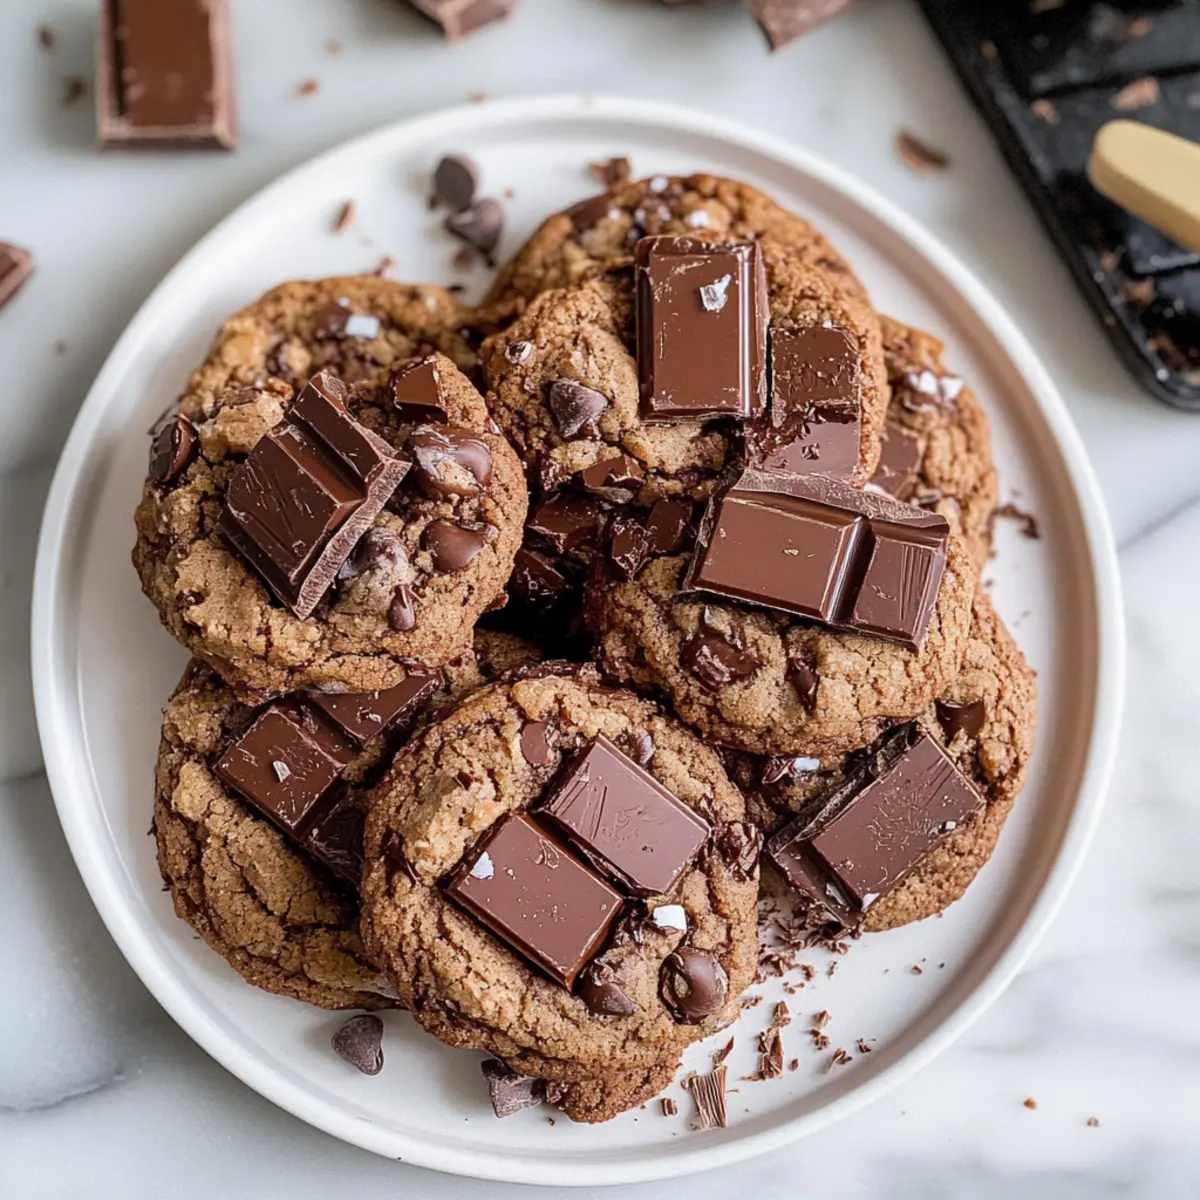
Kit Kat Cookies Recipe FAQs
What is the best way to select Kit Kats for this recipe?
Absolutely! Choose fresh Kit Kats without any dark spots or damage on the packaging. Newer Kit Kats will have a vibrant crunch and delightful flavor. If you can, go for the fun-sized versions since they’re often available post-Halloween, making this recipe a perfect way to repurpose leftover candy!
How should I store my Kit Kat Cookies?
For the best experience, store your Kit Kat Cookies in an airtight container at room temperature for up to 3 days. This method keeps them soft and chewy. If you want them fresh for longer, you can refrigerate them for up to 5 days, but remember to let them come to room temperature before enjoying!
Can I freeze these cookies for later use?
While these cookies are best enjoyed fresh due to the Kit Kats, you can freeze them if needed. To do this, place the cooled cookies in a single layer on a baking sheet and freeze until solid. Then, transfer them to a freezer-safe bag or container for up to 1 month. When you’re ready to enjoy them, simply thaw at room temperature or warm them briefly in the microwave!
What should I do if my cookie dough is too dry?
Very! If your dough seems too dry, it could be due to the measurements or the flour’s absorbency. Add a small splash (1-2 teaspoons) of milk or an extra egg yolk to bring the dough together. Mix gently until just combined; you want the dough to be soft but not sticky.
Are there any dietary concerns for my pets with these cookies?
Definitely! It’s essential to keep these Kit Kat Cookies away from pets, especially dogs, as chocolate can be toxic to them. Always be mindful of where you store these cookies to prevent any unintentional snacking by your furry friends! If you have allergies or dietary restrictions, consider making a snicker-doodle or oatmeal cookie variant using non-operational fillings.
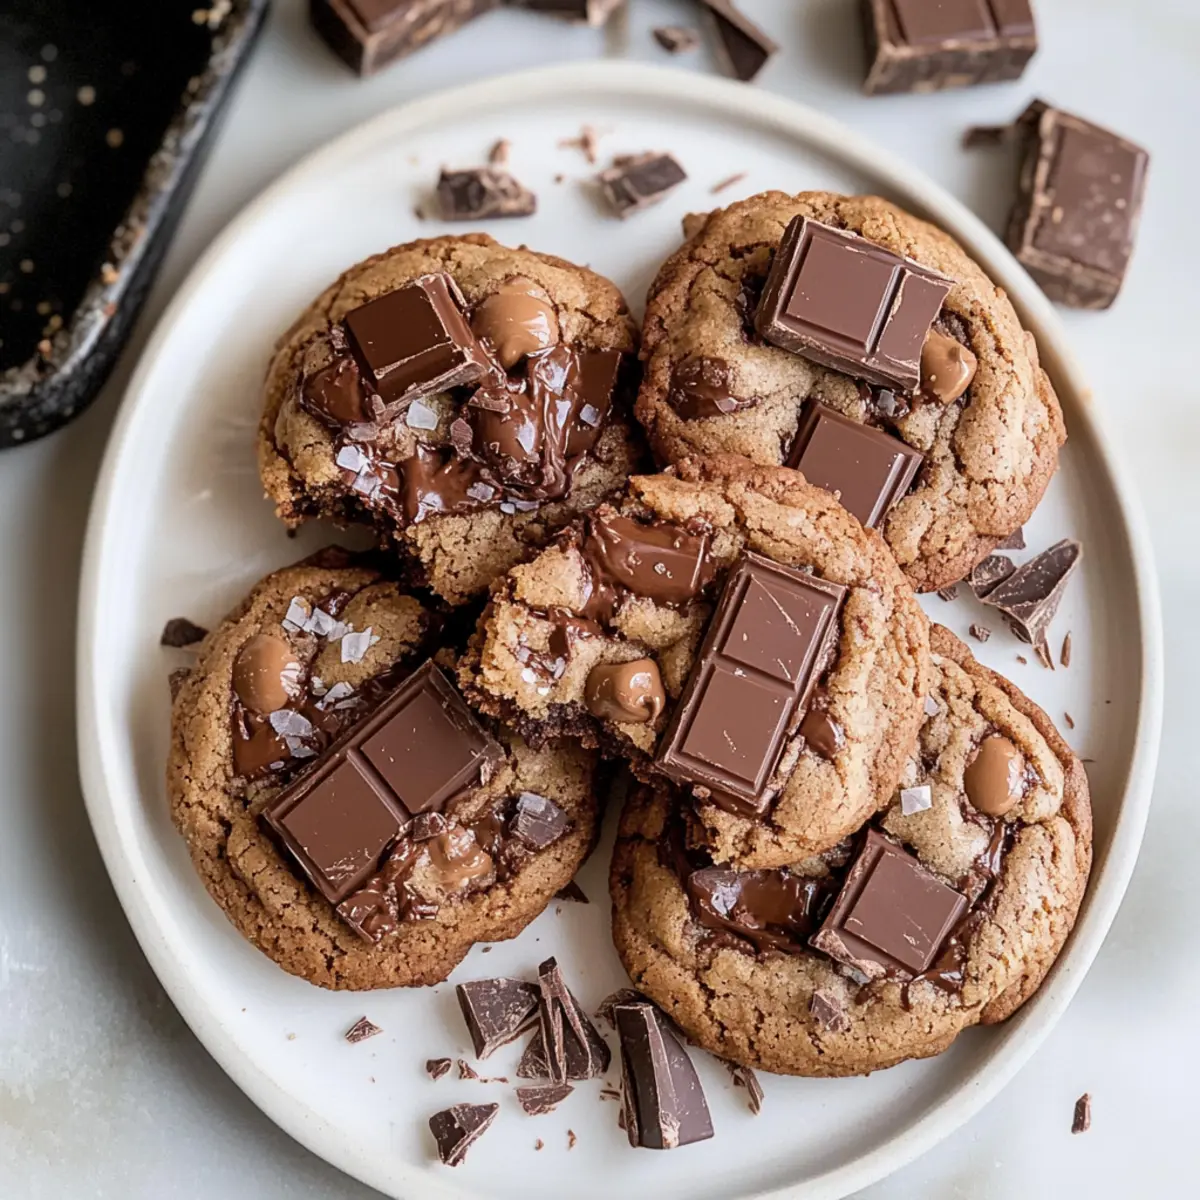
Irresistible Kit Kat Cookies for a Chewy Chocolate Treat
Ingredients
Equipment
Method
- Preheat your oven to 350°F (175°C) and line two baking sheets with parchment paper.
- In a large mixing bowl, cream the unsalted butter, granulated sugar, and brown sugar together until light and fluffy (2-3 minutes).
- Add one egg, egg yolk, and vanilla extract to the mixture, beating until well combined (about 1 minute).
- In a separate bowl, whisk together the flour, cocoa powder, salt, baking powder, and baking soda.
- Gradually add the dry ingredients to the wet ingredients, mixing until just combined.
- Gently fold in the chopped Kit Kats and chopped chocolate until evenly distributed in the dough.
- Scoop portions of dough onto the prepared baking sheets, spacing them about 2 inches apart.
- Bake the cookies for 10-12 minutes, ensuring the edges are set but the centers remain soft.
- After baking, cool the cookies on the baking sheets for about 5 minutes before transferring to wire racks.
Leave a Reply