
The enticing scent of brown butter wafting through my kitchen is a sure sign that something magical is underway. As the butter transforms into a rich, nutty elixir, it kicks off the process for my beloved Brown Butter Chocolate Chip Cookies. These delightful treats not only boast an irresistible chewy-center with chocolatey goodness but also feature a gourmet touch thanks to a sprinkle of flaky sea salt. Best of all, they’re surprisingly easy to whip up, making them the perfect antidote to those nights when fast food just won’t cut it. Whether you’re treating yourself or impressing guests, these cookies are bound to become a favorite. Curious to see how a simple ingredient twist can elevate your cookie game? Let’s dive in!
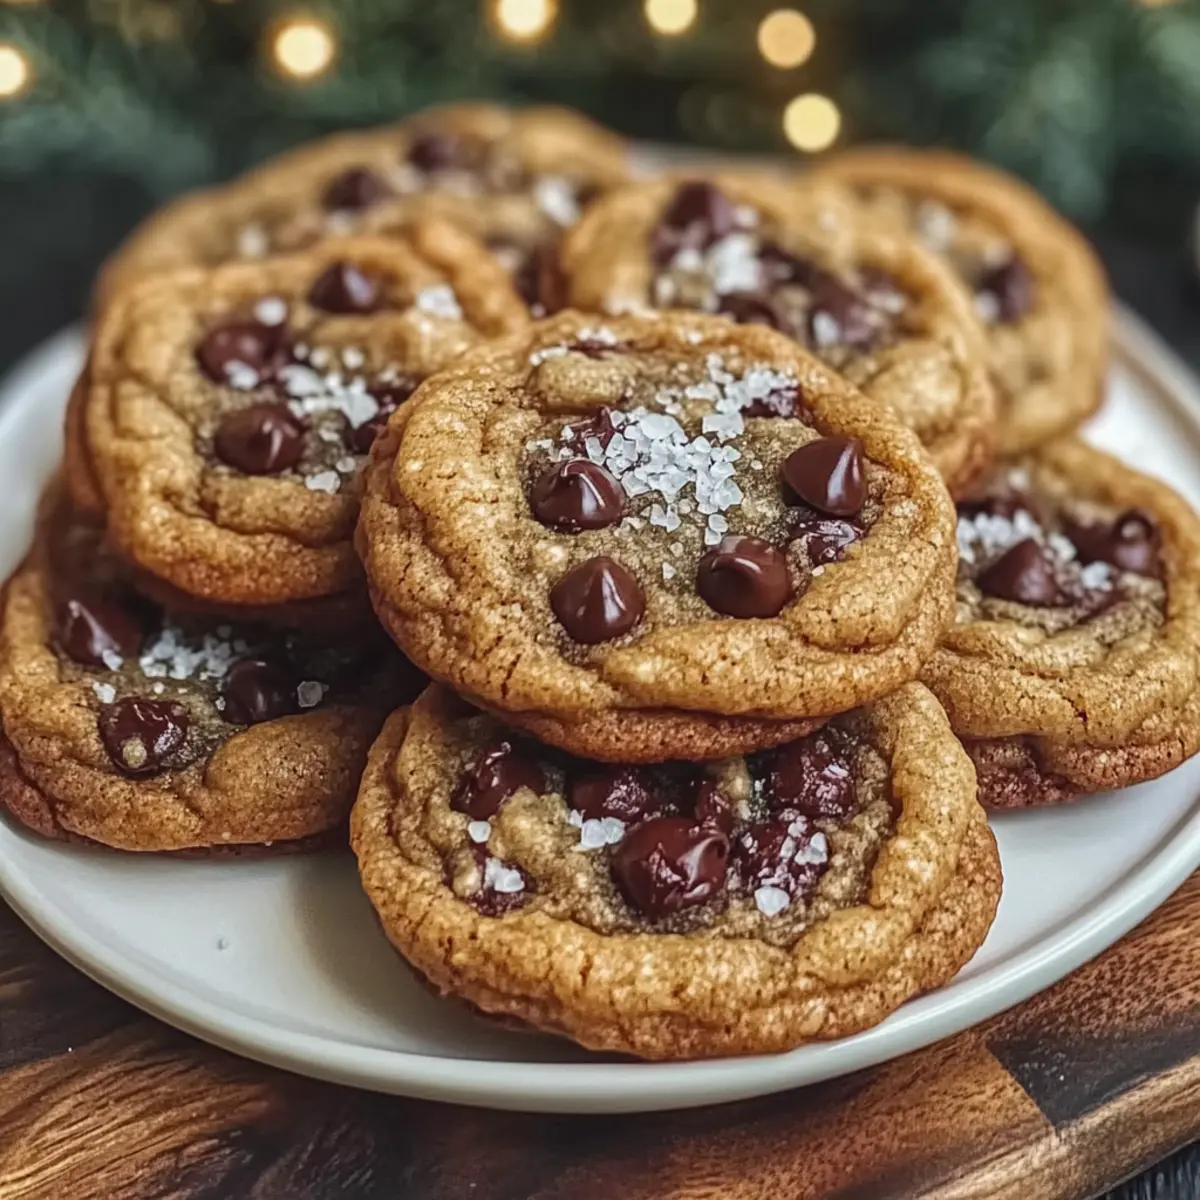
Why Are Brown Butter Cookies So Irresistible?
Irresistible Aroma: The warm, nutty scent of browned butter fills your kitchen, instantly making it feel like home.
Delightfully Easy: With just a few simple steps, you can create a gourmet batch of cookies that look and taste like they came from a bakery.
Versatile and Customizable: Feel free to experiment! Whether you switch up the chocolate chips or add nuts, there’s room for your personal touch.
Perfect for Sharing: Warm and gooey, these cookies are sure to impress family and friends. Pair them with a glass of cold milk for a classic combination.
Diet-Friendly Options: Want to go gluten-free? No problem! Substitute with almond flour, and you’re still in for a treat.
These Brown Butter Chocolate Chip Cookies bring together comfort and sophistication, making them a must-bake for any dessert lover.
Brown Butter Chocolate Chip Cookies Ingredients
For the Cookie Dough
• Unsalted Butter – indispensable for richness and depth; use dairy-free butter for lactose-free.
• Brown Sugar – adds moisture and caramel richness; swap for coconut sugar for a lower glycemic index.
• Granulated Sugar – enhances sweetness and texture; adjust the quantity for less sweetness if desired.
• Eggs – bind and moisten the dough; remember to use room temperature eggs for better mixing.
• Vanilla Extract – adds a complex flavor note; opt for pure vanilla for the best results.
• All-Purpose Flour – provides structure; substitute with almond flour for gluten-free cookies, but expect a different texture.
• Baking Soda – helps the cookies rise and spread; ensure it’s fresh for optimal results.
For the Topping
• Flaky Sea Salt – enhances overall flavor and gives a delightful crunch; sprinkle on top immediately after baking.
For the Chocolate
• Chocolate Chips – adds luscious sweetness; choose dark chocolate for a richer flavor or milk chocolate for a sweeter bite.
These Brown Butter Chocolate Chip Cookies are about to elevate your dessert experience to a whole new level!
Step‑by‑Step Instructions for Brown Butter Chocolate Chip Cookies
Step 1: Brown the Butter
In a heavy-bottomed pan over medium heat, add the unsalted butter. Stir continuously for about 5–7 minutes, watching closely as it transforms into a deep golden brown. When you notice a nutty aroma wafting up, it’s perfectly browned. Remove from heat and let it cool slightly before incorporating it into your cookie batter.
Step 2: Mix the Sugars
In a large mixing bowl, combine the browned butter with both brown sugar and granulated sugar. Using a whisk or electric mixer, blend until the mixture is smooth and creamy, about 2–3 minutes. The sugars should fully incorporate into the melted butter, forming a luscious base for your Brown Butter Chocolate Chip Cookies.
Step 3: Add Eggs and Vanilla
Add the room temperature eggs and pure vanilla extract to your sugar mixture. Beat on medium speed until fully combined, about 1–2 minutes. The batter should appear light and fluffy, which helps create the cookies’ tender texture. This is a crucial step to ensuring your cookies rise beautifully in the oven.
Step 4: Combine Dry Ingredients
In a separate bowl, whisk together the all-purpose flour, baking soda, and a pinch of salt. Gradually add the dry ingredients to the wet mixture, mixing just until combined—this should take about 30 seconds. Be cautious not to overmix; a delicate fold maintains the heavenly chewiness of the Brown Butter Chocolate Chip Cookies.
Step 5: Chill the Dough
Cover the dough with plastic wrap and refrigerate for at least 30 minutes. This crucial step helps prevent the cookies from spreading too much during baking, ensuring they retain their shape and chewy centers. If you’re short on time, placing the dough in the freezer for 15 minutes is a great alternative.
Step 6: Preheat Oven
Meanwhile, preheat your oven to 350°F (175°C). This allows the oven to reach the perfect baking temperature while your cookie dough is chilling. A well-heated oven is essential for that crispy exterior and chewy interior that we love in our Brown Butter Chocolate Chip Cookies.
Step 7: Form Cookies
Once chilled, scoop tablespoon-sized portions of the dough onto lined baking sheets, spacing them about 2 inches apart. This spacing allows the cookies to spread without merging together. The dough may seem soft, but it will bake into the perfect cookie shape while retaining all that rich buttery flavor.
Step 8: Bake
Place the baking sheets in the preheated oven and bake for 10–12 minutes, or until the edges are set and the centers still appear soft. The cookies should be lightly golden around the edges. Remove them from the oven, as they will continue to cook slightly from the residual heat.
Step 9: Finish with Salt
As soon as you take the cookies out, sprinkle a touch of flaky sea salt on top of each one. This addition elevates the flavor and provides a delightful contrast to the sweet chocolate. It’s the finishing touch that makes these Brown Butter Chocolate Chip Cookies feel gourmet.
Step 10: Cool
Let the cookies cool on the baking sheets for about 5 minutes before transferring them to wire racks. This allows them to set up perfectly while maintaining that soft, chewy center. Enjoy the anticipation as the aroma fills your kitchen, promising a delicious treat awaits!
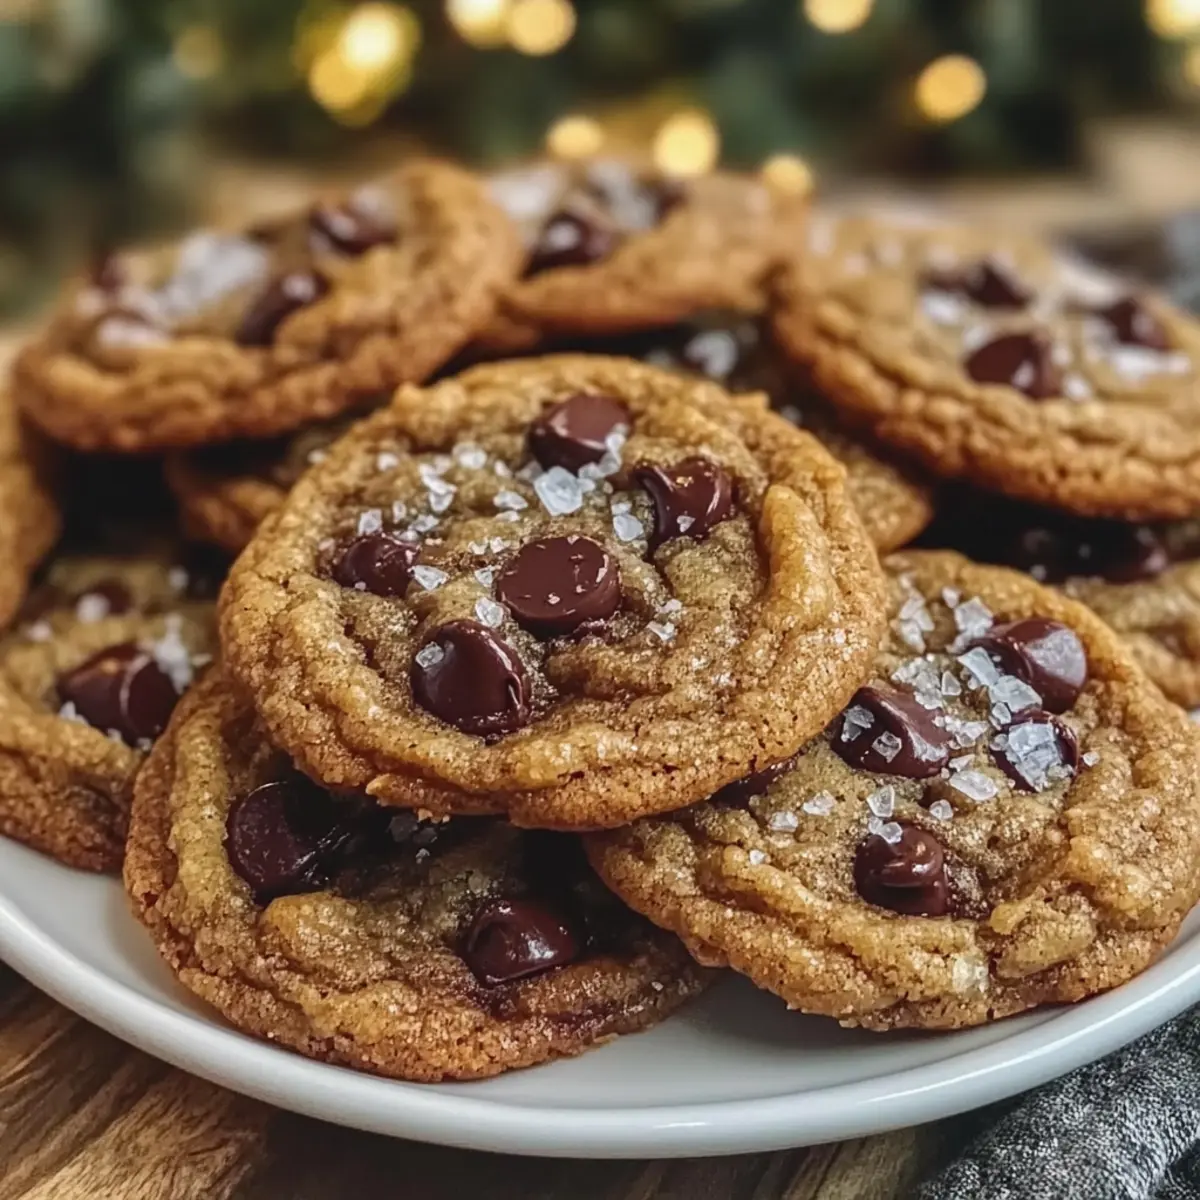
Make Ahead Options
These Brown Butter Chocolate Chip Cookies are perfect for meal prep enthusiasts who want a delightful treat without the last-minute rush! You can prepare the cookie dough and refrigerate it for up to 3 days before baking. To do this, simply follow the first five steps of the recipe, then cover the dough tightly with plastic wrap and chill. If you need to prep even further ahead, freeze the dough for up to 3 months. When you’re ready to bake, just scoop out the desired amount and allow it to thaw in the refrigerator for a few hours before baking as directed. This ensures you’ll enjoy cookies that are just as delicious as freshly made, saving you time and effort on busy weeknights!
Expert Tips for Perfect Brown Butter Chocolate Chip Cookies
• Brown Butter Wisdom: Be patient! Stir the butter consistently as it browns to avoid burning; it should reach a deep golden hue with a nutty fragrance.
• Dough Mixing: Avoid overmixing! Once the flour is added, mix until just incorporated; this preserves the softness of your Brown Butter Chocolate Chip Cookies.
• Chill for Success: Never skip the chilling step! Refrigerating the dough enhances flavor and texture, preventing overly flat cookies during baking.
• Room Temperature Eggs: Ensure your eggs are at room temperature for easy mixing, which helps achieve that perfect dough consistency.
• Perfectly Baked: Keep an eye on the baking time; remove the cookies when edges are set but centers remain soft for the ultimate chewy texture.
What to Serve with Brown Butter Chocolate Chip Cookies?
There’s nothing quite like the irresistible sweetness and nutty flavor of freshly baked cookies to make your heart sing.
-
Cold Glass of Milk: The classic pairing that balances sweetness perfectly, making every bite feel nostalgic and wholesome.
-
Rich Coffee: A warm, robust cup enhances the flavors of the brown butter, offering a delightful contrast to the cookies’ sweetness.
-
Vanilla Ice Cream: Creamy and luscious, melting ice cream over a warm cookie creates a heavenly dessert experience that’s hard to resist.
-
Caramel Sauce Drizzle: Add a touch of decadence with drizzled caramel, introducing an extra layer of flavors and a beautiful presentation.
-
Citrus Fruit Salad: A refreshing blend of oranges, strawberries, and mint offers a light contrast, brightening up the rich cookie experience.
-
Chocolate Shake: Creamy and indulgent, a rich chocolate shake echoes the cookie’s flavors, making it a fun treat for movie nights or gatherings.
-
Toasted Nuts: Serve an assortment of lightly salted toasted nuts on the side to provide a satisfying crunchy contrast to each soft, gooey cookie bite.
-
Cheese Plate: A creative combination of sharp cheddar or creamy brie adds a sophisticated twist, balancing out sweet and savory flavors wonderfully.
-
Fresh Berries: Bright and juicy, berries like raspberries or blueberries provide a burst of freshness to complement the rich chocolate in every cookie bite.
Brown Butter Chocolate Chip Cookies Variations
Feel free to get creative and customize these delightful cookies to fit your taste buds and dietary needs!
-
Gluten-Free: Substitute all-purpose flour with a gluten-free blend for a similar texture without the wheat.
-
Dairy-Free: Use a dairy-free butter or coconut oil to keep these treats lactose-free while retaining that rich flavor.
-
Nutty Crunch: Enhance texture by folding in chopped toasted pecans or walnuts to bring a delightful crunch to every bite.
-
Espresso Kick: Mix in a teaspoon of espresso powder to deepen the chocolate flavor—it’s like a coffee shop experience in a cookie!
-
Different Chocolates: Swap chocolate chips with a combination of milk and dark chocolate or even white chocolate for a sweet twist.
-
Seasonal Spices: Add a pinch of cinnamon or nutmeg to the flour mixture for a warm, cozy flavor that pairs beautifully with chocolate.
-
Heavenly Caramel: Incorporate caramel bits in addition to chocolate chips for an indulgent touch of gooey goodness.
-
Oatmeal Addition: Mix in rolled oats for a chewy texture and a more nutritious cookie—perfect for a wholesome snack!
For more delightful variations, check out our Chewy Pumpkin Chocolate or try adding flavored elements inspired by our Mint Chocolate Chip recipe! Your baking journey is just beginning, so have fun experimenting!
How to Store and Freeze Brown Butter Chocolate Chip Cookies
Airtight Container: Store cookies in an airtight container at room temperature for up to 4 days. This keeps them soft and fresh, ready to be enjoyed with a cup of coffee or milk.
Freezer: Freeze cookies in a single layer on a baking sheet until solid, then transfer to a freezer-safe bag for up to 3 months. Label the bag for easy identification later.
Reheating: To revive the perfect chewy texture, reheat the frozen cookies in a low oven (about 300°F/150°C) for 5-7 minutes. Enjoy them warm, as if they were just baked!
Chilled Dough: If you’d like to bake later, you can also freeze the unbaked cookie dough. Scoop and freeze the dough balls, then bake straight from the freezer; just add a couple of extra minutes to the baking time.

Brown Butter Chocolate Chip Cookies Recipe FAQs
How do I choose the right butter for this recipe?
Absolutely! For the best flavor in your Brown Butter Chocolate Chip Cookies, use unsalted butter, as it allows you to control the saltiness of your cookies. If you’re looking for a lactose-free option, try using dairy-free butter alternatives. Just make sure it’s a solid form to achieve that lovely browning.
What’s the best way to store my cookies?
Store your cookies in an airtight container at room temperature for up to 4 days for optimal freshness. To keep them soft and delicious, I often add a slice of bread to the container; the moisture helps maintain their chewy texture.
Can I freeze these cookies?
Definitely! To freeze, place the cookies in a single layer on a baking sheet until they’re solid. Then, transfer them to a freezer-safe bag. They can be stored for up to 3 months. Just make sure to label the bag so you know what treats you have waiting for you!
What if my cookie dough is too soft?
If your cookie dough seems too soft, not to worry! This usually happens if it wasn’t chilled long enough or your butter was too warm. Simply pop the dough back into the fridge for another 15 minutes. Chilling helps them maintain their shape during baking and ensures that gooey center we all love.
Are there any dietary considerations for these cookies?
Yes, there are! You can make these Brown Butter Chocolate Chip Cookies gluten-free by substituting all-purpose flour with a gluten-free blend. Also, using dairy-free chocolate chips makes them vegan-friendly, ensuring everyone can indulge in this sweet treat!
How do I know when my cookies are done baking?
Great question! The cookies are perfectly baked when the edges are set but the centers still look soft and slightly underbaked. You’ll want them to be lightly golden on the edges after about 10-12 minutes. They actually continue to cook a bit after you take them out of the oven, giving you a delightfully chewy texture!
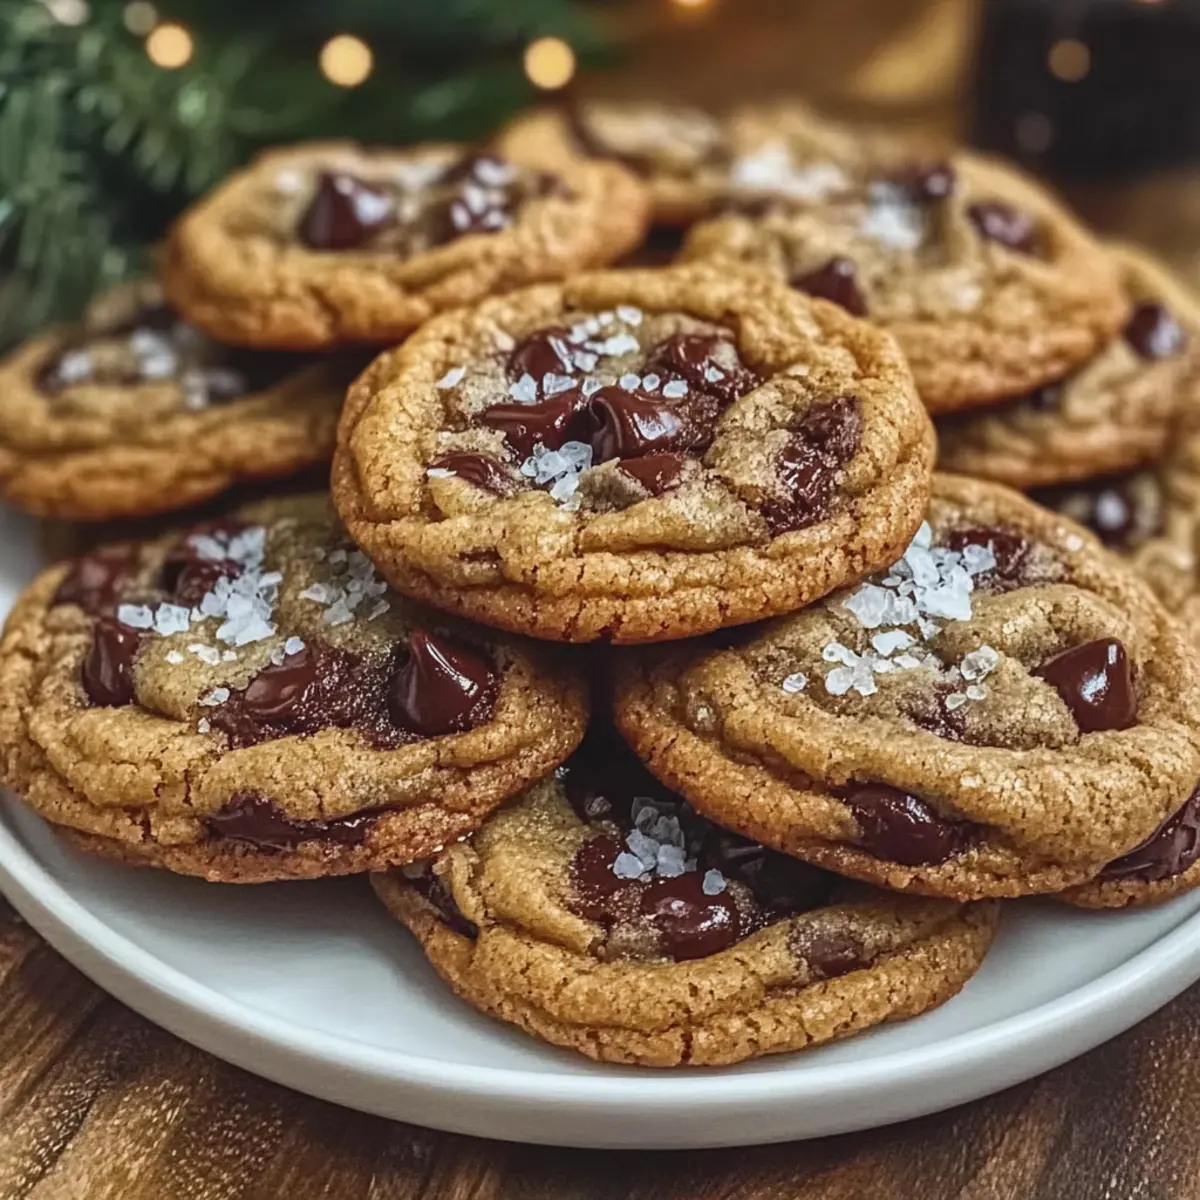
Brown Butter Chocolate Chip Cookies for the Ultimate Indulgence
Ingredients
Equipment
Method
- Brown the Butter: In a heavy-bottomed pan over medium heat, add the unsalted butter. Stir continuously for about 5–7 minutes until it turns a deep golden brown. Remove from heat and let cool.
- Mix the Sugars: Combine the browned butter with brown sugar and granulated sugar in a large mixing bowl. Blend until smooth and creamy, about 2–3 minutes.
- Add Eggs and Vanilla: Incorporate room temperature eggs and pure vanilla extract into the mixture. Beat until fully combined, about 1–2 minutes.
- Combine Dry Ingredients: Whisk together all-purpose flour, baking soda, and a pinch of salt. Gradually mix into the wet mixture until just combined.
- Chill the Dough: Cover the dough with plastic wrap and refrigerate for at least 30 minutes.
- Preheat Oven: Preheat your oven to 350°F (175°C).
- Form Cookies: Scoop tablespoon-sized portions of the dough onto lined baking sheets, spacing them about 2 inches apart.
- Bake: Bake for 10–12 minutes, or until edges are set and centers appear soft. Remove from oven.
- Finish with Salt: Sprinkle flaky sea salt on top of each cookie immediately after removing from the oven.
- Cool: Let cookies cool on baking sheets for about 5 minutes before transferring to wire racks.
Leave a Reply