
“Can you believe it? I just made the best Cheesy Garlic Breadsticks ever.” As I pulled a tray from the oven, the golden-brown sticks gleamed invitingly, promising a warm embrace of cheesy goodness. These easy-to-make treats are not just a hit for family and friends—they’re a fantastic way to create memories around the dinner table, especially on pasta night or during cozy movie marathons. Plus, they’re customizable, ensuring even the pickiest eaters find something to love. Whether you serve them alongside marinara for dipping or pair them with your favorite soup, these cheesy delights will quickly become a go-to recipe. Ready to bring warmth and joy to your kitchen? Let’s dive in and whip up these irresistible Cheesy Garlic Breadsticks together!
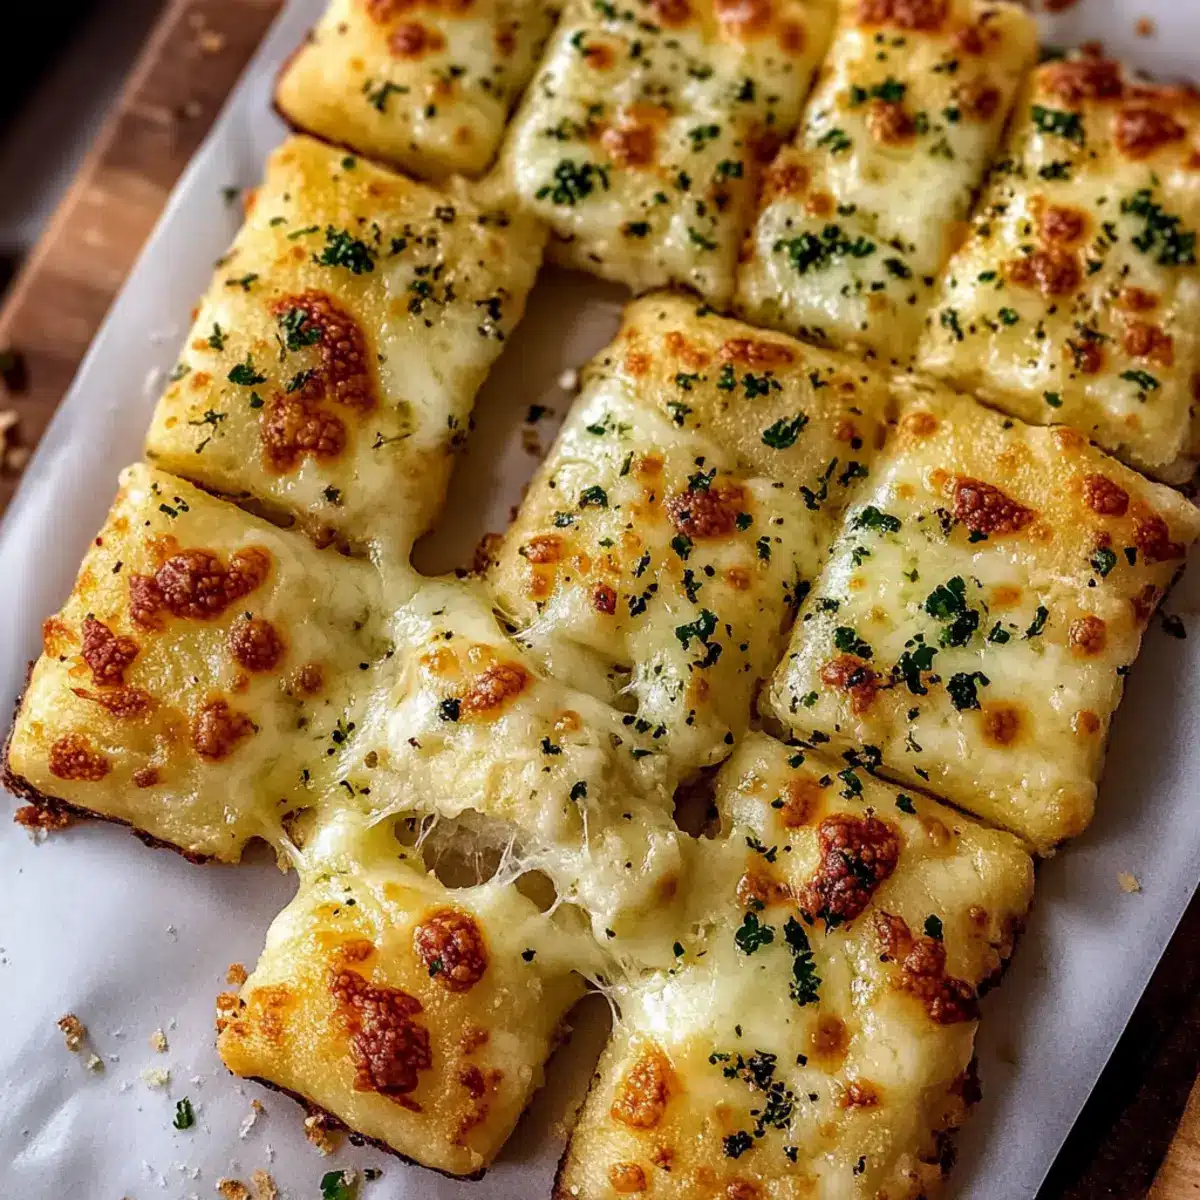
Why Are These Breadsticks So Irresistible?
Homemade Comfort: There’s nothing like the joy of making warm, Cheesy Garlic Breadsticks from scratch, filling your home with an inviting aroma that draws everyone to the kitchen.
Easy and Quick: Prep and bake in under an hour, perfect for busy weeknights or last-minute gatherings.
Customizable Goodness: Mix it up with herbs, add spices for a kick, or stuff them with your favorite ingredients—these breadsticks adapt to your cravings!
Crowd Favorite: Their cheesy, fluffy texture and golden crust make them a hit, whether it’s a family dinner or a game day snack. Serve them warm with marinara or ranch, and watch them disappear!
Satisfying Snack: These cheesy delights are not just side dishes; they’re a comforting snack that satisfies everyone, making any occasion special.
Cheesy Garlic Breadsticks Ingredients
For the Dough
- Active Dry Yeast – Essential for leavening the dough; make sure it’s fresh for proper activation.
- Warm Water (about 110°F / 43°C) – Activates the yeast; always check the temperature to avoid killing the yeast.
- Sugar – Fuels yeast activation and adds a hint of sweetness.
- All-Purpose Flour – Provides structure to the breadsticks; substitute with gluten-free flour for a gluten-free option.
- Salt – Enhances flavor and strengthens the dough.
- Olive Oil – Adds richness and moisture to the dough.
For the Toppings
- Butter (melted) – Adds flavor and a golden sheen; can be substituted with olive oil for a dairy-free option.
- Garlic (minced or powder) – Essential for flavoring and aromatic quality.
- Shredded Mozzarella Cheese – For optimal melting and cheesy texture; freshly shredded is preferred for best results.
- Shredded Parmesan Cheese – Adds a sharp, salty flavor; can swap with Pecorino Romano for a unique taste.
- Dried Italian Seasoning – Optional for added herbal flavor; sprinkle for an extra layer of taste.
With this delightful blend of ingredients, you’re just a few simple steps away from enjoying the best Cheesy Garlic Breadsticks ever that will make your home feel truly special!
Step‑by‑Step Instructions for Cheesy Garlic Breadsticks
Step 1: Activate Yeast
In a medium bowl, combine warm water (110°F or 43°C), sugar, and active dry yeast. Stir gently and let it sit for 5 to 10 minutes until it becomes foamy, indicating that the yeast is active. This step is crucial for ensuring your Cheesy Garlic Breadsticks rise beautifully, creating that soft, pillow-like texture inside.
Step 2: Make Dough
Once the yeast is foamy, add all-purpose flour, salt, and olive oil to the bowl. Mix until a rough dough forms, then transfer it to a floured surface. Knead the dough for about 5 to 7 minutes until it’s smooth and elastic. This process helps develop gluten, ensuring your breadsticks have a delightful chewy texture.
Step 3: First Rise
Transfer the kneaded dough into a greased bowl, cover it with a damp cloth or plastic wrap, and place it in a warm area. Allow the dough to rise for about 45 to 60 minutes or until it doubles in size. You’ll know it’s ready when it has expanded significantly, pulling a finger through the dough should leave an impression.
Step 4: Shape Breadsticks
Preheat your oven to 425°F (220°C). On a lightly floured surface, punch down the risen dough and roll it into a rectangle that’s about ¼ inch thick. Using a sharp knife or a pizza cutter, slice the dough into strips for your Cheesy Garlic Breadsticks, shaping them as thick or thin as you desire.
Step 5: Add Toppings
In a small bowl, mix melted butter with minced garlic. Brush this flavorful mixture over the top of the shaped breadsticks, ensuring every piece gets coated. Then, sprinkle an even layer of shredded mozzarella and Parmesan cheese over the breadsticks, and add dried Italian seasoning if desired for extra flavor.
Step 6: Bake
Place the topped breadsticks on a baking sheet lined with parchment paper, ensuring they have some space to rise during baking. Bake in the preheated oven for 12 to 15 minutes or until the cheese is bubbling and the breadsticks are golden brown. The aroma will fill your kitchen, tempting everyone to gather around!
Step 7: Slice & Serve
Once baked, remove the Cheesy Garlic Breadsticks from the oven and let them cool slightly for about 5 minutes. Use a sharp knife or pizza cutter to slice them into individual sticks. Serve warm, paired with marinara or ranch dressing for dipping, and watch them disappear as friends and family dig in!
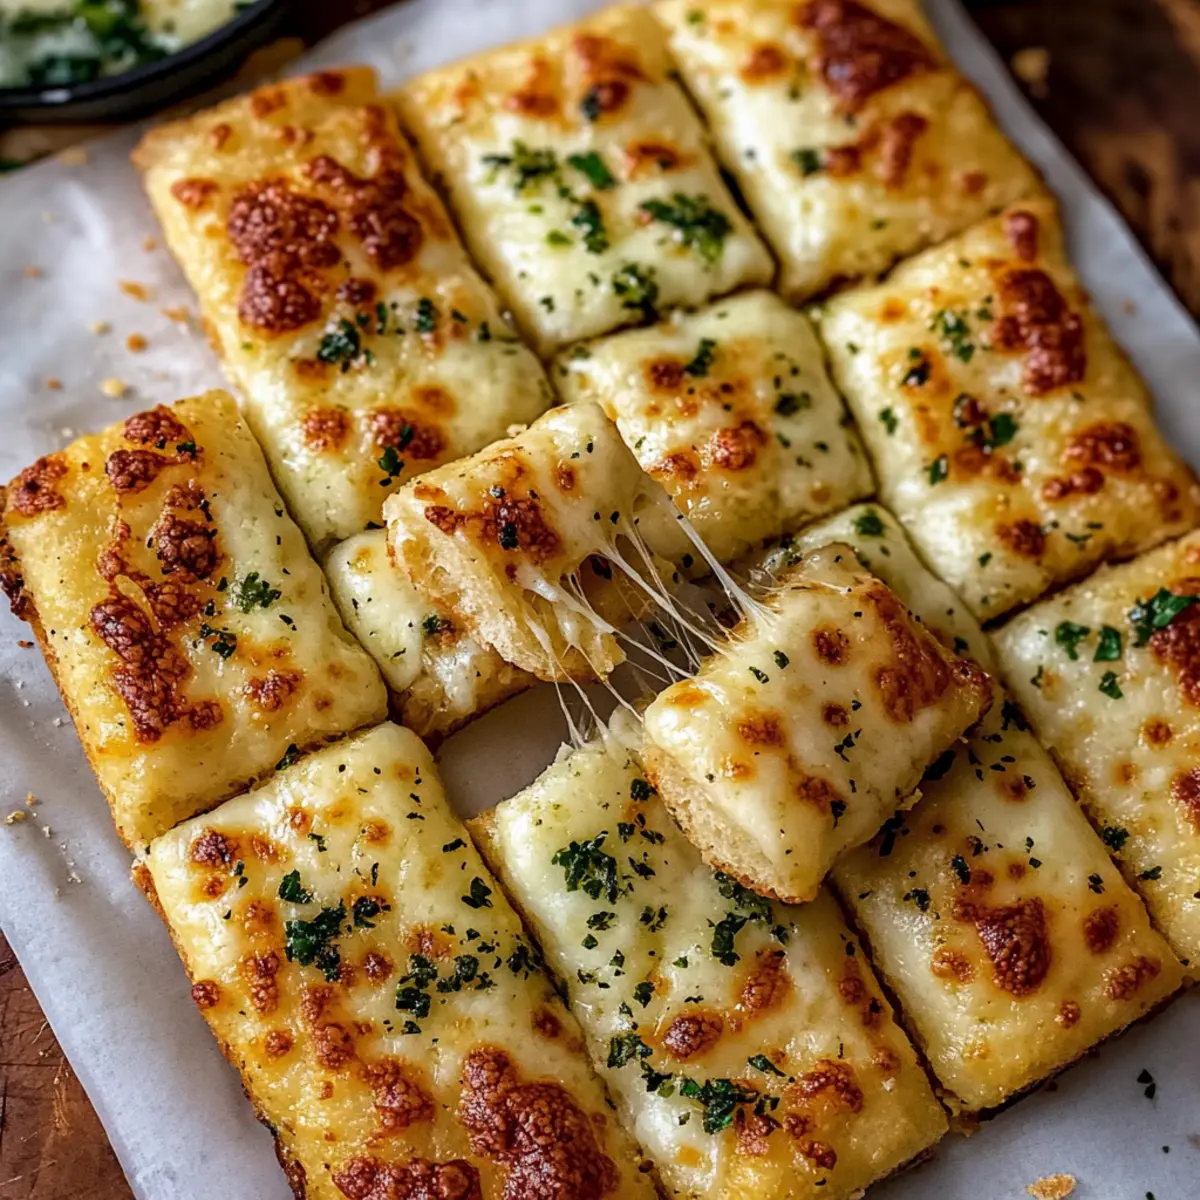
How to Store and Freeze Cheesy Garlic Breadsticks
Fridge: Store leftovers in an airtight container for up to 3 days to maintain freshness. Reheat in the oven for a few minutes to regain the crispy texture.
Freezer: For longer storage, wrap individual Cheesy Garlic Breadsticks tightly in plastic wrap and place them in a freezer bag. They can be frozen for up to 1 month.
Reheating: When ready to enjoy, reheat directly from frozen in a preheated oven at 350°F (175°C) for about 10-15 minutes or until heated through.
Make-Ahead: You can prepare the dough in advance and keep it in the fridge for 1-2 days before shaping and baking, allowing for easy last-minute snacks or appetizers.
Make Ahead Options
These Cheesy Garlic Breadsticks are a fantastic option for busy home cooks looking to save time on meal prep! You can prepare the dough up to 24 hours in advance by following the first three steps, then cover it tightly with plastic wrap and refrigerate it to maintain its quality. The shaped breadsticks can also be made ahead and left to rise in the refrigerator, ready to bake when your guests arrive. Just remember, before you bake, allow them to come to room temperature for about 30 minutes. This way, you’ll enjoy perfectly warm, cheesy goodness that’s just as delightful, all with minimal effort when it’s time to serve!
Expert Tips for Cheesy Garlic Breadsticks
-
Fresh Yeast Check: Always ensure your active dry yeast is fresh; it should foam after activation for the best rise in your breadsticks.
-
Kneading Caution: Avoid over-kneading the dough. This keeps your Cheesy Garlic Breadsticks soft and fluffy rather than tough.
-
Flavor Boost: For an extra layer of flavor, mix minced garlic or herbs directly into the cheese topping before baking.
-
Serve Warm: These breadsticks are best enjoyed fresh out of the oven. Reheating can alter their crispness and texture, so serve immediately.
-
Customizable Add-Ins: Don’t hesitate to experiment with your favorite spices or cheeses. Adding red pepper flakes or fresh herbs can elevate your Cheesy Garlic Breadsticks to new heights!
What to Serve with Cheesy Garlic Breadsticks
Enjoy the warm, gooey experience of Cheesy Garlic Breadsticks as the perfect accompaniment to your favorite meals or snacks.
- Marinara Sauce: A classic pairing that offers a rich, tangy dip that beautifully complements the cheesiness.
- Ranch Dressing: Cool and creamy, ranch provides a delightful contrast to the warm, cheesy breadsticks that everyone loves.
- Creamy Tomato Soup: This comforting soup enhances the flavors of the breadsticks, creating a cozy meal for chilly evenings.
- Garden Salad: A fresh mix of greens brightens up your plate, balancing the rich flavors of the breadsticks for a complete meal.
- Stuffed Peppers: Serve alongside stuffed peppers filled with savory goodness for a heartier dinner that feels like a feast.
- Spaghetti Carbonara: The cheesy garlic breadsticks add a satisfying touch to a classic pasta dish, perfect for a family dinner.
- Grilled Veggies: Roasted or grilled vegetables provide a nice crunch and vibrancy that pairs well with the soft, cheesy texture.
- White Wine: A chilled glass of Pinot Grigio or Sauvignon Blanc enhances your dining experience, making the meal feel elegant.
- Chocolate Chip Cookies: Complete the meal on a sweet note with warm cookies, offering a delightful contrast to the savory breadsticks.
- Sparkling Lemonade: The bright, citrusy fizz refreshes your palate between bites, making every mouthful of cheesy breadsticks even more enjoyable.
Cheesy Garlic Breadsticks Variations
Feel free to get creative and customize your Cheesy Garlic Breadsticks to match your taste buds and mood!
-
Spicy Kick: Add red pepper flakes to the melted butter before brushing for a fiery twist. This heat will balance perfectly with the cheesy goodness, making every bite exciting!
-
Cheddar Lovers: Swap half of the mozzarella with sharp cheddar cheese for a bolder flavor. The rich, nutty taste will pleasantly surprise cheddar enthusiasts and elevate your breadstick game.
-
Herb Explosion: Incorporate fresh chopped herbs, like basil or rosemary, into the cheese before baking. This adds a fragrant touch that will make your kitchen smell divine while giving your breadsticks a refreshing twist.
-
Stuffed Breadsticks: Add pepperoni, sun-dried tomatoes, or even your favorite cheese inside the dough before shaping. These surprises will create delightful bursts of flavor with every bite—perfect for anyone who loves surprises!
-
Garlic Parmesan Delight: Increase the garlic flavor by mixing minced garlic into the butter and topping with extra Parmesan. This adds a lovely umami kick that pairs beautifully with the cheese.
-
Veggie Lovers: Mix in finely chopped cooked spinach or bell peppers into the cheese layer. This not only adds nutrition but also a pop of color, making your breadsticks more appealing to veggie enthusiasts.
-
Sweet Twist: For a sweet variation, drizzle honey or add a sprinkle of cinnamon sugar before serving. It sounds unexpected, but the sweet and savory combo is a remarkable treat you won’t want to miss!
Well, if you’re not ready to try these variations yet, why not serve these perfect Cheesy Garlic Breadsticks alongside a warm bowl of Crockpot Garlic Butter for an unbeatable, comforting meal? The heartwarming vibes are sure to please everyone at your table!
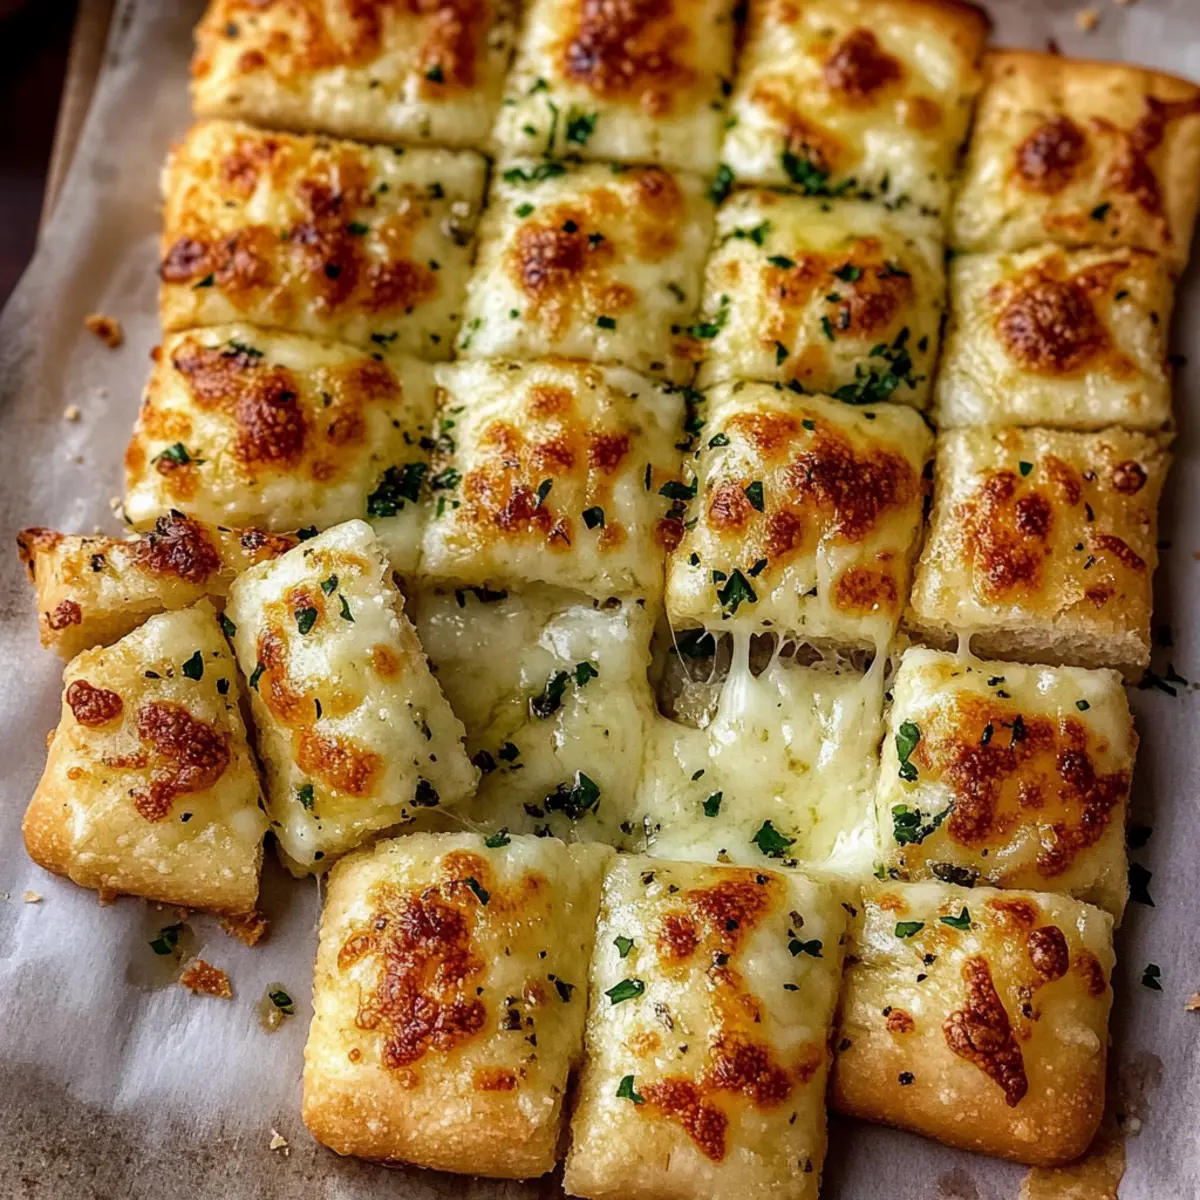
Cheesy Garlic Breadsticks Recipe FAQs
How do I choose the best ingredients for my Cheesy Garlic Breadsticks?
Absolutely! Start with fresh active dry yeast; it should be foamy when activated. For garlic, use fresh minced garlic for the best flavor, but garlic powder works too in a pinch. When selecting cheese, opt for freshly shredded mozzarella as it melts beautifully compared to pre-shredded varieties, which often contain anti-caking agents. Lastly, make sure your olive oil is high quality; this will enhance the overall taste of your breadsticks!
How should I store my leftover Cheesy Garlic Breadsticks?
Very simple! Store the leftover breadsticks in an airtight container at room temperature for up to 3 days. If you want them to stay fresher for longer, place them in the fridge, and they can last up to a week. Just remember, if you reheat them in the oven for a few minutes, they’ll regain that lovely crispiness that makes them so delightful.
Can I freeze Cheesy Garlic Breadsticks? If so, how?
Yes, you can! To freeze your Cheesy Garlic Breadsticks, wrap each one tightly in plastic wrap and place them in a zip-top freezer bag. They can be frozen for up to 1 month. When you’re ready to enjoy them, reheat from frozen in a preheated oven at 350°F (175°C) for about 10-15 minutes until warm. This method preserves their texture and cheesy goodness beautifully!
What if my breadsticks don’t rise properly?
Don’t worry! If your dough isn’t rising, it might be due to inactive yeast. Always check the yeast’s expiration date and ensure the water temperature is right—too hot can kill the yeast, while too cool won’t activate it. If the dough is too dense, you can knead it a little longer to develop the gluten. If your breadsticks still come out flat, you’ve gained a new learning experience for the next batch; always keep trying!
Are Cheesy Garlic Breadsticks suitable for those with dietary restrictions?
Yes, indeed! For a gluten-free version, substitute all-purpose flour with a gluten-free baking blend. Use dairy-free cheese for anyone who is lactose intolerant. Just ensure that your ingredients align with any specific allergies or dietary needs. Always check ingredient labels, especially for pre-packaged items like cheese and other toppings to ensure they meet your requirements.
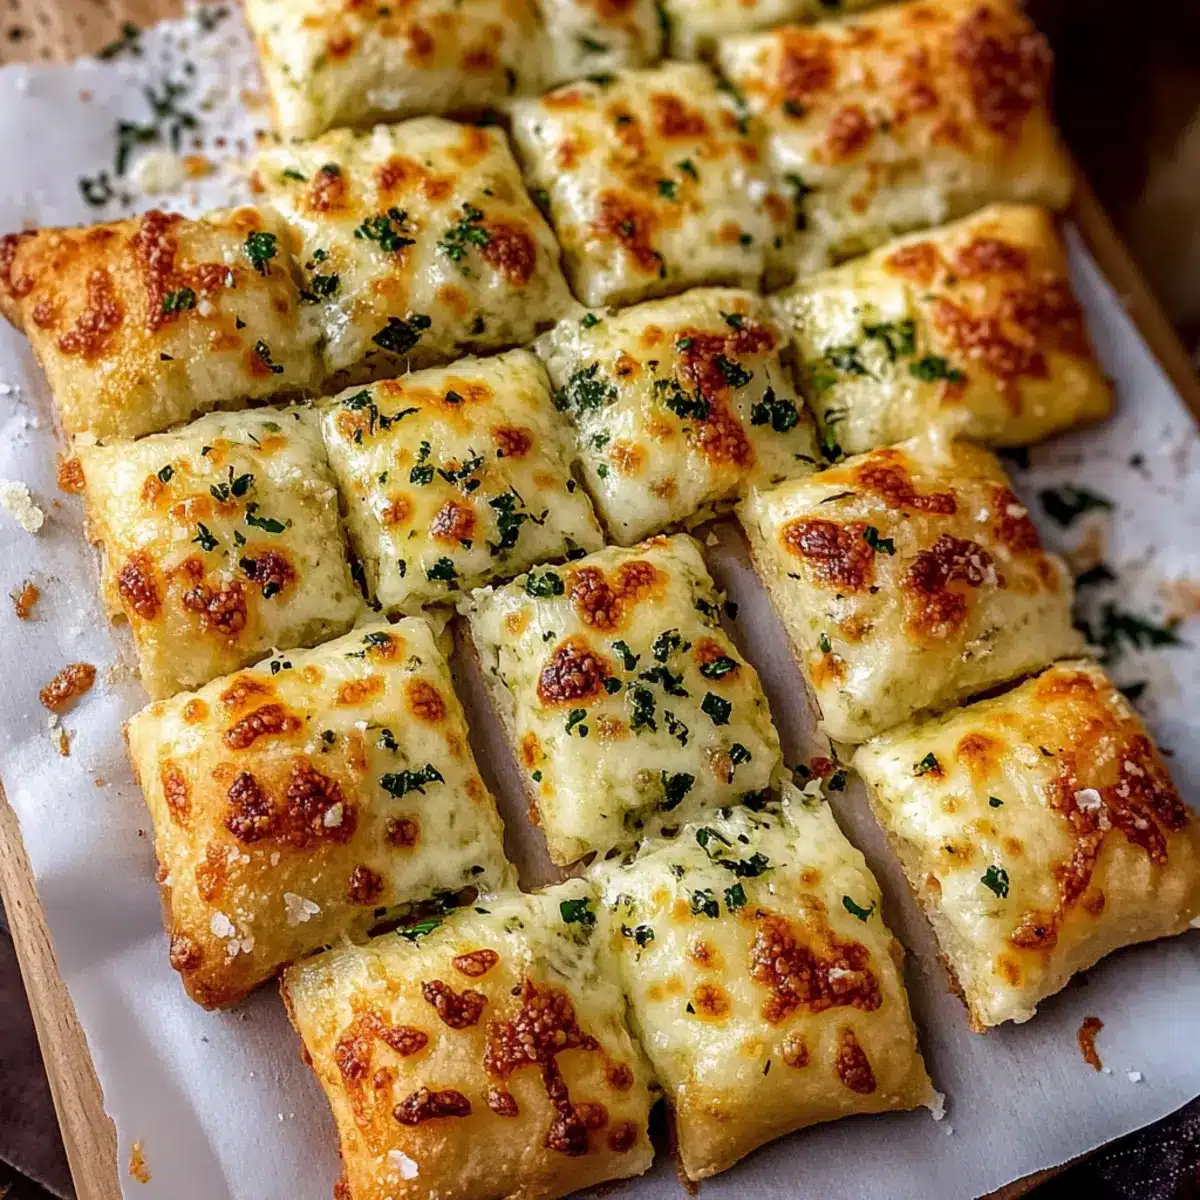
Cheesy Garlic Breadsticks – Irresistibly Soft and Gooey
Ingredients
Equipment
Method
- Activate Yeast: In a medium bowl, combine warm water, sugar, and active dry yeast. Stir gently and let it sit for 5 to 10 minutes until it becomes foamy.
- Make Dough: Add all-purpose flour, salt, and olive oil to the yeast mixture. Mix until a rough dough forms, then knead for 5 to 7 minutes until smooth.
- First Rise: Place the dough in a greased bowl, cover it, and let it rise in a warm area for about 45 to 60 minutes until it doubles in size.
- Shape Breadsticks: Preheat oven to 425°F (220°C). Punch down the dough and roll into a rectangle about ¼ inch thick. Slice into strips.
- Add Toppings: Mix melted butter with minced garlic and brush over the breadsticks. Sprinkle mozzarella and parmesan cheese on top.
- Bake: Place on a baking sheet and bake for 12 to 15 minutes until golden and bubbling.
- Slice & Serve: Let cool slightly, slice into individual sticks, and serve warm with marinara or ranch.
Leave a Reply