
Stepping into the kitchen, I can’t help but feel excited when I have a fresh zucchini in my hand—such a versatile veggie! Today, I’m thrilled to share my delicious Zucchini Enchilada Roll-Ups, a recipe that turns traditional Tex-Mex on its head while being healthy and low-carb. Swapping out tortillas for zucchini not only lightens the dish but also brings a delightful freshness to each bite. These roll-ups are packed with tender chicken and hearty black beans, making them a perfect protein-rich meal. Plus, they’re easy to prepare, so they can effortlessly fit into a busy weeknight dinner. What’s better than enjoying the cozy flavors of enchiladas without the guilt? Ready to have some fun rolling these up and impress your loved ones? Let’s dive in!
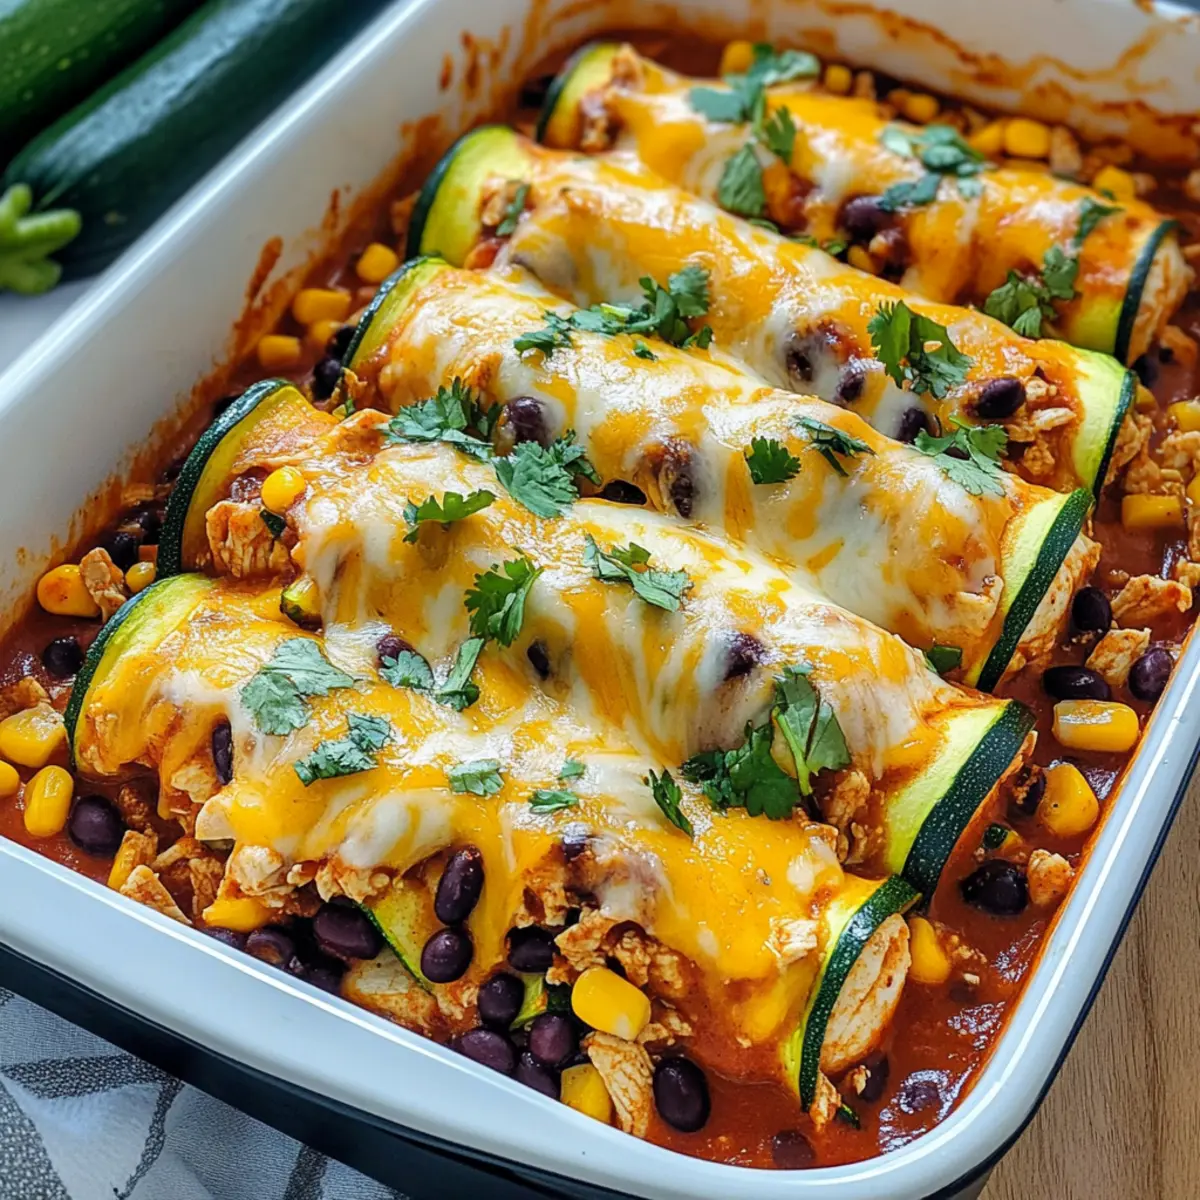
Why Zucchini Enchilada Roll-Ups Rock?
Flavorful Surprise: Each bite is bursting with the perfect blend of seasoned chicken, black beans, and gooey cheese, bringing classic enchilada flavors to life without the guilt.
Healthy Twist: Using zucchini instead of tortillas keeps this dish low-carb and gluten-free, making it an excellent choice for health-conscious eaters.
Easy to Customize: Mix it up with various cheeses or add your favorite veggies for a unique spin every time.
Quick Prep Time: These roll-ups come together in no time—perfect for busy weeknights.
Crowd-Pleasing: Serve them at your next gathering, and they’ll be the star of the show! Try pairing them with an avocado salad, or check out my delightful Mediterranean Chicken Zucchini for more zucchini inspiration!
Zucchini Enchilada Roll Ups Ingredients
For the Filling
• Cooked Chicken – Adds protein; you can use shredded or diced chicken breast for convenience.
• Black Beans – Provides fiber and texture; substitute with pinto beans if preferred.
• Corn – Offers sweetness and crunch; use fresh or frozen corn depending on what’s available.
• Enchilada Sauce – Infuses flavor and moisture; opt for gluten-free sauce if necessary.
For the Zucchini Rolls
• Zucchini – Acts as the wrapper; slice thinly for easy rolling—using a mandoline ensures consistent thickness.
• Cheddar Cheese – Adds creaminess and flavor; swap with Monterey Jack for a milder taste.
• Cilantro (optional) – Enhances freshness; feel free to omit if not preferred.
The Zucchini Enchilada Roll Ups are not only healthy but also surprisingly easy to make, offering great alternatives for home chefs looking to mix things up!
Step‑by‑Step Instructions for Zucchini Enchilada Roll Ups
Step 1: Preheat and Prepare
Start by preheating your oven to 375°F (190°C). While the oven warms up, grab a baking pan and spread ½ cup of enchilada sauce evenly across the bottom. This will create a flavorful base for your Zucchini Enchilada Roll Ups. Make sure the sauce covers the entire surface for even cooking and enhanced flavor during baking.
Step 2: Mix the Filling
In a mixing bowl, combine the cooked chicken, black beans, corn, and 1 cup of enchilada sauce. Stir well until all ingredients are fully coated with the sauce. This step is crucial for infusing the filling with delicious flavors. Set the mixture aside, allowing it to marinate while you prepare the zucchini.
Step 3: Slice the Zucchini
Using a mandoline or a sharp knife, slice the zucchini into thin strips (approximately 1/8 inch thick). Aim for consistency to ensure even rolling. The thinner the slices, the easier they will roll without breaking. Lay the slices flat on a clean surface, overlapping them slightly to create a larger surface for your roll ups.
Step 4: Assemble the Roll Ups
Take 2-3 overlapping zucchini slices and place about 2-3 tablespoons of the chicken filling onto one end. Carefully roll the zucchini around the filling, creating a tight cylinder. Ensure the seam is down when placing each roll in the prepared baking pan. Repeat this process until all filling is used, which should yield roughly 24 roll ups.
Step 5: Add Remaining Sauce and Cheese
Once all Zucchini Enchilada Roll Ups are in the baking pan, drizzle the remaining enchilada sauce over them evenly. This not only adds moisture but also enhances flavor. Sprinkle cheddar cheese generously on top, allowing it to melt beautifully during baking, creating a temptingly gooey finish.
Step 6: Bake to Perfection
Place the baking pan in the preheated oven and bake for 20-25 minutes. Watch closely as the cheese melts and the edges begin to bubble, creating a beautifully golden crust. The finished Zucchini Enchilada Roll Ups should look inviting and smell heavenly, ready to be enjoyed straight from the oven.
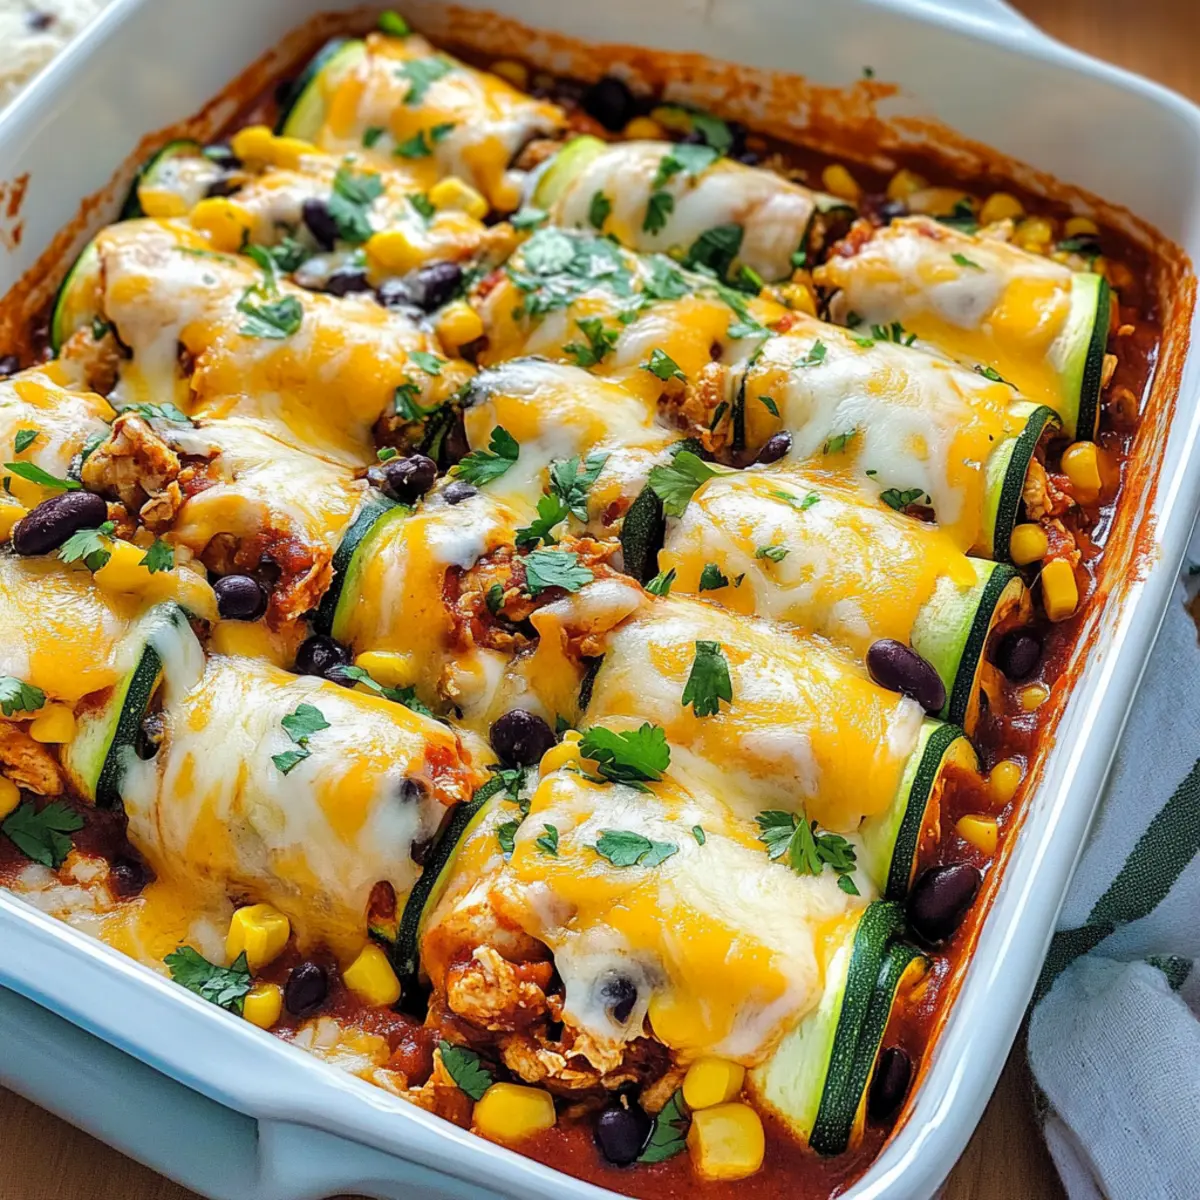
Expert Tips for Zucchini Enchilada Roll-Ups
-
Slice Thinly: Aim for zucchini slices about 1/8 inch thick; thinner slices roll better and won’t break during assembly. A mandoline makes this task a breeze!
-
Pre-cook Zucchini: Lightly grill or sauté your zucchini slices before rolling; this softens them, helping to prevent any snapping during the rolling process.
-
Filling Variations: For a vegetarian option, double the black beans and corn, or swap in roasted sweet potatoes or tofu to keep the Zucchini Enchilada Roll-Ups wholesome and satisfying.
-
Cheese Choices: Experiment with different cheeses, such as Monterey Jack for a milder flavor or jalapeño cheese for a spicy kick, enhancing the overall dish to suit your taste.
-
Sauce Preference: Choosing a gluten-free enchilada sauce is essential if you need to cater to dietary restrictions. Be sure to read the label!
-
Make-Ahead Benefits: Assemble the rolls the night before and store them in the refrigerator. Just pop them in the oven prepped for a quick and easy dinner!
Zucchini Enchilada Roll Ups Variations
Feel free to get creative with these Zucchini Enchilada Roll-Ups, enhancing the flavors and catering to various diets while keeping that delightful taste!
-
Vegetarian Delight: Replace chicken with sautéed bell peppers, mushrooms, and corn for a vibrant veggie-filled option. This twist is fantastic for embracing fresh garden flavors!
-
Cheese Swap: Experiment with different cheese blends, like pepper jack for a spicy kick or ricotta for creaminess. The fun part is discovering your favorite combination!
-
Extra Heat: Add diced jalapeños or a sprinkle of chili powder to the filling for an extra spicy element. If you love a good heat level, this variation will have your taste buds dancing!
-
Paleo-Friendly: Substitute the beans with diced squash and sweet potatoes for a paleo-approved filling. You’ll enjoy the comforting sweetness alongside the savory chicken.
-
Dairy-Free: Use a dairy-free cheese alternative or simply skip the cheese altogether to keep it truly light. It’s still flavorful and satisfying!
-
Herbal Infusion: Try mixing in chopped spinach or kale for an added nutritional boost. These greens can elevate your roll-ups while brightening the flavors!
-
Sweet and Savory: Consider adding a bit of diced pineapple or mango to the filling for a touch of sweetness that complements the savory components beautifully.
-
Serve with a Twist: Pair alongside a refreshing avocado salad mixed with lime for a bright side dish, or try it with a fun Jalapeno Popper Eggrolls recipe for an exciting meal combo!
With these variations, you’ll never get bored of these delicious Zucchini Enchilada Roll-Ups! Enjoy wrapping up new flavors!
Make Ahead Options
These Zucchini Enchilada Roll-Ups are a fantastic option for those looking to save time during busy weeknights! You can prepare the rolls up to 24 hours in advance; simply assemble them as instructed, cover tightly with plastic wrap, and refrigerate until you’re ready to bake. This not only allows the flavors to meld but also keeps your zucchini fresh and vibrant. To maintain quality, drizzle a bit of extra enchilada sauce on top before covering, as this helps prevent drying out. When it’s time to enjoy, simply preheat your oven and bake directly from the fridge, adding an extra 5 minutes to the baking time for the best texture and flavor!
What to Serve with Zucchini Enchilada Roll-Ups?
Elevate your dining experience by complementing these flavorful roll-ups with delightful sides and drinks.
-
Creamy Avocado Salad: This fresh salad adds a cool, creamy element that balances the warm, savory roll-ups perfectly.
-
Mexican Street Corn: Charred corn coated in cheese and lime complements the enchilada flavors with its sweet and tangy taste.
-
Cilantro Lime Rice: Lightly seasoned, fragrant rice pairs beautifully with the hearty roll-ups and soaks up extra enchilada sauce.
-
Spicy Black Bean Soup: A warm, zesty soup enhances the Tex-Mex theme and offers additional protein, creating a satisfying meal.
-
Grilled Vegetables: Colorful, smoky veggies add great texture and a hint of sweetness that beautifully contrasts the slight spiciness of the roll-ups.
-
Refreshing Agua Fresca: Serve a chilled fruit-infused beverage to cleanse the palate and complement the rich flavors of the dish.
-
Churros for Dessert: End the meal on a sweet note with warm, crispy churros dusted with sugar—a delightful treat after savory flavors.
How to Store and Freeze Zucchini Enchilada Roll-Ups
Fridge: Store any leftover Zucchini Enchilada Roll-Ups in an airtight container for up to 3 days. Reheat in the oven at 350°F (175°C) until heated through for best results.
Freezer: For longer storage, freeze individual roll-ups in a freezer-safe container for up to 3 months. Thaw overnight in the fridge before baking to reheat.
Assemble Ahead: You can prepare the roll-ups a day in advance and keep them in the refrigerator before baking. This way, you’re just a short time away from a delicious meal!
Reheating: To reheat frozen roll-ups, bake directly from the freezer for about 30-35 minutes at 375°F (190°C), covering with foil for the first 20 minutes to prevent over-browning.
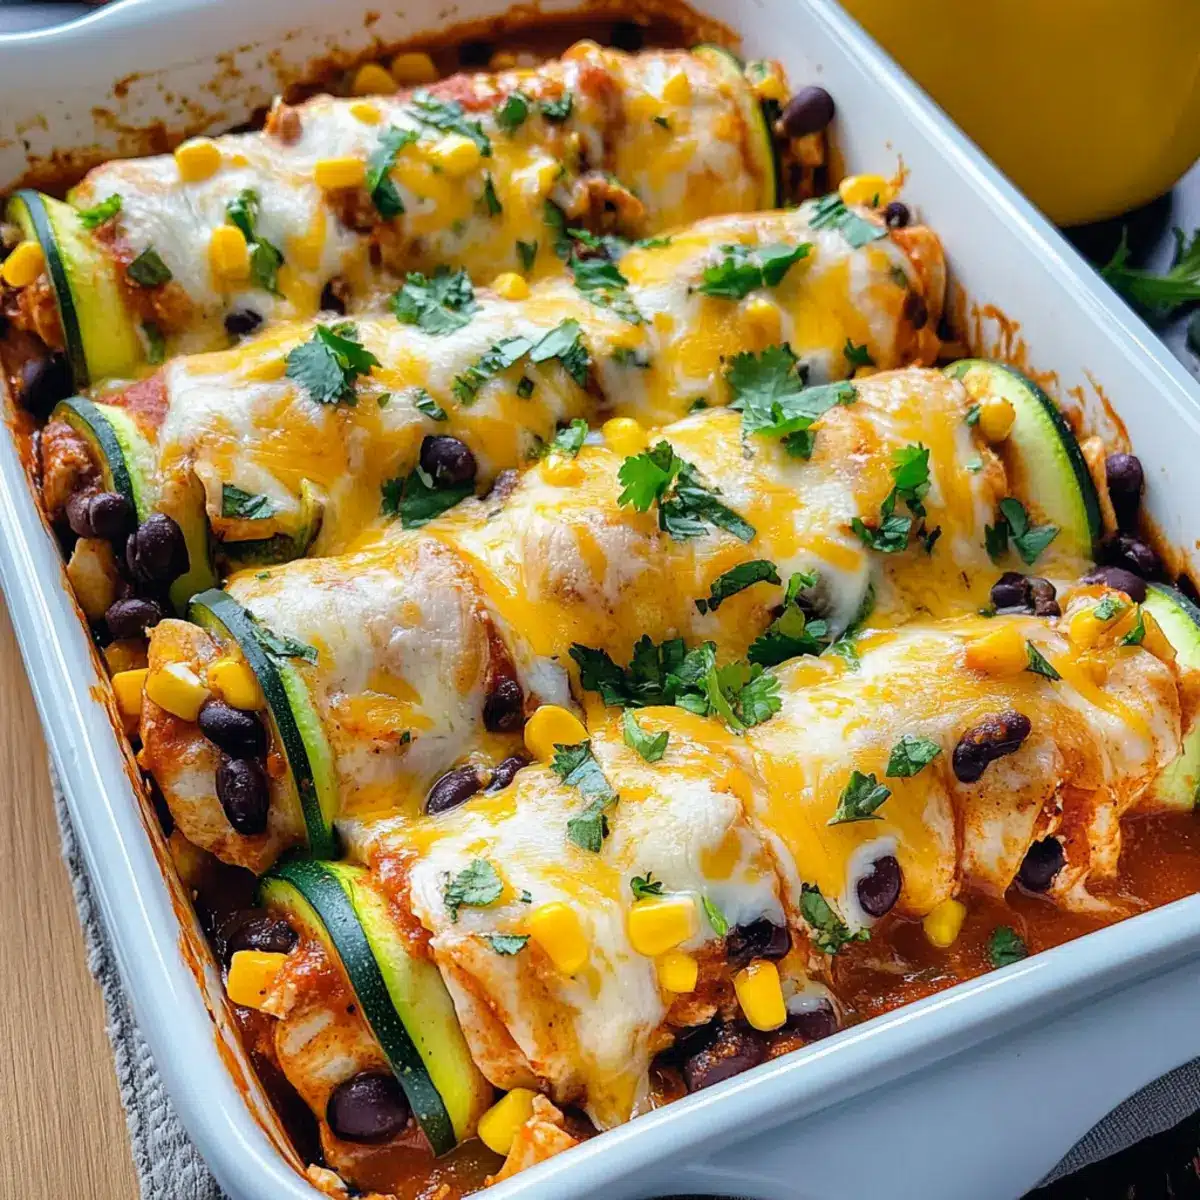
Zucchini Enchilada Roll-Ups Recipe FAQs
How do I choose ripe zucchinis for this recipe?
Absolutely! Look for zucchinis that are firm to the touch, with a smooth, shiny skin. Avoid any that have dark spots or are soft, as these can indicate overripeness. A good zucchini will also be relatively small to medium in size, as larger zucchinis can be seedy and watery.
How long can I store leftover Zucchini Enchilada Roll-Ups in the fridge?
You’ll want to enjoy your roll-ups within 3 days for optimal freshness. Store them in an airtight container to keep them moist. Reheat them in the oven at 350°F (175°C) until they are heated through. This way, the cheese remains gooey and delicious!
Can I freeze Zucchini Enchilada Roll-Ups?
Very! To freeze, place individual roll-ups in a single layer in a freezer-safe container. Layer parchment paper between them to prevent sticking, and freeze for up to 3 months. When you’re ready to enjoy, simply thaw them overnight in the fridge and bake as usual, or bake from frozen at 375°F (190°C) for about 30-35 minutes, covering with foil initially to avoid over-browning.
What should I do if my zucchini slices are breaking while rolling?
If you’re having trouble, it usually helps to slice the zucchini as thinly as possible—aim for about 1/8 inch. You can also lightly grill or sauté the slices beforehand to soften them, making them more pliable. This should help prevent snapping as you make the roll-ups!
Are Zucchini Enchilada Roll-Ups safe for those with gluten allergies?
Absolutely! Just be sure to use gluten-free enchilada sauce, which is widely available. Always check the labels to ensure all the ingredients you’re using accommodate gluten-free diets. With this minor adjustment, everyone can enjoy this dish!
Can I make these roll-ups vegan or vegetarian?
Yes, indeed! Simply double the amount of black beans and corn, or use roasted sweet potatoes or cubes of tofu in place of the chicken. Feel free to switch up the cheese with a plant-based alternative if you’re making them completely vegan. The more the merrier when customizing your flavors!
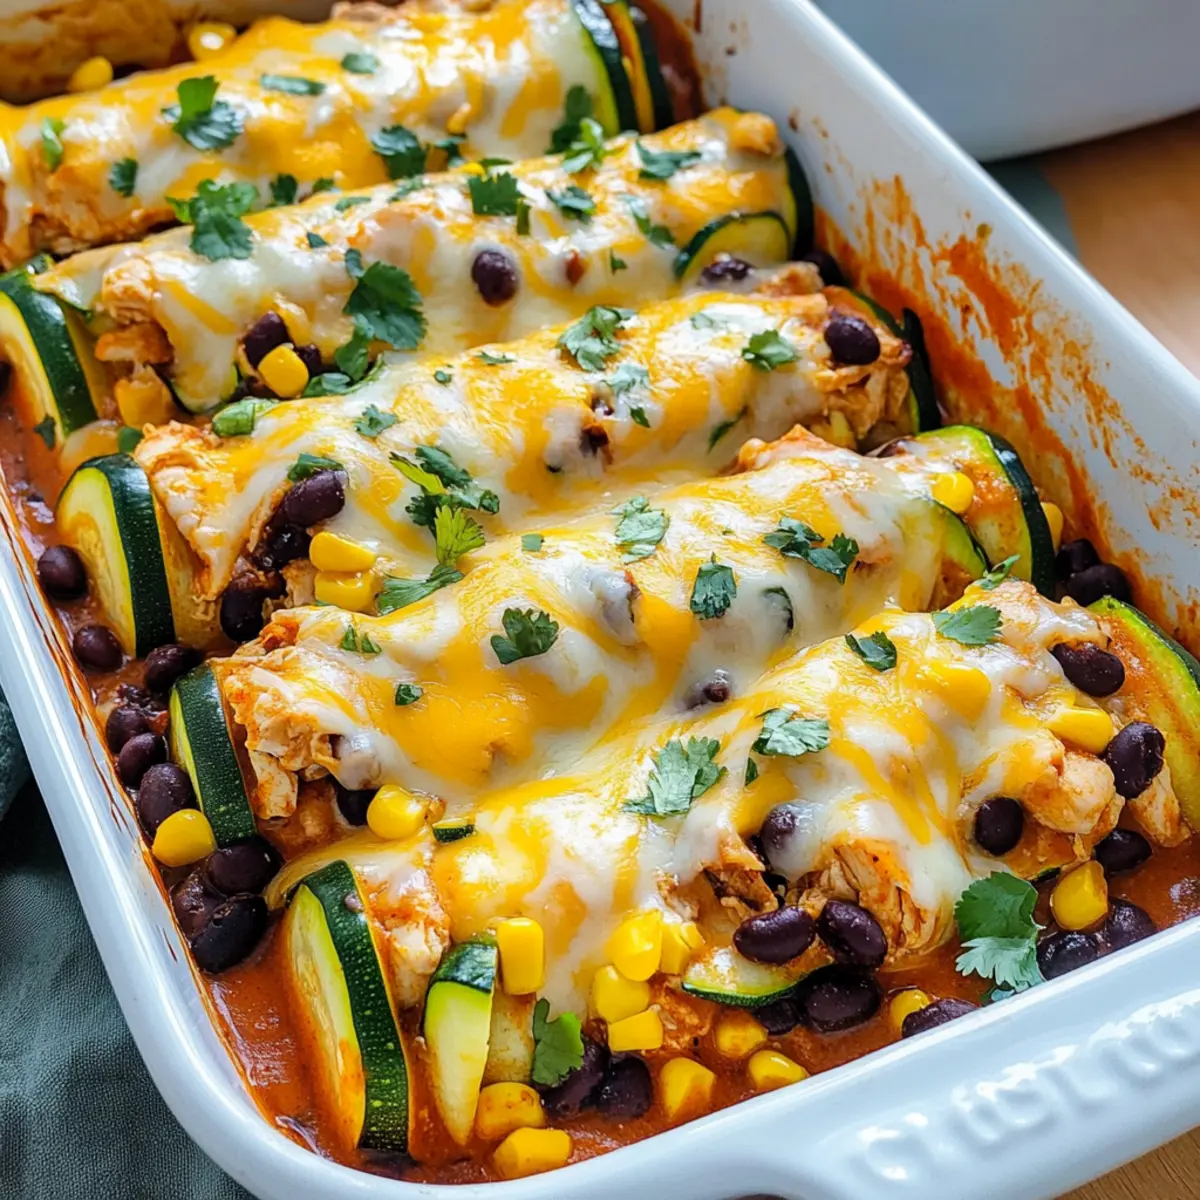
Zucchini Enchilada Roll Ups: A Guilt-Free Tex-Mex Delight
Ingredients
Equipment
Method
- Preheat your oven to 375°F (190°C) and spread ½ cup of enchilada sauce at the bottom of a baking pan.
- In a mixing bowl, combine cooked chicken, black beans, corn, and 1 cup of enchilada sauce.
- Slice zucchini into thin strips (approx 1/8 inch thick) using a mandoline for consistency.
- Take overlapping zucchini slices and place about 2-3 tablespoons of chicken filling on one end, then roll tightly.
- Drizzle remaining enchilada sauce over the roll-ups and sprinkle cheddar cheese on top.
- Bake for 20-25 minutes until cheese is melted and edges are bubbly.
Leave a Reply