
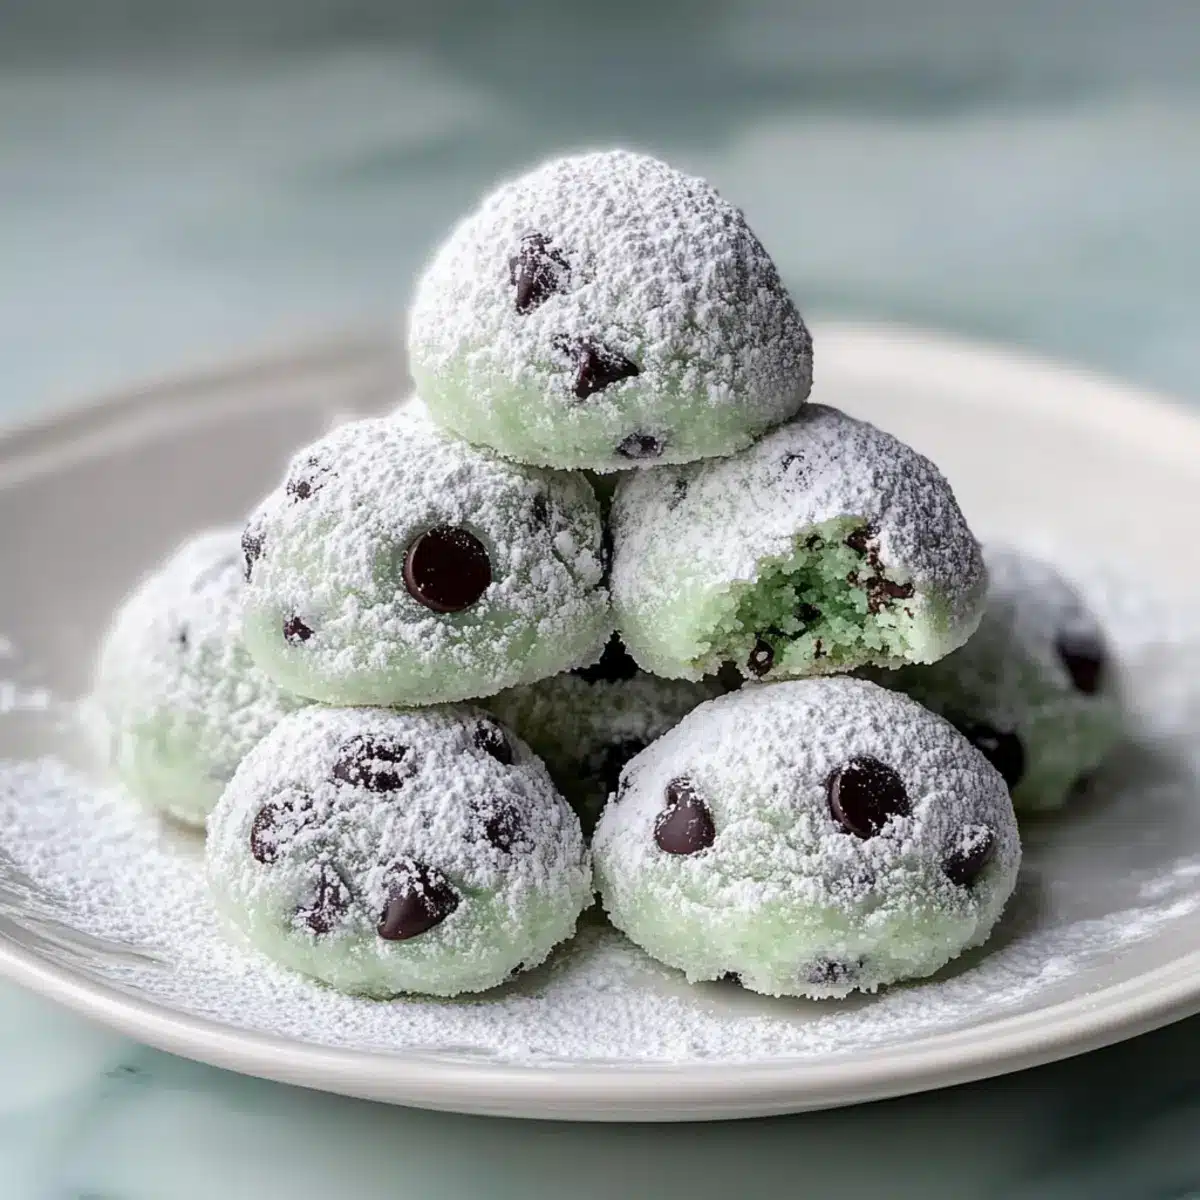
As I stood in my cozy kitchen, the aroma of melting chocolate mixed with a brisk hint of peppermint filled the air, instantly transforming my space into a holiday wonderland. Enter the star of my festive baking this season: Mint Chocolate Chip Snowball Cookies. These delightful treats are not just an enchanting twist on the classic snowball cookie, but they also offer a melt-in-your-mouth texture that turns every bite into a moment of bliss. Perfect for holiday gatherings or as heartfelt homemade gifts, their vibrant flavor and snowy appearance are sure to capture hearts. Whether you’re sharing them with loved ones or savoring them solo, this recipe promises to elevate your festive spirit. Curious about how to bring this festive magic to your holiday baking? Let’s dive in and whip up a batch!
Why are These Cookies a Must-Bake?
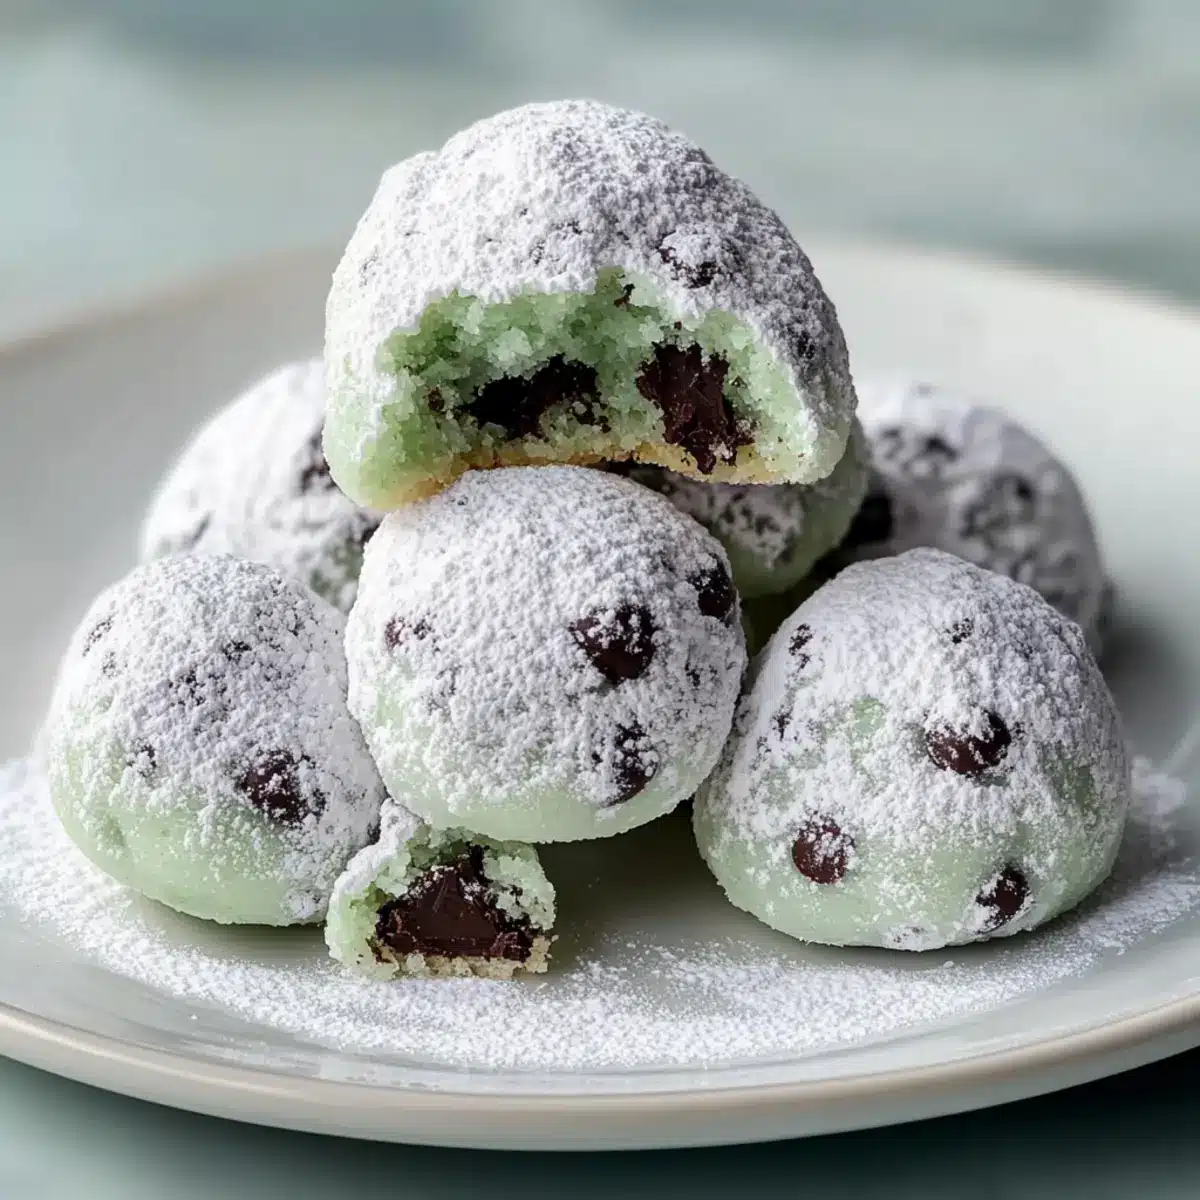
Melt-in-Your-Mouth Delight: The unique texture of these cookies offers a heavenly experience that seems to melt away.
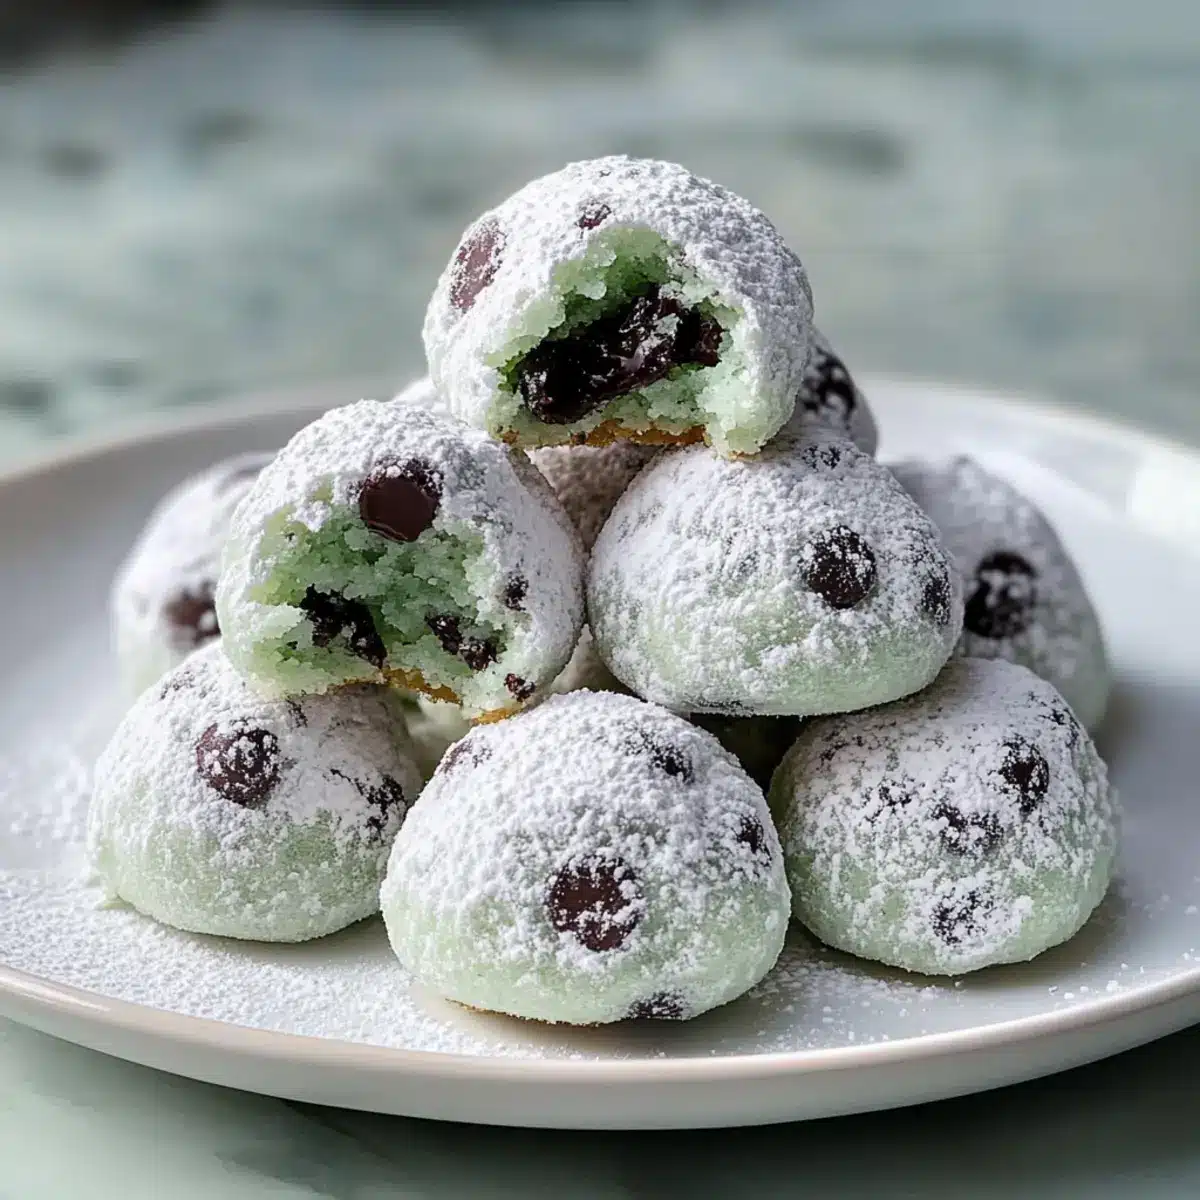
Refreshing Flavor Burst: With a perfect blend of mint and rich chocolate, each bite brings a refreshing twist that will tantalize your taste buds.
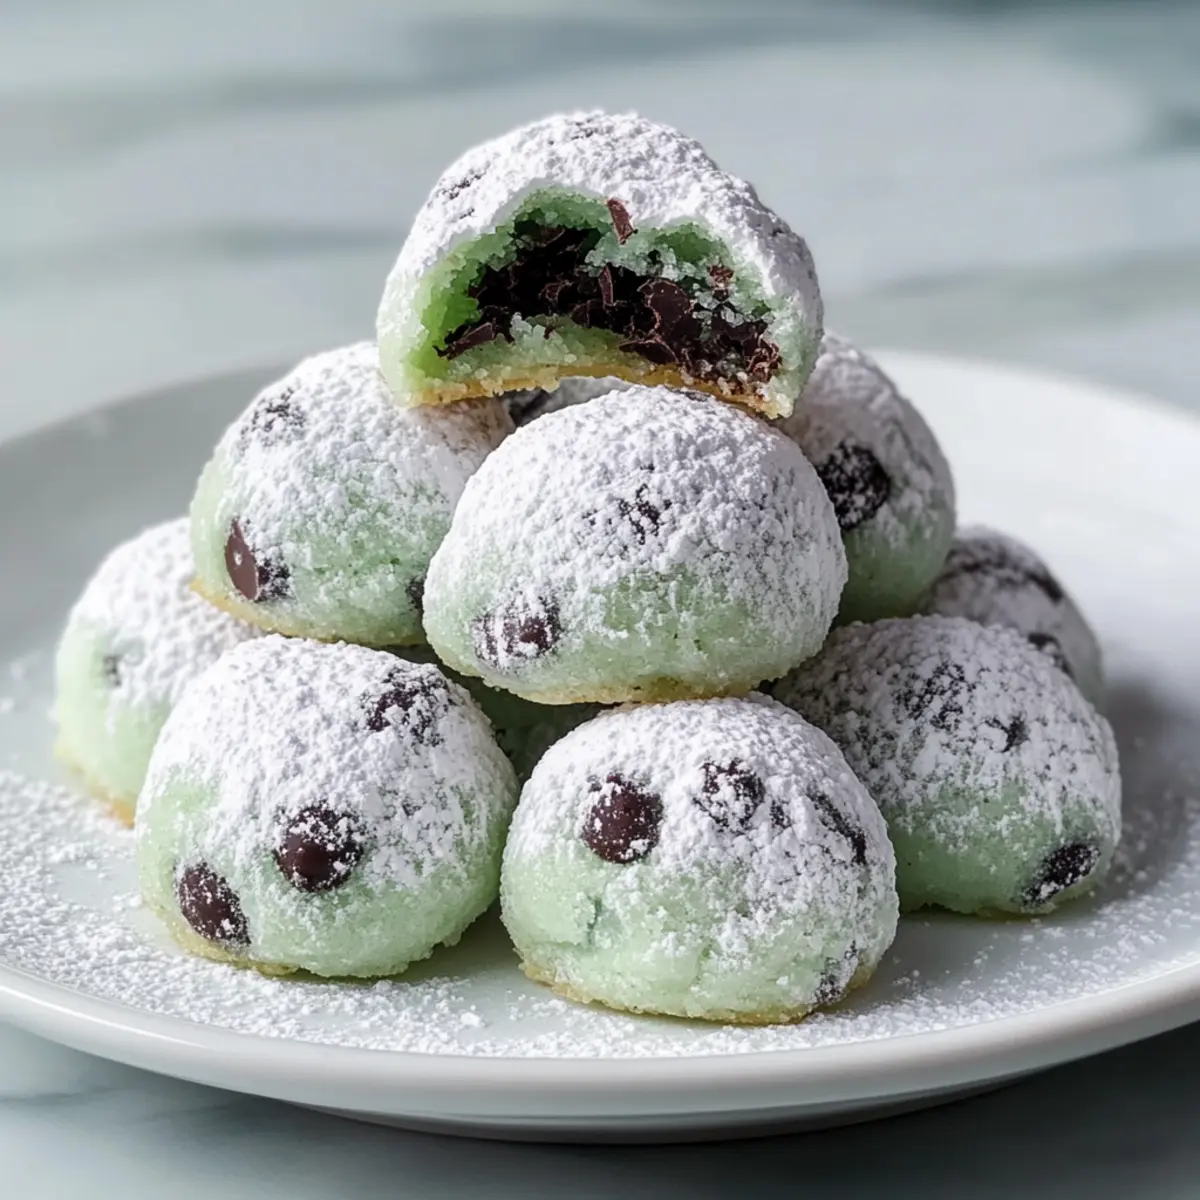
Visually Stunning: Their snowy coating not only adds elegance but also makes them perfect for festive gatherings and gifting.
Easy to Make: Even novice bakers can whip these up quickly, making them an ideal addition to your holiday baking repertoire.
Perfect Pairing Options: Serve them alongside warm beverages like hot cocoa or tea, enhancing the overall experience. Check out my recipe for Chewy Pumpkin Chocolate for another cozy treat!
Versatile Variations: Feel free to mix it up with different chocolate types or add festive touches like crushed candy canes for a delightful extra crunch!
Mint Chocolate Chip Snowball Cookie Ingredients
For the Cookie Batter
• Unsalted Butter – Provides richness and moisture; use softened butter for easier mixing.
• Granulated Sugar – Adds sweetness; can substitute with coconut sugar for a deeper flavor.
• Pure Vanilla Extract – Enhances flavor depth; avoid imitation extracts for best results.
• Peppermint Extract – Imparts minty flavor; adjust quantity for desired intensity; less is more.
• All-Purpose Flour – Forms the structure of the cookies; gluten-free flour can be used as a substitute.
• Salt – Balances sweetness and enhances flavor; essential for depth.
• Mini Chocolate Chips – Adds rich chocolate flavor; substitute with dark or white chocolate chips if desired.
For the Snowy Coating
• Powdered Sugar – Coating that gives a snowy appearance; essential for the signature look.
• Optional: Green Food Coloring – For aesthetic appeal; not necessary for flavor but adds charm.
With these ingredients on hand, you’re ready to create your own batch of delectable Mint Chocolate Chip Snowball Cookies that promise to impress!
Step‑by‑Step Instructions for Mint Chocolate Chip Snowball Cookies
Step 1: Preheat Oven
Begin by preheating your oven to 350°F (175°C). While the oven heats up, prepare your baking sheets by lining them with parchment paper to prevent the cookies from sticking. This will ensure your Mint Chocolate Chip Snowball Cookies bake evenly and come off the sheets effortlessly.
Step 2: Mix Dry Ingredients
In a medium mixing bowl, whisk together the all-purpose flour and salt until thoroughly combined. This step is crucial, as it ensures that the salt is evenly distributed throughout the flour, contributing to the overall flavor of your cookies. Set this mixture aside while you prepare the wet ingredients.
Step 3: Cream Butter and Sugar
In a large bowl, beat the softened unsalted butter using an electric mixer until it turns creamy and smooth. Gradually add the granulated sugar, continuing to beat the mixture until it’s light and fluffy, which should take about 2-3 minutes. This process is vital for achieving that melt-in-your-mouth texture in your Mint Chocolate Chip Snowball Cookies.
Step 4: Incorporate Extracts
Now, add the pure vanilla extract and peppermint extract to the butter-sugar mixture, blending them in thoroughly. If you choose to include the optional green food coloring for a festive touch, add it here as well. Mix until everything is well incorporated, and the batter is smooth and aromatic.
Step 5: Combine Ingredients
Gradually add the flour mixture to the butter-sugar mixture, mixing on low speed just until everything is combined. Be careful not to overmix, as this can lead to denser cookies. The dough should be soft yet manageable, setting the stage for your delightful Mint Chocolate Chip Snowball Cookies.
Step 6: Add Chocolate Chips
Gently fold in the mini chocolate chips using a spatula or wooden spoon, ensuring they are evenly distributed throughout the dough. This adds a rich chocolate flavor with each bite of your cookies. The mini chocolate chips will melt slightly during baking, giving each cookie a delectable surprise.
Step 7: Chill Dough
Cover the dough with plastic wrap and place it in the refrigerator to chill for 30 minutes to 1 hour. Chilling the dough is essential as it makes it easier to handle and helps to develop flavor; plus, it contributes to that lovely texture when baked.
Step 8: Form Cookies
Once chilled, use a cookie scoop or your hands to form the dough into 1-inch balls. Place the cookie balls on the prepared baking sheets, spacing them about 2 inches apart to allow for spreading during baking. Your Mint Chocolate Chip Snowball Cookies will puff up beautifully in the oven.
Step 9: Bake
Put the baking sheets in the preheated oven and bake for 10-12 minutes. Keep an eye on them; the edges should be lightly golden while the centers remain pale. This ensures that your cookies will have that melt-in-your-mouth quality, perfect for indulging during the holidays.
Step 10: Cool
Once baked, remove the cookies from the oven and let them cool on the baking sheets for about 5-10 minutes. This resting period allows them to set properly before transferring them to a wire rack, where they can cool completely.
Step 11: Coat in Powdered Sugar
While the cookies are still warm, roll them in powdered sugar. Do this twice for a snowy finish that makes your Mint Chocolate Chip Snowball Cookies visually stunning. Ensure they are completely coated for that delightful look that captures the essence of holiday cheer.
Make Ahead Options
These Mint Chocolate Chip Snowball Cookies are perfect for meal prep enthusiasts! You can prepare the cookie dough up to 24 hours in advance by chilling it in the refrigerator (this helps enhance the flavors and ensures easy handling). Form the dough into balls as directed and place them on a baking sheet lined with parchment paper, then cover tightly with plastic wrap before refrigerating. When you’re ready to bake, simply remove the dough from the fridge, space them on a new baking sheet, and bake as instructed, adding an extra minute or two if needed, for delicious, melt-in-your-mouth cookies at a moment’s notice. Enjoy the time-saving benefits while dazzling your guests this holiday season!
What to Serve with Mint Chocolate Chip Snowball Cookies
Imagine a festive table filled with delightful treats that complement the delightful flavors of these cookies, enhancing every bite.
- Hot Cocoa: The rich chocolate and creamy texture create a perfect dip for these cookies, amplifying their festive vibe.
- Peppermint Tea: A refreshing herbal option that matches the minty notes in the cookies, creating a soothing holiday experience.
- Creamy Vanilla Ice Cream: The contrast of cool ice cream against warm cookies elevates their melt-in-your-mouth texture into a heavenly delight.
- Fresh Fruit Salad: A light and vibrant medley of seasonal fruits provides a refreshing balance to the rich flavors of the cookies.
- Toasted Nuts: A sprinkle of crushed pecans or walnuts adds a satisfying crunch that pairs beautifully with the cookie’s softness.
- Caramel Sauce: Drizzling warm caramel over the cookies introduces a rich sweetness that offers another indulgent layer to enjoy.
Whether you’re hosting a holiday gathering or enjoying a cozy night at home, these pairings will elevate your Mint Chocolate Chip Snowball Cookies to new festive heights!
Storage Tips for Mint Chocolate Chip Snowball Cookies
Room Temperature: Store cookies in an airtight container for up to 3 days to maintain freshness. Keep them in a cool, dry place away from direct sunlight.
Fridge: For longer freshness, you can refrigerate the Mint Chocolate Chip Snowball Cookies in an airtight container for up to a week. Allow them to come to room temperature before serving.
Freezer: Freeze cookies for up to 3 months. Place them in a single layer on a baking sheet to freeze first, then transfer to an airtight container or freezer bag, separating layers with parchment paper.
Reheating: To enjoy warm cookies again, preheat your oven to 300°F (150°C) and reheat for about 5-7 minutes. This helps restore their melt-in-your-mouth texture and delightful flavor.
Tips for the Best Mint Chocolate Chip Snowball Cookies
-
Butter Matters: Use softened unsalted butter to achieve that rich consistency. Avoid melting the butter, as it can result in flat cookies.
-
Chill Time: Don’t skip chilling the dough! It firms up the mixture and helps prevent the cookies from spreading too much while baking.
-
Watch the Bake: Keep an eye on your cookies; they should have lightly golden edges and pale centers. Overbaking will lead to dry, crumbly cookies instead of a melt-in-your-mouth experience.
-
Double Sugar Coat: For the iconic snowy look, roll warm cookies in powdered sugar twice. This ensures a beautiful finish that enhances their festive appeal.
-
Taste Test First: If unsure about the peppermint stoutness, add a small amount of peppermint extract and taste before fully mixing. You can always add more, but it’s tough to take it back!
These tips will help you create irresistible Mint Chocolate Chip Snowball Cookies that impress everyone during the holiday season!
Mint Chocolate Chip Snowball Cookies Variations
Feel free to play with these festive cookies and create your very own minty masterpieces!
- Dairy-Free: Substitute unsalted butter with coconut oil for a luscious, plant-based option that keeps the melt-in-your-mouth feel.
- Nutty Delight: Add finely chopped pecans or walnuts for a delightful crunch and nutty flavor that beautifully complements the mint chocolate.
- Cocoa Twist: Roll your cookies in a cocoa-powdered sugar mix instead of regular powdered sugar for a rich, chocolatey finish that adds depth.
- Minty Crunch: Incorporate crushed candy canes into the cookie dough for an extra festive touch and delightful texture.
- Chocolate Lovers: Swap mini chocolate chips for dark chocolate chunks, intensifying the rich chocolate flavor and adding a touch of sophistication.
- Spice It Up: A hint of cinnamon or nutmeg can add warmth to the cookies, enhancing their holiday appeal with a cozy spice.
- Colorful Fun: Try using red or green food coloring in the dough along with the optional green for a more festive look that brightens your holiday treats!
- Chewy Oatmeal Option: For a heartier texture, mix in quick oats, transforming these cookies into delicious minty oatmeal delights.
For more variations, check out my recipe for Chewy Pumpkin Chocolate or delve into festive treats like Gingerbread Thumbprint Cookies. Enjoy creating your unique version of these Mint Chocolate Chip Snowball Cookies!
Mint Chocolate Chip Snowball Cookies Recipe FAQs
What type of butter should I use for these cookies?
You should use unsalted butter for these Mint Chocolate Chip Snowball Cookies. Ensure it is softened, as this will make mixing much easier and create a light, creamy texture. Avoid melted butter, as it can lead to flat cookies.
How should I store leftover cookies?
To keep your cookies fresh, store them in an airtight container at room temperature for up to 3 days. Alternatively, you can refrigerate them in a sealed container for about a week. Just remember to let them come to room temperature before enjoying!
Can I freeze Mint Chocolate Chip Snowball Cookies?
Absolutely! You can freeze these delightful treats for up to 3 months. Start by placing the cookies on a baking sheet in a single layer to freeze them individually. Once frozen, transfer them to an airtight container or freezer bag, separating layers with parchment paper to prevent sticking. When you’re ready to enjoy them, let them thaw at room temperature or gently reheat in a warm oven.
What should I do if my cookies spread too much while baking?
If your Mint Chocolate Chip Snowball Cookies spread too much, it’s often due to the dough being too warm or not chilled adequately. Make sure to chill the dough for at least 30 minutes before baking. Additionally, ensure your butter is softened but not melted during mixing. If all else fails, try adding a couple of tablespoons of additional flour to the dough to help maintain their shape.
Are there any allergy considerations for this recipe?
Yes! The Mint Chocolate Chip Snowball Cookies contain dairy and gluten due to the butter and flour. If you’re baking for someone with allergies, you can use a gluten-free flour blend in place of regular flour and vegan butter or margarine to make them dairy-free. Always check your chocolate chips for any potential allergens as well!
How can I enhance the mint flavor in these cookies?
To enhance the mint flavor, you can start by adding a small amount of peppermint extract and taste the dough before fully mixing. If you desire a stronger minty taste, gradually add more extract, but remember, a little goes a long way! Adding crushed candy canes as a garnish will also amp up that festive mint flavor.
Mint Chocolate Chip Snowball Cookies that Melt in Your Mouth
Ingredients
Equipment
Method
- Preheat your oven to 350°F (175°C). Line baking sheets with parchment paper.
- In a medium bowl, whisk together the all-purpose flour and salt.
- In a large bowl, beat softened butter until creamy. Gradually add sugar, beating until light and fluffy.
- Add vanilla and peppermint extracts to the mixture and blend well. Add optional food coloring.
- Gradually mix in the flour mixture until combined. Avoid overmixing.
- Fold in the mini chocolate chips until evenly distributed.
- Cover dough with plastic wrap and chill in the refrigerator for 30 minutes to 1 hour.
- Form the chilled dough into 1-inch balls and place them on the prepared baking sheets.
- Bake for 10-12 minutes until edges are golden and centers pale.
- Allow cookies to cool on sheets for 5-10 minutes before transferring to a wire rack.
- Roll warm cookies in powdered sugar twice for a snowy finish.
Leave a Reply