
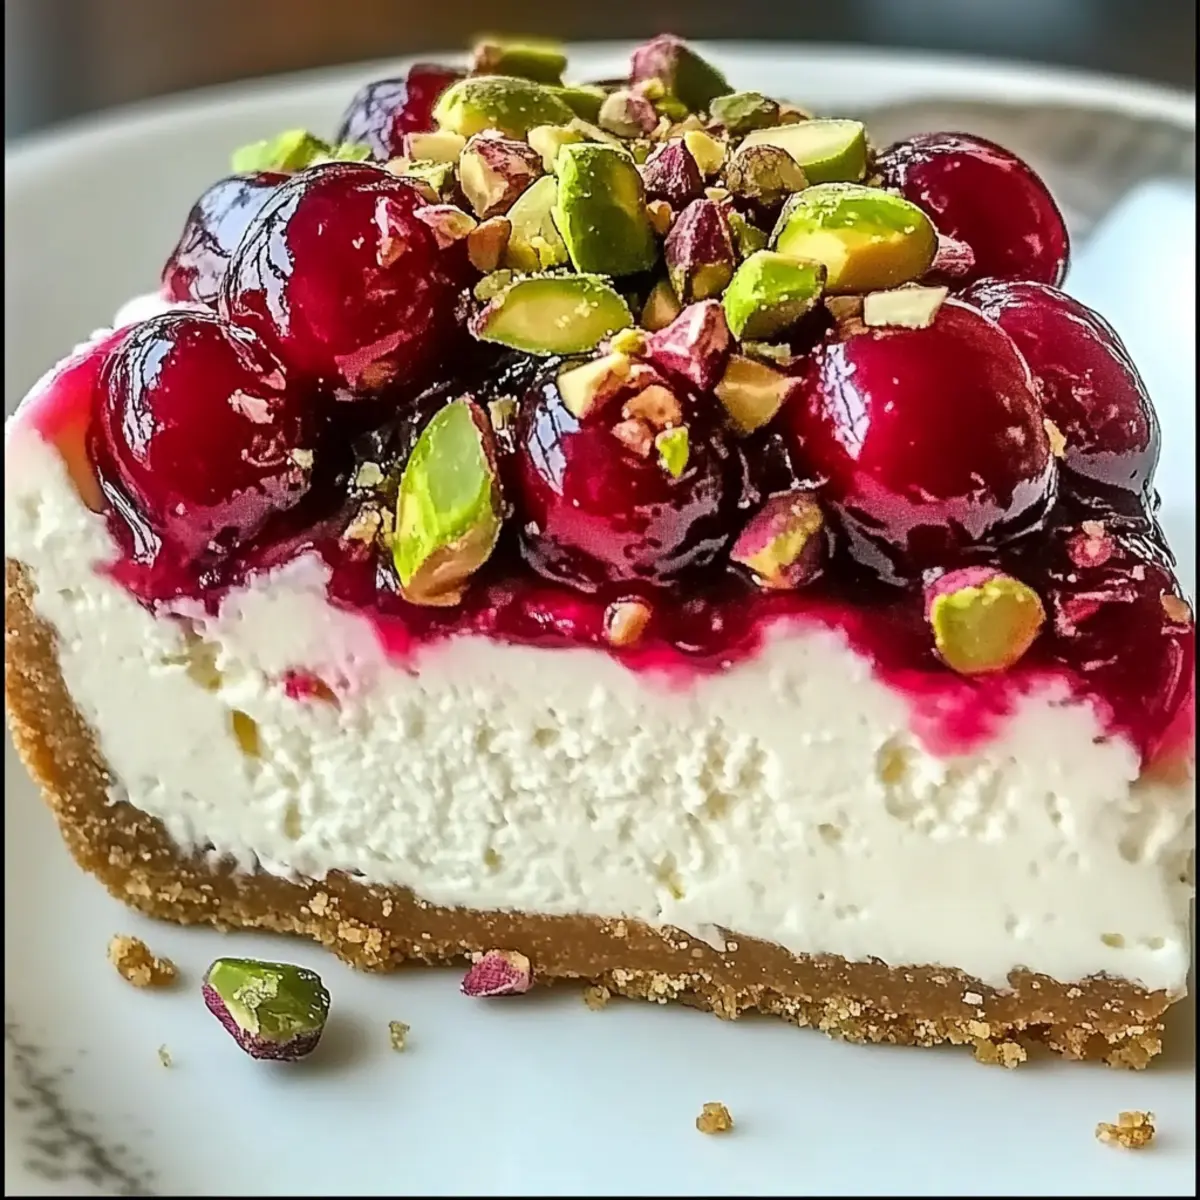
As I sliced through the velvety layers of the Cherry Pistachio Cheesecake, a blend of creamy richness and the sweet-tart pop of cherries danced on my palate. This show-stopping dessert has become a favorite in my home, impressing both family and friends alike with its stunning presentation and irresistible flavors. The versatile nature of this cheesecake allows for countless garnishes—from a dollop of whipped cream to a sprinkle of crushed pistachios—making it perfect for any occasion. Plus, the best part? You can easily prepare it ahead of time, freeing you up to enjoy the festivities! Ready to create a masterpiece that’s as delightful to make as it is to share? Let’s dive into this luscious recipe together!
Why is this cheesecake a must-try?
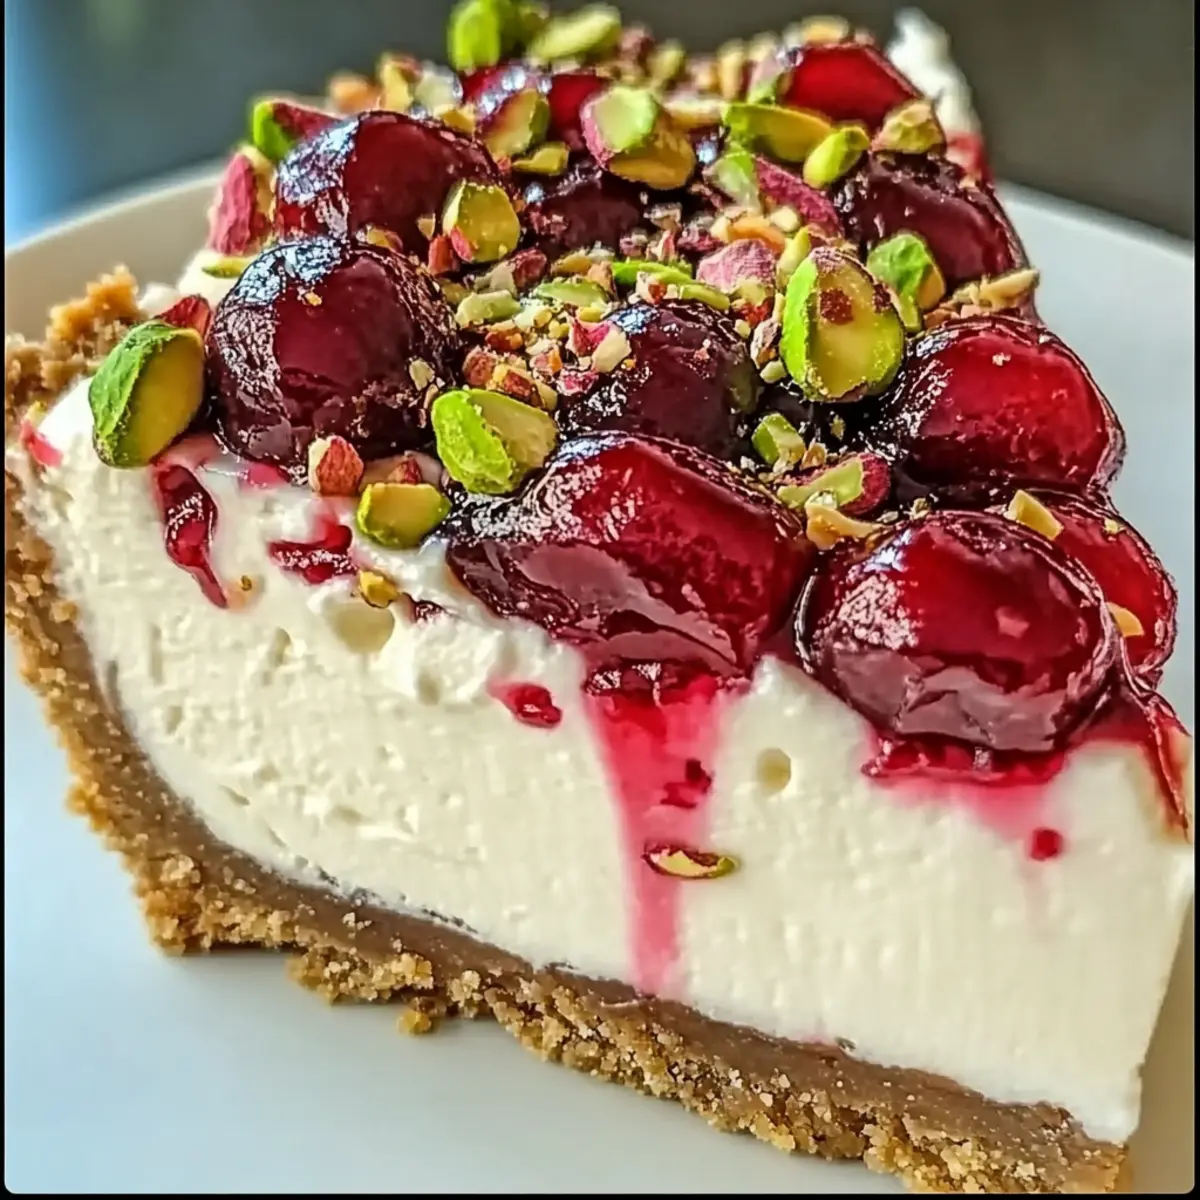
Show-stopping Appearance: The vibrant contrast of red cherries and green pistachios makes this cheesecake a real centerpiece at any gathering.
Creamy Elegance: Each slice offers a rich and smooth texture that’s both indulgent and satisfying.
Versatile Toppings: Customize your cheesecake with various toppings, like whipped cream or a drizzle of chocolate, to suit your taste.
Make-Ahead Convenience: Prepare it in advance, allowing you to serve an impressive dessert without the last-minute stress.
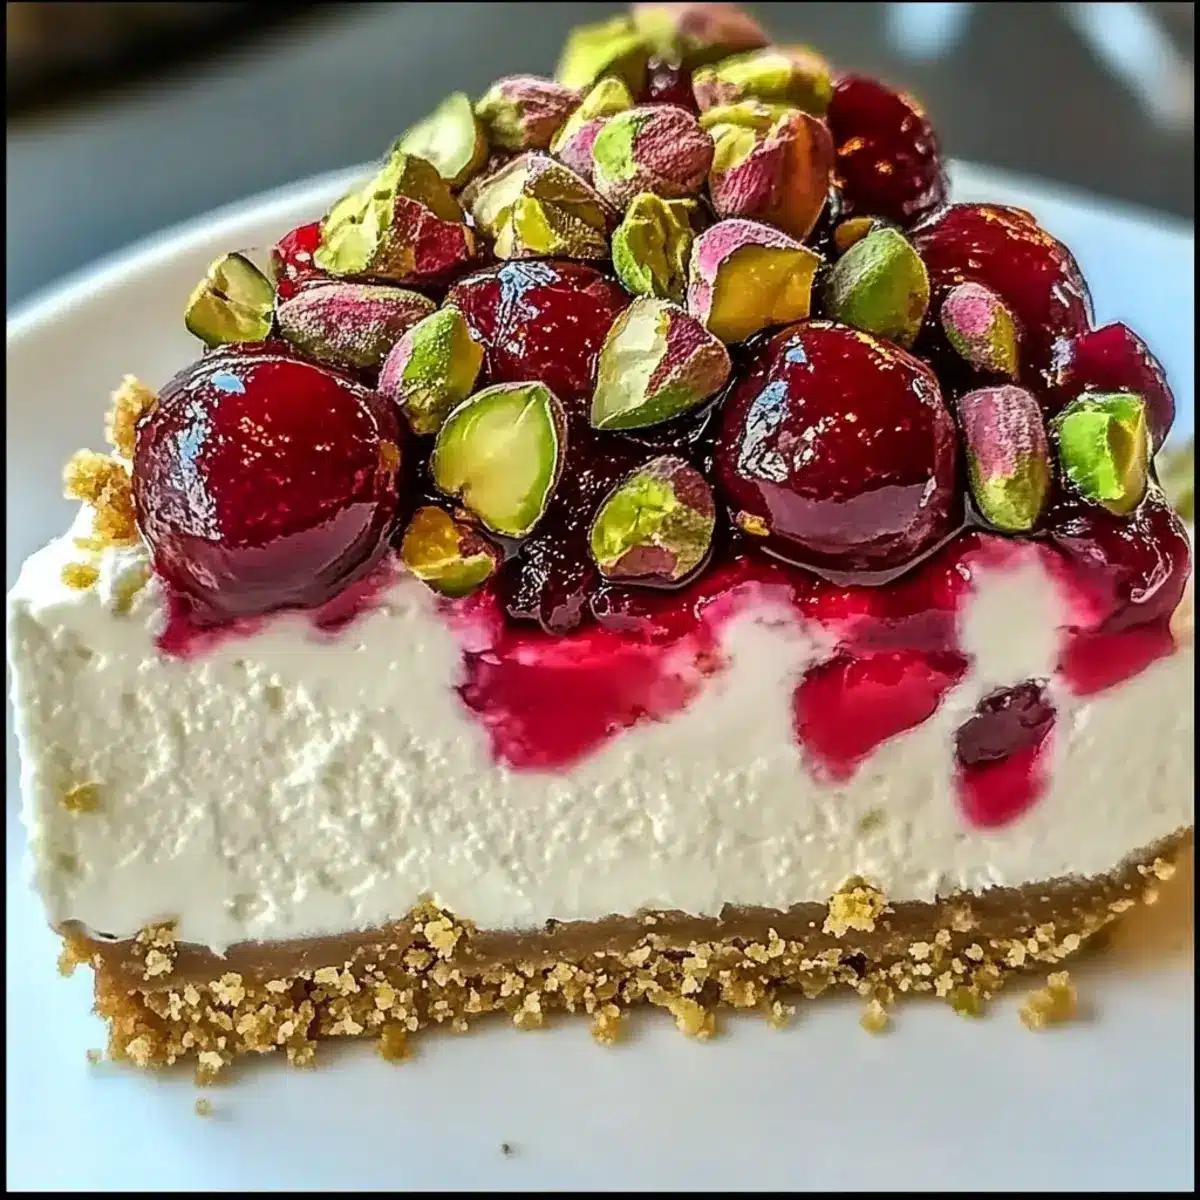
Crowd-Pleasing Flavors: The balance of sweet-tart cherries and nutty pistachios will delight your guests, making them ask for seconds!
If you love indulgent desserts, consider also trying Espresso Cheesecake Decadent or our delightful Vanilla Bean Cheesecake for more sweet inspiration!
Cherry Pistachio Cheesecake Ingredients
For the Crust
• Graham Cracker Crumbs – A base structure for the crust; substitute with crushed digestive biscuits for a different flavor profile.
• Melted Butter – Binds the crumbs together; unsalted butter is preferred for balanced seasoning.
• Granulated Sugar – Adds sweetness to the crust; brown sugar provides a deeper, caramel-like flavor.
For the Filling
• Cream Cheese – The key ingredient for creaminess; ensure it’s at room temperature for a smooth texture.
• Granulated Sugar (for filling) – Sweetens the creamy mixture; adjust based on your sweetness preference.
• Vanilla Extract – Enhances the overall flavor; almond extract can be swapped for a unique twist.
• Citrus Zest (Lemon & Lime) – Brightens the flavor profile; adjust zest amount to suit your taste.
• Large Eggs – Provide structure; avoid overmixing to prevent cracks in your cheesecake.
• Sour Cream – Adds tangy creaminess; feel free to use Greek yogurt as a substitute.
• Pistachio Pudding Mix (dry) – Intensifies the nutty flavor; it can be omitted for a simpler cheesecake.
For the Topping
• Maraschino Cherries – Sweet-tart topping that adds vibrant color; fresh cherries can elevate the flavor if patted dry.
• Chopped Pistachios – Introduces crunch and visual appeal; almonds or walnuts are great substitutes.
With these Cherry Pistachio Cheesecake ingredients, you’re well on your way to impressing your guests!
Step‑by‑Step Instructions for Cherry Pistachio Cheesecake
Step 1: Preheat the Oven and Prepare the Pan
Begin by preheating your oven to 325°F (165°C) to ensure it’s hot enough for baking. While it’s warming up, take a 9-inch springform pan and either grease it or line the bottom with parchment paper. This will make it easier to remove the cheesecake once it’s baked and cooled.
Step 2: Make the Crust
In a mixing bowl, combine graham cracker crumbs, melted unsalted butter, and granulated sugar until the mixture resembles wet sand. Press this mixture firmly into the bottom of the prepared springform pan, creating an even layer. Bake the crust in the preheated oven for 8 minutes, then remove it and allow it to cool completely while you prepare the filling.
Step 3: Prepare the Filling
In a large mixing bowl, beat softened cream cheese with granulated sugar until smooth and creamy, about 2-3 minutes. Add eggs one at a time, mixing just until combined after each addition. Stir in sour cream, pistachio pudding mix, and vanilla extract until the mixture is smooth and homogenous, avoiding overmixing to prevent cracks in your Cherry Pistachio Cheesecake.
Step 4: Bake the Cheesecake
Carefully pour the creamy filling over the cooled crust, spreading it evenly with a spatula. Place the springform pan in the oven and bake for 45-50 minutes. The edges should be set, while the center should still have a slight jiggle, indicating the perfect creamy consistency.
Step 5: Cool Gradually
After baking, turn off the oven and crack the door open to allow the cheesecake to cool gradually in the oven for about an hour. This gradual cooling helps prevent cracks from forming on the top of your cheesecake. Once cooled, remove it from the oven and let it rest for a few minutes before transferring it to the refrigerator.
Step 6: Chill the Cheesecake
Cover the cooled cheesecake with plastic wrap and chill it in the refrigerator for at least 4 hours, or overnight for optimal flavor development and texture. The longer it chills, the firmer it will become—making it easier to slice when serving your delicious Cherry Pistachio Cheesecake.
Step 7: Add the Topping
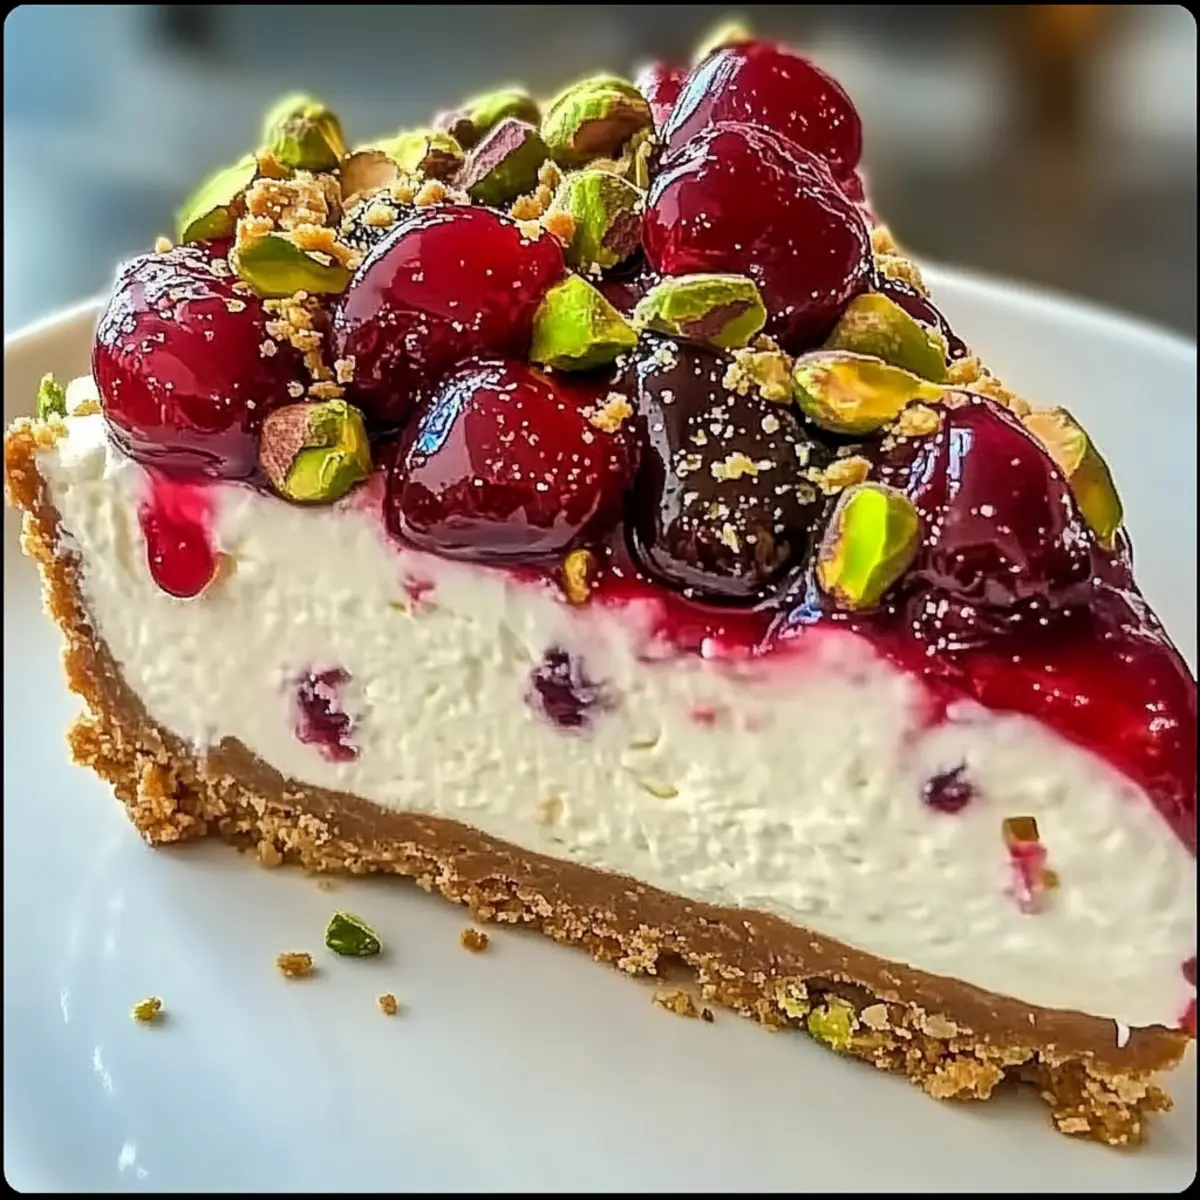
Before serving, generously top the chilled cheesecake with maraschino cherries, allowing their vibrant color to pop against the creamy filling. For an extra touch of flavor and texture, sprinkle chopped pistachios over the cherries. This simple step elevates the appearance and taste of your Cherry Pistachio Cheesecake, making it a show-stopping dessert!
Make Ahead Options
This Cherry Pistachio Cheesecake is perfect for meal prep enthusiasts! You can make the crust and filling up to 24 hours in advance, simply refrigerating them separately (the crust can be wrapped tightly once cooled). To maintain its creamy texture, make sure the cream cheese is at room temperature before mixing. Once everything is ready, bake the cheesecake and let it cool gradually as instructed. You can top it with cherries and pistachios right before serving, ensuring it remains visually stunning and delicious. This approach saves you precious time, allowing you to impress your guests without the last-minute fuss!
Tips for the Best Cherry Pistachio Cheesecake
-
Room Temperature Cheese: Allow cream cheese to soften completely at room temperature to achieve a smooth, lump-free filling—it’s crucial for a creamy texture in your Cherry Pistachio Cheesecake.
-
Gentle Mixing: Mix ingredients carefully after adding eggs to minimize air incorporation. This prevents cracks from forming, ensuring a beautifully smooth cheesecake.
-
Cooling Technique: Always let your cheesecake cool gradually in the oven with the door ajar. This method helps to prevent cracking by easing temperature changes.
-
Warm Knife for Slicing: For clean cuts when serving, run a knife under hot water and wipe it clean between slices. This small trick makes your dessert presentation look professional.
-
Chill for Best Flavor: Chilling overnight enhances the flavors—you’ll be rewarded with a richer taste and better texture in your Cherry Pistachio Cheesecake.
Cherry Pistachio Cheesecake Variations
Feel free to get creative and personalize your cheesecake experience with these tasty variations to elevate with flavors and textures!
-
Nut-Free: Omit pistachios entirely for a crunchy-free option, perfect for anyone with nut allergies. This allows the cheesecake’s creamy essence to shine through.
-
Fresh Cherries: Swap maraschino cherries for fresh or frozen cherries for a healthier, more natural flavor. Just be sure to pat them dry for the best results.
-
Chocolate Lovers: Add a layer of rich chocolate ganache before the cherry topping to create a decadent chocolate-cherry experience that will leave guests drooling!
-
Citrus Zing: Enhance the citrus notes by adding orange zest alongside lemon and lime for a bright, sunny flavor that refreshes the palette.
-
Graham Cracker Alternatives: Use crushed digestive biscuits or even Oreos for a twist on the crust. The chocolatey flavor from Oreos can add a delightful surprise!
-
Greek Yogurt: Substitute sour cream with Greek yogurt to create a lighter version of the cheesecake without sacrificing creaminess. It also provides a subtle tang.
-
Flavor Extracts: Experiment with different extracts! Instead of vanilla, try adding almond or hazelnut extract for a fragrant and nutty aroma in the filling.
-
Fruit Swirl: Create a beautiful fruit swirl by mixing some cherry puree into the filling before baking. It adds visual appeal and a hint of extra cherry flavor.
Each variation brings a new dimension to your Cherry Pistachio Cheesecake. And if you love experimenting with dessert flavors, don’t miss the chance to try our Butter Dubai Pistachio for another extraordinary sweet treat!
What to Serve with Luscious Cherry Pistachio Cheesecake
Imagine sinking your fork into a slice of this dreamy cheesecake, enhanced by delightful sides that elevate your dessert experience.
- Whipped Cream: A dollop of freshly whipped cream adds a light, airy element to your cheesecake, perfectly complementing its rich texture.
- Chocolate Ganache: Drizzle warm, silky chocolate ganache over the cheesecake for a decadent touch that contrasts beautifully with the tart cherries.
Add some fresh seasonal berries, like raspberries or blueberries, for a refreshing burst of flavor. Their tartness offers a marvelous balance to the sweetness of the cheesecake.
-
Fresh Mint Leaves: Garnish with crisp mint leaves to introduce a bright and refreshing herbal note that enhances the cherry and pistachio flavors.
-
Vanilla Ice Cream: Serve alongside a scoop of creamy vanilla ice cream to amplify the richness and provide a delightful temperature contrast.
-
Sparkling Wine: A glass of sparkling wine elevates the dessert experience, adding a celebratory feel to your gathering. Its effervescence cleanses the palate after each creamy bite!
Embrace the joy of sharing this magnificent Cherry Pistachio Cheesecake with your loved ones while complementing it with these delicious pairings for an unforgettable treat!
How to Store and Freeze Cherry Pistachio Cheesecake
Fridge: Store your Cherry Pistachio Cheesecake covered in plastic wrap in the refrigerator for up to 5 days. This helps maintain its creaminess and flavor without drying out.
Freezer: For longer storage, freeze the cheesecake (wrapped in plastic and foil) for up to 2 months. Thaw it overnight in the fridge before serving to restore its lovely texture.
Reheating: If you prefer your cheesecake slightly warmed, simply slice a piece and microwave for about 10-15 seconds. This enhances the creamy filling without compromising quality.
Make-Ahead: Prepare the cheesecake a day in advance, allowing the flavors to meld beautifully. Just cover it well and chill to keep it fresh and delightful for your guests.
Cherry Pistachio Cheesecake Recipe FAQs
How do I select the right cherries?
Absolutely! When choosing cherries, look for firm and plump fruits with a vibrant red color. Avoid any that have dark spots all over or appear wrinkled, as these can indicate overripeness. Fresh cherries will enhance the flavor significantly compared to maraschino cherries, so opt for those if you can find them!
What is the best way to store the cheesecake?
Very! To store your Cherry Pistachio Cheesecake, wrap it tightly in plastic wrap or place it in an airtight container in the refrigerator for up to 5 days. This will keep it fresh and creamy, ensuring that every slice retains its divine texture and flavor.
Can I freeze my cheesecake?
Absolutely! To freeze your cheesecake, first, let it cool completely. Then, wrap it tightly in plastic wrap, followed by a layer of aluminum foil to prevent freezer burn. You can freeze it for up to 2 months. When you’re ready to enjoy, thaw it overnight in the refrigerator for a delicious treat!
What if my cheesecake cracks during baking?
Don’t worry! Cracks can happen, but there are ways to avoid them. Ensure that you’re mixing the filling gently, especially after adding the eggs. Also, remember to cool the cheesecake slowly in the oven with the door cracked open for about an hour after baking. If you do end up with cracks, you can always cover them up with your cherry topping!
Is this cheesecake suitable for people with nut allergies?
Very! If you’re serving guests with nut allergies, simply omit the pistachios or replace them with crushed graham crackers or dairy-free toppings. The cheesecake will still be delicious without the nuts, and you can enjoy its creamy richness safely.
How long before my cheesecake should I make it?
I often recommend making your Cherry Pistachio Cheesecake a day in advance! Chilling overnight allows the flavors to meld beautifully and helps achieve the perfect texture. Just make sure to cover it well in the refrigerator so it stays fresh and inviting for your guests.
Decadent Cherry Pistachio Cheesecake to Wow Your Guests
Ingredients
Equipment
Method
- Preheat your oven to 325°F (165°C) and prepare a 9-inch springform pan by greasing it or lining it with parchment paper.
- In a mixing bowl, combine graham cracker crumbs, melted unsalted butter, and granulated sugar until the mixture resembles wet sand. Press into the bottom of the pan.
- Bake the crust for 8 minutes; allow it to cool completely.
- Beat softened cream cheese with granulated sugar until smooth. Add eggs one at a time, mixing just until combined.
- Stir in sour cream, pistachio pudding mix, and vanilla extract until smooth, avoiding overmixing.
- Pour the filling over the cooled crust and spread evenly. Bake for 45-50 minutes.
- Turn off the oven, crack the door open, and cool the cheesecake inside for about an hour.
- Chill the cheesecake in the refrigerator for at least 4 hours or overnight.
- Before serving, top with maraschino cherries and sprinkle chopped pistachios.
Leave a Reply