
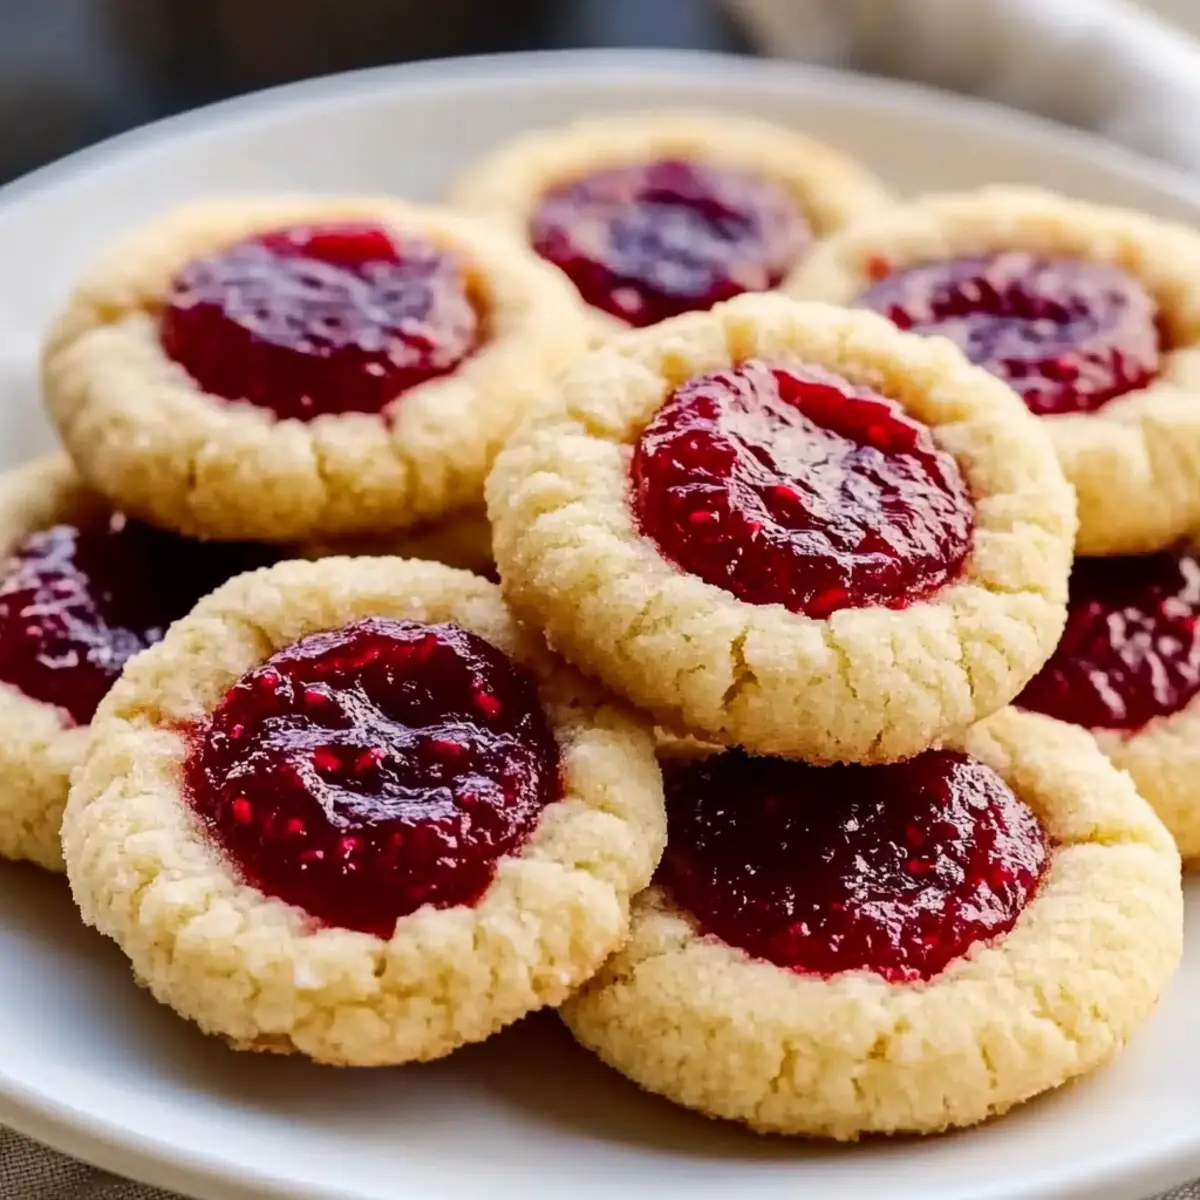
As I sift through my pantry, a jar of luscious jam catches my eye, sparking an idea that takes me straight back to cozy afternoons spent baking. These Classic Thumbprint Cookies are an enchanting way to elevate any gathering or satisfy a sweet tooth with their buttery, melt-in-your-mouth texture and a delightful jam surprise in the center. What I love most about this recipe is its versatility—feel free to get creative with various jams or even indulge in a rich Nutella filling! Plus, it’s a quick and fun way to whip up a batch that’s bound to impress family and friends. Are you ready to create some edible masterpieces that will bring everyone together? Let’s dive in!
What makes these cookies so special?
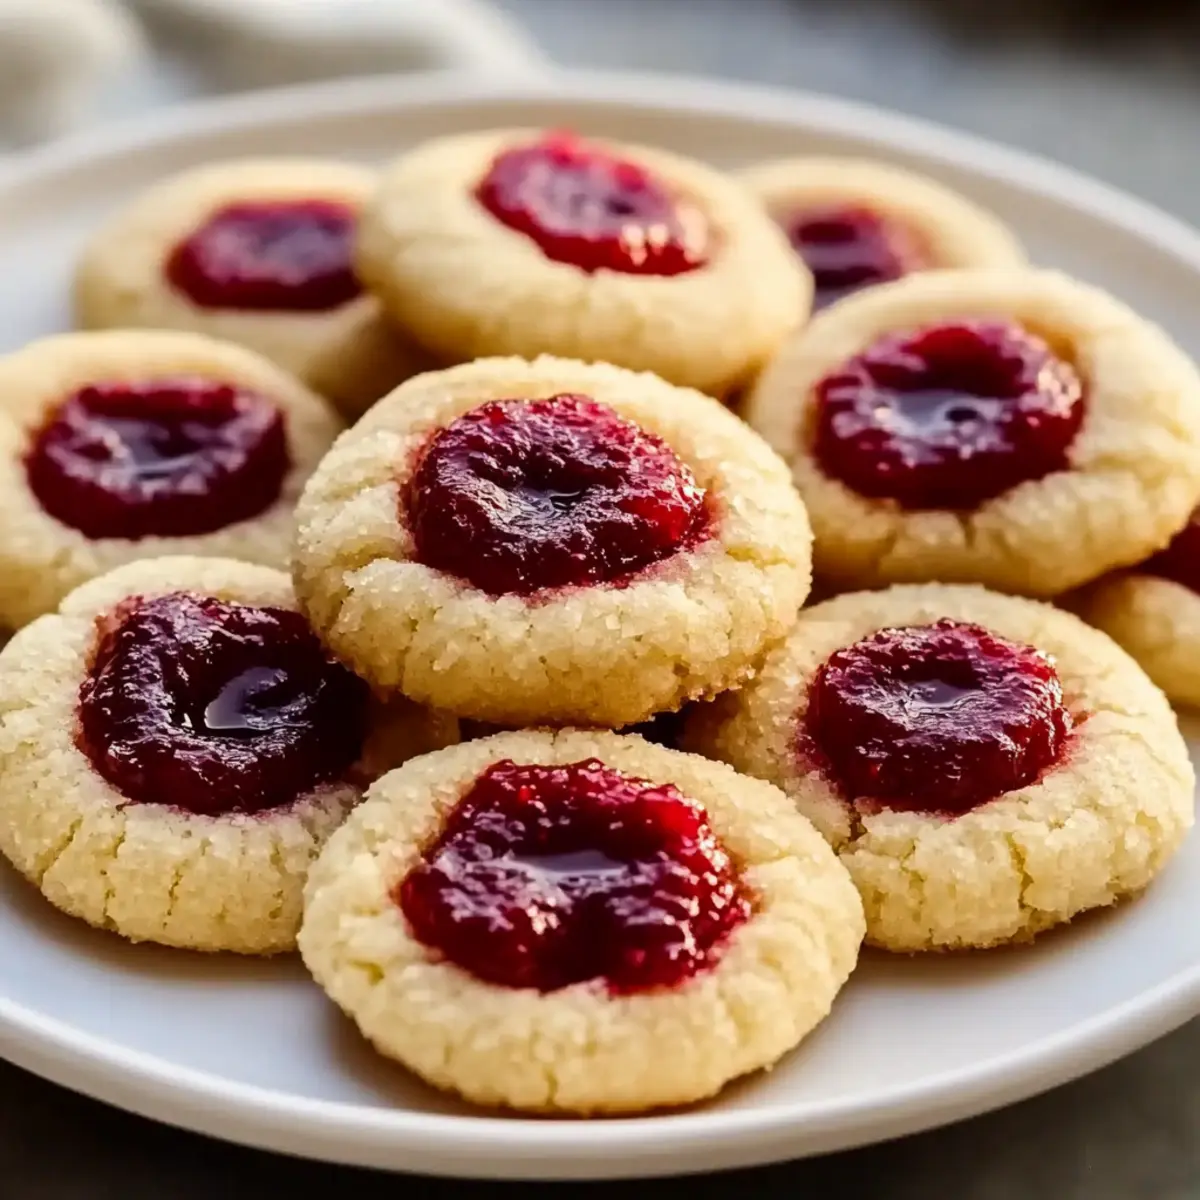
Versatility: The beauty of these Classic Thumbprint Cookies lies in their adaptability, allowing you to explore a variety of fillings, from seasonal jams to Nutella. Ease of Preparation: You don’t need to be a pro baker; this straightforward recipe is perfect for anyone looking to bake something delicious quickly. Perfect for Sharing: These cookies are the ultimate crowd-pleaser, making them an ideal treat for gatherings or your next afternoon tea. Rich, Buttery Texture: Each bite melts in your mouth, complemented perfectly by a burst of fruity jam that leaves everyone wanting more. Try pairing them with a cozy cup of tea, just like in my Gingerbread Thumbprint Cookies!
Thumbprint Cookies Ingredients
For the Dough
- Unsalted Butter – Adds rich flavor and tenderness; substitute with vegan butter for a dairy-free option.
- Granulated Sugar – Provides sweetness and a light crunch.
- Light Brown Sugar – Contributes caramel notes and moisture.
- All-Purpose Flour – Gives structure to the cookies.
- Cornstarch – Ensures a soft bite; you can use arrowroot powder or tapioca starch as substitutes.
- Egg Yolk – Binds the ingredients together and enriches the dough.
- Vanilla Extract – Enhances the overall flavor profile.
For the Filling
- Jam – The star of these cookies! Choose high-quality or homemade fruit jam to get that delightful burst of flavor.
Feel free to swap in different fillings to ignite your creativity with your Thumbprint Cookies!
Step‑by‑Step Instructions for Classic Thumbprint Cookies with Fruity Jam
Step 1: Prepare Dough
Begin by preheating your oven to 375°F (190°C) and lining a baking sheet with parchment paper. In a large mixing bowl, beat 1 cup of softened unsalted butter until creamy and smooth. Gradually add ½ cup granulated sugar and ½ cup light brown sugar, mixing until the mixture is fluffy. Incorporate 1 egg yolk and 1 teaspoon vanilla extract, blending until fully combined. In a separate bowl, whisk together 2 cups all-purpose flour, 2 tablespoons cornstarch, and a pinch of salt before gradually adding it to your wet ingredients, stirring until just combined.
Step 2: Shape Cookies
Once your dough is ready, scoop tablespoon-sized portions and roll them into smooth balls in your hands. To prevent the cookies from spreading, chill the dough balls in the freezer for about 30 minutes. If you like, roll the balls in granulated sugar for an extra touch of sweetness. After chilling, use your thumb to gently press down in the center of each ball, creating a well for the jam filling.
Step 3: Fill and Bake
While the oven preheats, warm your desired jam slightly in the microwave to make it easier to spoon into the thumbprints. Fill each indentation generously with your favorite jam, ensuring not to overflow. Place the cookies on the prepared baking sheet, leaving space between each. Bake the cookies in the oven for approximately 11 minutes or until the edges turn golden brown, signaling they are ready.
Step 4: Cool
After removing the cookies from the oven, allow them to cool on the baking sheet for about 5 minutes. This ensures they hold their shape while still soft. Then, carefully transfer them to a wire rack to cool completely. As they cool, the buttery aroma of your Classic Thumbprint Cookies will fill your kitchen, tempting everyone waiting for a taste!
What to Serve with Classic Thumbprint Cookies
These delightful treats are perfect for creating a full, satisfying spread that invites warmth and togetherness.
-
Rich Coffee: The bold flavors of a freshly brewed coffee perfectly complement the buttery sweetness of the cookies, creating a comforting pairing.
-
Earl Grey Tea: The floral notes of Earl Grey tea enhance the fruity jam, adding a layer of sophistication to your snack time.
-
Cheese Platter: Pair with a selection of cheeses, such as brie and sharp cheddar, for a delightful contrast between sweet and savory flavors.
-
Fresh Fruit Salad: Add a refreshing burst with a medley of seasonal fruits, balancing the richness of the cookies beautifully.
-
Chocolate Sauce: Drizzle warm chocolate sauce over the cookies for an indulgent twist that elevates their deliciousness to new heights.
-
Vanilla Ice Cream: Serve alongside a scoop of creamy vanilla ice cream for a delightful dessert that combines warm and cold textures.
Hosting guests? Create a small dessert bar with numerous toppings like nuts or coconut flakes to inspire creativity!
How to Store and Freeze Thumbprint Cookies
-
Room Temperature: Store cookies in an airtight container for up to 4 days. This keeps them fresh while maintaining their delightful texture.
-
Fridge: If you prefer, you can refrigerate the cookies for up to 1 week. Ensure they are in a sealed container to avoid absorbing any odors.
-
Freezer: Freeze baked Thumbprint Cookies for up to 3 months. Place them in a single layer in a freezer-safe container lined with parchment paper.
-
Reheating: When ready to enjoy, thaw the cookies at room temperature. If desired, warm them slightly in the oven at 350°F (175°C) for a few minutes to restore their freshness.
Expert Tips for Perfect Thumbprint Cookies
-
Room Temperature Butter: Ensure your butter is at room temperature for optimal creaming, which helps achieve a light, fluffy dough for your Thumbprint Cookies.
-
Chill Dough: Don’t skip chilling the dough before baking to prevent spreading. A 30-minute freeze keeps your cookies perfectly shaped!
-
Jam Selection: Use high-quality or homemade jam for the best flavor. Avoid overly runny jams that might leak out of the thumbprints while baking.
-
Thumbprint Size: Make sure to create a deep enough indentation in your cookies for jam filling. If too shallow, the jam can overflow while baking.
-
Bake in Batches: Bake cookies in batches to keep your oven space organized. This helps ensure even baking and prevents overlap.
-
Storage Know-How: Store leftover cookies in an airtight container for up to 4 days, or freeze to enjoy later without sacrificing flavor!
Thumbprint Cookies Variations
Ready to shake things up? Customizing these delightful Thumbprint Cookies opens a world of flavor and fun!
-
Vegan Delight: Use coconut oil or vegan butter as a perfect substitute for traditional butter to make these cookies dairy-free. They’ll still be rich and tasty, perfect for sharing with everyone!
-
Nutella Twist: Swap out the jam for a generous dollop of Nutella in each thumbprint for a nutty chocolate explosion. Imagine that smooth, creamy goodness melting in your mouth!
-
Citrus Zest: Add a teaspoon of lemon or orange zest to your dough to bring a refreshing citrus flair. This twist brightens up the cookies and tantalizes your taste buds!
-
Spiced Up: Mix in a pinch of cinnamon or nutmeg into your dough for warm, fragrant notes that elevate the cookies to a cozy classic. This alluring mixture pairs beautifully with any jam choice!
-
Nutty Crunch: Roll the dough balls in crushed nuts before baking to add a delightful crunch. Walnuts or almonds can enhance the texture while contributing a lovely flavor.
-
Jam Diversification: Don’t hesitate to experiment with various jams, such as raspberry, blackberry, or even fig. Each jam brings unique flavors, inviting everyone to discover their favorite.
-
Chocolate Drizzle: After cooling, drizzle melted chocolate over the cookies for an extravagant touch. This luscious addition not only looks beautiful but also satisfies chocolate lovers everywhere.
For more sweet inspiration, check out my Thick Chewy Cookies or try out these delicious Pumpkin Oatmeal Cookies for variation on your baking adventures!
Make Ahead Options
These Classic Thumbprint Cookies are perfect for busy home cooks looking to save time! You can prepare the dough up to 24 hours in advance, wrapping it tightly in plastic wrap and refrigerating it to maintain freshness. Alternatively, after shaping the dough into balls, you can freeze them for up to 3 months—just place them in an airtight container. When you’re ready to bake, remove from the freezer and let them sit at room temperature for about 15 minutes before creating the thumbprint and adding jam. This ensures that your cookies are just as delicious and tender as when freshly made, providing you the convenience you need without sacrificing flavor.
Thumbprint Cookies Recipe FAQs
How do I choose the right jam for my Thumbprint Cookies?
Selecting the right jam is essential for the flavor of your Thumbprint Cookies. I recommend choosing high-quality, thick jams, as they hold their shape during baking. Look for options that are made from real fruit, avoiding overly runny varieties that might leak out. Personal favorites include raspberry, apricot, and strawberry, but feel free to get creative with seasonal fruits!
What is the best way to store my Thumbprint Cookies?
To keep your Thumbprint Cookies fresh, store them in an airtight container at room temperature for up to 4 days. If you want them to last longer, you can refrigerate them for up to a week in a sealed container. This ensures they remain soft and delicious without picking up any unwanted odors from the fridge.
Can I freeze my Thumbprint Cookies?
Absolutely! You can freeze your baked Thumbprint Cookies for up to 3 months. To do this, place the cookies in a single layer in a freezer-safe container lined with parchment paper to prevent sticking. For best results, separate layers with parchment paper as well. When you’re ready to enjoy them, let them thaw at room temperature, or warm them in the oven at 350°F (175°C) for a few minutes to refresh their texture.
What should I do if my Thumbprint Cookies spread too much during baking?
If your cookies spread more than desired, it could be due to your dough being too warm or not enough chilling time. To prevent this in the future, be sure to chill your dough balls for at least 30 minutes before baking. If necessary, take it a step further by placing them in the fridge instead of the freezer for even longer, ensuring that the butter firms up before hitting the oven.
Are there any allergy considerations I should keep in mind?
Yes! If you are making Thumbprint Cookies for someone with dietary restrictions, it’s important to consider alternatives. Use vegan butter for dairy-free options and be sure to choose a jam that’s free of allergens if needed. Additionally, check the ingredients in your cornstarch if you’re guiding someone with gluten sensitivities—though cornstarch is typically gluten-free, cross-contamination may occur.
How long does it take to make these cookies?
From start to finish, you’re looking at about 1 hour. This includes approximately 30 minutes of chilling time for the dough, 15 minutes to prepare and bake, and then about 5 minutes for cooling before you can enjoy these delightful Thumbprint Cookies!
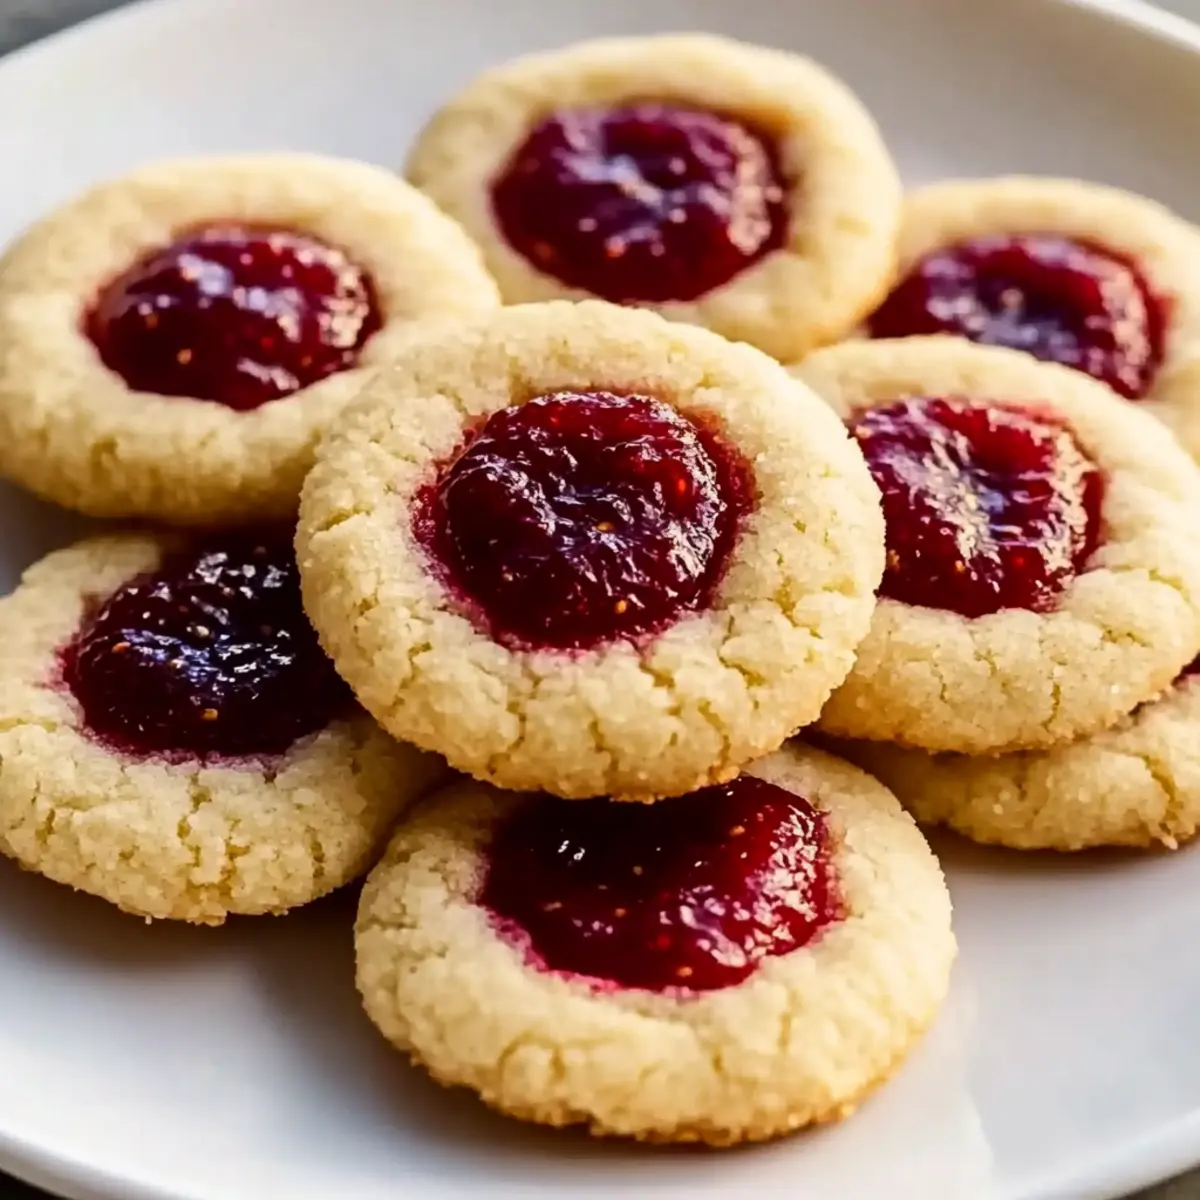
Delicious Thumbprint Cookies with Jam: Your New Favorite Treat
Ingredients
Equipment
Method
- Preheat your oven to 375°F (190°C) and line a baking sheet with parchment paper. Beat 1 cup of softened unsalted butter until creamy. Gradually add ½ cup granulated sugar and ½ cup light brown sugar until fluffy. Incorporate 1 egg yolk and 1 teaspoon vanilla extract, blending fully.
- Whisk together 2 cups all-purpose flour, 2 tablespoons cornstarch, and a pinch of salt in a separate bowl. Gradually add to wet ingredients, stirring until just combined.
- Scoop tablespoon-sized portions, roll into balls, and chill in the freezer for about 30 minutes. Press your thumb gently in the center of each ball to create a well for the jam filling.
- Warm your desired jam slightly in the microwave and fill each indentation. Bake for approximately 11 minutes or until edges are golden brown.
- Cool on the baking sheet for about 5 minutes, then transfer to a wire rack to cool completely.
Leave a Reply