
As I nestled into my favorite chair, the sweet aroma of baked goodies wafted from the kitchen, transporting me back to moments spent baking with Grandma during the holidays. It’s in these heartwarming memories that I discovered the joy of making melt-in-your-mouth Danish butter cookies. This simple yet satisfying recipe combines a rich buttery flavor with a delightful crumbly texture, making it perfect for gifting or indulging yourself during cozy evenings. With quick prep time and the ability to impress friends and family alike, these cookies are sure to become a beloved staple in your holiday baking repertoire. Are you ready to create your own batch of these nostalgic delights?
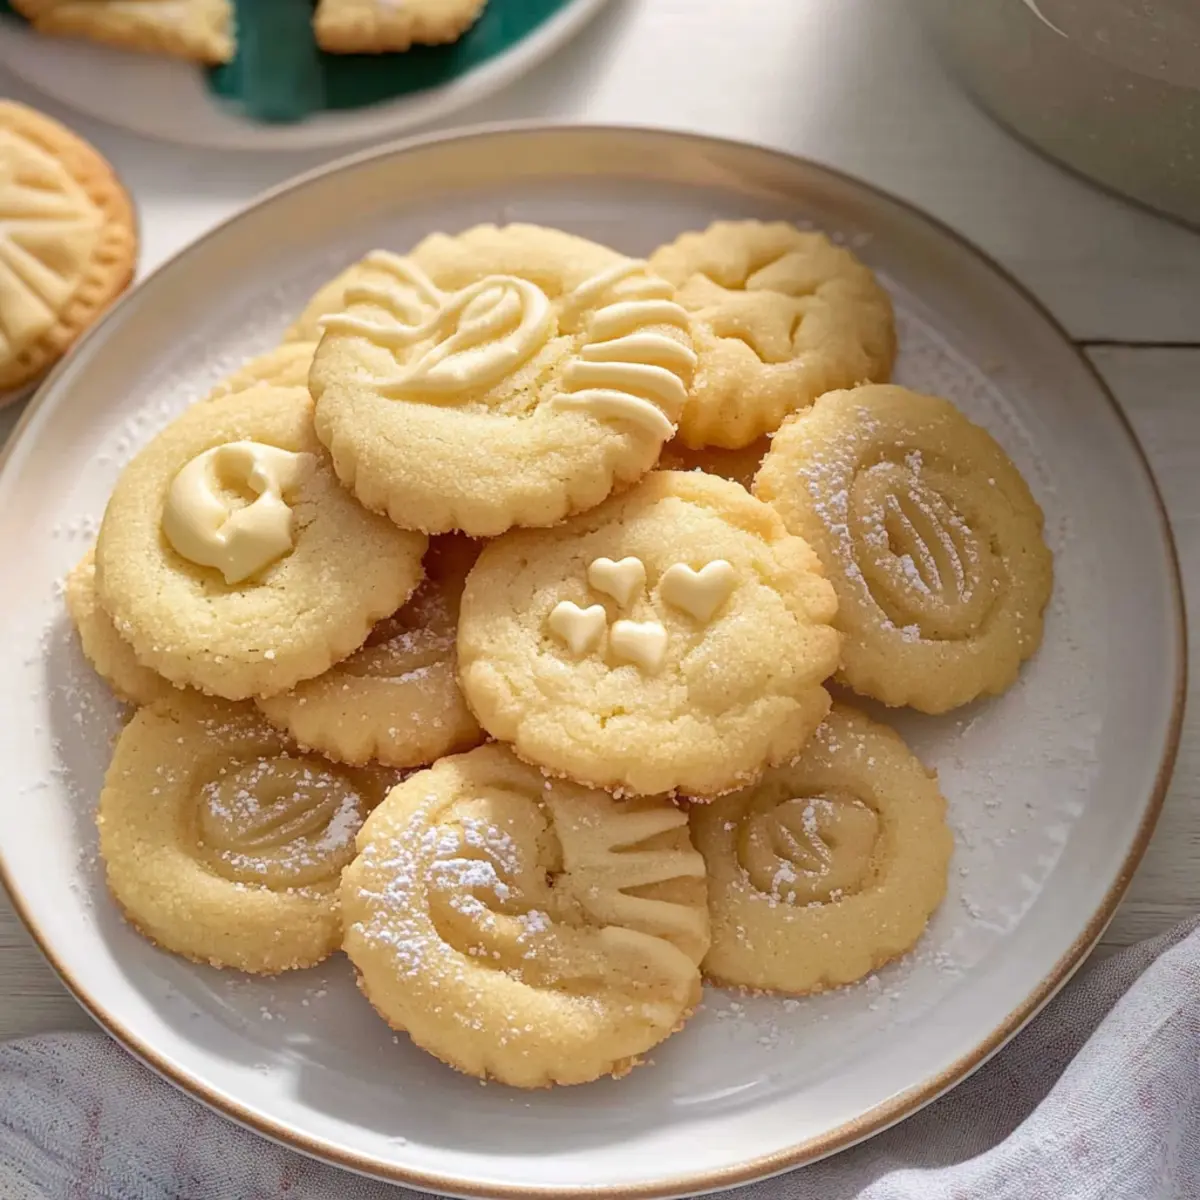
Why are Danish Butter Cookies So Special?
Nostalgic Memories: These melt-in-your-mouth cookies bring back fond memories of carefree holidays spent with loved ones.
Simple to Make: The process is refreshingly straightforward, requiring minimal ingredients and only basic baking skills.
Perfect for Gifting: Share the joy by packaging these treats in decorative boxes for a thoughtful homemade gift that delights.
Versatile Flavor: Their buttery goodness can be easily customized with festive sprinkles or a hint of vanilla or almond extract for a fun twist.
Crowd-Pleaser: Whether it’s a holiday gathering or a cozy family night, they are guaranteed to impress guests and satisfy your cravings alike!
For more cookie inspiration, check out my delightful Gingerbread Thumbprint Cookies or treat yourself to an indulgent Bowl Peanut Butter Cup Dump Cake.
Danish Butter Cookies Ingredients
• Get ready to bake with these must-have ingredients!
For the Cookie Dough
- European salted butter – Provides richness and flavor; substitute with unsalted butter and add ¼ teaspoon salt if necessary.
- Granulated sugar – Adds sweetness and structure; essential for that perfect bite.
- Salt – Enhances flavor; can be omitted if using salted butter.
- Egg yolks – Contributes richness and moisture; no alternative recommended for best results.
- Vanilla extract – Adds aromatic flavor; opt for pure vanilla for authenticity or substitute with almond extract.
- Whole milk – Softens the dough for piping; add only if necessary to achieve desired consistency.
- All-purpose flour – Provides structure; using a mix with cake flour improves texture but can be made solely with all-purpose.
- Cake flour – Contributes to a lighter texture; can be replaced with additional all-purpose flour if not available.
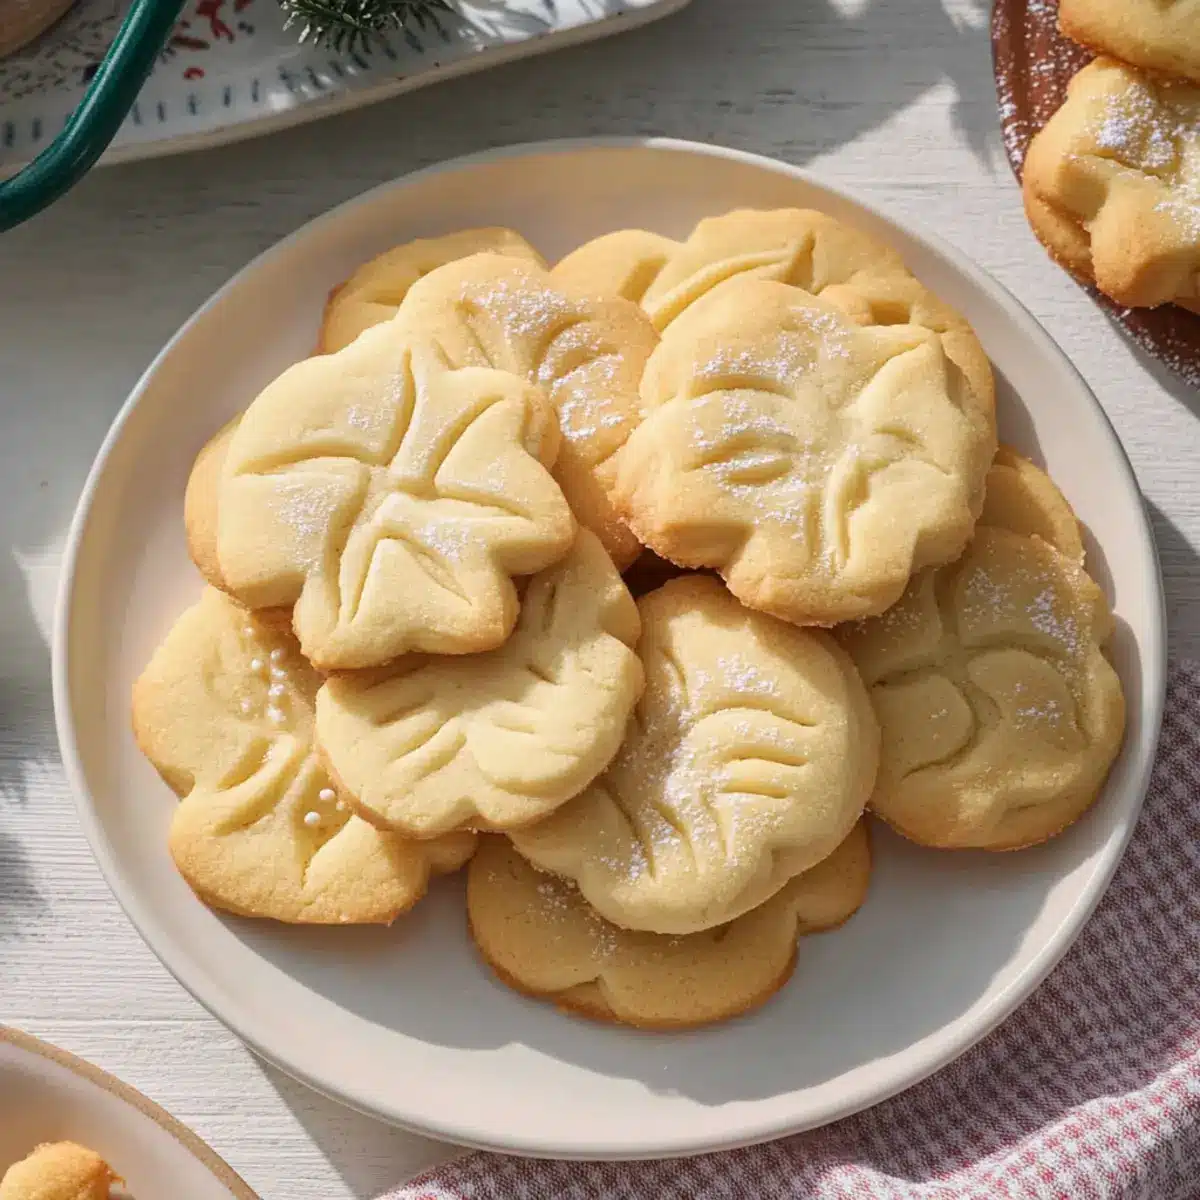
These Danish butter cookies promise to bring joy to your holiday baking!
Step‑by‑Step Instructions for Danish Butter Cookies
Step 1: Prepare Your Space
Begin by clearing a space in your refrigerator to cool the shaped cookies later. Preheat your oven to 350°F (175°C) and line two baking sheets with parchment paper or silicone baking mats, ensuring they are ready for your delicious Danish butter cookies.
Step 2: Cream the Butter and Sugar
In a stand mixer fitted with the paddle attachment, add the room temperature European salted butter. Cream it on medium speed until it’s smooth and fluffy, which should take about 2-3 minutes. Gradually add in the granulated sugar and a pinch of salt, continuing to beat the mixture until it becomes light in color and texture.
Step 3: Incorporate Wet Ingredients
Next, add the egg yolks one at a time, mixing after each addition until fully incorporated. Pour in the vanilla extract and whole milk if needed, combining all the ingredients just until blended. Be careful not to over-mix to maintain the light and airy texture that makes Danish butter cookies so irresistible.
Step 4: Combine the Dry Ingredients
In a separate bowl, whisk together the all-purpose and cake flour until well blended. Gradually add this flour mixture to the wet ingredients in your stand mixer. Mix on low speed until a smooth dough forms, making sure there are no dry pockets of flour remaining.
Step 5: Adjust the Dough Consistency
Evaluate the dough consistency; if it’s too thick to pipe easily, add more milk, one tablespoon at a time. Aim for a smooth, pipeable dough that holds its shape once piped. This step is crucial for achieving those classic Danish butter cookies that melt in your mouth.
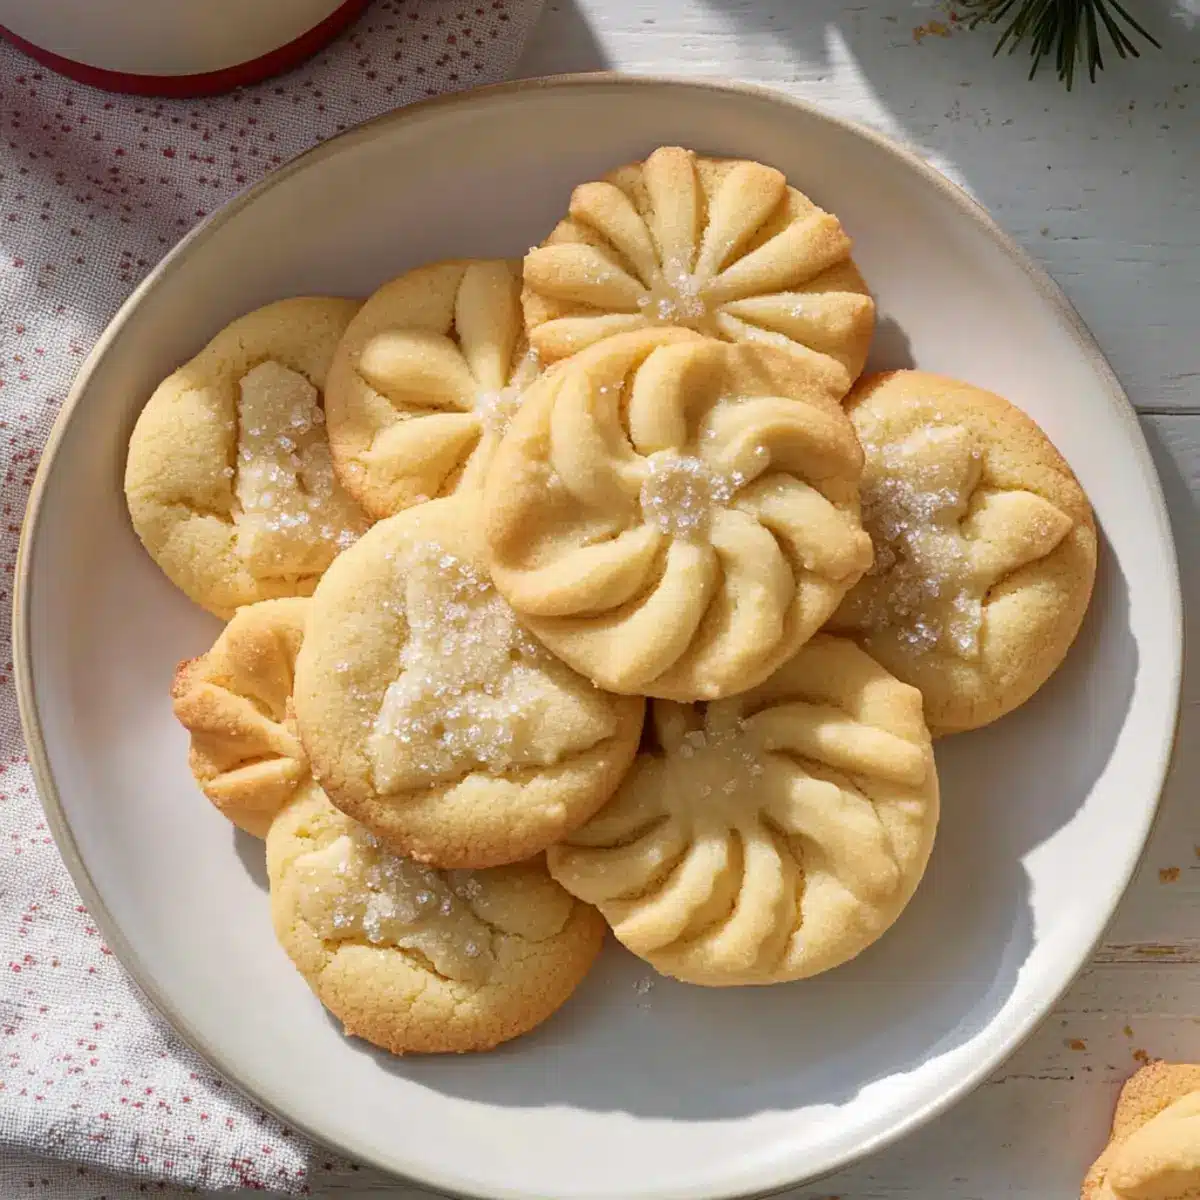
Step 6: Pipe the Cookies
Transfer the prepared dough into a piping bag fitted with a star tip. Carefully pipe 2-inch rounds onto the lined baking sheets, leaving space between each cookie to allow for spreading during baking. Aim for a lovely swirl shape that will beautifully showcase their delicate butteriness.
Step 7: Chill the Cookies
Once piped, place the baking sheets in the refrigerator for 20-30 minutes. This chilling step is essential as it prevents the Danish butter cookies from overspreading while baking, ensuring they retain a beautiful shape and a tender crumb.
Step 8: Bake Your Cookies
Once chilled, place the baking sheets in your preheated oven. Bake the cookies for 10-15 minutes, keeping an eye on them. They’re done when the edges are lightly golden, signaling a perfect bake that will complement their melt-in-your-mouth texture.
Step 9: Cool Before Serving
After baking, allow the cookies to cool on the baking sheets for about 5 minutes. This helps them firm up slightly. Then, transfer them onto a wire rack to cool completely, letting the warmth dissipate and leaving you with irresistibly buttery Danish butter cookies ready to indulge.

Expert Tips for Perfect Danish Butter Cookies
-
Room Temperature Ingredients: Ensure butter and eggs are at room temperature for easy mixing, promoting a light and fluffy texture.
-
Avoid Over-Mixing: Mix just until combined. Over-mixing can lead to tough cookies, robbing them of their melt-in-your-mouth quality.
-
Watch Baking Time: Monitor the cookies closely to prevent over-baking; you’re aiming for edges that are just lightly golden for the best results.
-
Achieve Piping Consistency: If dough is too stiff to pipe, add milk one tablespoon at a time until you reach the desired smoothness suitable for piping.
-
Homemade Butter Insight: If using homemade butter, be aware of potential variations in consistency that might affect the dough’s texture. Adjust accordingly!
Danish Butter Cookies Variations & Substitutions
Feel free to play around with these delightful variations to suit your taste buds and elevate your baking experience!
-
Festive Sprinkles: Add colorful sprinkles on top before chilling for a fun, festive touch that brings joy to every bite.
Whether it’s Christmas or just a cozy gathering, sprinkles can brighten up the mood and the cookies! -
Nuts Galore: Press chopped nuts like almonds or walnuts into the tops of the cookies for added flavor and texture.
This not only enhances the buttery goodness but also adds a delightful crunch that makes each bite unique. -
Citrus Zing: Incorporate a teaspoon of lemon or orange zest into the dough for a zesty twist that brightens the flavor profile.
The citrus notes will bring a refreshing element to these otherwise rich cookies, making them even more enjoyable. -
Chocolate Dipped: Dip half of each cookie in melted chocolate for a decadent dessert that’s sure to impress.
The contrast of bittersweet chocolate with the buttery cookie is an indulgence that you won’t want to miss out on. -
Almond Twist: Swap out vanilla extract with almond extract for a nutty flavor that adds an exciting layer of richness.
It’s a simple change that can transform the entire cookie experience into something truly special. -
Dairy-Free Option: Substitute European salted butter with a plant-based butter alternative for a delightful dairy-free version.
You can still achieve that heavenly melt-in-your-mouth quality with adjustments to the dairy ingredients! -
Spiced Variants: Add a pinch of cinnamon or nutmeg for a warm, comforting flavor that complements the buttery base beautifully.
These warm spices are perfect for the holiday season and will envelop your kitchen in inviting aromas. -
Savory Option: For a unique twist, incorporate grated cheese or herbs into the dough for a savory variation that surprises.
These could be a fun addition for a party platter, and they’re sure to add an exciting flair to your cookie routine!
For more indulgence, you can try my scrumptious Brown Butter Dubai next! These variations will undoubtedly become favorites, so enjoy the journey of discovering your perfect Danish butter cookie!
Make Ahead Options
These melt-in-your-mouth Danish butter cookies are perfect for meal prep! You can chill the shaped cookies in the refrigerator for up to 2 days before baking, ensuring they remain fresh and delicious. Alternatively, if you’re planning ahead, the un-baked dough can be frozen for up to 3 months; just let it thaw in the fridge overnight before piping and baking. When ready to enjoy, simply pop the cookies in the oven straight from the fridge or after gentle thawing, and you’ll have irresistible treats with minimal last-minute effort. This way, you can savor home-baked goodness during busy baking seasons while still delighting your loved ones!
What to Serve with Melt-in-Your-Mouth Danish Butter Cookies
Looking to create the perfect spread that complements the rich, buttery charm of these delightful cookies?
-
Fresh Berries: Bursting with juicy sweetness, berries add a refreshing contrast to the cookies’ crumbly texture.
-
Creamy Hot Chocolate: The velvety richness of hot chocolate enhances the cookies’ indulgence, making it a warm and cozy pairing. Imagine curling up with a mug of this goodness on a chilly evening!
-
Spiced Chai Tea: With aromatic spices and creaminess, chai tea wraps you in warmth, making it an inviting companion for your cookies.
-
Vanilla Ice Cream: A scoop of creamy vanilla ice cream brings a delightful chill and enhances the buttery flavor, creating a heavenly dessert experience.
-
Caramel Sauce: Drizzling warm caramel sauce over the cookies elevates their sweetness, providing a gooey twist that’s hard to resist.
-
Cheese Platter: Soft cheeses like brie or goat cheese offer a decadent, savory contrast, balancing the cookies’ sweetness for a sophisticated offering.
-
Lemonade: The tanginess of fresh lemonade cuts through the richness of the cookies, resulting in a refreshing summertime treat.
-
Chocolate-Dipped Strawberries: These elegant strawberries add romance to the table and their sweet, juicy bite pairs wonderfully with the cookies.
-
Almond or Coconut Milk: For a lighter option, served chilled, these nutty milks offer a subtle complement and keep things refreshing.
By pairing these delicious options with your Danish butter cookies, you’ll set the scene for delightful gatherings recallable by taste and joy.
Storage Tips for Danish Butter Cookies
Room Temperature: Store cookies in an airtight container at room temperature for up to 5 days to maintain their crispness and buttery flavor.
Freezer: For longer storage, freeze the Danish butter cookies for up to 3 months. Layer cookies between parchment paper in a freezer-safe container to prevent sticking.
Reheating: If desired, reheat frozen cookies in the oven at 300°F (150°C) for about 5-7 minutes for that fresh-out-of-the-oven taste.
Make-Ahead: Chilled shaped cookies can be kept in the refrigerator for up to 2 days or freeze un-baked dough for 2–3 months, ready to bake when the craving strikes!
Danish Butter Cookies Recipe FAQs
What type of butter should I use for Danish butter cookies?
Absolutely! I recommend using European salted butter for a rich, deep flavor. If you can’t find it, unsalted butter will work too; just add ¼ teaspoon of salt to the mixture to enhance the taste.
How should I store my Danish butter cookies?
You can keep your cookies in an airtight container at room temperature for up to 5 days. If you want to enjoy them longer, freeze them! Layer the cookies between parchment paper in a freezer-safe container, and they’ll stay fresh for up to 3 months.
Can I freeze un-baked Danish butter cookie dough?
Very! Just shape the dough into logs or use a piping bag to pipe the cookies. Then, freeze them on a baking sheet until firm, and transfer them to a freezer-safe container. They can be frozen for 2-3 months. When you’re ready to bake, simply pop them straight from the freezer into the oven—no need to thaw!
What do I do if my cookie dough is too stiff to pipe?
If the dough is giving you trouble, don’t fret! Just add more whole milk, one tablespoon at a time, until you reach a smooth, pipeable consistency. This step is crucial to getting those lovely shapes for your Danish butter cookies.
Are Danish butter cookies suitable for people with allergies?
These cookies contain eggs, flour, and dairy, making them unsuitable for anyone with egg, gluten, or dairy allergies. If you’re looking for alternatives, you can explore substituting gluten-free flour blends and vegan butter, but be aware that the texture might differ.
How can I tell when my Danish butter cookies are done baking?
Keep an eye on your cookies; they are perfect when the edges are just lightly golden. This should take about 10-15 minutes in a preheated oven at 350°F (175°C). You want that golden edge to ensure a delightful melt-in-your-mouth experience!
Irresistibly Buttery Danish Butter Cookies for Every Occasion
Ingredients
Equipment
Method
- Prepare Your Space: Clear space in your refrigerator and preheat the oven to 350°F (175°C). Line two baking sheets with parchment paper or silicone mats.
- Cream the Butter and Sugar: In a stand mixer, cream the butter on medium speed until smooth. Gradually add in the sugar and salt until light.
- Incorporate Wet Ingredients: Add egg yolks one at a time, mix after each, then add vanilla extract and milk if needed until combined.
- Combine the Dry Ingredients: Whisk all-purpose and cake flour together, then gradually add to wet mixture until smooth.
- Adjust the Dough Consistency: If too thick, add more milk one tablespoon at a time until it's smooth and pipeable.
- Pipe the Cookies: Transfer dough to a piping bag and pipe 2-inch rounds onto lined sheets.
- Chill the Cookies: Refrigerate piped cookies for 20-30 minutes to prevent overspreading.
- Bake Your Cookies: Bake in the preheated oven for 10-15 minutes until edges are golden.
- Cool Before Serving: Let cookies cool on baking sheets for 5 minutes, then transfer to a wire rack to cool completely.
Leave a Reply