
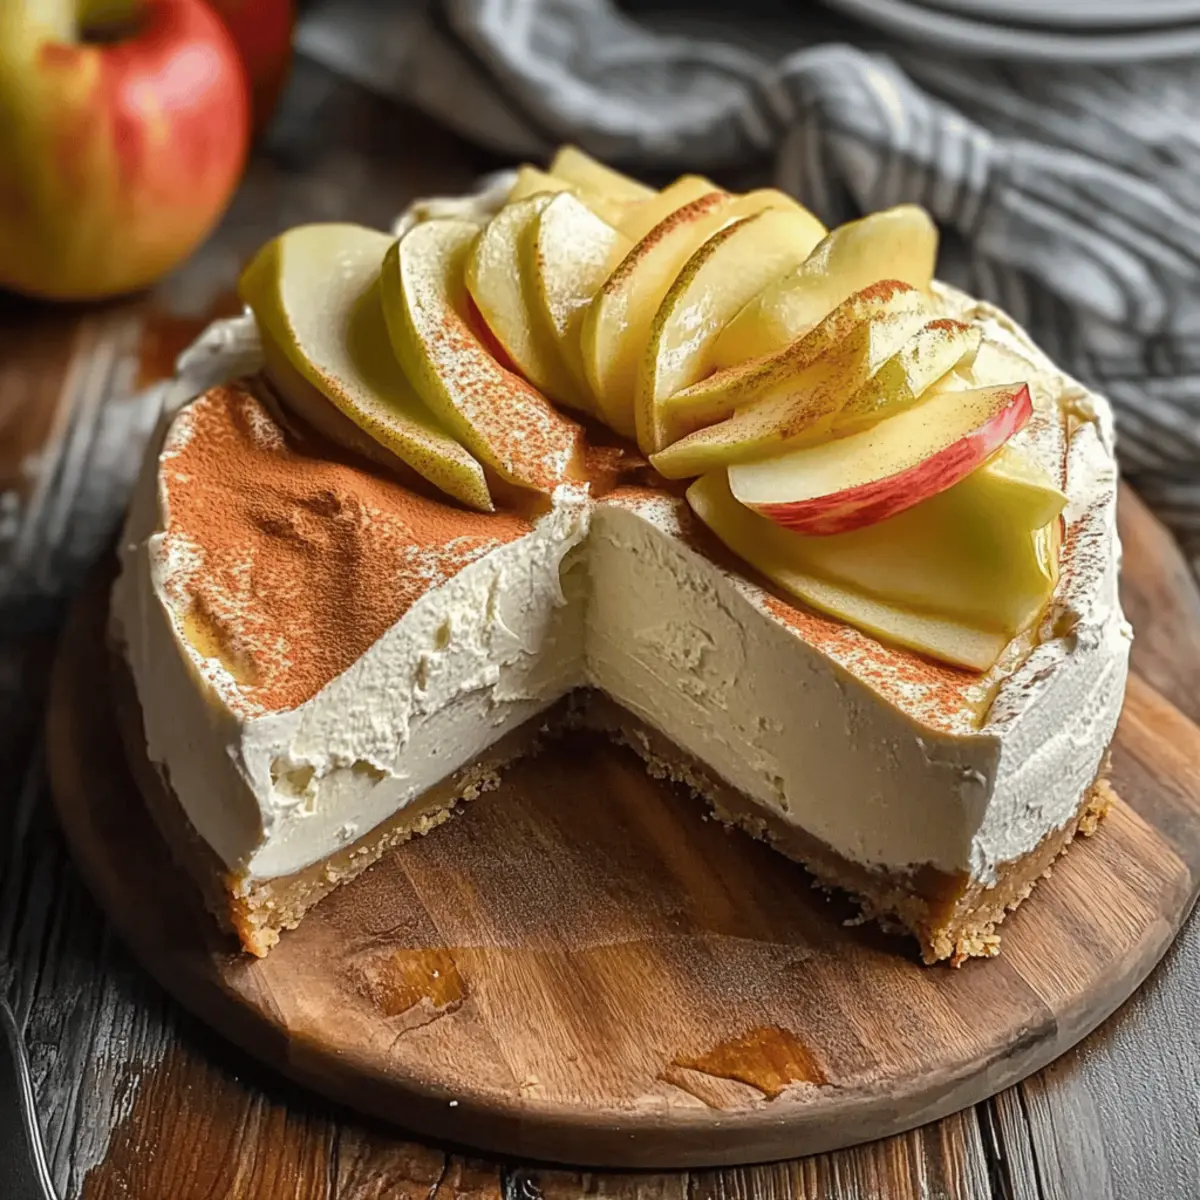
The aroma of simmering apple cider wafted through the kitchen as I prepped for a cozy fall gathering. That’s when it hit me: a Creamy Apple Cider Cheesecake would be the perfect centerpiece! This seasonal dessert is a delightful marriage of creamy texture and tangy sweetness, capturing all the flavors of autumn with a touch of cinnamon and optional mulling spices for added warmth. Best of all, it’s quick to whip up and requires minimal cleanup—leaving you with more time to enjoy the company of friends and family. With each velvety slice, you’ll find the rich notes of apple cider balanced beautifully, making it a standout choice for any autumn celebration. Ready to impress your guests? Let’s dive into the recipe!
Why is this cheesecake a must-try?
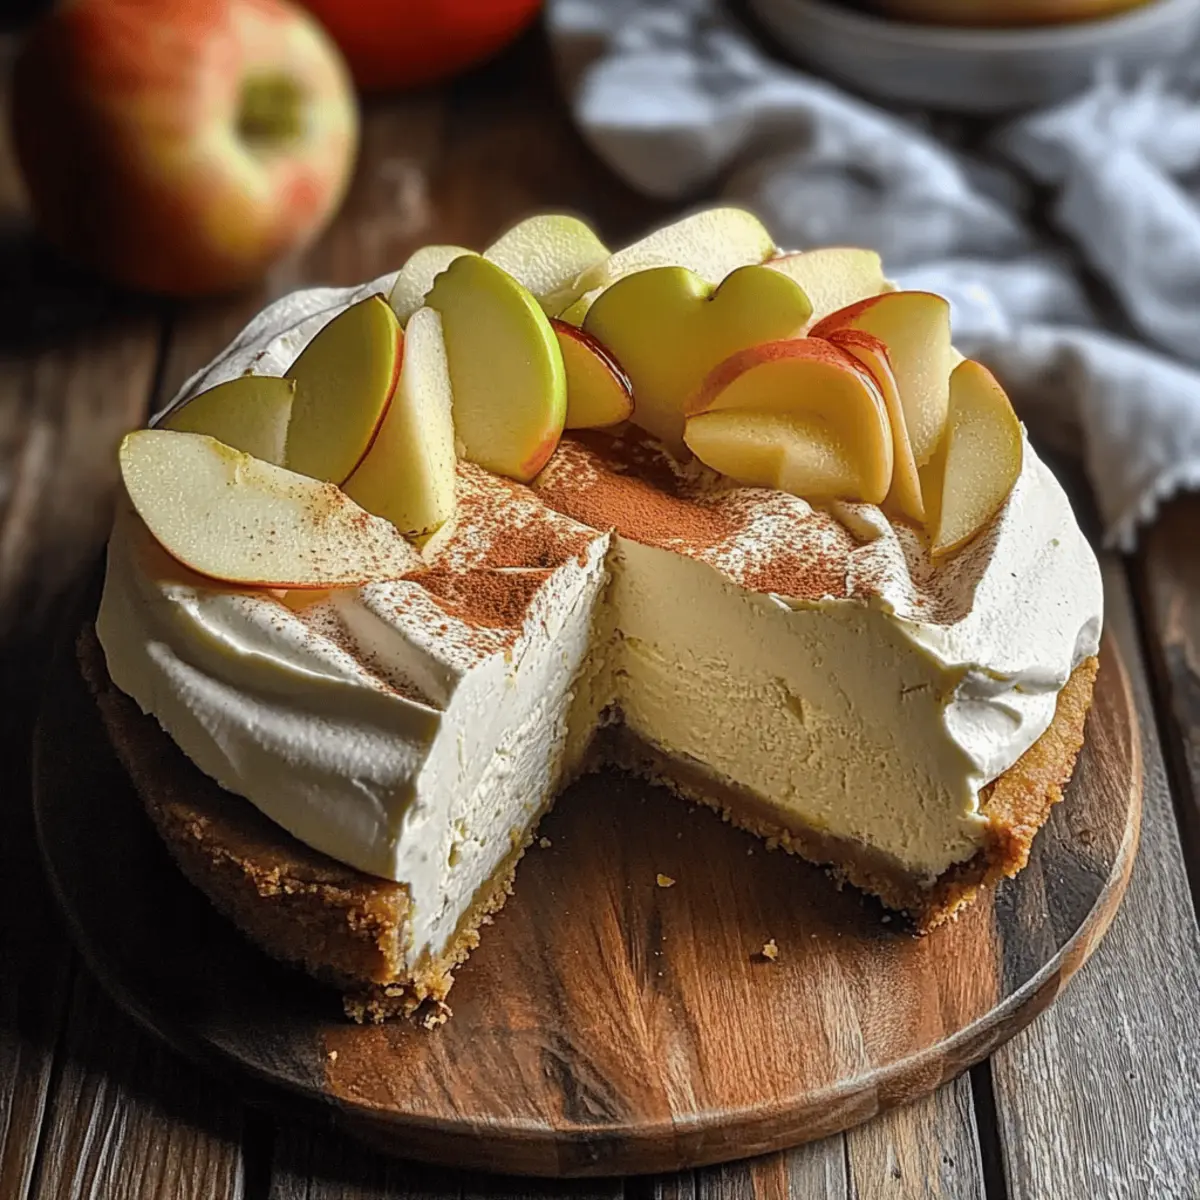
Autumnal Delight: This Apple Cider Cheesecake embodies the season with its creamy texture and rich apple flavor, perfect for any fall gathering.
Versatile Flavor: Customize it effortlessly with optional spices, like nutmeg or ginger, to suit your palate.
Minimal Effort: Easy to prep and clean, this recipe ensures you spend less time in the kitchen and more time savoring moments with loved ones.
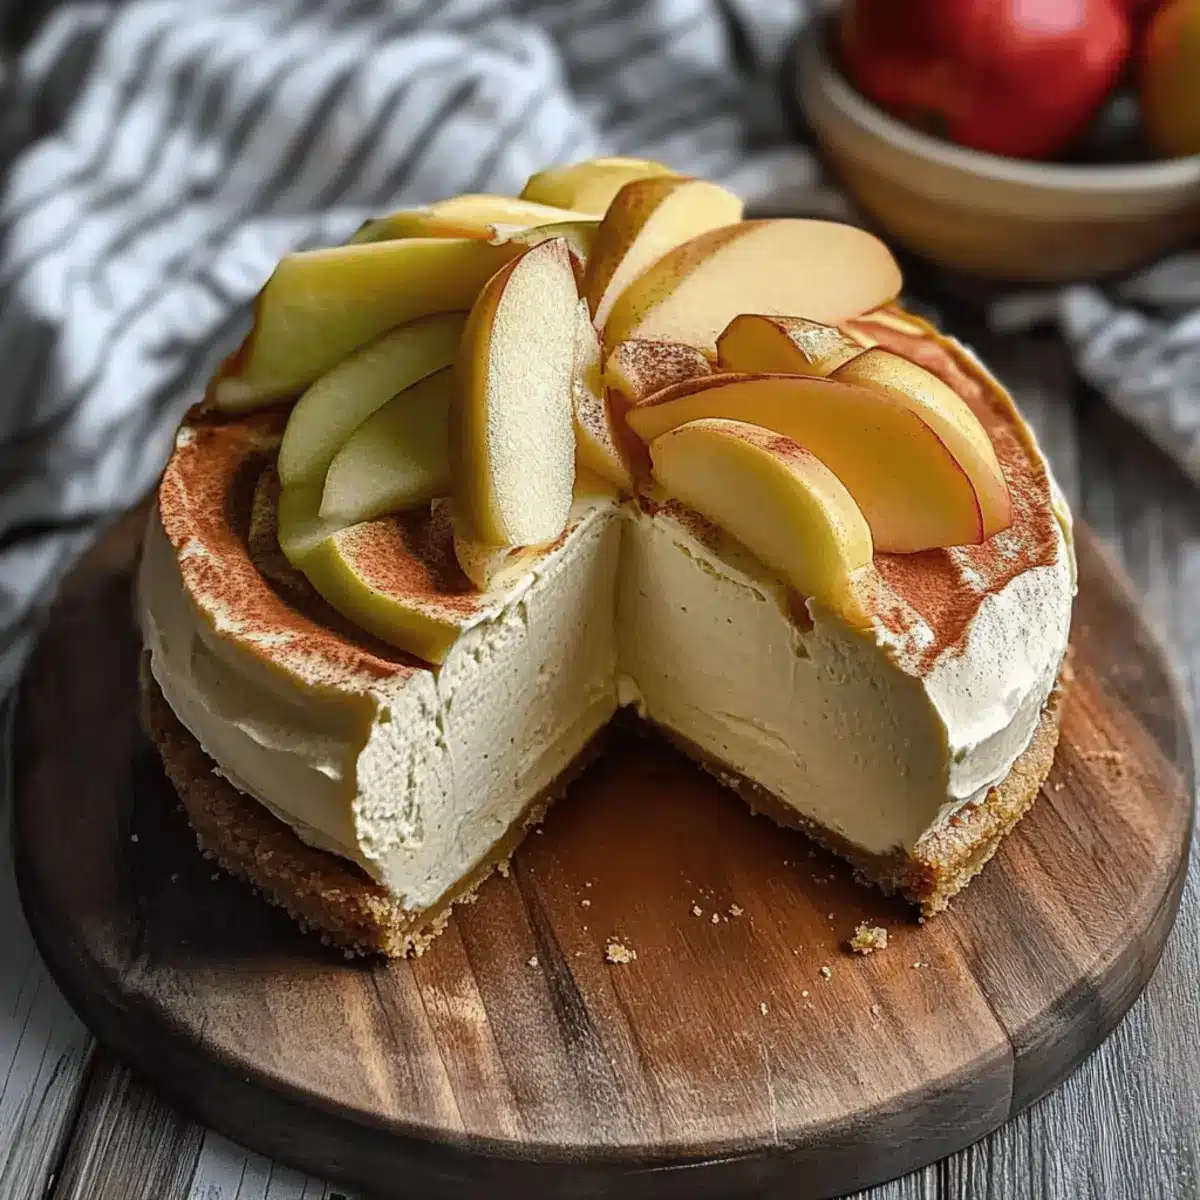
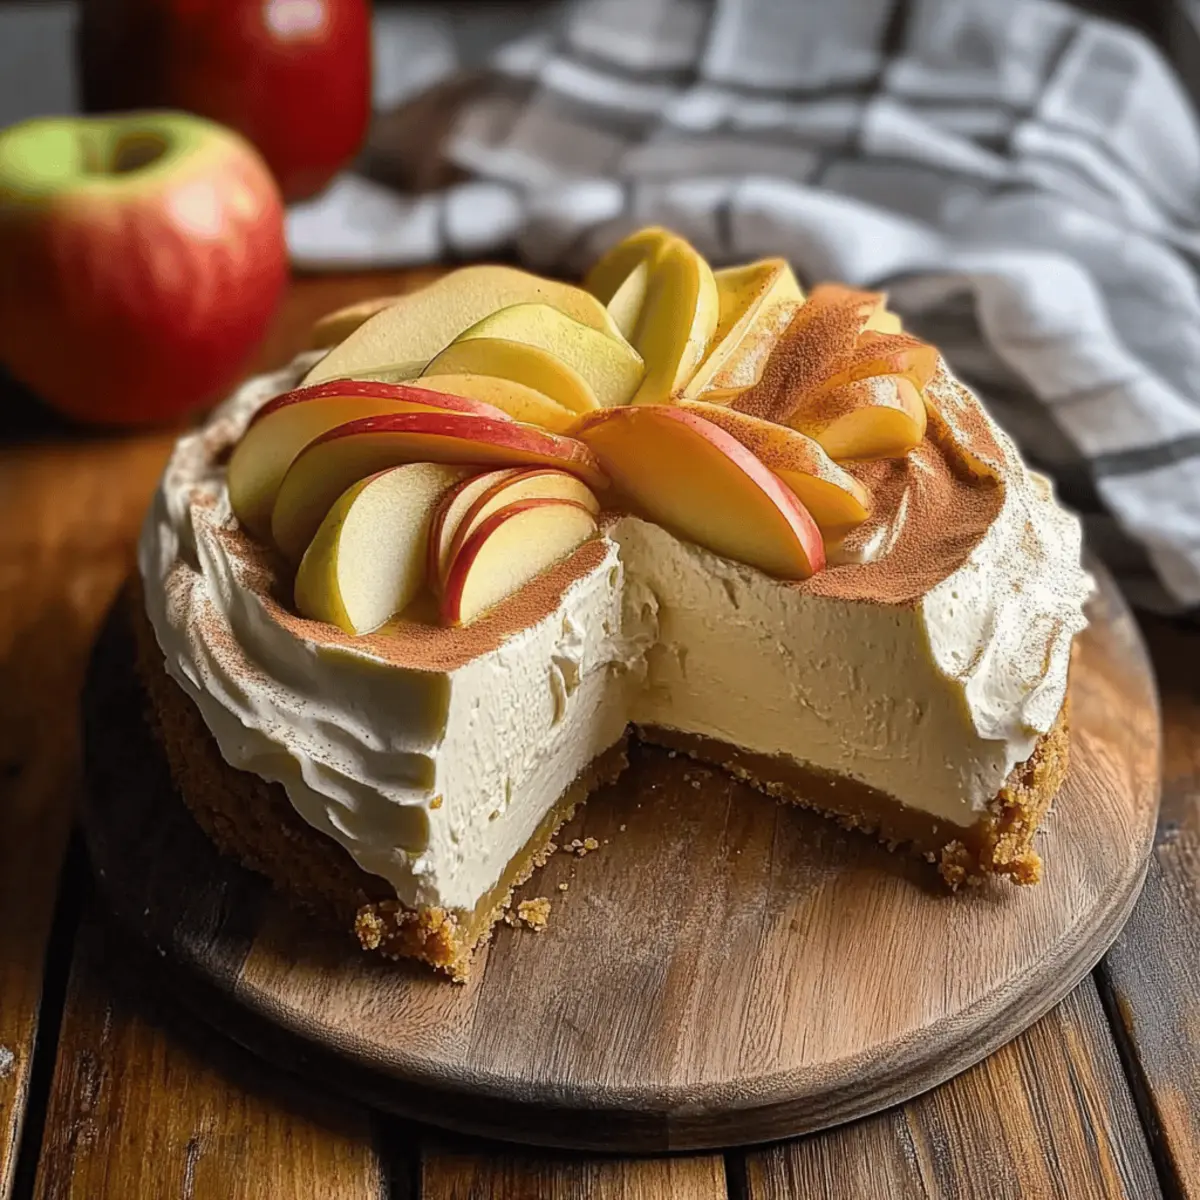
Impressive Presentation: This cheesecake looks stunning topped with caramel sauce or fresh apple slices, guaranteeing you’ll wow your guests.
Pair it with a warm drink or serve alongside Pumpkin Apple Baked for a cozy feast!
Apple Cider Cheesecake Ingredients
• Here’s everything you need to create this delightful fall dessert!
For the Crust
- Digestive Cookies – Provides a textured base for the cheesecake; you can substitute with graham crackers if desired.
- Unsalted Butter – Binds the crumbs together and adds richness; melted butter works best for mixing.
- Salt – Balances the sweetness; just a pinch in the crust enhances the flavor.
- Powdered Sugar – Sweetens the crust; you may replace with granulated sugar if you prefer.
For the Filling
- Fresh Apple Cider – The core flavor of the cheesecake for tangy sweetness; Honeycrisp cider is recommended for its tartness.
- Mulling Spices – Optional spices, like cloves or allspice, enhance the cider flavor during reduction.
- Cream Cheese – Provides the creamy texture and stability; ensure it’s firm and at room temperature for best results.
- Brown Sugar – Adds depth and sweetness; feel free to use light or dark sugar based on your preference.
- Sea Salt – Enhances the overall flavor; use half the amount if using table salt.
- Pure Vanilla Extract – Infuses a richer flavor profile; avoid imitation for the best quality.
- Sour Cream – Adds a creamy, tangy element to the filling; full-fat gives the best texture.
- Reduced Apple Cider – Thick syrup created from boiling cider, mixed into the filling for intense flavor.
- Cinnamon – A warming spice that complements the apple; additional spices can also be incorporated.
- Eggs – Provide structure; make sure they’re room temperature for optimal mixing.
- All-Purpose Flour – Stabilizes the cheesecake; can be omitted for a gluten-free version if using a gluten-free crust.
Step‑by‑Step Instructions for Apple Cider Cheesecake
Step 1: Reduce Cider
Begin by pouring 3 cups of fresh apple cider into a saucepan over medium heat. If you’d like a touch more flavor, add optional mulling spices like cloves or allspice. Let it simmer for 30 to 45 minutes, stirring occasionally, until the cider reduces to about 1/3 cup and thickens into a syrupy consistency. Once done, set it aside to cool.
Step 2: Prep Pan
Preheat your oven to 350°F (175°C) and prepare an 8-inch round springform pan. Grease the sides and bottom, then line the bottom with parchment paper or wrap the pan in aluminum foil to prevent water from leaking in later. This will help ensure a smooth release for your delightful Apple Cider Cheesecake.
Step 3: Make Crust
For the crust, blend crushed digestive cookies with melted unsalted butter, a pinch of salt, and powdered sugar in a mixing bowl. Mix until the crumbs resemble wet sand. Firmly press this mixture into the bottom and slightly up the sides of the prepared pan. Bake the crust in the preheated oven for 10 minutes, then allow it to cool completely.
Step 4: Prepare Filling
In a stand mixer, beat the room-temperature cream cheese with the brown sugar until the mixture is completely smooth and free of lumps. Add in the sour cream, pure vanilla extract, cinnamon, and the cooled reduced apple cider, mixing until well combined. The filling should be creamy and rich, capturing the essence of fall.
Step 5: Incorporate Eggs
With the mixer on low speed, add the eggs one at a time, ensuring each one is fully incorporated before adding the next. This method prevents overmixing, which could lead to cracks in your cheesecake. Finally, add the all-purpose flour and blend just until combined for smoothness.
Step 6: Bake
Gently pour the creamy filling into the cooled crust. To maintain moisture and prevent cracking, place the filled springform pan in a larger baking dish filled with hot water (creating a water bath). Bake the cheesecake at 325°F (160°C) for 80 to 90 minutes. It’s ready when the edges are set and the center jiggles slightly, indicating a perfect texture.
Step 7: Cool Slowly
After baking, turn off the oven and crack the door open, allowing the cheesecake to cool in the warm oven for about 30 minutes. This gradual cooling process helps prevent cracks. Once cooled, remove it from the oven and let it cool completely on the counter. Transfer to the refrigerator and chill for at least 8 hours before serving for the best flavor and firmness.
How to Store and Freeze Apple Cider Cheesecake
Fridge: Keep your cheesecake in an airtight container for up to 3-4 days. This ensures it remains fresh and maintains its delicious creamy texture.
Freezer: For longer storage, freeze the cheesecake for up to 2 months. Wrap each slice tightly in plastic wrap and then place it in a freezer-safe bag to prevent freezer burn.
Thawing: When ready to enjoy, thaw the apple cider cheesecake overnight in the refrigerator. This gradual thawing helps preserve its creaminess and flavor.
Reheating: If you prefer it slightly warmed, place individual slices in the microwave for about 15-20 seconds, but avoid overheating to maintain texture.
What to Serve with Creamy Apple Cider Cheesecake
Indulging in a slice of this creamy delight opens up a world of pairing possibilities that will elevate your meal.
-
Spiced Apple Cider: A warm mug of spiced apple cider enhances the festive flavors, creating a cozy drink that complements every bite of the cheesecake.
-
Rich Coffee: The bold complexity of a freshly brewed coffee balances the cheesecake’s sweetness beautifully, making for a lovely and energizing pairing.
-
Graham Cracker Crust Cream Puffs: These airy treats whisper the same cinnamon notes as your cheesecake, offering a delightful texture contrast that surprises the palate.
-
Caramel Drizzled Apples: Fresh apple slices drizzled with caramel provide a crunchy and sweet element to your dessert, echoing the apple cider theme without overwhelming the cheesecake.
-
Pumpkin Spice Latte: This seasonal beverage brings in creamy warmth and spice, making it an inviting match for your fall dessert spread.
-
Candied Pecans: Enjoy a handful of these crunchy, sweet nuts alongside each slice; they add a delightful texture and seasonal flavor burst.
-
Maple Whipped Cream: A dollop of maple-infused whipped cream enhances the cheesecake’s richness with its creamy sweetness, creating a perfect harmony of flavors.
-
Miniature Pumpkin Muffins: These are ideal for serving alongside coffee and fill your table with delightful autumn scents, tying into the theme of seasonal warmth.
-
Cheese Platter: A selection of mild cheeses like brie or goat cheese pairs nicely, offering a savory balance that harmonizes with the cheesecake’s sweetness.
Now, it’s time to curate a charming dessert table that will leave your guests talking about their delightful experience!
Make Ahead Options
Preparing this Apple Cider Cheesecake ahead of time is a fantastic way to save precious moments during busy fall gatherings! You can make the crust and filling up to 24 hours in advance, storing the crust tightly wrapped in plastic and the filling in an airtight container in the refrigerator. To maintain quality, keep the crust separate until you’re ready to assemble—this prevents sogginess. When it’s time to bake, pour the filling into the crust and follow the usual baking instructions. The cheesecake can also be chilled for up to 3 days after baking, allowing the flavors to deepen, ensuring it’s just as delicious when served!
Expert Tips for Apple Cider Cheesecake
-
Room Temperature Ingredients: Ensure your cream cheese and eggs are at room temperature to avoid lumps in the filling, leading to a smoother apple cider cheesecake.
-
Water Bath Magic: Using a water bath keeps your cheesecake moist and prevents cracking. Double-wrap your pan in foil to safeguard against water seeping in.
-
Cooling Patience: Allowing the cheesecake to cool slowly in the oven is essential. Rushing this step may result in unsightly cracks or sinking in the center.
-
Flavor Enhancements: Feel free to add mulling spices during cider reduction for an aromatic twist. Just a pinch can elevate your cheesecake’s flavor profile.
-
Decorative Finish: Top your cheesecake with apple cider caramel or a dollop of whipped cream to impress guests and add a festive touch before serving.
Apple Cider Cheesecake Variations
Feel free to play with this recipe and make it your own—let your creativity shine through with these delightful variations!
-
Different Ciders: Swap Honeycrisp cider for your favorite apple cider to tailor the flavor to your taste.
-
Spice It Up: Add nutmeg or ginger in the crust or filling for an extra dash of cozy flavor. The warmth from these spices complements the apple perfectly, creating a comforting vibe for fall gatherings.
-
Gluten-Free Crust: Use gluten-free cookie crumbs instead of digestive cookies to accommodate gluten-free diets without sacrificing taste.
-
Nutty Crunch: Incorporate finely chopped nuts, like pecans or walnuts, into the crust for an added texture twist. Their slight crunch complements the creaminess of the cheesecake beautifully.
-
Caramel Swirl: Drizzle some caramel sauce into the filling before baking for a rich layer of flavor. This little touch adds a decadent sweetness that will charm any dessert lover.
-
Chilled Version: For a faster treat, chill the mixture in individual cups and serve it as no-bake cheesecake. Top with whipped cream and apple slices for a refreshing version!
-
Add Fruit: Mix in diced apples or pears into the filling before baking for bursts of fruity goodness. Pairing it with a warm spiced apple drink will complete the cozy fall experience.
-
Vegan Twist: Substitute cream cheese with a plant-based alternative and replace eggs with flax eggs for a delicious vegan adaptation. You can still enjoy the classic flavors with a compassionate touch!
If you’re interested in more fall-inspired delights, take a look at my Apple Brownies Deliciously or indulge in an Espresso Cheesecake Decadent for a dessert experience that’ll leave everyone wanting more!
Apple Cider Cheesecake Recipe FAQs
What type of apple cider should I use?
You’ll want to use fresh apple cider for the best flavor. I recommend Honeycrisp cider due to its lovely tartness, but feel free to try any fresh variety you enjoy! The fresher the cider, the more vibrant the flavor in your cheesecake.
How should I store my cheesecake after making it?
Absolutely! Store the cheesecake in an airtight container in the refrigerator for up to 3-4 days. This will keep it fresh and creamy. If you’ve got leftovers, I often place a piece of parchment paper between the cheesecake and the lid to help maintain its texture.
Can I freeze my apple cider cheesecake?
Yes, you can! Wrap each slice tightly in plastic wrap, then place them in a freezer-safe bag to avoid freezer burn. The cheesecake maintains its quality for up to 2 months in the freezer. Just remember to thaw it overnight in the fridge before serving.
What can I do if my cheesecake cracks while baking?
No worries! A cracked cheesecake can happen to the best of us. To prevent this, it’s important to use a water bath during baking, which adds moisture and keeps the heat even. If a crack does form, you can cover it with a layer of whipped cream or a drizzle of caramel to make it look lovely!
Can I make this cheesecake gluten-free?
Very much so! To make a gluten-free Apple Cider Cheesecake, simply use gluten-free digestive cookies or graham crackers for the crust. Additionally, you can omit the all-purpose flour in the filling to maintain a smooth texture. Enjoy without worry!
How long does it take for the cheesecake to cool properly?
For the best results, let the cheesecake cool in the oven with the door cracked for about 30 minutes after baking. This slow cooling process helps prevent cracks from forming. Afterward, transfer it to the countertop and then refrigerate for at least 8 hours before serving for the optimal flavor and texture.
Heavenly Apple Cider Cheesecake to Celebrate Fall's Flavors
Ingredients
Equipment
Method
- Pour 3 cups of fresh apple cider into a saucepan. Add optional mulling spices and simmer for 30 to 45 minutes until reduced to 1/3 cup, then cool.
- Preheat the oven to 350°F. Prepare an 8-inch springform pan by greasing it and lining the bottom with parchment paper.
- Blend crushed digestive cookies, melted butter, salt, and powdered sugar in a bowl. Press mixture into the pan and bake for 10 minutes; cool.
- In a stand mixer, beat cream cheese with brown sugar until smooth. Add sour cream, vanilla, cinnamon, and cooled reduced apple cider; mix well.
- Add eggs one at a time, mixing well after each addition. Then, add flour and blend just until combined.
- Pour filling into the cooled crust. Bake in a water bath at 325°F for 80 to 90 minutes until edges are set and center jiggles.
- Turn off the oven and crack the door; let cheesecake cool for 30 minutes. Then cool completely on the counter. Chill in the fridge for at least 8 hours.
Leave a Reply