
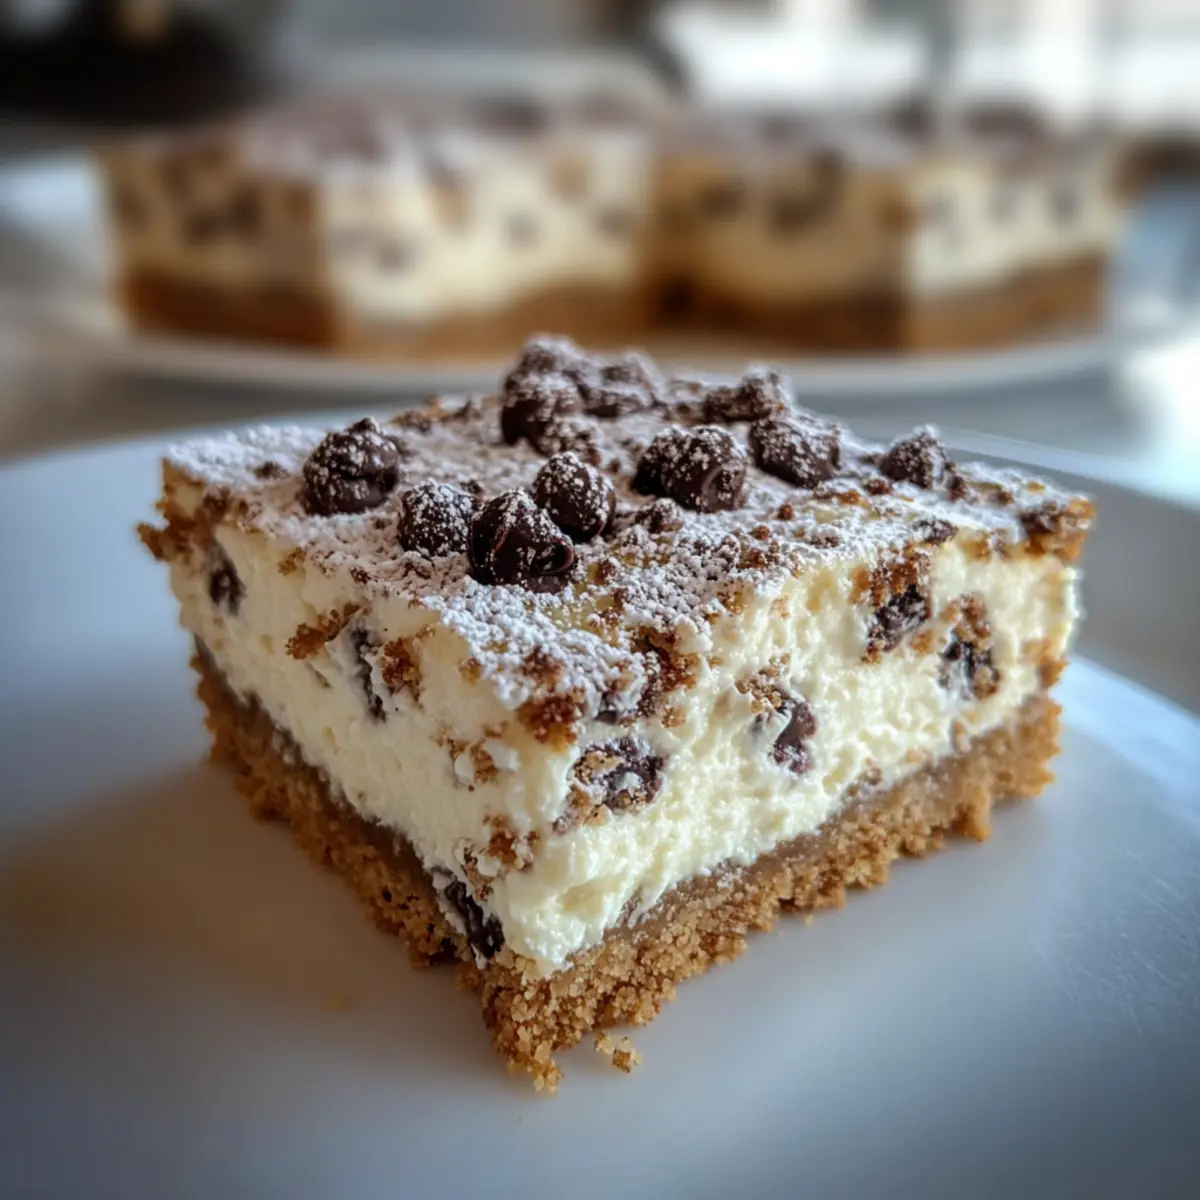
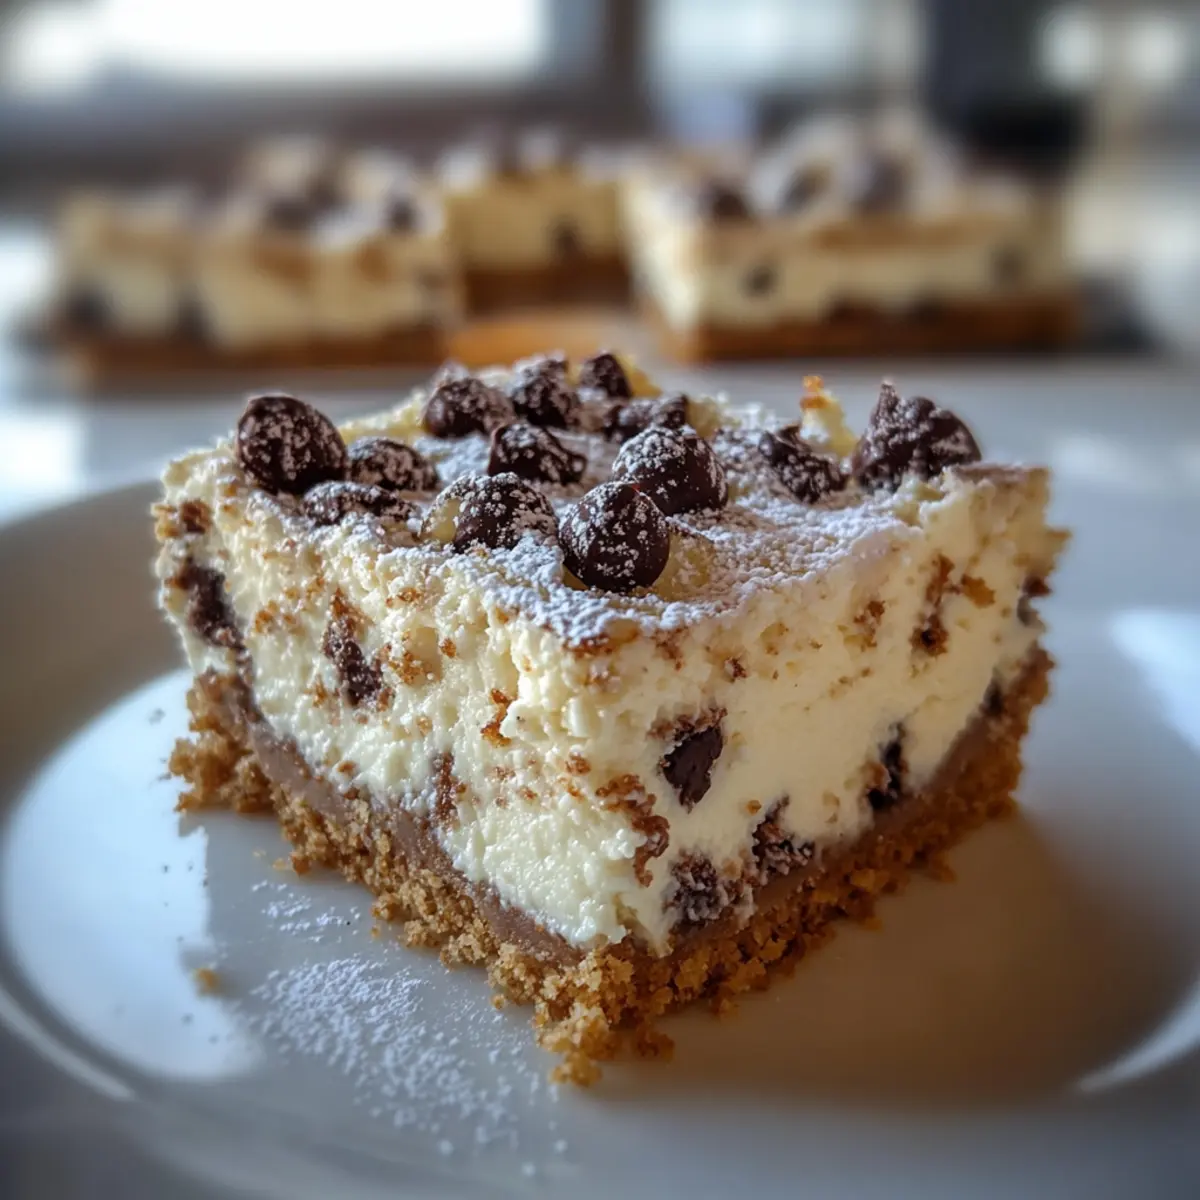
Stepping into my kitchen, I’m often greeted by the nostalgic aroma of Italian desserts wafting through the air, and today, it’s the irresistible Cannoli Cheesecake Bars that are stealing the show. With a mere 15 minutes of hands-on prep, these bars harmoniously blend creamy ricotta and velvety cheesecake, all nestled in a buttery graham cracker crust. The best part? They capture the classic essence of traditional cannoli without the fuss, making them a delightful centerpiece for any gathering or a comforting treat for a quiet night in. They’re not only a feast for the taste buds but also a quick and easy solution to satisfy your sweet cravings. Who wouldn’t want such a crowd-pleaser around? Trust me, once you try these Cannoli Cheesecake Bars, you’ll be dreaming of the next time you can whip them up! Are you ready to indulge in a slice of creamy goodness?
Why Are These Cannoli Cheesecake Bars Irresistible?
Simplicity defines this recipe—just 15 minutes of hands-on time means you can whip these up even on a busy day. Decadent flavors come from the rich blend of creamy ricotta and velvety cheesecake, making every bite melt in your mouth. Versatile options allow you to customize with different mix-ins or flavor extracts, keeping things fresh and exciting. Perfect for any occasion, these bars are sure to impress at parties, gatherings, or quiet nights at home. And if you’re a fan of other delightful desserts, be sure to check out these Espresso Cheesecake Decadent bars or the luxurious Vanilla Bean Cheesecake. Get ready to savor these Cannoli Cheesecake Bars—they’re about to become your new favorite treat!
Cannoli Cheesecake Bars Ingredients
• Get ready to create a delightful crust and filling that will whisk you away to Italy!
For the Crust
- Graham Cracker Crumbs – Structure the base; for a gluten-free option, use almond flour mixed with sugar.
- Sugar – Adds sweetness to the crust; balances the richness of the filling.
- Unsalted Butter – Binds the crust ingredients; melt it for easier mixing.
For the Filling
- Cream Cheese (Full-Fat) – Provides rich texture; always use room temperature for a lump-free mix.
- Granulated Sugar (for Filling) – Sweetens the filling and enhances its creaminess.
- Eggs – Important for stability; add them one at a time to maintain a smooth mixture.
- Vanilla Extract – Enhances flavor; using pure vanilla ensures the best taste.
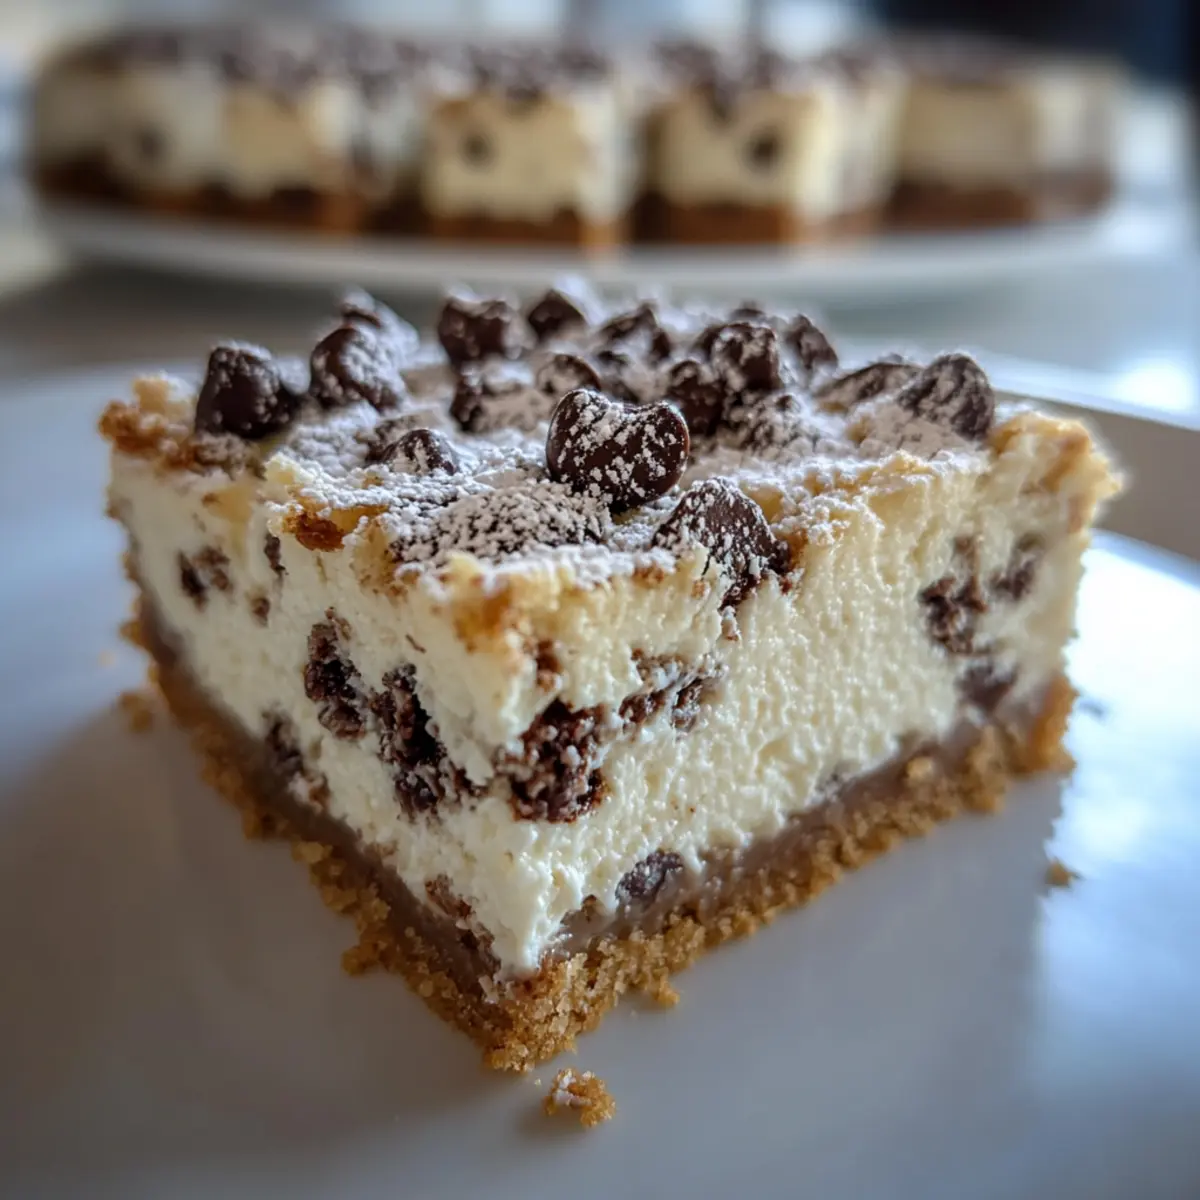
- Ricotta Cheese (Full-Fat) – The star of the show for that classic cannoli flavor; mix well for creaminess.
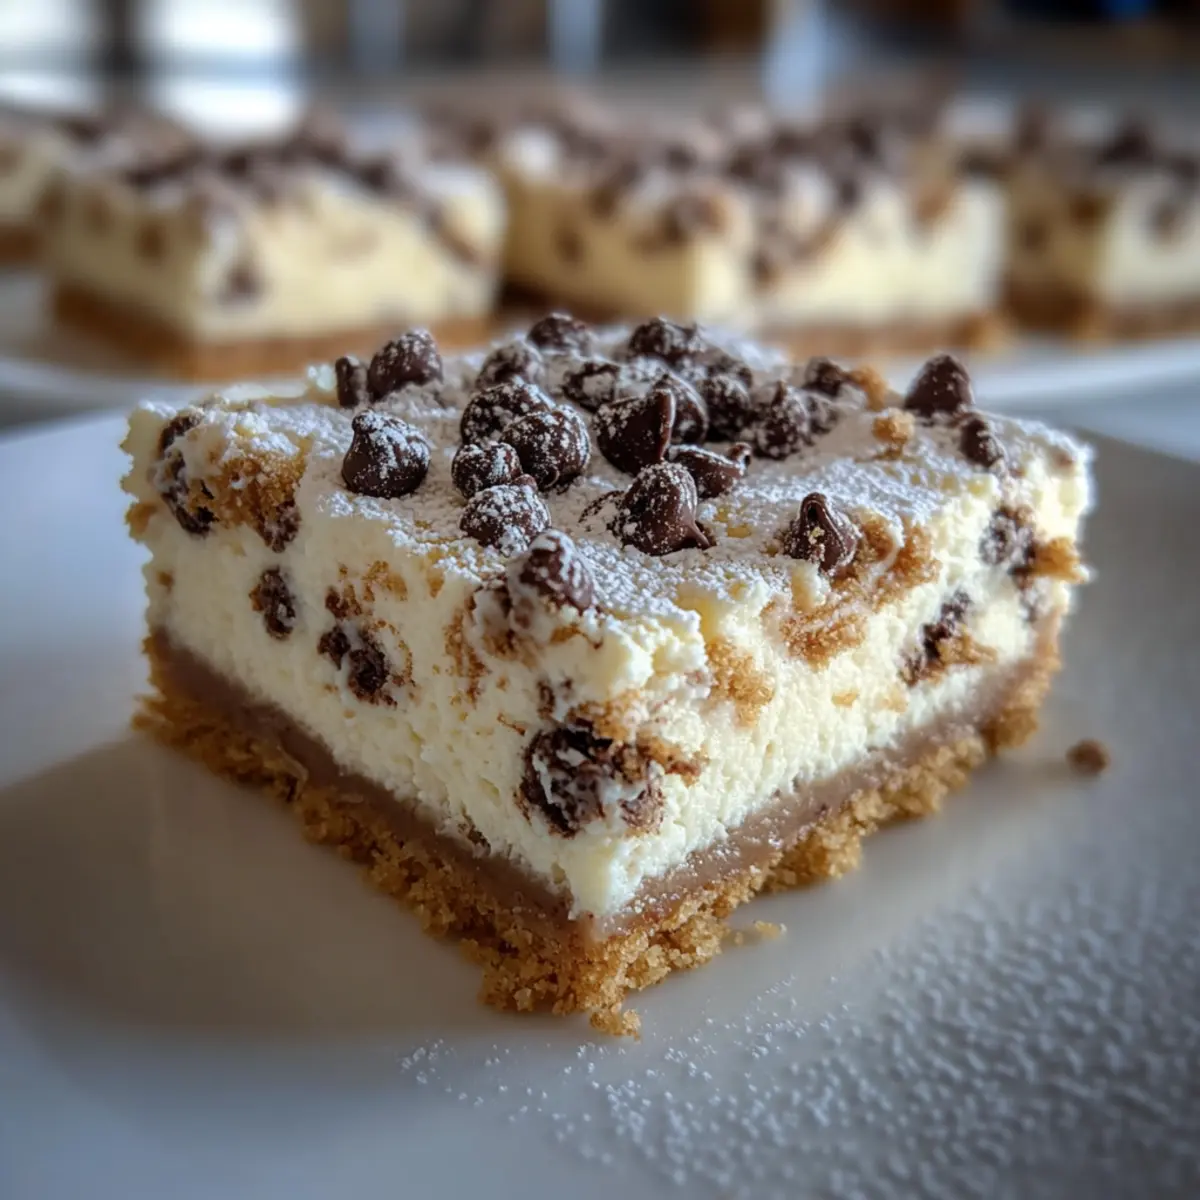
- Mini Chocolate Chips – Adds delicious surprises in every bite; use mini to prevent sinking during baking.
Indulge in the sweet harmony of flavors with these irresistible Cannoli Cheesecake Bars!
Step‑by‑Step Instructions for Cannoli Cheesecake Bars
Step 1: Prepare the Crust
Begin by preheating your oven to 325°F (163°C). In a medium bowl, mix graham cracker crumbs, sugar, and melted unsalted butter until the mixture resembles wet sand. Press this mixture firmly into the bottom of a lined 9×9-inch baking pan, ensuring it’s evenly distributed. A solid crust will hold the delightful filling, so use the bottom of a glass to compact it neatly.
Step 2: Make the Filling
In a large mixing bowl, beat the room-temperature cream cheese and granulated sugar together until the mixture is smooth and creamy, about 3-4 minutes. Add the eggs one at a time, mixing well after each addition to keep the filling fluffy. Then, gently fold in the ricotta cheese and mini chocolate chips, being careful not to overmix, which keeps the filling light and luscious.
Step 3: Bake the Bars
Pour the creamy filling mixture over your prepared crust in the baking pan, spreading it evenly with a spatula. Place the pan in the preheated oven and bake for 40-45 minutes. You’ll know the Cannoli Cheesecake Bars are done when the edges are set, but the center still has a slight jiggle, resembling the perfect cheesecake.
Step 4: Cool the Bars
Once baked, remove the pan from the oven and allow it to cool at room temperature for about 1 hour. This cooling process helps the filling firm up after baking. After that, cover the pan with plastic wrap and refrigerate for a minimum of 4 hours or ideally overnight; this chilling step enhances the flavors and texture of your Cannoli Cheesecake Bars.
Step 5: Serve and Enjoy
Before serving, dust the top of your Cannoli Cheesecake Bars generously with powdered sugar for an elegant finish. For an added touch, consider sprinkling extra mini chocolate chips or a hint of orange zest on top. Slice into squares and enjoy the creamy goodness with family and friends!
Cannoli Cheesecake Bars Variations
Feel free to play around with these Cannoli Cheesecake Bars to create a version that suits your taste!
-
Gluten-Free: Substitute graham cracker crumbs with almond flour mixed with sugar for a tasty, gluten-free crust.
-
Dairy-Free: Use coconut cream instead of ricotta and a vegan cream cheese alternative for a dairy-free twist.
-
Nutty Crunch: Add chopped pistachios or walnuts to the crust for delightful texture and a nutty flavor pop.
-
Fruity Delight: Toss in some finely chopped maraschino cherries or dried cranberries for a burst of sweetness in every bite.
-
Zesty Infusion: Incorporate lemon or orange zest into the filling for a refreshing citrus kick that brightens the dessert.
-
Flavorful Extracts: Experiment with flavored extracts like almond or hazelnut to give your Cannoli Cheesecake Bars a unique signature.
-
Boozy Option: Drizzle some amaretto or limoncello on the filling for an adult twist, enhancing the traditional Italian flavors.
And if you’re drawn to other decadent desserts, give these Brown Butter Bars a try or treat yourself to the fabulously rich Vanilla Bean Cheesecake. Enjoy your sweet crafting!
Make Ahead Options
These Cannoli Cheesecake Bars are a fantastic choice for meal prep, saving you precious time on busy days! You can prepare the crust and filling separately up to 24 hours in advance. Simply press the crust into the baking pan and store it in the fridge, covered. The filling can be mixed and kept in an airtight container until you’re ready to bake. When it’s time to enjoy, simply pour the filling over the chilled crust and bake as directed. This approach not only maintains the bars’ creamy texture but also allows the flavors to meld beautifully. Enjoy delicious Cannoli Cheesecake Bars with minimal effort when you prep ahead!
Expert Tips for Cannoli Cheesecake Bars
-
Room Temperature Ingredients: Always use room temperature cream cheese and eggs to avoid lumps and ensure smooth blending in your Cannoli Cheesecake Bars.
-
Prevent Cracking: Avoid overbaking; look for a slight jiggle in the center to keep the bars creamy and without cracks.
-
Chill for Perfection: Refrigerate the bars for at least 4 hours or overnight. This step enhances the flavors and gives the filling the right texture.
-
Mix-in Options: Make it your own by adding different flavors like almond or lemon extract, or mix in chopped nuts for a delightful crunch.
-
Proper Storage: Store any leftovers in an airtight container in the fridge for up to 5 days. You can also freeze individual bars for up to 2 months—just thaw overnight in the fridge.
What to Serve with Irresistible Cannoli Cheesecake Bars
Elevate your dessert experience by creating a delightful meal that perfectly complements these creamy indulgences.
- Espresso or Coffee: Perfect to enhance the rich flavors of the cheesecake bars, a hot cup helps balance the sweetness beautifully.
- Fresh Berries: Strawberries or raspberries add a fresh, tangy contrast, brightening each bite and providing a pop of color on the plate.
- Whipped Cream: A dollop of lightly sweetened whipped cream adds layers of fluffy texture, making each bite even more decadent.
- Chocolate Sauce Drizzle: Elevate the indulgence with a drizzle of chocolate sauce; the extra richness marries well with the dessert’s flavors.
- Pistachio Crumble: A sprinkle of crushed pistachios on top adds a delightful crunch and a touch of nutty flavor that complements creamy textures.
- Limoncello: Serving a chilled glass of this lemon liqueur not only invigorates the palate but also brings a refreshing finish to your meal.
- Vanilla Ice Cream: Serve alongside for a contrasting temperature and creaminess, which pairs perfectly with the dense bars.
- Mint Leaves Garnish: A sprig of fresh mint not only looks beautiful but also adds a bright, aromatic touch that enhances the overall experience.
- Raspberry Coulis: A fruity sauce drizzled around the plate adds an artistic touch and brings a sweet-tart flavor that’s hard to resist.
How to Store and Freeze Cannoli Cheesecake Bars
Fridge: Store leftovers in an airtight container for up to 5 days to maintain freshness and flavor. Always refrigerate to prevent spoilage.
Freezer: For longer storage, freeze individual bars wrapped in plastic wrap and then placed in a freezer bag for up to 2 months. Thaw overnight in the fridge before enjoying.
Reheating: If you prefer warm bars, microwave individual servings briefly at medium power for 10-15 seconds. This helps restore a soft texture without losing quality.
Serving Reminder: Always serve chilled and dust with powdered sugar for the perfect finish before devouring your delightful Cannoli Cheesecake Bars.
Cannoli Cheesecake Bars Recipe FAQs
What type of graham cracker crumbs should I use?
I recommend using plain graham cracker crumbs for the best flavor and texture in your crust. If you need a gluten-free option, almond flour mixed with sugar works wonderfully as an alternative! Just use 1 1/4 cups of almond flour with 2 tablespoons of sugar for a similar taste.
How should I store leftover Cannoli Cheesecake Bars?
Store your leftovers in an airtight container in the fridge for up to 5 days. This will not only keep them fresh but enhance the flavors as they meld together. For longer storage, wrap individual bars in plastic wrap, place them in a freezer bag, and freeze for up to 2 months!
Can I freeze Cannoli Cheesecake Bars, and how do I do it?
Absolutely! Freezing these bars is simple. Here’s how: after baking and cooling, cut the bars into individual squares. Wrap each square in plastic wrap, and then place them in a labeled freezer bag. They can be frozen for up to 2 months. Thaw them overnight in the fridge before serving for the best texture.
What should I do if my filling is too runny?
If you find that your filling is too runny before baking, don’t worry! This can happen if the cream cheese isn’t fully blended or if it’s too warm. To fix this, chill your mixing bowl and the cream cheese in the fridge for about 20 minutes, then blend again. Make sure to mix gently after adding the ricotta and mini chocolate chips to retain that light texture.
Are there any dietary considerations I should be aware of?
Yes! While these Cannoli Cheesecake Bars are a decadent treat, they do contain dairy and gluten, making them unsuitable for those with lactose intolerance or celiac disease. To modify for gluten-free eaters, ensure you use gluten-free graham cracker crumbs. If you have dairy allergies, try using dairy-free cream cheese alternatives and a dairy-free ricotta substitute for filling!
What’s the best way to check if the cheesecake bars are properly baked?
To ensure your Cannoli Cheesecake Bars are perfectly baked, look for slightly golden edges and a center that jiggles just a little when you gently shake the pan. If it looks too set, it may be overcooked, leading to a denser texture instead of creamy!
Delicious Cannoli Cheesecake Bars for Your Sweet Cravings
Ingredients
Equipment
Method
- Preheat your oven to 325°F (163°C). Mix graham cracker crumbs, sugar, and melted unsalted butter until resembling wet sand. Press into the bottom of a lined 9x9-inch baking pan.
- In a large mixing bowl, beat cream cheese and granulated sugar until smooth, about 3-4 minutes. Add eggs one at a time, mixing well after each addition. Fold in ricotta cheese and mini chocolate chips gently.
- Pour the filling over the prepared crust, spreading it evenly. Bake for 40-45 minutes until edges are set but center jiggles slightly.
- Cool at room temperature for about 1 hour, then refrigerate for a minimum of 4 hours or overnight.
- Before serving, dust with powdered sugar and add optional toppings. Slice into squares and enjoy!
Leave a Reply