
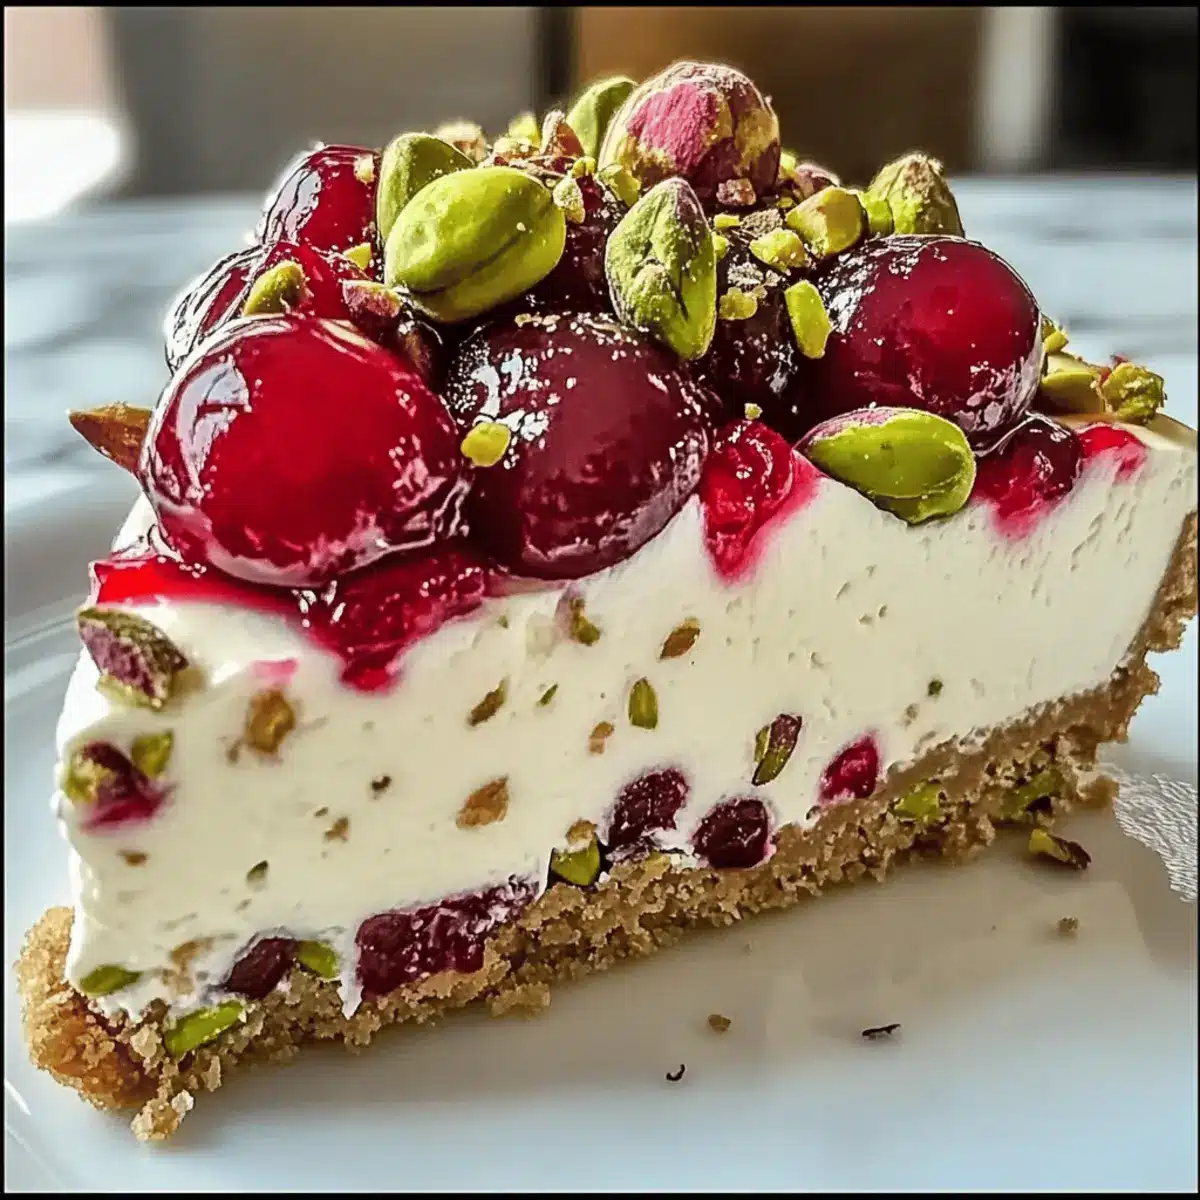
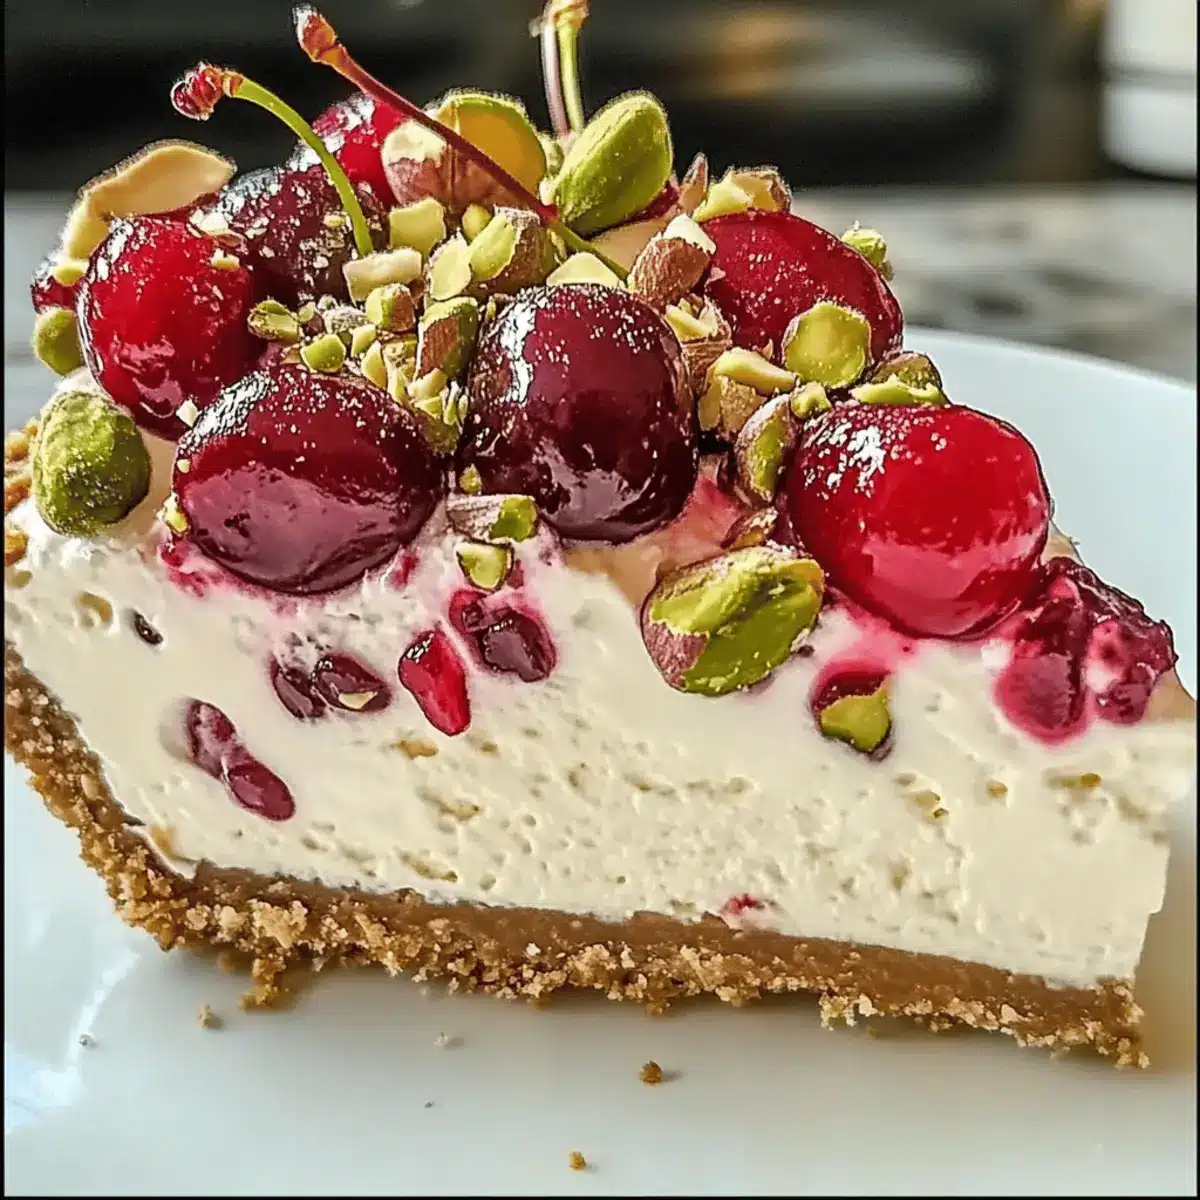
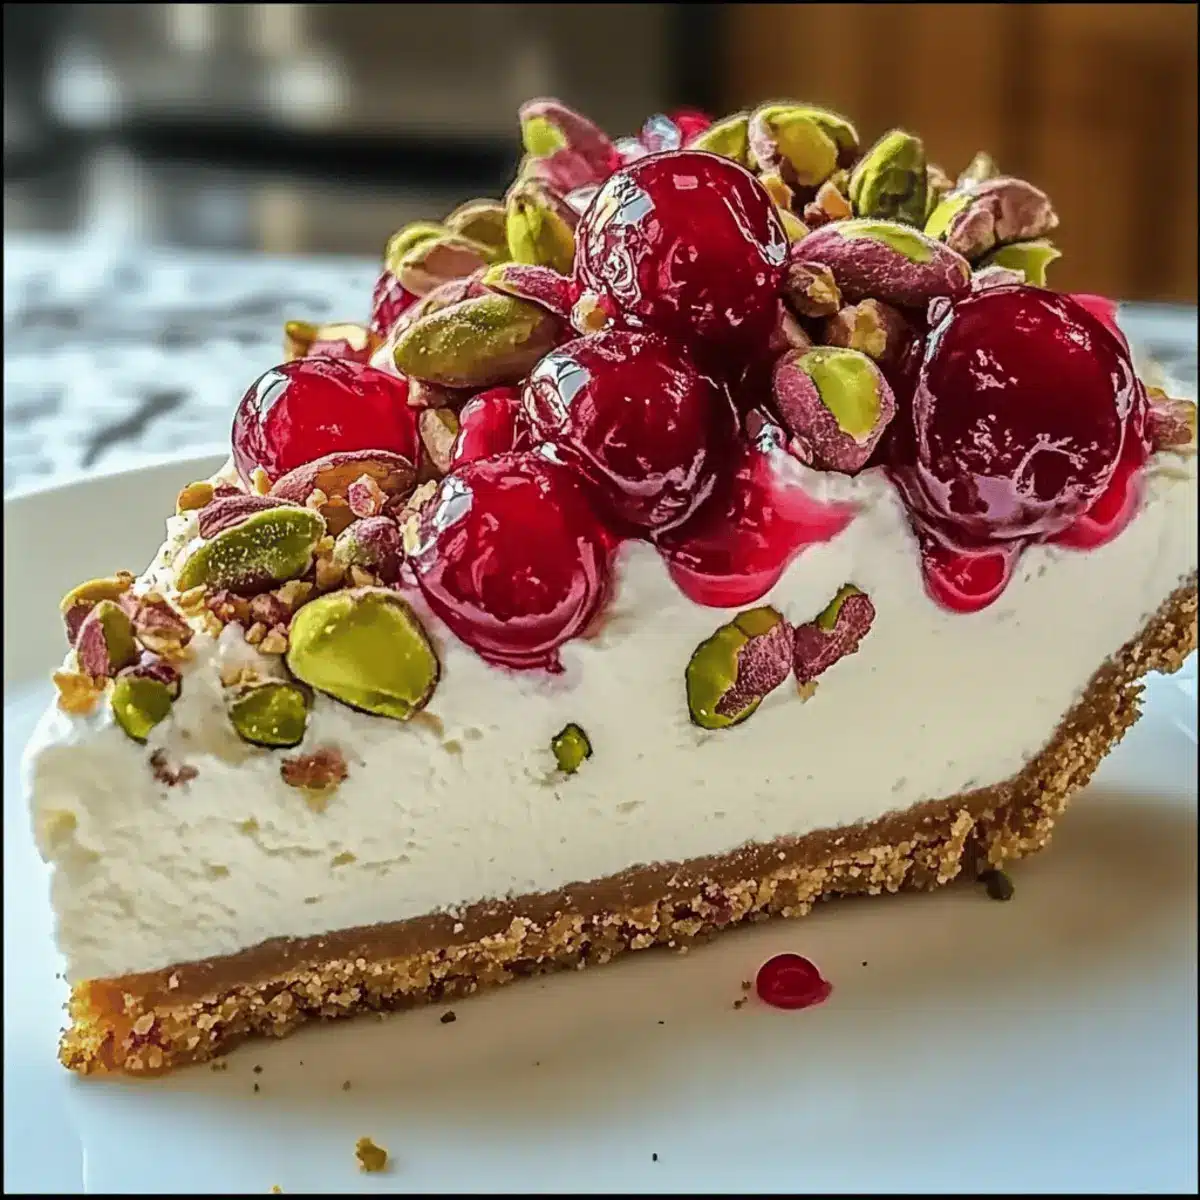
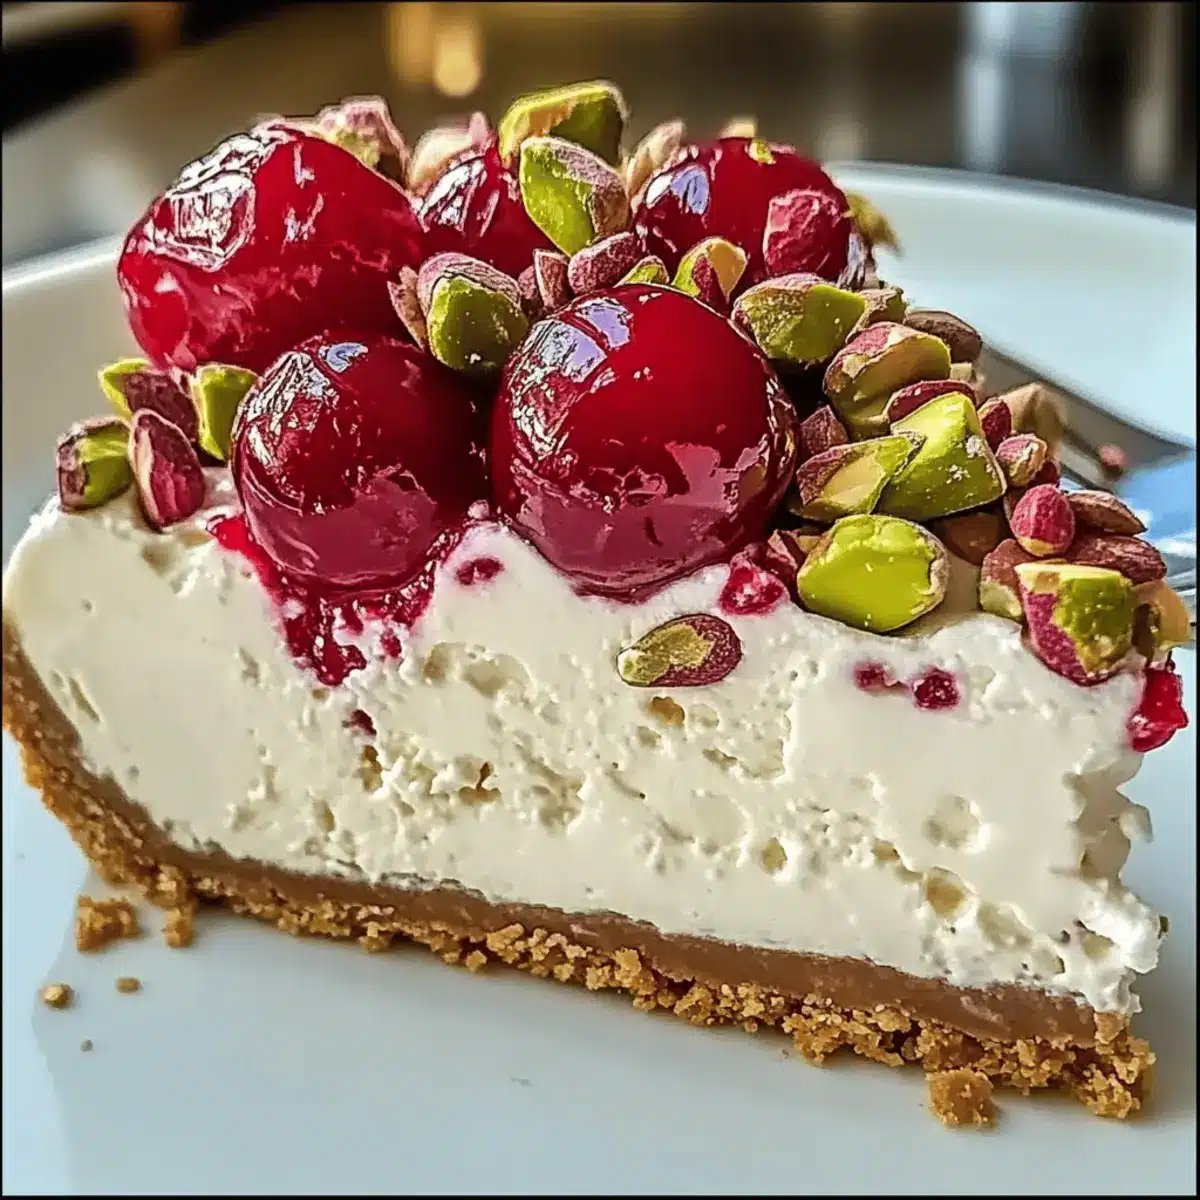
At a recent family gathering, as I sifted through my recipe box, I stumbled upon a nostalgic gem: the Cherry Pistachio Cheesecake. This dessert is a feast for the senses—the vibrant colors of maraschino cherries mingling with the lush green pistachios are a real show-stopper, perfect for proud home chefs like us who love to impress! What I adore most about this cheesecake is its perfect balance of creamy richness and a delightful crunch, making it not just indulgent but effortlessly easy to whip up for any special occasion. Plus, with endless variations for toppings and crusts, it can easily cater to diverse tastes and dietary needs. Are you ready to dive into this charming recipe and add a touch of sweetness to your next celebration?
Why is Cherry Pistachio Cheesecake irresistible?
Creamy Indulgence: The combination of cream cheese and sour cream makes for an irresistibly smooth filling that melts in your mouth.
Colorful Contrast: The vibrant reds of maraschino cherries and the greens of pistachios not only please the palate but also make for a visually stunning presentation—perfect for impressing guests!
Easy Preparation: With simple steps and common ingredients, this cheesecake is welcoming to all home bakers, even those just starting out.
Versatile Flavor: Feel free to switch up the toppings, using your favorite fruits or even a homemade berry compote for a unique twist.
If you’re in the mood for something equally delightful, check out my Espresso Cheesecake Decadent or the mouthwatering Butter Dubai Pistachio for more inspiration!
Cherry Pistachio Cheesecake Ingredients
For the Crust
• Graham Cracker Crumbs – Base structure for the crust; you can substitute crushed digestive biscuits for a similar texture.
• Ground Pistachios – Adds flavor and texture to the crust; use roasted, unsalted pistachios for optimal taste.
• Granulated Sugar – Provides sweetness for both the crust and filling.
• Butter – Binds crust ingredients together, lending a rich flavor.
For the Filling
• Cream Cheese (16 oz) – The primary component that gives the cheesecake its creamy texture and structure.
• Sour Cream (½ cup) – Adds tanginess and richness; swap for Greek yogurt for a lighter alternative.
• Pistachio Pudding Mix (¼ cup, dry powder) – Boosts pistachio flavor and provides necessary structure.
• Sugar (½ cup) – Sweetens the filling beautifully.
• Eggs (2 large) – Act as a binding agent to ensure a firm cheesecake texture.
• Vanilla Extract – Enhances the overall flavor profile, making it more aromatic.
For the Topping
• Maraschino Cherries (½ cup, chopped) – The primary fruit flavor and a vibrant garnish; fresh or frozen cherries can be substituted, but ensure they are dried before use to avoid excess moisture.
• Cherry Pie Filling (1 can, for topping) – Adds a sweet and tart finish to this Cherry Pistachio Cheesecake.
Now you’re all set to create this decadent dessert that’s sure to leave everyone at the table smiling! Enjoy the magic of making this delightful treat for your next special occasion.
Step‑by‑Step Instructions for Cherry Pistachio Cheesecake
Step 1: Preheat the Oven
Begin by preheating your oven to 325°F (165°C). While the oven warms, prepare a 9-inch springform pan by greasing the sides and lining the bottom with parchment paper to ensure easy removal after baking. This will help your Cherry Pistachio Cheesecake come out perfectly intact!
Step 2: Make the Crust
In a medium bowl, combine graham cracker crumbs, ground pistachios, and granulated sugar with melted butter. Mix until the ingredients are evenly coated and resemble wet sand. Press this mixture firmly into the bottom of your prepared pan, creating an even layer. Bake for 8 minutes until slightly golden, then remove and allow it to cool completely.
Step 3: Prepare the Filling
In a large mixing bowl, beat the softened cream cheese and sugar with an electric mixer until the mixture is smooth and creamy, about 2–3 minutes. Gradually add in the eggs, one at a time, followed by the sour cream, pistachio pudding mix, and vanilla extract. Mix until everything is just combined, ensuring not to overmix for a perfect Cherry Pistachio Cheesecake.
Step 4: Bake the Cheesecake
Pour the creamy filling over the cooled crust in the springform pan, smoothing the top with a spatula for an even surface. Bake in the preheated oven for 45–50 minutes, or until the edges are set while the center remains slightly jiggly. This gentle baking method helps achieve a silky texture.
Step 5: Cool Gradually
Once baked, turn off the oven and leave the cheesecake inside with the door slightly ajar. Let it cool in the oven for about 1 hour. This gradual cooling process helps prevent cracks in the surface of your Cherry Pistachio Cheesecake, allowing it to set perfectly without sudden temperature changes.
Step 6: Chill
Transfer the cheesecake to the refrigerator and chill for at least 4 hours, or ideally overnight. This will allow the flavors to meld beautifully and the texture to firm up for the ultimate cheesecake experience. Patience is key here!
Step 7: Top and Serve
Before serving, carefully remove the cheesecake from the springform pan. Spread cherry pie filling over the top gently, allowing it to cascade down the sides for added drama. Optionally, garnish with extra chopped pistachios for a delightful crunch and visual appeal, bringing your Cherry Pistachio Cheesecake to the next level!
What to Serve with Cherry Pistachio Cheesecake
Indulging in a slice of Cherry Pistachio Cheesecake is a celebration in itself, but let’s elevate your dessert experience with some delightful pairings.
-
Fresh Berries: The juicy burst of strawberries or blueberries provides a refreshing contrast that complements the sweet and creamy flavors beautifully.
-
Whipped Cream: A dollop of lightly sweetened, fluffy whipped cream adds an airy texture that enhances the richness of the cheesecake.
-
Mint Leaves: Adding fresh mint creates a pop of color and refreshing aroma, making every bite a palate-cleansing experience.
-
Espresso or Coffee: A cup of your favorite espresso or rich coffee can cut through the cheesecake’s richness, balancing the dessert with its deep, bold flavors.
-
Chocolate Sauce Drizzle: A warm chocolate drizzle can add an extra indulgent layer to your cheesecake, making it a decadent treat for chocolate lovers.
-
Lemon Sorbet: This light and zesty dessert acts as a palate cleanser that beautifully offsets the richness of the cheesecake, especially on warm days.
-
Pistachio Ice Cream: For a truly nutty experience, pair the cheesecake with creamy pistachio ice cream to echo the flavors while adding a cool contrast in temperature.
-
Sparkling Wine: Finish off the meal with a glass of bubbly; the effervescence of sparkling wine can elevate the dessert experience, making each bite feel festive.
-
Chocolate-Covered Almonds: A few crunchy chocolate-covered almonds on the side introduce a sweet and nutty pop that aligns perfectly with the cheesecake’s essence.
With these pairings, every forkful of Cherry Pistachio Cheesecake will be a celebration of flavors and textures, truly making your dessert memorable!
How to Store and Freeze Cherry Pistachio Cheesecake
Fridge: Store your Cherry Pistachio Cheesecake tightly wrapped in plastic wrap or in an airtight container for up to 5 days. This keeps it fresh and moist, ready to serve!
Freezer: If you want to enjoy this delightful dessert later, freeze the cheesecake for up to 2 months. Wrap it tightly in plastic wrap, then in aluminum foil to prevent freezer burn.
Thawing: To enjoy, simply transfer the cheesecake to the fridge to thaw overnight. Add any toppings, like cherry pie filling, after thawing for the best presentation.
Reheating: There’s no need to reheat cheesecake; serve it chilled for the perfect creamy texture.
Expert Tips for Cherry Pistachio Cheesecake
-
Room Temperature Ingredients: Make sure your cream cheese and eggs are at room temperature to blend smoothly, which helps avoid lumps in your filling.
-
Avoid Overmixing: Once you add the eggs, mix just until combined to prevent air bubbles that can cause cracks during baking.
-
Choose Quality Nuts: Using roasted, unsalted pistachios enhances the flavor of your Cherry Pistachio Cheesecake, giving it that rich, nutty taste that pairs beautifully with the cherries.
-
Slicing Advice: For perfect slices, dip your knife in warm water before cutting your cheesecake, cleaning it with a cloth between each cut for pristine pieces.
-
Gradual Cooling: Allow your cheesecake to cool slowly in the oven to minimize cracks. This small step contributes to a smoother top and creamier texture.
Make Ahead Options
These Cherry Pistachio Cheesecake treats are perfect for busy home cooks looking to save time during the week! You can easily prepare the crust and filling up to 24 hours in advance. To do this, simply make the crust, allow it to cool, and layer the filling on top before refrigerating. Be sure to cover the cheesecake tightly with plastic wrap to prevent it from absorbing any odors from the fridge. When you’re ready to serve, just spread the cherry pie filling on top and garnish as desired. With these make-ahead options, you’ll have an elegant dessert ready with minimal effort, ready to wow your guests!
Cherry Pistachio Cheesecake Variations
Feel free to explore these delightful twists to make this dessert truly your own, and awaken your taste buds!
- Nut-Free: Substitute pistachios with crushed graham crackers or oats; this will keep the flavor and texture while being allergy-friendly.
- Fresh Fruits: Use fresh cherries or mixed berries in place of cherry pie filling for a burst of natural sweetness. The juicy freshness adds a lovely summer twist!
- Chocolate Drizzle: Drizzle melted dark chocolate over the cherry topping for a rich, decadent finish. Who can resist the allure of chocolate and cherries together?
- Maple Syrup: Replace granulated sugar with maple syrup for a uniquely sweet and earthy flavor; it enhances the creaminess beautifully!
- Coconut Cream: Swap sour cream for coconut cream to create a tropical vibe; this can infuse a luscious flavor that pairs wonderfully with the cherry.
- Mini Cheesecakes: Pour the filling into muffin tins for individual servings, adjusting the baking time to about 20-25 minutes—perfect for parties!
- Spiced Version: Add cinnamon or nutmeg to the filling for a warm, cozy taste that plays off the creaminess beautifully, making it perfect in the autumn.
- Savory Twist: Mix in a touch of crumbled goat cheese with the cream cheese for a sophisticated flavor profile perfect for holiday gatherings.
If you’re seeking more flavor adventures, why not try the decadent Espresso Cheesecake Decadent or the unique Butter Dubai Pistachio recipes? Both can spark your culinary creativity and impress your guests!
Cherry Pistachio Cheesecake Recipe FAQs
How do I choose ripe cherries for my cheesecake?
Absolutely! When selecting cherries, look for those that are plump, firm, and brightly colored. Avoid any with dark spots or significant blemishes, as these may indicate overripeness or poor quality. If you’re opting for fresh cherries, aim for those that are bright red and sweet-smelling.
How should I store my Cherry Pistachio Cheesecake?
Very! Wrap your cheesecake tightly in plastic wrap or keep it in an airtight container in the refrigerator for up to 5 days. This will help maintain its freshness and moisture. For longer storage, you can freeze it for up to 2 months.
Can I freeze Cherry Pistachio Cheesecake? If so, how?
Absolutely! To freeze your cheesecake, first let it cool completely in the fridge. Then, wrap it tightly in plastic wrap, ensuring there are no air pockets. Follow this by wrapping it in aluminum foil to prevent freezer burn. When you’re ready to enjoy, thaw it overnight in the fridge for the best texture.
What should I do if my cheesecake cracks during baking?
Don’t worry; it happens to the best of us! To minimize cracks, make sure you’re not overmixing after adding the eggs. If a crack does occur, don’t fret—simply cover it with cherry pie filling or a sprinkle of pistachios for a lovely disguise.
Is this recipe suitable for those with nut allergies?
Noted! This Cherry Pistachio Cheesecake contains pistachios, which can be an allergen for some. If you’re making this for someone with nut allergies, you can easily substitute the ground pistachios in the crust with finely crushed graham crackers, or even crushed vanilla cookies for a delicious alternative.
Can I use a different topping aside from cherry pie filling?
Very much so! This cheesecake is incredibly versatile. Feel free to use fresh berries, a homemade fruit compote, or even a drizzle of chocolate ganache. Just make sure to apply these after thawing if you’ve frozen the cheesecake for best results.
Cherry Pistachio Cheesecake: A Delightful Festive Treat
Ingredients
Equipment
Method
- Preheat your oven to 325°F (165°C) and prepare a 9-inch springform pan by greasing and lining the bottom with parchment paper.
- In a medium bowl, combine graham cracker crumbs, ground pistachios, and granulated sugar with melted butter. Mix until evenly coated and press into the bottom of the pan. Bake for 8 minutes and cool completely.
- In a large mixing bowl, beat cream cheese and sugar with an electric mixer until smooth. Gradually add eggs, sour cream, pudding mix, and vanilla extract. Mix until just combined.
- Pour the filling over the cooled crust, smoothing the top. Bake for 45–50 minutes until edges are set and the center is slightly jiggly.
- Once baked, turn off the oven and leave the cheesecake inside with the door slightly ajar for about 1 hour.
- Transfer the cheesecake to the refrigerator and chill for at least 4 hours, or ideally overnight.
- Before serving, remove the cheesecake from the pan and spread cherry pie filling over the top.
Leave a Reply