
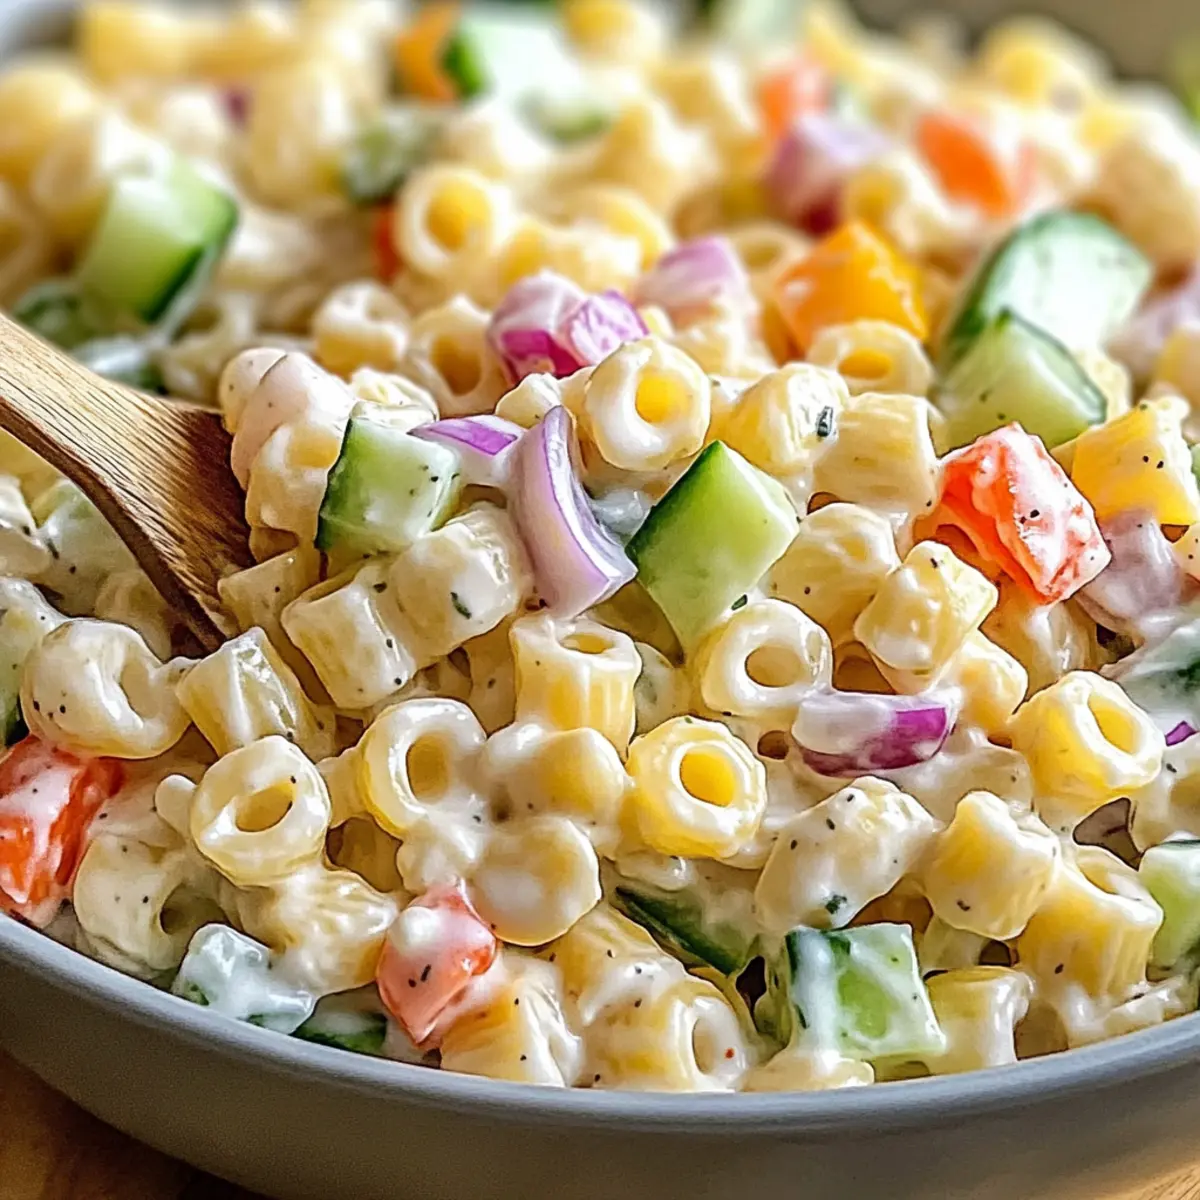
At our last garden gathering, the laughter and sunshine filled the air, but what truly stole the show was my creamy Ditalini Pasta Salad. It wasn’t just a side dish; it was a vibrant mix of crunchy veggies and tantalizing creamy dressing that brought everyone back for seconds. One of the best parts? This delightful salad is not only easy to make but also versatile enough to suit any palate, including vegan substitutions for those who prefer plant-based meals. Perfect for meal prep, it keeps beautifully in the fridge, making it a go-to option for busy weekdays or casual get-togethers. Curious about how to whip up this refreshing dish that can practically do it all? Let’s dive into the recipe!
Why is Ditalini Pasta Salad a must-try?
Versatile and Adaptable: This creamy Ditalini Pasta Salad is a chameleon, ready to be customized to your taste!
Easy to Prepare: With straightforward steps, anyone can whip it up in no time, making it a fantastic option for both novice and experienced cooks.
Meal Prep Friendly: Store it in the fridge for up to 5 days, perfect for lunches or last-minute dinners.
Flavorful Crunch: The combination of crisp veggies complements the creamy dressing, creating a delightful texture in every bite.
Crowd Pleaser: Whether at summer picnics or cozy dinners, this salad is sure to impress guests and family alike.
For another delicious side option, check out my Savory Butternut Pasta that also brings vibrant flavors to the table!
Ditalini Pasta Salad Ingredients
For the Salad
• Ditalini Pasta – This small, tube-shaped pasta holds the creamy dressing beautifully; cook until al dente for the best texture.
• Chopped Celery – Adds a delightful crunch and freshness to the salad.
• Bell Peppers – Use any color you like to brighten the dish and pack in vitamins.
• Onions – A touch of sweetness; red onions are great for a milder flavor.
• Cucumbers – These add hydration and a refreshing bite to balance the creaminess.
For the Dressing
• Mayonnaise – The base of the creamy dressing; substitute with a vegan option to keep it plant-based.
• Apple Cider Vinegar – This zesty element cuts through the rich flavors for a balanced taste.
• Sugar – Just a pinch enhances the overall flavor and offsets the acidity.
• Dijon Mustard – Adds a tangy depth to the dressing that pairs perfectly with the salad.
• Salt & Black Pepper – Essential for enhancing all the flavors in the dish.
• Garlic Powder – Provides a subtle garlic flavor without the harshness of fresh garlic.
• Paprika – Introduces a hint of smokiness and a beautiful color contrast to the salad.
Get ready to create your delicious Ditalini Pasta Salad!
Step‑by‑Step Instructions for Ditalini Pasta Salad
Step 1: Boil the Pasta
Start by bringing a large pot of salted water to a rolling boil over medium-high heat. Once boiling, add in the ditalini pasta and cook according to package instructions, typically about 8–10 minutes, until it’s al dente. Stir occasionally to prevent sticking, and once ready, drain the pasta and rinse under cold water until cool to stop the cooking process.
Step 2: Prepare the Dressing
In a mixing bowl, combine mayonnaise, apple cider vinegar, sugar, Dijon mustard, salt, black pepper, garlic powder, and paprika. Whisk these ingredients together until smooth and well-blended, achieving a creamy consistency. The dressing should have a balance of tangy and sweet flavors, perfect for enhancing the ditalini pasta salad.
Step 3: Combine Pasta and Vegetables
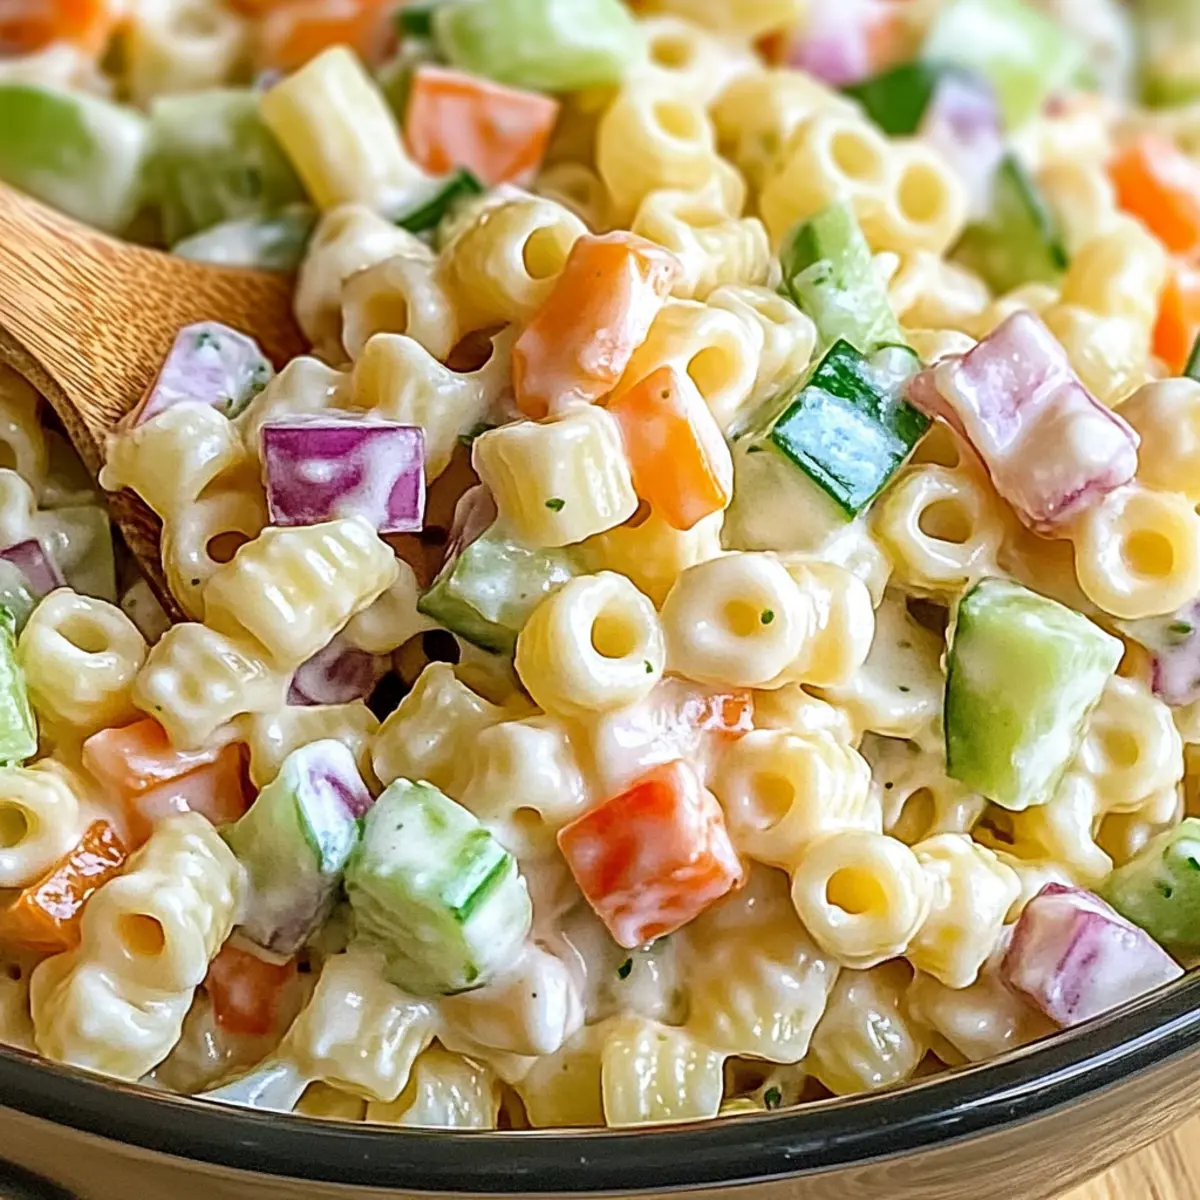
In a large mixing bowl, add the cooled ditalini pasta along with the chopped celery, bell peppers, onions, and cucumbers. Gently fold the vegetables into the pasta, ensuring they are evenly distributed throughout. This vibrant mix not only adds color but also boosts the salad’s crunch factor, making it irresistible.
Step 4: Mix in the Dressing
Pour the prepared dressing over the pasta and vegetable mixture. Using a large spatula or wooden spoon, toss everything together until the pasta and veggies are thoroughly coated with the creamy dressing. This is where the ditalini pasta salad transforms into a beautifully cohesive dish, ready for chilling.
Step 5: Chill to Meld Flavors
Cover the bowl with plastic wrap or a lid and refrigerate the ditalini pasta salad for at least 1 hour, allowing the flavors to meld together. This step enhances the taste and makes the salad refreshing, perfect for serving straight from the fridge at your next gathering.
Step 6: Serve and Enjoy
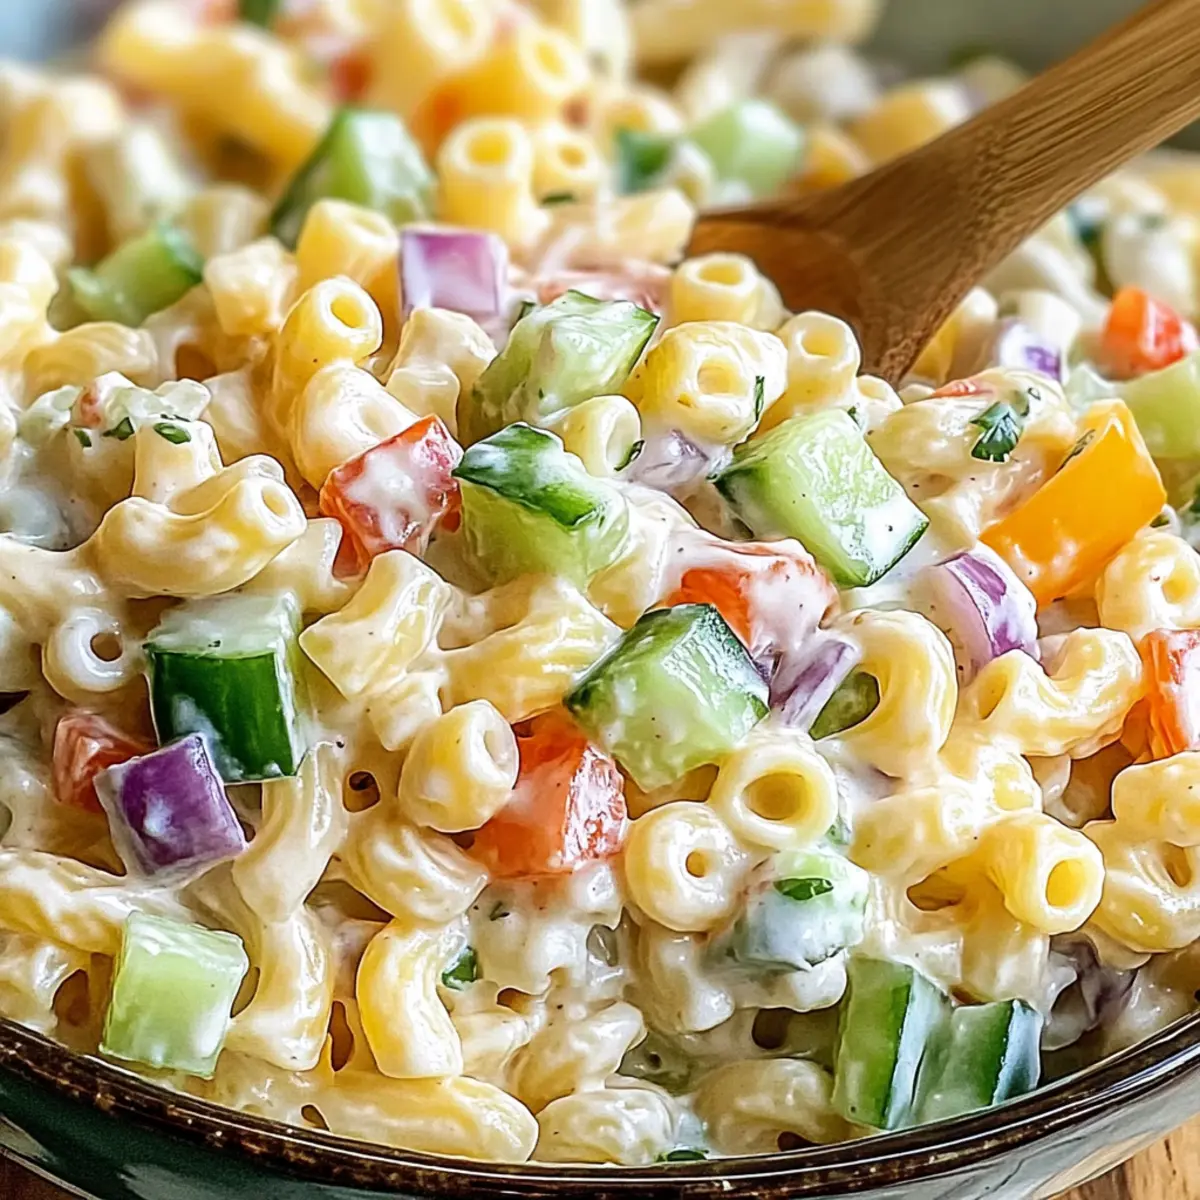
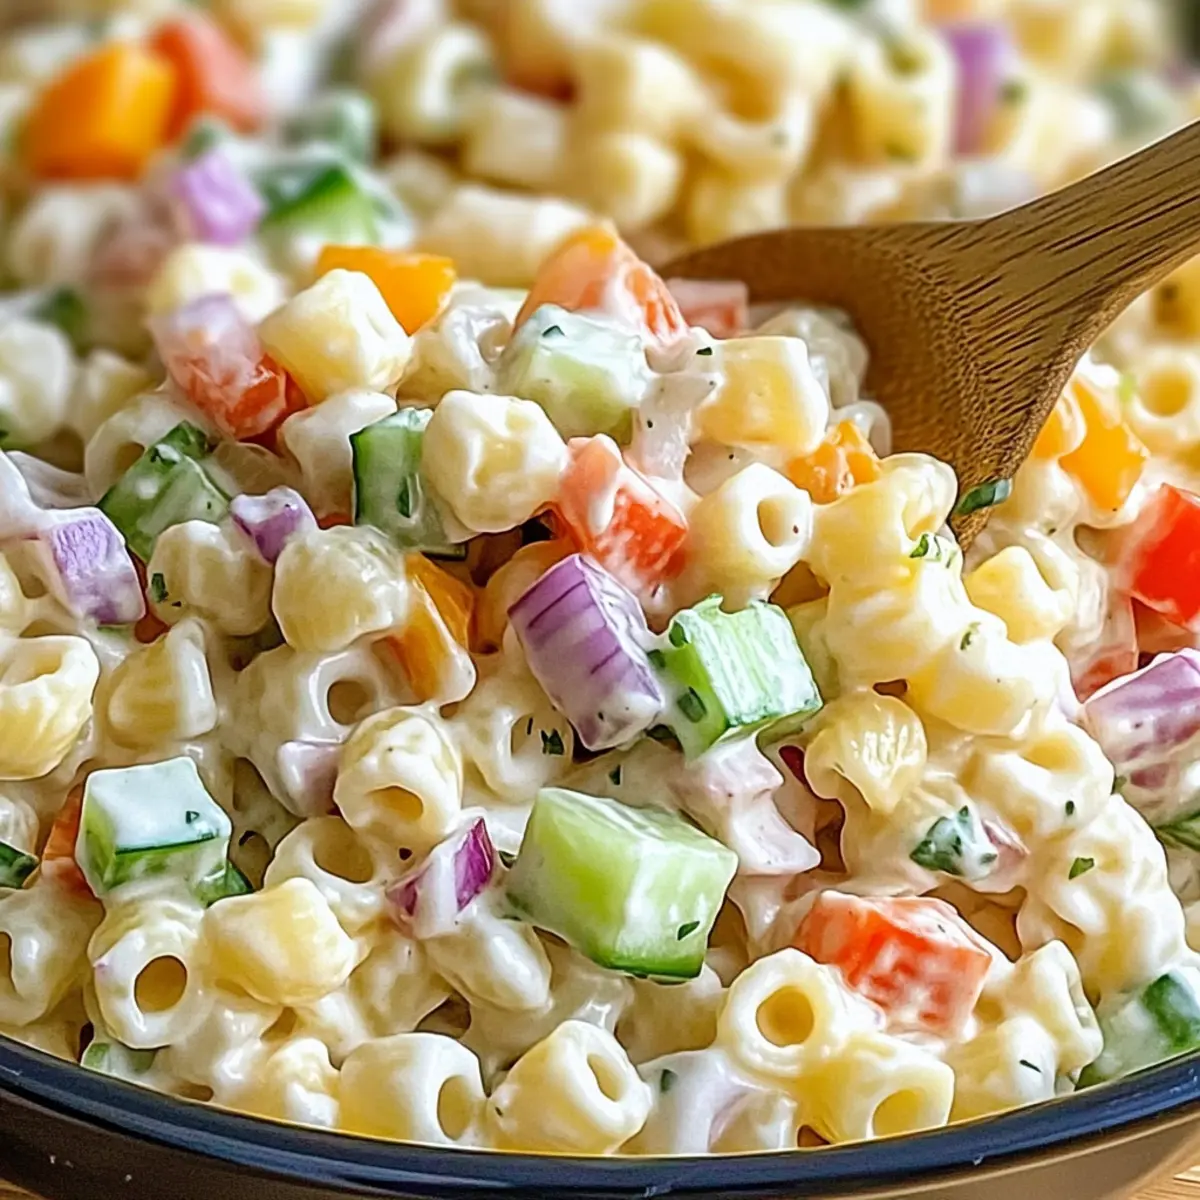
Once chilled, give the salad another gentle toss. Taste and adjust seasonings if necessary before serving. This creamy ditalini pasta salad is perfect as a side dish for barbecues, picnics, or as a quick lunch option throughout the week. Enjoy the burst of fresh flavors with each delightful bite!
Expert Tips for Ditalini Pasta Salad
• Cook Al Dente: Ensure the ditalini pasta is cooked al dente to maintain its texture. Overcooking will lead to mushiness, ruining your salad.
• Rinse Thoroughly: After draining, rinse the pasta under cold water to stop the cooking process. This keeps it firm and prevents sticking.
• Chill Before Serving: Allow the ditalini pasta salad to chill for at least an hour. This lets the flavors meld beautifully, enhancing the overall taste.
• Customize Ingredients: Feel free to swap in seasonal vegetables or proteins. Keep in mind that heartier additions may require more dressing to balance flavors.
• Storage Matters: Store in an airtight container for up to 5 days. The flavors improve as they meld, but add fresh ingredients right before serving for optimal crunch.
What to Serve with Creamy Ditalini Pasta Salad
This vibrant dish is the perfect complement to elevate your meal and make it truly unforgettable.
-
Grilled Chicken: Juicy and smoky, grilled chicken adds a satisfying protein that perfectly pairs with the creamy salad. It’s a classic combo that satisfies both the belly and the heart.
-
Garlic Bread Sticks: With a crispy exterior and soft, buttery inside, garlic bread sticks offer a delightful crunch that contrasts beautifully with the pasta salad’s creamy texture.
-
Caprese Skewers: Fresh tomatoes, mozzarella, and basil drizzled with balsamic glaze provide a refreshing burst of flavor that enhances the lightness of the pasta salad.
-
Coleslaw: Crunchy and tangy coleslaw brings a zesty twist, balancing the creaminess of the salad with its crunchy texture. A vibrant addition to any outdoor gathering!
-
Fruit Salad: A medley of seasonal fruits adds a refreshing sweetness and a pop of color to your plate, perfectly complementing the savory and creamy notes of the ditalini pasta salad.
-
Lemonade or Iced Tea: These refreshing drinks offer a crisp, cooling effect, making them the ideal thirst quenchers for a warm day while perfectly balancing the flavors of your meal.
How to Store and Freeze Ditalini Pasta Salad
Fridge: Store your creamy Ditalini Pasta Salad in an airtight container for up to 5 days. The flavors deepen as they meld, but for the best texture, add fresh crunchy vegetables right before serving.
Freezer: Freezing is not recommended for this salad due to the creamy dressing; it may separate upon thawing. Instead, prepare the salad fresh when needed.
Reheating: This salad is best enjoyed cold; no reheating is necessary. If serving after being in the fridge, give it a gentle toss to redistribute the dressing.
Make-Ahead Tips: Prepare the salad a day in advance for optimal flavor. Just remember to wait to add any delicate ingredients like cucumbers until close to serving, maintaining their fresh crunch.
Ditalini Pasta Salad Variations
Feel free to explore delightful twists on this creamy salad that will excite your taste buds!
-
Gluten-Free: Choose gluten-free pasta to keep this dish accessible for those with gluten sensitivities. Flexibility is key, and it tastes just as delicious!
-
Vegan Swap: Substitute mayonnaise with a plant-based alternative for a vegan-friendly delight that everyone can enjoy. Dress it up with fresh herbs for added flavor!
-
Extra Protein: Toss in shredded chicken or chickpeas for a heartier meal; this can turn your salad into a satisfying main course. Each bite will be more filling and nourishing!
-
Flavor Boost: Add fresh herbs like basil or parsley to elevate the freshness of your dish, making every bite a burst of flavor. The herbs will not only taste great but also brighten the salad’s appearance!
-
Zesty Kick: Incorporate a dash of red pepper flakes or a splash of hot sauce for those who love a little heat in their meals. This twist adds a new dimension to every mouthful!
-
Cheese Lover’s Dream: Fold in crumbled feta or shredded cheddar for a creamy, tangy twist that enhances the overall richness of the salad. The cheese option is sure to win over those who crave a little indulgence!
-
Add Fruits: Toss in diced apples or grapes for a sweet surprise that complements the creamy and savory elements beautifully. This unexpected addition brings a delightful crunch and sweetness!
For more delicious pasta inspiration, you might also enjoy my Cajun Chicken Pasta or my Cheeseburger Alfredo Pasta. Each recipe brings its own unique flair to your table!
Make Ahead Options
These Creamy Ditalini Pasta Salad are perfect for meal prep, making your life easier during busy weeks! You can prepare the pasta and chop the vegetables up to 24 hours in advance, storing them separately in airtight containers in the refrigerator to maintain their freshness and crunch. The creamy dressing can also be made ahead and kept in the fridge for up to 3 days. Just make sure to give everything a quick toss right before serving to ensure even coating. When you’re ready to enjoy your pasta salad, combine the pasta, veggies, and dressing, and let it chill for an hour for the flavors to meld beautifully. Enjoy hassle-free meals that are just as delicious while saving precious time!
Ditalini Pasta Salad Recipe FAQs
How do I choose the right ditalini pasta?
Absolutely! When selecting ditalini pasta, look for a shape that is firm and well-formed with no signs of breakage. Opt for brands that specify “durum wheat” on the package, as they offer a better texture. Cooking until al dente is key as it prevents mushiness in the salad!
What’s the best way to store leftover Ditalini Pasta Salad?
Very! Store your creamy Ditalini Pasta Salad in an airtight container in the refrigerator for up to 5 days. For best results, add any fresh vegetables like cucumbers just before serving, to keep their crunch intact.
Can I freeze Ditalini Pasta Salad?
Not recommended! Due to the creamy dressing, freezing this salad can cause the ingredients to separate and affect the overall texture once thawed. It’s best to prepare and enjoy it fresh.
What if my salad is too creamy?
No worries! If your Ditalini Pasta Salad feels overly creamy, you can balance it out by adding a bit more vinegar or chopping and mixing in additional vegetables. This will enhance freshness while reducing the creaminess—just mix thoroughly until desired consistency is reached!
Are there any dietary considerations for this salad?
Yes! For a vegan-friendly Ditalini Pasta Salad, simply substitute the mayonnaise with a plant-based alternative. Always check the labels of dressings and other additives to ensure they meet your dietary preferences and are free from allergens.
How long should I let the salad chill before serving?
Ideally, you should refrigerate your Ditalini Pasta Salad for at least 1 hour before serving. This allows the flavors to meld beautifully, enhancing the taste and making it incredibly refreshing for your guests. Enjoy!
Creamy Ditalini Pasta Salad for Easy Weeknight Meals
Ingredients
Equipment
Method
- Boil a large pot of salted water. Add ditalini pasta and cook for 8-10 minutes until al dente. Drain and rinse under cold water.
- In a mixing bowl, whisk together mayonnaise, apple cider vinegar, sugar, Dijon mustard, salt, black pepper, garlic powder, and paprika until smooth.
- In a large mixing bowl, combine cooled ditalini pasta with chopped celery, bell peppers, onions, and cucumbers. Fold gently to mix.
- Pour the dressing over the pasta and vegetable mixture. Toss until everything is evenly coated.
- Cover the bowl and refrigerate for at least 1 hour to allow flavors to meld.
- Once chilled, give the salad a gentle toss, taste, and adjust seasonings if necessary before serving.
Leave a Reply