
As the cake bakes, my kitchen transforms into a warm, chocolate-scented haven that instantly lifts my spirits. This Earthquake Cake Recipe is a delightful way to satisfy my sweet tooth while keeping things effortless. With its gooey, molten center swirled with creamy cheese and punctuated by crunchy pecans and sweet coconut, it’s become my go-to dessert for gatherings or cozy nights in. Plus, it’s a wonderful crowd-pleaser—perfect for those who are craving a comforting treat without spending hours in the kitchen. Whether you’re a seasoned baker or just starting out, this easy chocolate dessert will leave everyone asking for seconds. Are you ready to explore the layers of goodness that this Earthquake Cake has to offer?
Why Is Earthquake Cake So Irresistible?
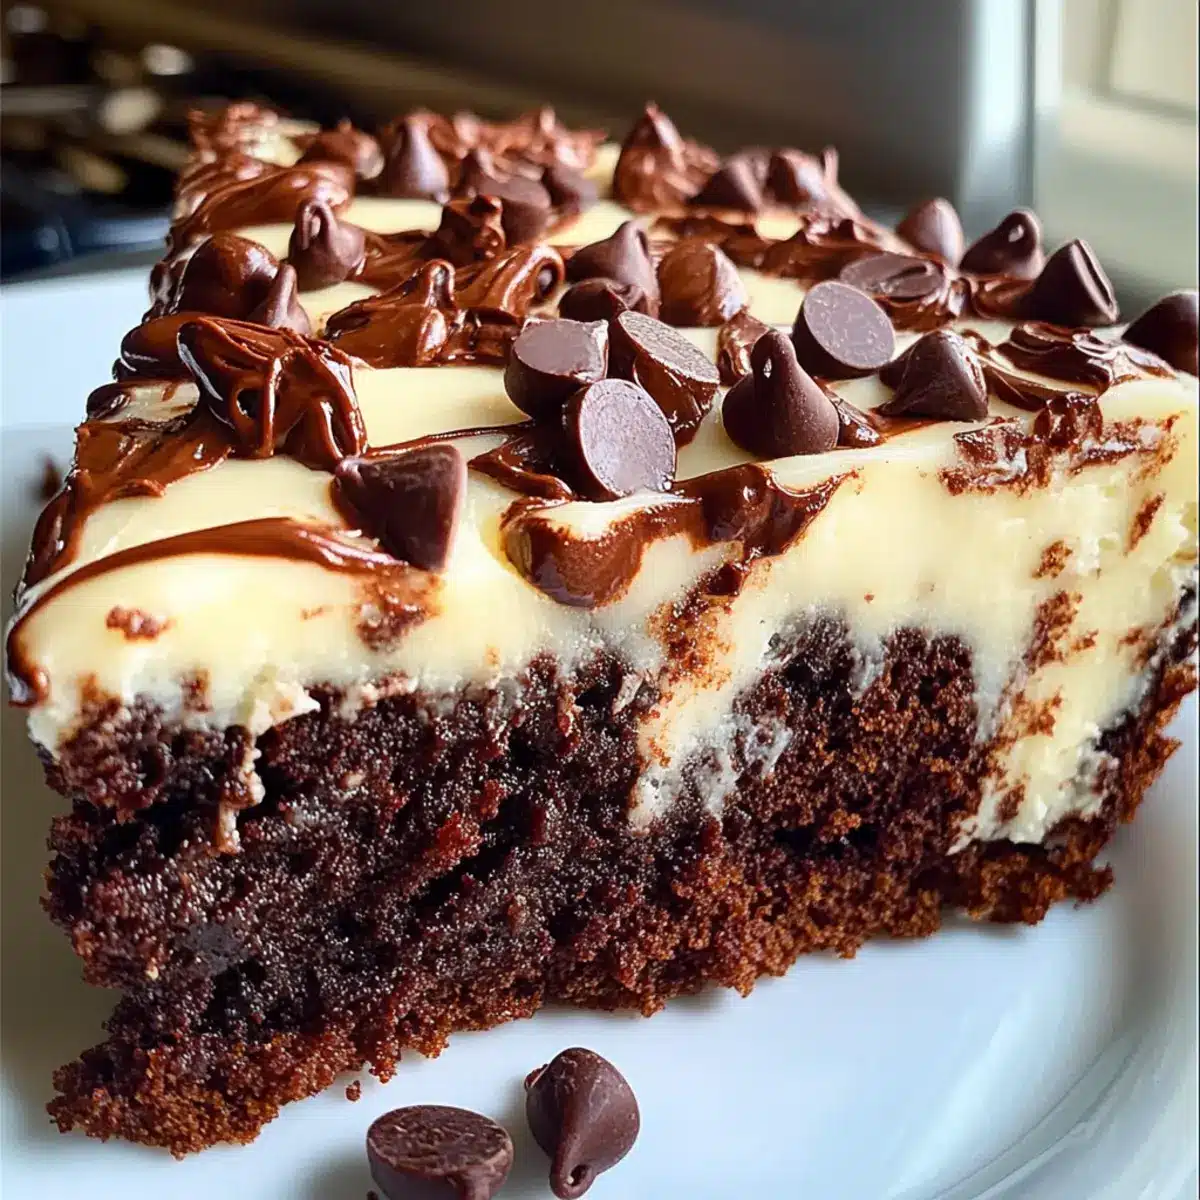
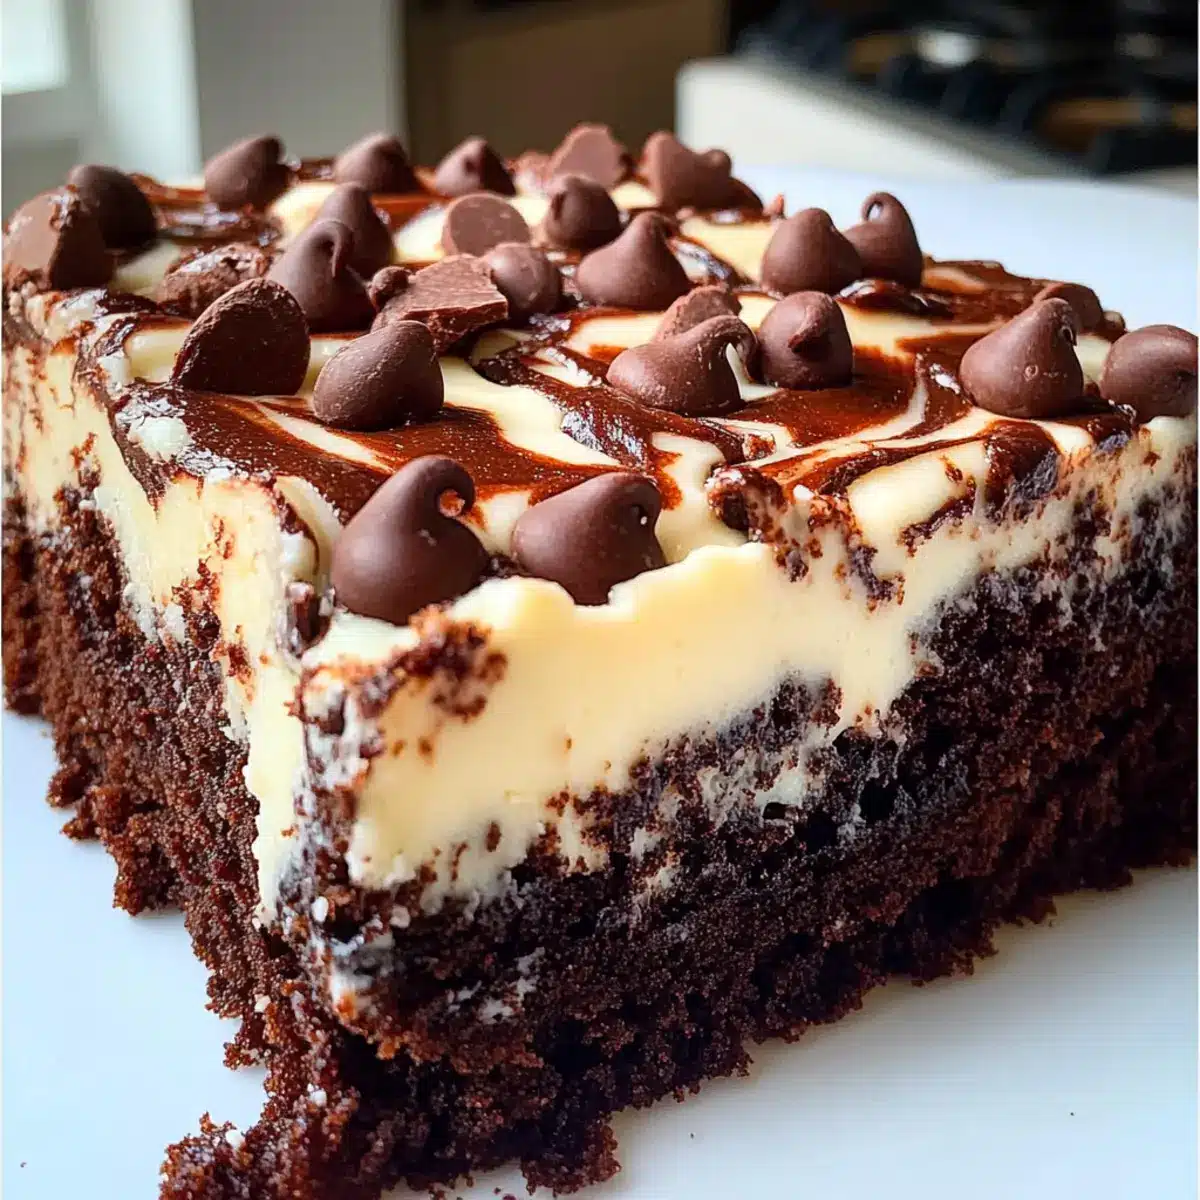
Gooey Goodness: Each slice of this cake reveals a molten center that melts in your mouth, creating an indulgent experience you won’t forget.
Effortless Preparation: With just a cake mix and a few other ingredients, this recipe is as easy as it gets—perfect for busy days when you still want to impress.
Versatile Options: Feel free to customize your Earthquake Cake with different nuts or even go gluten-free; it adapts beautifully to suit your needs!
Crowd-Pleasing Delight: Whether at a family gathering or a small get-together, this show-stopping dessert brings joy to any occasion—everyone loves it!
Creamy Swirls: Those luscious cream cheese swirls add a rich, creamy texture that’s simply delightful. Pair it with a scoop of ice cream or some fresh berries for an unforgettable treat! Explore more delicious ideas like Peach Cake Brown or Swirl Bundt Cake for more sweet inspiration.
Earthquake Cake Ingredients
For the Cake Base
- Chocolate Cake Mix – The foundation of this dessert, delivering rich chocolate flavor; any standard chocolate cake mix (15.25 oz) will do.
- Eggs – Essential for binding and moisture; typically, you’ll need 3 large eggs as instructed on the package.
- Vegetable Oil – Ensures a moist cake; usually, about ½ cup is required.
- Water – Hydrates the mix; typically, 1 cup is needed for the perfect consistency.
For the Cream Cheese Layer
- Cream Cheese (8 oz, softened) – Creates those signature swirls and a creamy depth; make sure it’s at room temperature for easy mixing.
- Unsalted Butter (½ cup, melted) – Adds richness and assists in blending with the cream cheese mixture.
- Powdered Sugar (2 cups) – Sweetens the cream cheese layer for the perfect balance; no subs recommended for this ingredient.
For the Toppings
- Sweetened Shredded Coconut – Introduces a chewy texture and sweetness; can be substituted with unsweetened coconut or omitted if preferred.
- Chopped Pecans – Adds a delightful crunch that complements the creamy texture; walnuts or slivered almonds can be great alternatives.
- Chocolate Chips (1 cup) – Enhances the chocolatey goodness, melting into sumptuous pockets of deliciousness; variations like white chocolate or caramel bits can be a fun twist.
This Earthquake Cake Recipe blends these ingredients into a wonderfully enticing dessert, bursting with flavors and textures that will elevate any occasion!
Step‑by‑Step Instructions for Earthquake Cake Recipe
Step 1: Preheat and Prepare the Baking Dish
Begin by preheating your oven to 350°F (175°C) to ensure it’s ready for baking. While the oven heats, grease a 9×13-inch baking dish thoroughly, making sure to cover all corners to prevent sticking. This preparation step is crucial for ensuring that your Earthquake Cake releases easily after baking.
Step 2: Layer the Base Ingredients
Evenly sprinkle the sweetened shredded coconut at the bottom of the greased dish, creating a delightful base layer. Next, add the chopped pecans on top of the coconut, allowing their nutty crunch to complement the sweet, chewy texture. This layering adds a unique foundation which will enhance the overall flavor of your Earthquake Cake.
Step 3: Prepare the Cake Batter
In a large mixing bowl, follow the instructions on the chocolate cake mix package to prepare the batter, which typically requires combining the mix with water, eggs, and vegetable oil. Once blended, pour this luscious chocolate mixture over the coconut and pecan layers in the baking dish. Use a spatula to spread it evenly for consistent baking.
Step 4: Mix the Cream Cheese Layer
In a separate bowl, combine the softened cream cheese, melted butter, and powdered sugar. Use an electric mixer on medium speed until everything is smooth and well combined. This creamy mixture will create the signature swirls in your Earthquake Cake, adding rich flavor and texture, so make sure it’s free of lumps.
Step 5: Swirl the Cream Cheese Mixture
Dollop the cream cheese mixture over the chocolate batter, distributing it evenly across the surface. Use a knife to gently swirl the cream cheese into the batter, being careful not to overmix. This step is crucial for achieving those beautiful, creamy swirls that make the Earthquake Cake so visually appealing.
Step 6: Add the Chocolate Chips
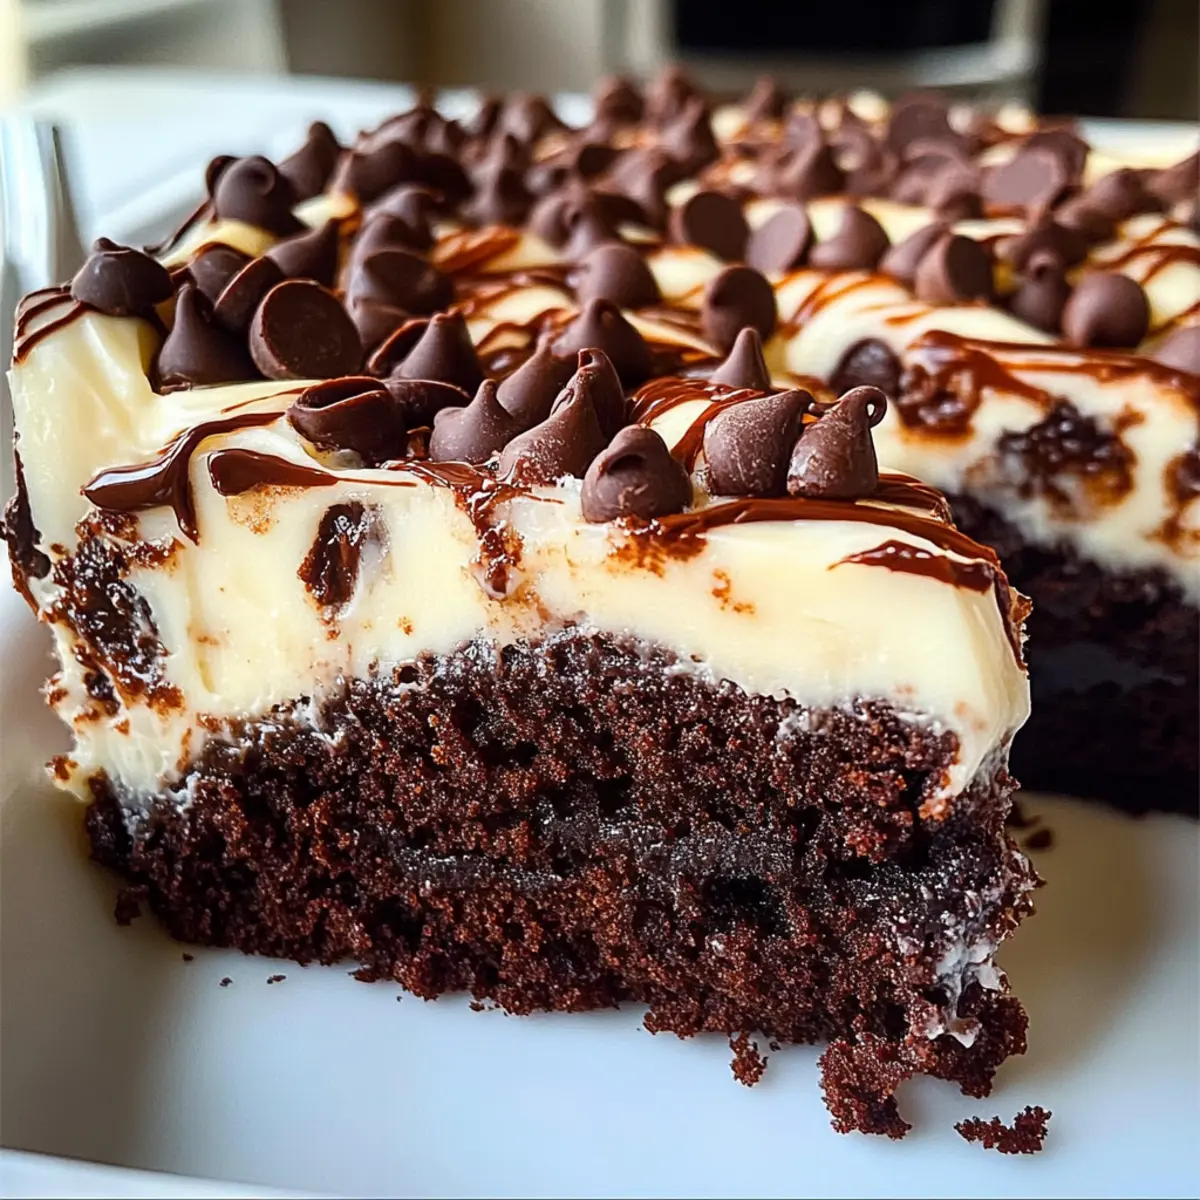
Sprinkle the chocolate chips generously over the swirled cake mixture. These chips will melt as the cake bakes, creating delicious pockets of gooey chocolate throughout the Earthquake Cake. Make sure to distribute them evenly to ensure a chocolatey experience in every bite.
Step 7: Bake the Cake
Place the baking dish in the preheated oven and bake for 45-50 minutes. Keep an eye on the cake; it’s ready when the center is set but still slightly gooey, and the top has developed a nice, crackled appearance. This is the hallmark of a perfect Earthquake Cake, offering both texture and rich flavor.
Step 8: Cool and Serve
Once baked, remove the cake from the oven and allow it to cool in the baking dish for about 15 minutes. This cooling period helps the gooey center to set slightly, making it easier to slice. Serve warm for the best experience, and revel in the delightful layers of the Earthquake Cake as you dig in!
How to Store and Freeze Earthquake Cake
Room Temperature: Store the Earthquake Cake covered at room temperature for up to 3 days. Make sure it’s in an airtight container to keep it fresh and moist.
Fridge: If you want to extend its life, keep it in the fridge for up to 1 week. Again, ensure it’s tightly covered with plastic wrap or in a sealed container to maintain its gooey texture.
Freezer: For longer storage, slice the cake into individual portions and wrap each slice tightly in plastic wrap and foil. Freeze for up to 2 months, then thaw before serving for a delightful, fudgy treat.
Reheating: If you crave a warm treat, microwave individual slices for 10-15 seconds. Just enough to soften the cake will give you that lovely gooeyness back, perfect for enjoyment any time!
Make Ahead Options
These Earthquake Cake recipe components are perfect for meal prep and can save you valuable time on busy weeknights! You can mix the cream cheese layer and refrigerate it in an airtight container for up to 3 days in advance, ensuring it stays creamy and fresh. Additionally, you can prepare the chocolate cake batter the night before and store it in the fridge for up to 24 hours. When you’re ready to bake, simply layer the coconut and pecans in the dish, pour the chilled batter over top, add dollops of the cream cheese mixture, and swirl as directed. This way, you’ll enjoy the same deliciously gooey results with minimal effort!
Expert Tips for Earthquake Cake Recipe
- Use Room Temperature Ingredients: For the best cream cheese swirls, ensure your cream cheese and butter are at room temperature before mixing. This results in a smooth blend without lumps.
- Avoid Overmixing: When swirling the cream cheese layer into the cake batter, be gentle! Overmixing can lead to a uniform texture instead of the lovely swirls you want.
- Check Doneness Carefully: Your Earthquake Cake should have a slightly gooey center; start checking at the 45-minute mark to avoid overbaking and losing that delightful molten quality.
- Flavor Variations: Feel free to mix and match toppings! If you’re not a fan of nuts, skip the pecans and double the chocolate chips for an extra decadent treat.
- Storage Tips: Leftovers can be stored at room temperature for up to 3 days; for longer storage, wrap individual slices and freeze for up to 2 months. Enjoy it whenever you crave that chocolatey goodness!
What to Serve with Gooey Earthquake Cake?
Delight in delectable pairings that elevate your Earthquake Cake experience to extraordinary heights.
- Vanilla Ice Cream: A classic pairing that adds creamy richness, balancing the cake’s gooey texture with a delightful cold contrast.
- Fresh Berries: Juicy strawberries or raspberries add a burst of freshness and natural sweetness, brightening each indulgent bite.
- Whipped Cream: Light and fluffy, whipped cream enhances the cake’s decadence while adding a delightful airy touch.
- Caramel Sauce: Drizzle over each slice for a sweet, buttery richness that beautifully complements the chocolate and cream cheese swirls.
- Chocolate Ganache: Intensify the chocolate flavor with a rich, silky ganache that adds a luxurious finish to your dessert experience.
- Coffee: A cup of fresh-brewed coffee enhances chocolate notes and creates a comforting atmosphere for enjoying this amazing dessert.
- Milk: Serve with a glass of cold milk to balance the richness and create a nostalgic, satisfying experience.
- Cheesecake Ice Cream: For a unique twist, try cheesecake-flavored ice cream—its creamy, tangy notes enhance the entire ensemble.
- Coconut Macaroons: Add extra bites of chewy coconut goodness that echo the sweet shredded coconut within the cake itself.
Earthquake Cake Recipe Variations
Feel free to explore these delightful twists on the classic recipe and make it your own—each variation brings a unique flavor and texture to this gooey treat!
- Nut-Free: Omit pecans and replace them with extra chocolate chips for added sweetness and gooey chocolate pockets.
- Dairy-Free: You can use a vegan cream cheese alternative along with a compatible dairy-free chocolate cake mix to keep it indulgent and accessible.
- Gluten-Free: Simply swap in a certified gluten-free chocolate cake mix, adjusting the baking time slightly if needed for a perfect texture.
- Tropical Twist: Add in crushed pineapple along with the coconut for an extra burst of flavor that complements the cake beautifully.
- Flavor Boost: Elevate the chocolate experience by mixing in espresso powder with the cake batter or cream cheese mixture. Just a teaspoon can amplify the chocolate flavor!
- Texture Variation: Toss in some finely chopped toffee or caramel bits into the batter for delightful surprises of chewy sweetness throughout.
- Fruit Delight: Fold in some fresh raspberries or cherries into the batter right before baking; their tartness pairs lovely with the rich chocolate and creaminess.
- Spicy Kick: If you enjoy a bit of heat, try adding a pinch of cayenne pepper to the cream cheese mixture to create an unexpected flavor profile; the kick is surprisingly delightful!
Whether you’re in the mood for something classic or adventurous, these variations take your Earthquake Cake Recipe to new heights. Pair it with a scoop of ice cream and you’ve got a dessert that’ll impress any crowd! For more delicious ideas, explore Gingerbread Pudding Cake or treat yourself to Bowl Peanut Cake.

Earthquake Cake Recipe FAQs
What type of chocolate cake mix should I use?
You can use any standard chocolate cake mix (15.25 oz) for this Earthquake Cake recipe. Brands like Duncan Hines or Betty Crocker work perfectly! If you’re looking for a fun twist, try using a devil’s food cake mix for an even richer flavor.
How do I store leftover Earthquake Cake?
You can store the Earthquake Cake covered at room temperature for up to 3 days. If you want to extend its freshness, keep it in the fridge for up to 1 week. Just be sure to wrap it tightly in plastic wrap or place it in an airtight container to maintain its gooey texture!
Can I freeze Earthquake Cake?
Absolutely! For freezing, slice the cake into individual portions, wrap each slice tightly in plastic wrap followed by aluminum foil, and freeze for up to 2 months. When you’re ready to enjoy, simply thaw overnight in the fridge and then microwave for 10-15 seconds to bring back that gooey goodness!
How can I tell when my Earthquake Cake is done baking?
Check your cake at the 45-minute mark; it should appear set on the edges but still slightly gooey in the center and have a charmingly cracked top. If a toothpick inserted comes out with a little wet batter attached, you know you’ve nailed that perfect texture!
Are there any dietary considerations for this recipe?
Yes! This cake can easily accommodate various dietary needs. For a gluten-free version, just use a certified gluten-free chocolate cake mix. You can also make it nut-free by omitting pecans and substituting more chocolate chips. If dairy is a concern, swap the cream cheese for a vegan option to ensure everyone can enjoy this delicious treat!
Indulge in Earthquake Cake Recipe: A Gooey Chocolate Dream
Ingredients
Equipment
Method
- Preheat your oven to 350°F (175°C) and grease a 9x13-inch baking dish.
- Sprinkle sweetened shredded coconut at the bottom, then add chopped pecans on top.
- Prepare the chocolate cake batter according to package instructions, then pour it over the coconut and pecans.
- Mix softened cream cheese, melted butter, and powdered sugar until smooth. Dollop over the chocolate mixture and swirl gently.
- Sprinkle chocolate chips over the top.
- Bake for 45-50 minutes until the center is set but slightly gooey.
- Allow to cool in the baking dish for 15 minutes before serving warm.
Leave a Reply