
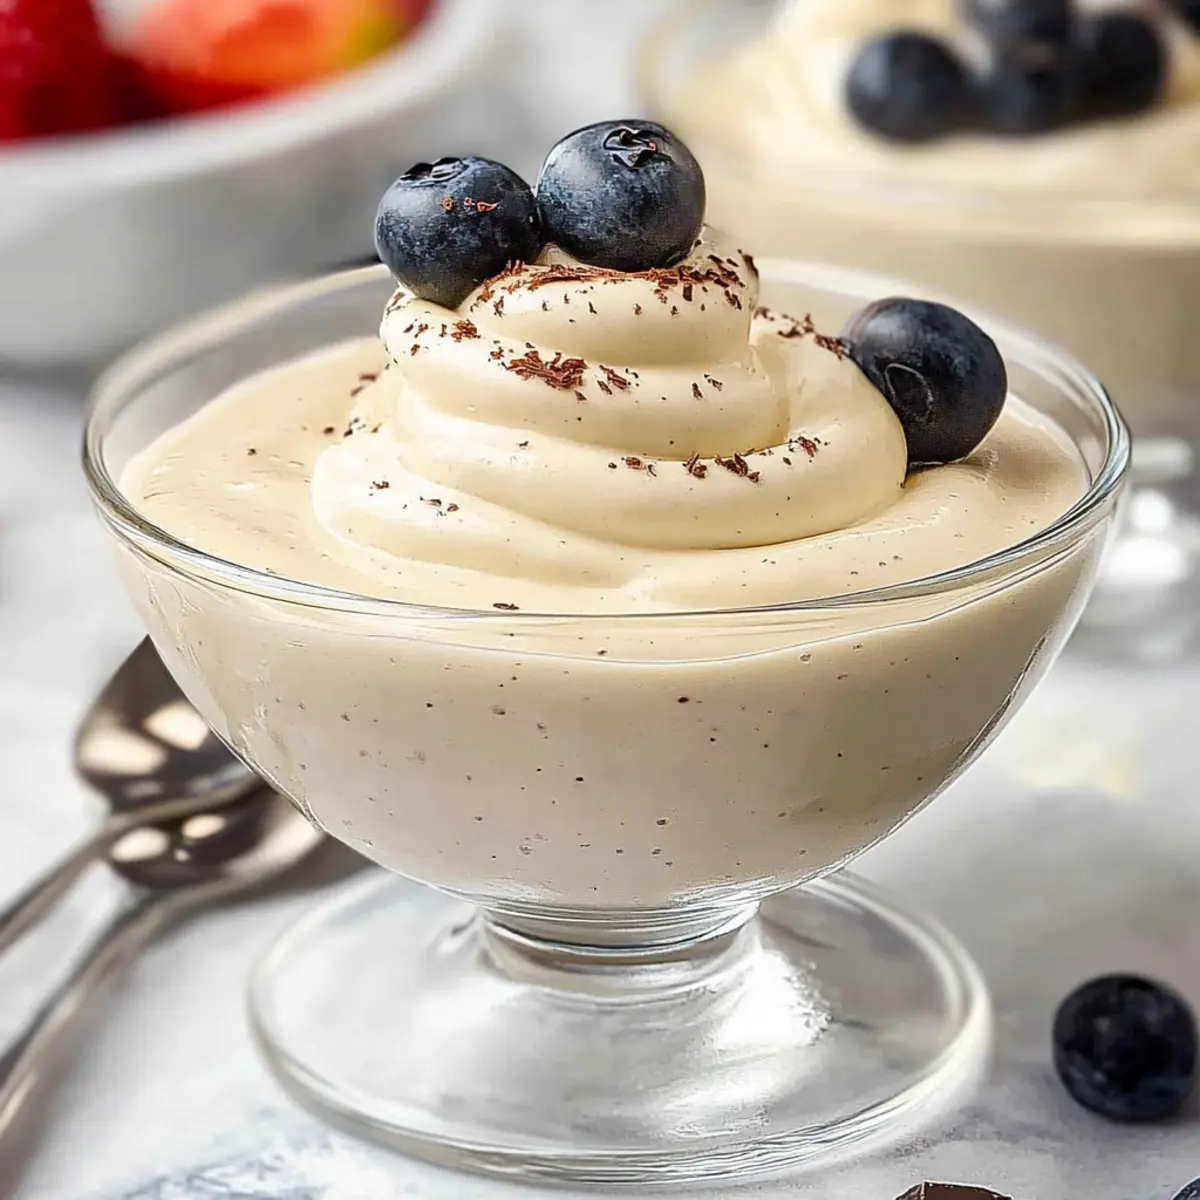
As I savored the first spoonful of this luscious vanilla mousse, I was transported to a dreamy world of creamy, light textures and rich vanilla flavors. Making these Easy Vanilla Mousse Cups feels almost effortless, yet they impress every time as a make-ahead dessert that’ll elevate your dinner parties or special gatherings. With just a handful of ingredients like fresh vanilla bean and whipping cream, you’ll create a delightful treat that’s not only airy and indulgent but also completely gelatine-free. Imagine the joy of whipping up an elegant dessert that your friends and family will rave about, while you kick back and enjoy some well-deserved praise. What toppings would you choose to personalize this delightful delight?
Why Are You Going to Love This?
Effortless Elegance: With just a few simple ingredients, creating luscious vanilla mousse is practically foolproof—perfect for both novice cooks and seasoned chefs!
Versatile & Customizable: Feel free to switch things up with toppings like berries or chocolate shavings; this recipe easily accommodates your favorite flavors.
Make-Ahead Marvel: Prepare in advance and chill overnight, allowing you more time to relax and enjoy—ideal for dinner parties or special occasions.
Light & Dreamy Texture: Each spoonful delivers a melt-in-your-mouth sensation that’s rich yet airy, truly capturing the essence of dessert perfection.
Crowd-Pleasing Delight: Impress your guests with this show-stopping dessert that looks as amazing as it tastes—no one will guess how simple it was to make!
For a twist, check out my Greek Chicken Gyros and Vanilla Bean Brown recipes that share the same make-ahead convenience and delightfully rich flavors.
Easy Vanilla Mousse Ingredients
For the Mousse Base
• Thickened Cream / Heavy Whipping Cream (part 1) – Provides the rich texture needed for a satisfying mousse; opt for cream with at least 35% fat content.
• Vanilla Bean Pod – The star ingredient for intense vanilla flavor; substitute with 2 teaspoons of vanilla paste if short on time.
• Caster Sugar – Sweetens the mousse, balancing the cream’s richness; granulated sugar is a fine alternative, but it may take longer to dissolve.
• Large Eggs – Stabilizes the custard base, enriching the mousse’s texture; ensure they are at room temperature for best results.
• Cornstarch – Thickens the custard for the right structure; all-purpose flour can be used as a substitute if necessary.
• Thickened Cream / Heavy Whipping Cream (part 2) – Whipped to create an airy texture; remember to use cream with a minimum fat content of 35% for optimal results.
For Garnishing
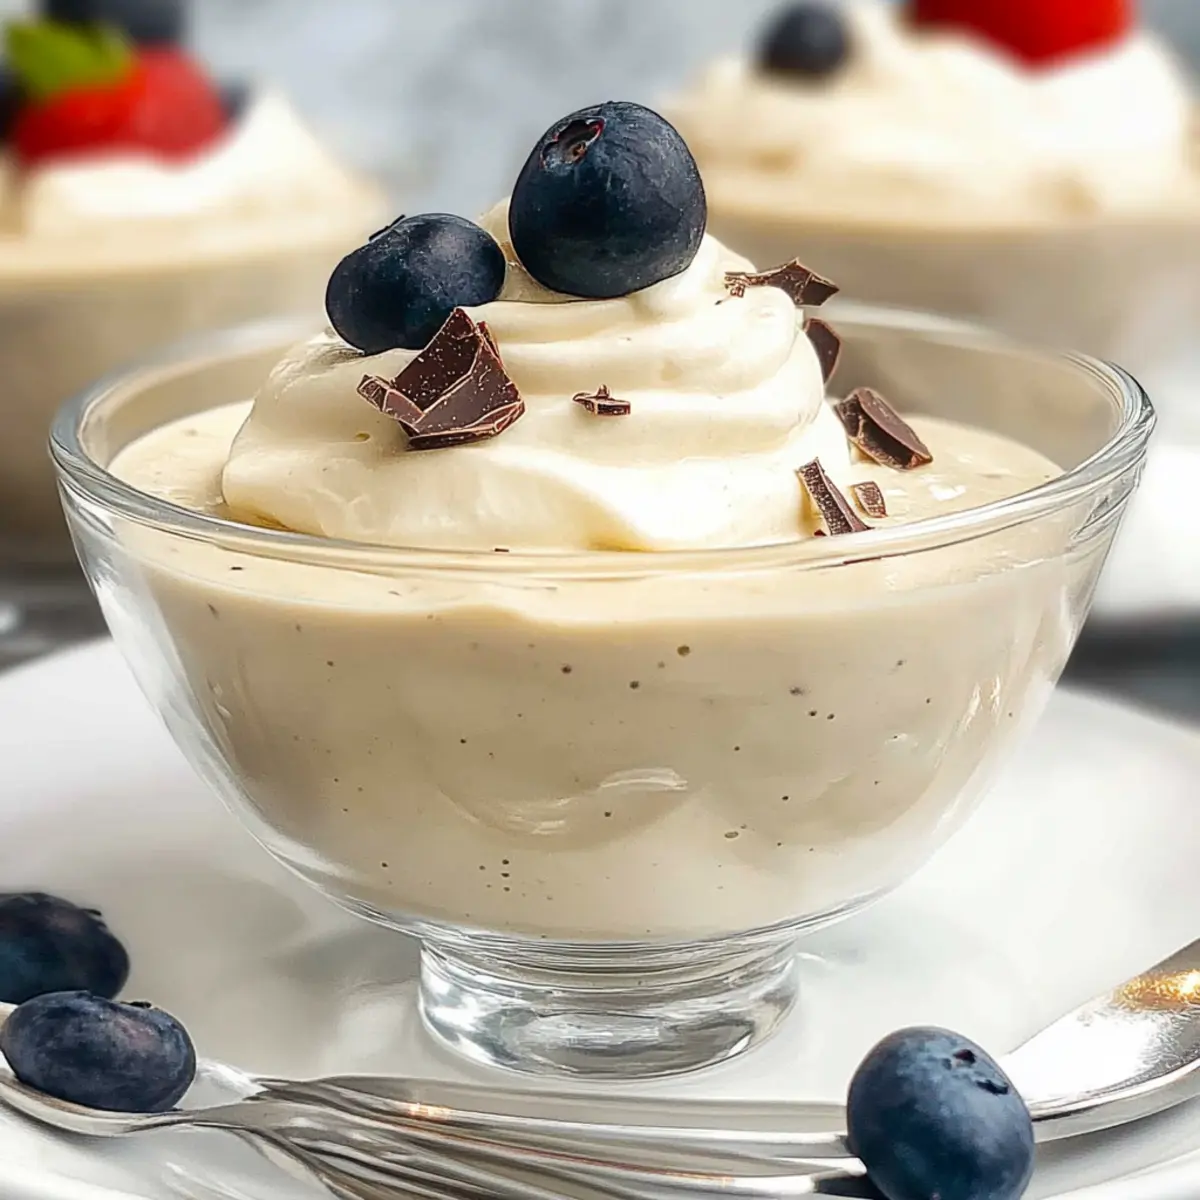
• Fresh Berries – Adds a burst of color and tang; strawberries, raspberries, or blueberries bring a refreshing contrast to the creamy mousse.
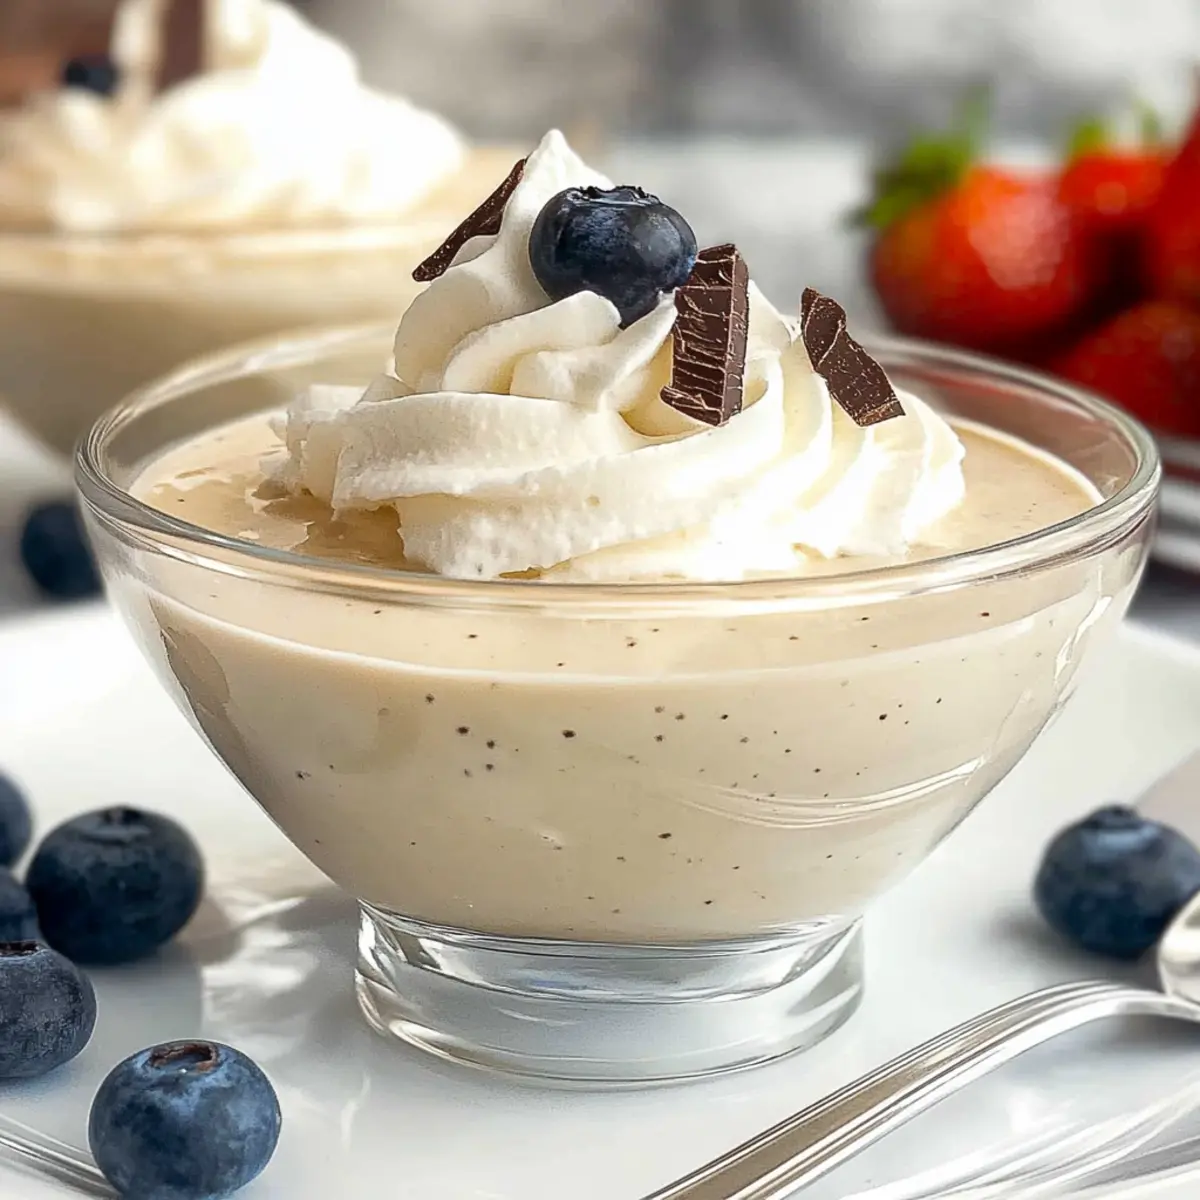
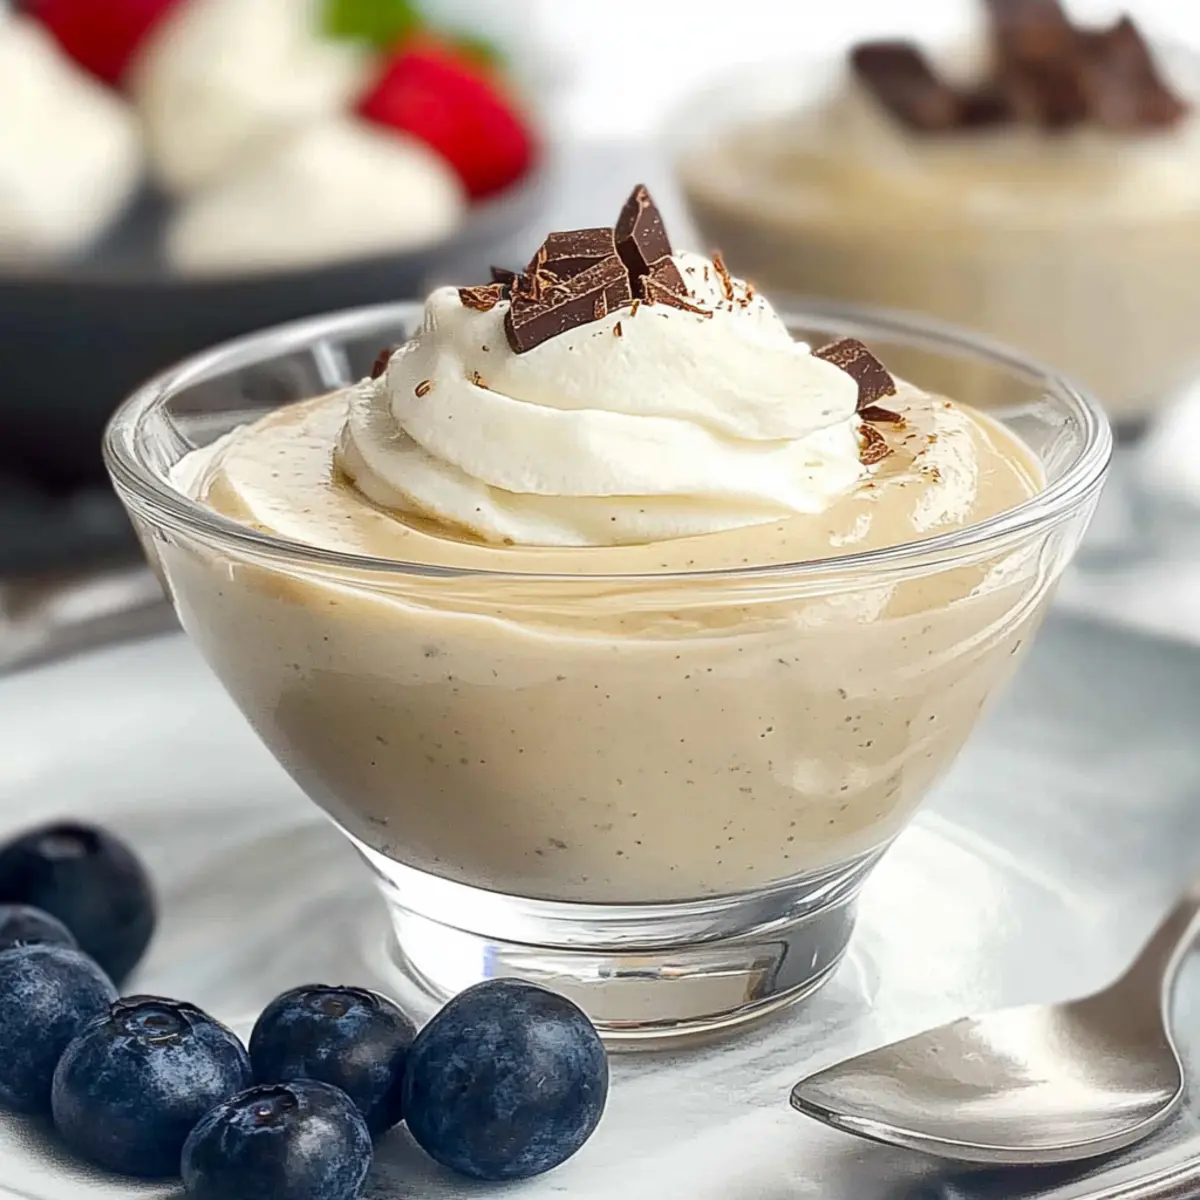
• Chocolate Shavings – For a touch of elegance and a hint of rich chocolate; sprinkle generously on top for visual appeal.
• Whipped Cream – A dollop of whipped cream on top elevates the dessert experience; opt for lightly sweetened for an extra indulgent layer.
With these Easy Vanilla Mousse Cups ingredients at hand, you’re ready to impress everyone with a deliciously light and creamy dessert that’s perfect for any occasion!
Step‑by‑Step Instructions for Easy Vanilla Mousse Cups
Step 1: Prepare Vanilla Custard
In a medium saucepan, pour part 1 of the thickened cream and add the split vanilla bean pod. Heat over medium until the mixture begins to simmer, stirring occasionally to combine flavors, then remove from heat. Allow it to infuse for about 15 minutes, filling your kitchen with delightful vanilla aroma.
Step 2: Combine Sugar & Eggs
In a mixing bowl, whisk together the caster sugar and large eggs until the mixture is light and fluffy, about 3 minutes. Gradually stir in the cornstarch until fully combined, creating a smooth batter that will blend beautifully into your vanilla mousse cups.
Step 3: Temper Eggs
Slowly add the infused cream, whisking continuously to temper the eggs and prevent curdling. Once combined, return the mixture to the saucepan and cook over medium heat, stirring constantly until it thickens and coats the back of a spoon, approximately 5-7 minutes; avoid boiling for a smooth texture.
Step 4: Cool
Transfer the thickened custard to a clean bowl. Cover it with plastic wrap, pressing it directly onto the surface to prevent a skin from forming. Refrigerate for 1-2 hours, allowing the flavors to meld and the custard to cool completely before folding in the whipped cream.
Step 5: Whip Cream
In a separate bowl, beat part 2 of the thickened cream using an electric mixer on medium speed until stiff peaks form, approximately 3-5 minutes. You want the peaks to hold their shape without becoming overly firm, contributing serene lightness to your Easy Vanilla Mousse Cups.
Step 6: Combine Mixtures
Gently fold the whipped cream into the chilled custard in three additions, using a spatula to incorporate while preserving the airy texture. Carefully mix until no streaks remain, revealing a beautifully combined mousse mixture that will be rich and light in your dessert cups.
Step 7: Chill Again
Spoon the fluffy mousse mixture into serving cups, creating layers if desired. Cover with plastic wrap and refrigerate for at least 3 hours, or preferably overnight. This extra chilling time allows the flavors to deepen and the mousse to firm up, resulting in a perfect dessert presentation.
Easy Vanilla Mousse Variations
Customize your delightful mousse with a sprinkle of creativity and some fun substitutions!
- Dairy-Free: Replace heavy cream with coconut cream for a tropical twist that’s rich and creamy.
- Chocolate Indulgence: Melt dark or milk chocolate and stir it in; this gives a luscious chocolate mousse experience with a hint of vanilla.
- Fruity Burst: Fold in some fresh raspberry or strawberry puree into the mousse for an enchanting fruit flavor—such a refreshing addition!
- Zesty Surprise: Grate some lemon or orange zest into the custard for a citrus kick; it brightens the vanilla flavor beautifully.
- Nutty Flavor: Incorporate finely ground nuts like almond or hazelnut into the mousse for added texture and a delightful nutty profile.
- Spice It Up: Add a pinch of cinnamon or cardamom to your custard while cooking for a warm, aromatic twist; it’s a comforting flavor enhancement.
- Elegant Layers: Create a parfait by layering the mousse with crushed cookies or granola, adding a delightful crunch with each spoonful.
As you explore these tasty variations, consider also pairing your mousse with the indulgent flavors in my Salisbury Steak Meatballs for a satisfying meal experience. Each twist adds a new layer of excitement to your Easy Vanilla Mousse Cups!
How to Store and Freeze Easy Vanilla Mousse Cups
Fridge: Store your Easy Vanilla Mousse Cups covered in the refrigerator for up to 2 days. This keeps the mousse fresh and maintains its delightful texture.
Freezer: It’s not recommended to freeze vanilla mousse, as it can alter the texture and result in a grainy consistency once thawed.
Serving: Serve chilled directly from the refrigerator. For the best experience, add your favorite toppings just before serving to preserve their freshness and texture.
Reheating: Reheating isn’t necessary for mousse; simply enjoy it cold, allowing the flavors to shine through in every luscious spoonful.
Make Ahead Options
These Easy Vanilla Mousse Cups are perfect for busy home cooks looking to save time without compromising on flavor! You can prepare the vanilla custard mixture up to 24 hours in advance; simply cover it tightly after cooling and refrigerate to maintain freshness and prevent any skin from forming. Once you’re ready to serve, whip the remaining cream and gently fold it into the chilled custard. Spoon the mousse into serving cups and refrigerate for an additional 3 hours or preferably overnight to ensure a velvety texture. This way, you can enjoy a hassle-free dessert that’s just as delicious, allowing you to focus on your guests instead of last-minute prep!
What to Serve with Luscious Vanilla Mousse Cups
Elevate your dessert experience by pairing this airy delight with complementary flavors and textures that enhance every bite.
-
Fresh Berries: Their juicy sweetness balances the creamy mousse, adding a burst of vibrant color and flavor that shines on the palate. Strawberries, raspberries, or blueberries make the perfect topping choice.
-
Chocolate Shavings: Rich and elegant, these delicate flakes add a luxurious touch and a hint of indulgence, perfectly contrasting the lightness of the mousse. A sprinkle on top creates a visually appealing presentation.
-
Whipped Cream: A dollop of lightly sweetened whipped cream creates an extra layer of indulgence, making each spoonful even more decadent and delightful.
-
Shortbread Cookies: Their buttery crunch offers a satisfying texture contrast, providing a delightful bite alongside the soft mousse. The mild flavor of shortbread pairs beautifully with the rich vanilla.
-
Caramel Sauce: Drizzling caramel over the mousse heightens its flavor, adding a sweet, sticky richness that enhances the overall dessert experience.
-
Coffee or Espresso: A cup of rich coffee or a shot of espresso offers a bold contrast to the sweet mousse, drawing out the deep vanilla flavors and making for an elevated end to your meal.
-
Sparkling Wine: A sparkling dessert wine, such as Moscato, adds a refreshing effervescence that offsets the mousse’s creaminess, creating a symphony of sensations with each sip.
-
Pecan Tarts: These sweet, nutty bites provide a delightful crunch and richness that beautifully complement the creamy texture of the mousse while adding a touch of southern charm.
-
Mixed Fruit Salad: A refreshing mix of seasonal fruits adds a lightness that enhances the mousse without overpowering it, providing a wholesome and color-rich side.
Expert Tips for Easy Vanilla Mousse Cups
Choose Quality Cream: Use heavy whipping cream with at least 35% fat content for a rich, smooth texture—lower fat options may yield a less satisfying result.
Room Temperature Eggs: Always start with eggs at room temperature; they incorporate better into the custard, helping to achieve a silky, light mousse.
Avoid Over-Whipping: Whip the cream only until medium peaks form; over-whipping can lead to a dense mousse instead of the desired airy quality.
Cool Completely: Make sure to chill the custard fully before folding in the whipped cream; omitting this step could result in a lost airy texture in your Easy Vanilla Mousse Cups.
Customize Wisely: When adding toppings or flavors, consider balance; brighter berries can offset richness while chocolate adds indulgence—be mindful of your contrasts.
Easy Vanilla Mousse Cups Recipe FAQs
How do I choose a ripe vanilla bean pod?
Absolutely! A ripe vanilla bean pod should be pliable and glossy. Look for pods that have a strong, aromatic scent and are dark brown to black in color. Avoid any that have dry spots or a shriveled appearance.
How should I store leftover Easy Vanilla Mousse Cups?
Very! Store your mousse covered with plastic wrap or in an airtight container in the refrigerator for up to 2 days. This keeps it fresh and maintains its light, creamy texture, ready for you to enjoy later.
Can I freeze Easy Vanilla Mousse Cups?
No, it’s not recommended to freeze vanilla mousse. Freezing alters the texture, typically resulting in a grainy consistency upon thawing. For the best taste and mouthfeel, enjoy them fresh from the fridge.
What can I do if my mousse is too runny?
If your mousse ends up runny, don’t worry! You can gently reheat the mixture over low heat while continuously stirring until it thickens slightly. Then, allow it to cool and fold in whipped cream again. Alternatively, you can chill it longer to encourage it to set more.
What dietary considerations should I be aware of for this recipe?
Great question! This recipe contains eggs and dairy, so it’s not suitable for vegans or those allergic to these ingredients. If you’re looking to make it vegetarian-friendly, simply omit gelatin. Always remember to check the labels on your cream and sugar to avoid any allergens as well.
Delightfully Easy Vanilla Mousse Cups for Any Occasions
Ingredients
Equipment
Method
- In a medium saucepan, pour part 1 of the thickened cream and add the split vanilla bean pod. Heat over medium until simmering, then remove from heat and allow to infuse for 15 minutes.
- In a mixing bowl, whisk together the caster sugar and large eggs until light and fluffy, about 3 minutes. Gradually stir in the cornstarch until fully combined.
- Slowly add the infused cream, whisking to temper the eggs. Return to saucepan and cook, stirring constantly until it thickens, about 5-7 minutes.
- Transfer the thickened custard to a clean bowl. Cover with plastic wrap directly on the surface and refrigerate for 1-2 hours.
- Beat part 2 of the thickened cream with an electric mixer until stiff peaks form, about 3-5 minutes.
- Gently fold the whipped cream into the chilled custard in three additions, taking care to preserve the airy texture.
- Spoon the mousse mixture into serving cups, cover with plastic wrap, and refrigerate for at least 3 hours or overnight.
Leave a Reply