
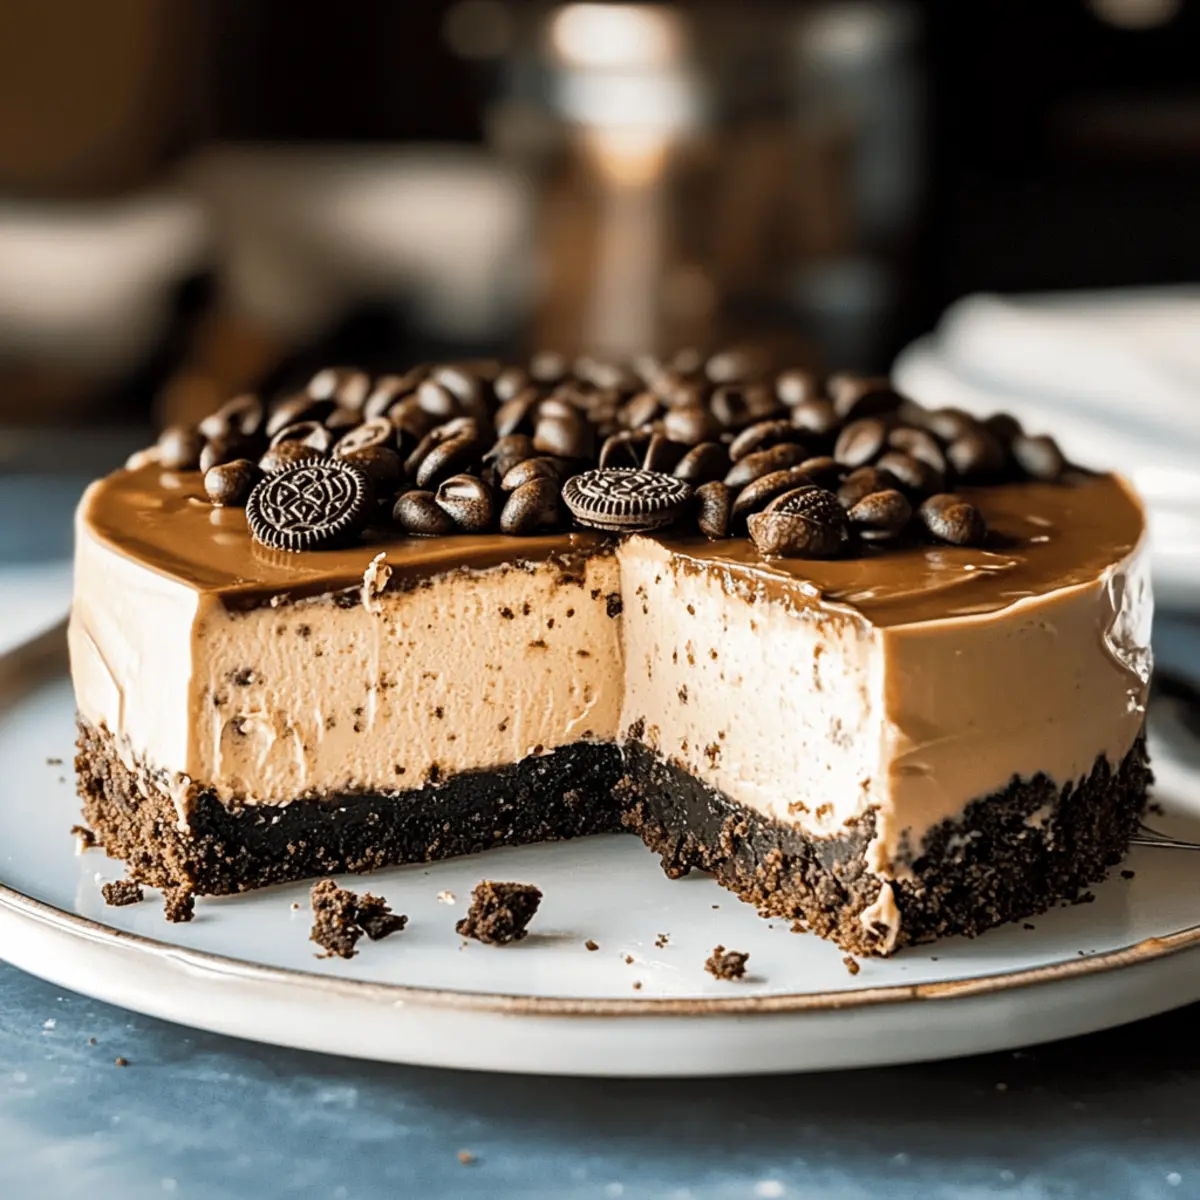
Last week, while sipping on a perfectly brewed cup of espresso, I realized that life is too short not to indulge in a slice of heaven. Enter my No-Bake Espresso Cheesecake with Oreo Crust, a dessert that elegantly marries the boldness of coffee with the creaminess you crave. This delightful treat is exceptionally easy to whip up—ideal for warm days when you want sweet satisfaction without spending hours in the kitchen. Bonus: it’s a guaranteed crowd-pleaser that will impress guests at any gathering! Ready to elevate your dessert game and dive into a world of rich chocolate and coffee flavor? Let’s get started!
Why choose espresso cheesecake over regular desserts?
Decadent Indulgence: This espresso cheesecake is a luxurious treat that promises a velvety texture and a rich coffee flavor, perfect for special occasions or a cozy night in.
No-Bake Simplicity: Bake-free means less hassle—just mix, chill, and serve, making it an effortless dessert option you can whip up in no time.
Crowd Favorite: With its creamy filling and crunchy Oreo crust, this dessert is sure to impress friends and family alike, appealing to both coffee enthusiasts and casual dessert lovers.
Versatile Variations: Feel free to explore different flavors with added extracts or layers beneath the ganache, adapting this recipe to your taste buds!
Guilty Pleasure Made Easy: Enjoy a slice of café-quality dessert from the comfort of your home without the fuss. Pair it with a cup of freshly brewed coffee for a delightful experience!
Explore more easy dessert ideas like our delicious No-Bake Chocolate Cheesecake to keep the indulgence flowing!
Espresso Cheesecake Ingredients
• Dive into the happiness of homemade desserts with these easy-to-find ingredients!
For the Cheesecake Filling
- Cream Cheese – Main structure and creaminess; ensure it’s softened for easy mixing.
- Sugar – Sweetness to balance the bitterness of espresso; substitute with a sugar alternative if desired.
- Espresso Powder – Provides that rich coffee flavor; instant coffee granules can be used for a milder taste.
- Heavy Cream – Adds richness and smooth texture; essential for achieving that whipped cream.
For the Oreo Crust
- Oreo Cookies – The base for the crust that adds a delicious chocolatey flavor; substitute with graham crackers or gluten-free cookies for dietary preferences.
- Butter – Binds the crust ingredients together; can use a dairy-free alternative if needed.
For the Chocolate Ganache
- Chocolate – Use good quality chocolate for the ganache topping that adds a silky finish; a dairy-free option can be used as a substitute.
- Heavy Cream – Heat until steaming to combine with chocolate for a glossy texture.
Get ready to indulge in a no-bake Espresso Cheesecake that’s not only easy to make but also a delightful addition to any gathering!
Step‑by‑Step Instructions for No-Bake Espresso Cheesecake with Oreo Crust
Step 1: Prepare the Crust
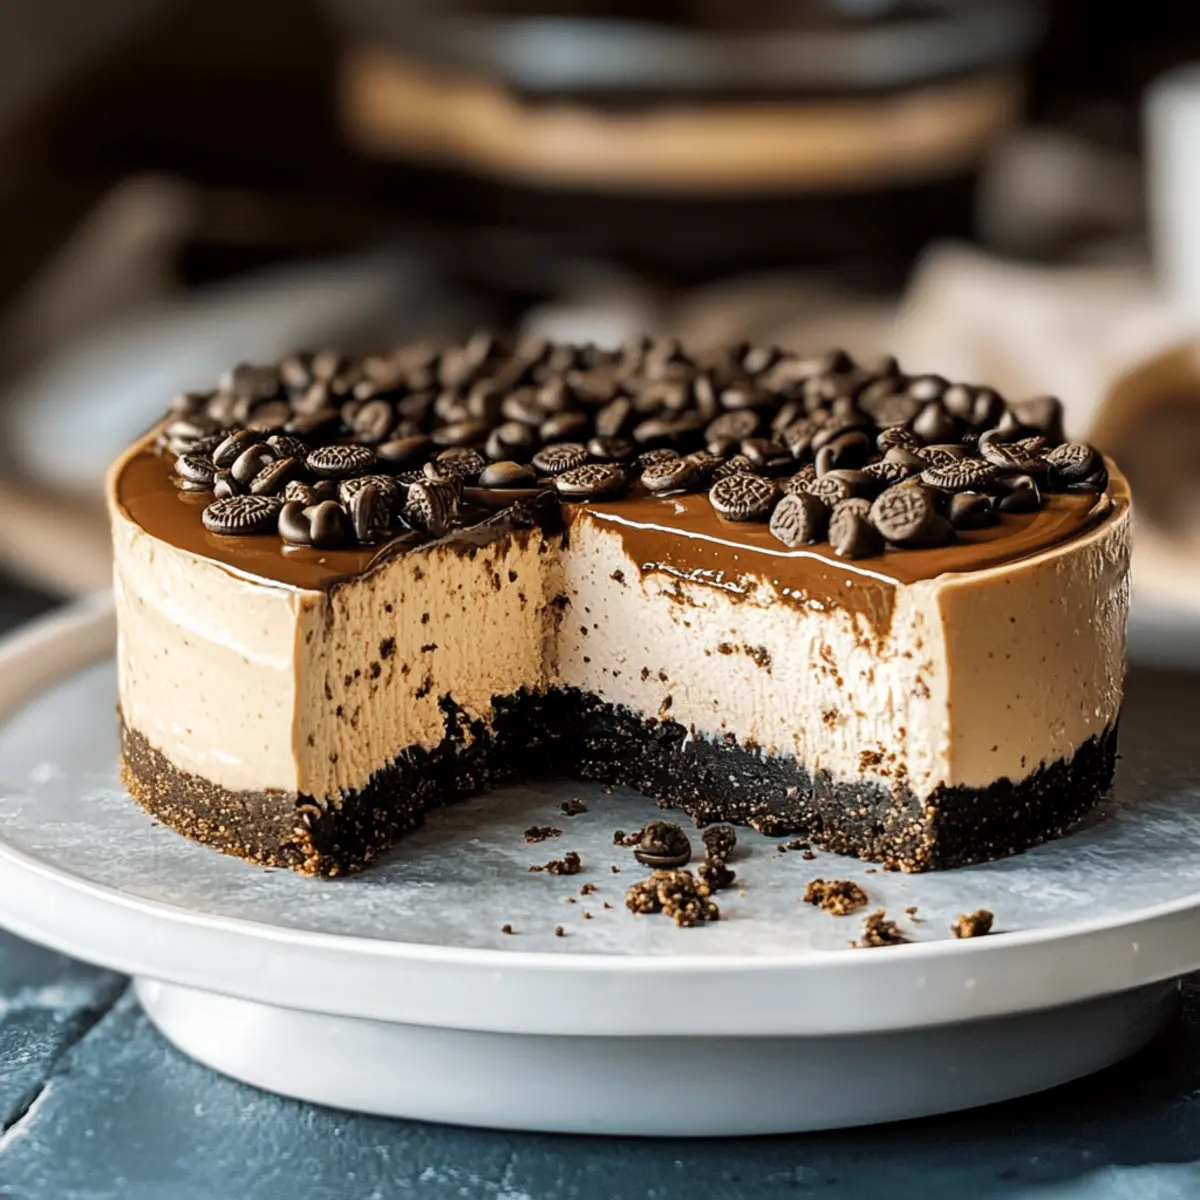
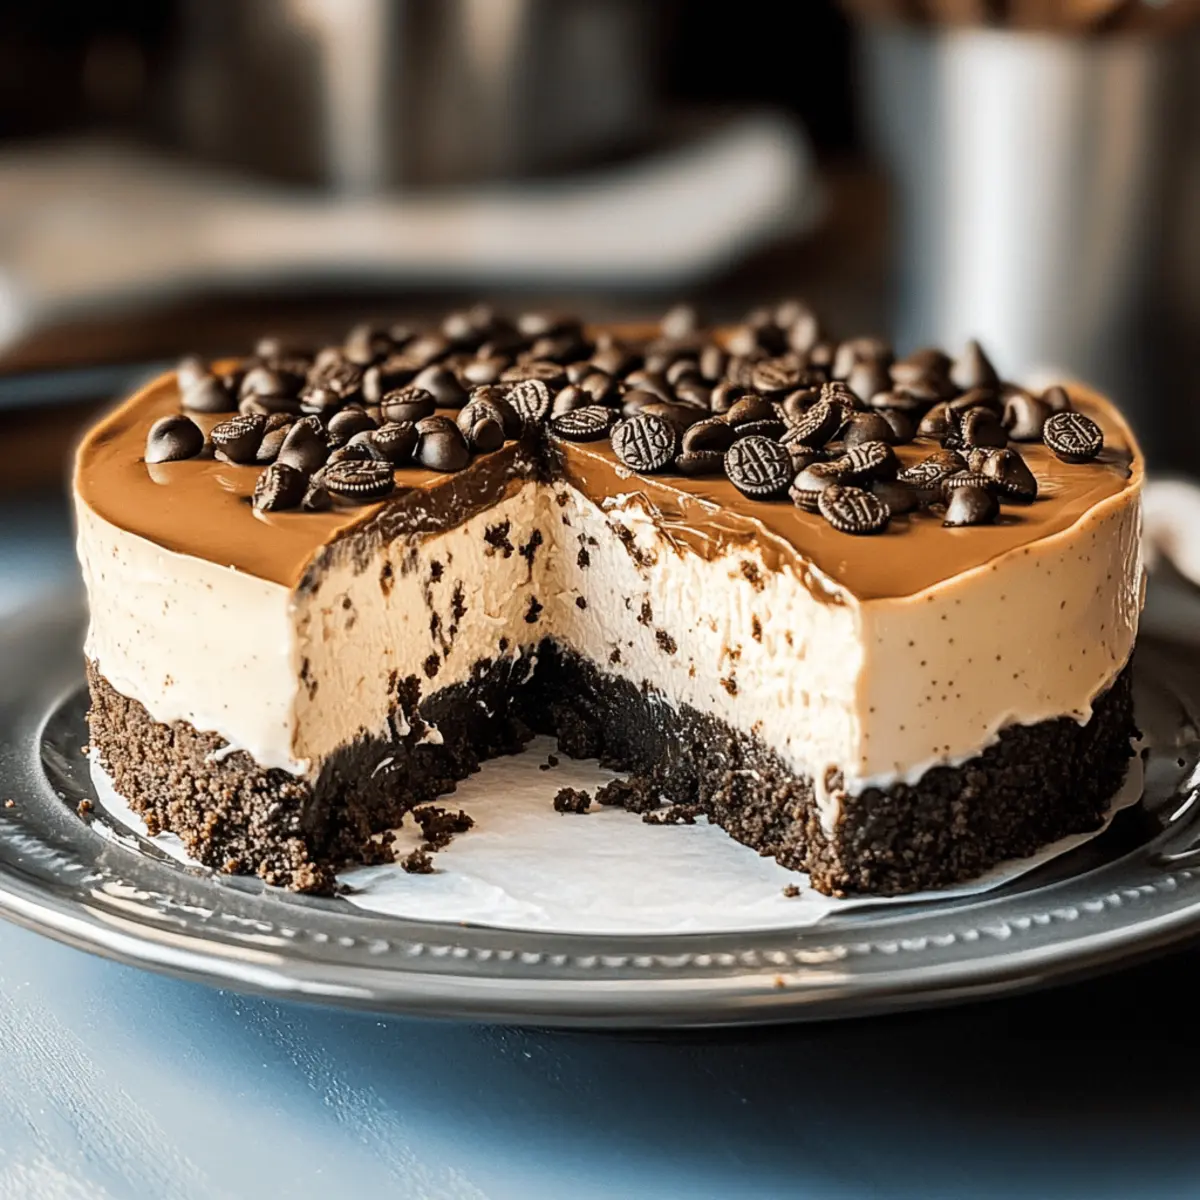
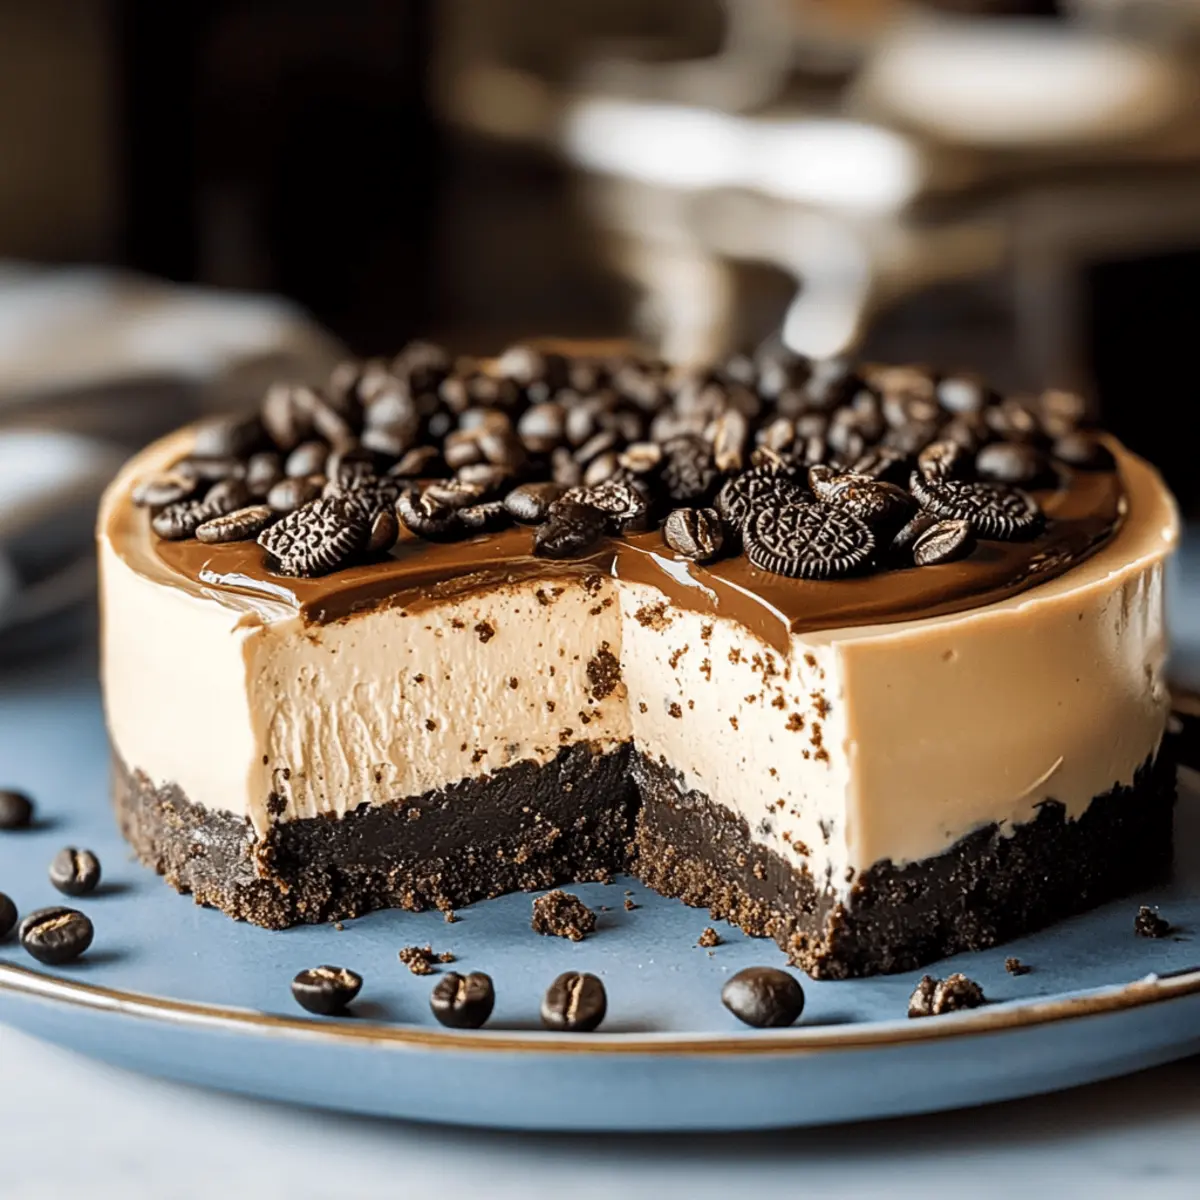
Start by crushing Oreo cookies in a food processor until they resemble fine crumbs. In a bowl, combine the crushed cookies with melted butter, stirring until well mixed. Press this mixture firmly into the bottom of a 9-inch springform pan, using the back of a measuring cup for an even crust. Chill the crust in the refrigerator while you prepare the filling.
Step 2: Make the Cheesecake Filling
In a large mixing bowl, beat the softened cream cheese and sugar together until smooth and creamy, about 2-3 minutes. Gradually add the espresso powder, mixing until fully incorporated. In a separate bowl, whip the heavy cream to stiff peaks, then gently fold it into the cream cheese mixture. Be careful not to overbeat, as this could lead to cracks in your espresso cheesecake later.
Step 3: Assemble the Cheesecake
Once your cheesecake filling is ready, remove the crust from the refrigerator. Pour the creamy cheesecake mixture over the chilled crust, smoothing the top with a spatula. Cover the springform pan with plastic wrap and refrigerate for at least 5 hours, or until the cheesecake is set and firm to the touch.
Step 4: Prepare the Ganache
To make the chocolate ganache, heat the heavy cream in a saucepan over medium heat until it’s steaming but not boiling. Remove from heat and pour the hot cream over chopped chocolate in a bowl. Let it sit for a minute before stirring until smooth and glossy. Allow the ganache to cool slightly before pouring it over the set cheesecake.
Step 5: Serve
Once the ganache has been poured over the cheesecake, return it to the refrigerator for another 30 minutes to slightly firm up. When ready to serve, carefully release the sides of the springform pan. Slice the no-bake espresso cheesecake and enjoy each piece chilled, garnished with whipped cream and a sprinkle of crushed espresso beans for an extra touch!
Make Ahead Options
These No-Bake Espresso Cheesecakes are perfect for busy home cooks looking to save time! You can prepare the crust and cheesecake filling up to 24 hours in advance. Simply crush the Oreo cookies, mix with melted butter, and press them into your springform pan; then refrigerate. For the filling, make it exactly as the recipe states, pour it over the crust, and let it chill in the fridge for at least 5 hours. When you’re ready to serve, finish by making the ganache (which can also be made ahead and stored in the fridge for up to 3 days) just before serving. This way, your cheesecake will be just as delicious and ready to impress your guests without the last-minute rush!
Espresso Cheesecake Variations & Substitutions
Feel free to get creative and customize your espresso cheesecake to match your unique taste and dietary preferences!
- Dairy-Free: Substitute cream cheese and heavy cream with dairy-free alternatives for a lactose-sensitive version. Use coconut cream for a tropical twist!
- Gluten-Free: Swap the Oreo crust with gluten-free cookies or almond flour to create a delicious crust without any gluten.
- Sugar-Free: Use a sugar substitute like erythritol or stevia to keep it sweet without the calories, making it suitable for those watching their sugar intake.
- Decadent Toppings: Elevate flavor by adding a layer of caramel or crushed espresso beans inside the cheesecake for an extra texture and taste kick.
- Fruit Fusion: Introduce a layer of fresh berries or citrus zest in the filling for a bright contrast to the chocolatey richness.
- Extra Strong Espresso: For coffee lovers, increase the espresso powder for a bolder coffee flavor that intensifies the dessert delightfully.
- Chocolate Chip Surprise: Fold in some mini chocolate chips into the cheesecake filling for extra texture and bursts of rich chocolate flavor.
- Nutty Crust: Use crushed nuts mixed with butter instead of cookies for the crust. Almonds or pecans add a delightful crunch and a nutty flavor!
Explore more delightful desserts like our decadent No-Bake Chocolate Cheesecake to keep your dessert table exciting!
What to Serve with No-Bake Espresso Cheesecake
Every slice of this decadent treat feels like a warm hug, inviting you to create the perfect dessert experience.
- Freshly Brewed Espresso: The boldness of espresso perfectly complements the flavors in the cheesecake, creating a harmonious pairing that coffee lovers adore.
- Whipped Cream: A dollop of fluffy whipped cream adds a light, airy contrast to the rich cheesecake, enhancing its creaminess.
- Chocolate Shavings: Dark chocolate shavings on top elevate the dessert’s sophistication, offering an additional layer of texture and indulgence.
- Fruit Compote: A tangy berry compote or cherry sauce cuts through the sweetness, balancing the rich flavor and adding a refreshing touch.
- Cocoa-Dusted Almonds: These add a delightful crunch, enriching the experience and bringing a new flavor dimension to each bite.
- Mint Sprigs: For a refreshing finish, garnish your cheesecake with mint; the herbaceous note brightens the rich flavor.
- Decadent Red Wine: A glass of velvety red wine enhances the dessert’s complexity, creating a luxurious pairing that echoes the rich chocolate notes.
- Mocha Affogato: Pouring hot espresso over vanilla ice cream offers a delightful twist, giving you the best of both worlds—a dreamy dessert experience.
- Dark Chocolate Truffles: These fudgy truffles are a perfect side treat, echoing the dessert’s flavors and satisfying any chocolate cravings.
How to Store and Freeze Espresso Cheesecake
Fridge: Keep your espresso cheesecake covered in the refrigerator for up to one week. Use an airtight container or plastic wrap to prevent any odors from tainting its delicious flavor.
Freezer: For longer storage, wrap the cheesecake tightly in plastic wrap, then in aluminum foil, and freeze for up to two months. This keeps it moisture-tight and perfect for a future treat!
Thawing: To enjoy your frozen cheesecake, transfer it to the refrigerator to thaw overnight. This allows it to regain its perfect texture and flavor before serving.
Serving After Freezing: Once thawed, serve the cheesecake chilled. You may want to refresh the ganache topping with a quick melt of new chocolate to enhance its luxurious finish.
Expert Tips for No-Bake Espresso Cheesecake
-
Perfect Cream Cheese: Make sure your cream cheese is fully softened to avoid lumps and achieve a smooth filling for your espresso cheesecake.
-
Gentle Mixing: When folding in the whipped cream, be gentle to maintain its airy texture; this is key for a light cheesecake.
-
Chill, Don’t Rush: Allow your cheesecake to chill for at least 5 hours. Patience is essential for it to set perfectly for the best flavor and texture.
-
Quality Chocolate: Use high-quality chocolate for the ganache; it makes all the difference in enhancing the chocolate flavor of your dessert.
-
Layer It Up: For added flavor diversity, consider incorporating flavored extracts or a layer of fruit preserves beneath the ganache to surprise your taste buds!
Espresso Cheesecake Recipe FAQs
How do I choose ripe ingredients for espresso cheesecake?
Absolutely! For the best results, ensure your cream cheese is at room temperature to avoid lumps; it should be soft and creamy. Look for fresh espresso powder with a robust aroma, and check that your heavy cream is not past its expiration date. Using high-quality chocolate for the ganache will significantly enhance your cheesecake’s flavor profile.
What is the best way to store my espresso cheesecake?
Keep your espresso cheesecake covered in the refrigerator, where it can last for up to one week. Use plastic wrap or an airtight container to protect it from absorbing smells. If you plan to keep it longer, you can freeze it by wrapping it tightly in plastic wrap followed by aluminum foil, which preserves its texture and flavor for up to two months.
Can I freeze espresso cheesecake, and how?
Certainly! To freeze your cheesecake, first let it cool completely after making. Wrap it tightly in plastic wrap, ensuring no air pockets remain, then add an extra layer of aluminum foil. This prevents freezer burn and maintains moisture. When you’re ready to enjoy it again, transfer the cheesecake to the refrigerator to thaw overnight for the best results.
What are some common troubleshooting tips for espresso cheesecake?
Very! A common mistake is overbeating the filling, which can lead to cracks as it sets. Keep your mixing gentle when incorporating whipped cream to maintain airiness. Also, ensure your cheesecake has enough chilling time—at least 5 hours—to fully set. If it doesn’t firm up, consider refrigerating it longer to achieve that perfect creamy texture.
Are there any dietary concerns I should consider?
Yes, indeed! For those with dairy allergies, you can substitute with non-dairy cream cheese and heavy cream alternatives. If gluten is a concern, use gluten-free Oreo cookies or graham crackers for the crust. Always double-check the labels of substitute ingredients to ensure they meet dietary restrictions.
Decadent Espresso Cheesecake for Coffee Lovers' Delight
Ingredients
Equipment
Method
- Crush Oreo cookies in a food processor until fine crumbs. Combine with melted butter and press into a 9-inch springform pan. Chill in the refrigerator.
- Beat softened cream cheese and sugar until smooth. Gradually add espresso powder. Whip heavy cream to stiff peaks and fold into the cheesecake mixture.
- Pour cheesecake mixture over the crust and smooth the top. Cover with plastic wrap and refrigerate for at least 5 hours until set.
- Heat heavy cream in a saucepan until steaming, pour over chopped chocolate, let sit for a minute, and stir until smooth. Cool slightly and pour over set cheesecake.
- Refrigerate the cheesecake for another 30 minutes. Release sides of springform pan, slice, and serve garnished with whipped cream and crushed espresso beans.
Leave a Reply