
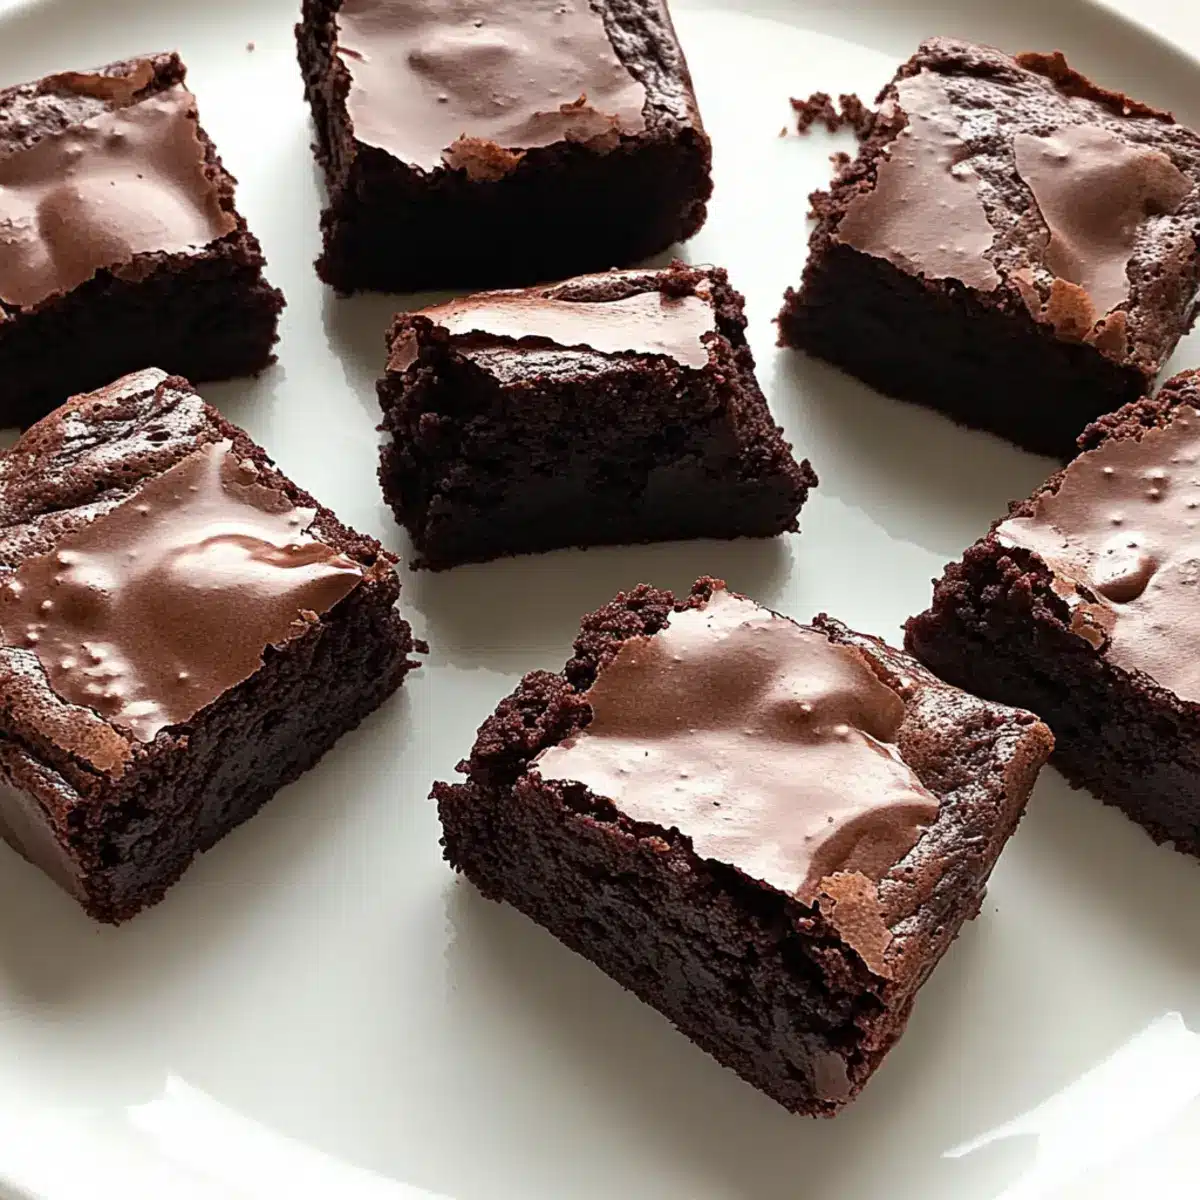
As I whisk together the simple ingredients for these Greek Yogurt Brownies, I can’t help but feel like I’ve stumbled into a little miracle. Swapping traditional butter for creamy Greek yogurt not only brings a lighter touch to these fudgy delights, but it’s also a game-changer for anyone craving a healthier dessert. These brownies are not just a guilt-free indulgence; they’re a true crowd-pleaser that comes together with quick prep, leaving you more time to enjoy every bite. Perfect for those of us who love homemade goodness but want to keep it nutritious. So, are you ready to transform your dessert game and impress your loved ones with a treat that satisfies both the taste buds and the conscience? Let’s dive into this delicious recipe together!
Why Are These Brownies a Must-Try?
Guilt-Free indulgence: These Greek Yogurt Brownies let you satisfy your sweet cravings without the extra calories.
High in Protein: With Greek yogurt as a star ingredient, they pack a delicious protein punch, making them a smarter treat.
Easy to Customize: Want to mix it up? Add nuts or a swirl of peanut butter for a delicious twist, like in our Apple Brownies Deliciously.
Quick Prep: Whip these up in no time, perfect for busy days or surprise guests! You’ll impress everyone without stress.
Rich Flavor: The fudgy texture and chocolatey richness create a heavenly dessert experience that feels indulgent yet light.
Greek Yogurt Brownie Ingredients
• To create the most delightful and guilt-free Greek Yogurt Brownies, gather these essential ingredients:
For the Batter
- Greek Yogurt – Provides moisture and replaces some fat, making brownies lighter and adding protein. Substitute with regular yogurt for a less creamy texture.
- Applesauce – Adds moisture and natural sweetness, contributing to the fudgy texture.
- Granulated Sugar – Sweetens the brownies. Adjust according to taste or substitute with alternative sweeteners like stevia or monk fruit.
- Brown Sugar – Enhances flavor and moisture. Can be replaced with additional granulated sugar if needed.
- Eggs – Bind ingredients together and contribute to the texture. No egg substitutes recommended.
- Vanilla Extract – Adds aromatic sweetness. Use pure vanilla for best flavor.
- Whole Wheat Flour – Provides structure and fiber, contributing to a healthier brownie. Can substitute with all-purpose flour if desired.
- Cocoa Powder – The main flavoring agent for chocolatey richness; use high-quality unsweetened cocoa for best taste.
- Baking Powder – Helps brownies rise slightly.
- Salt – Balances sweetness and enhances flavor.
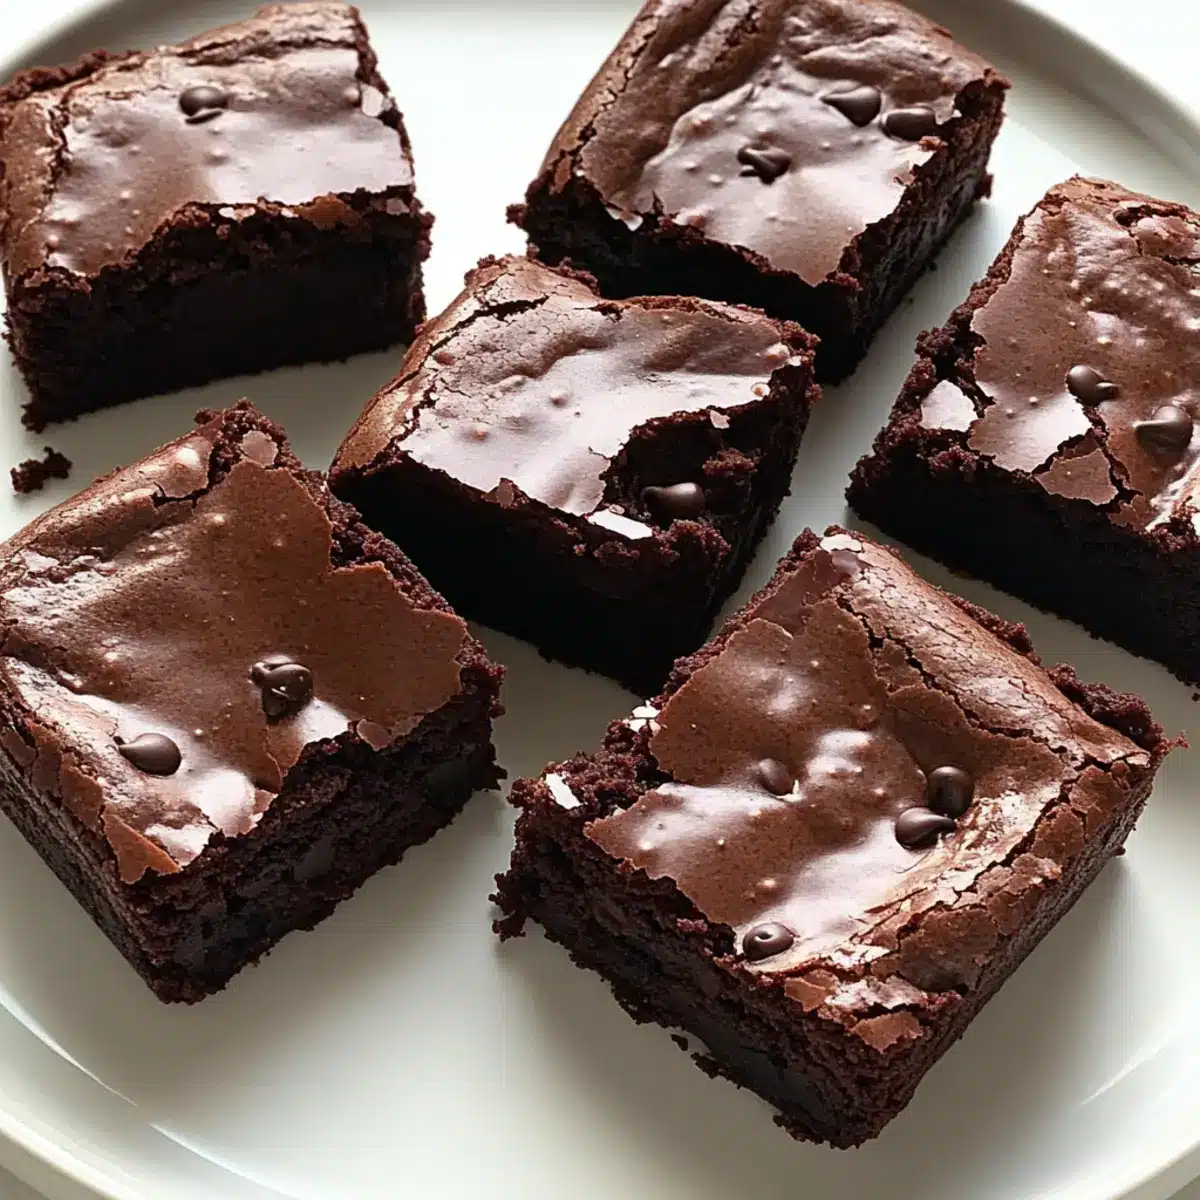
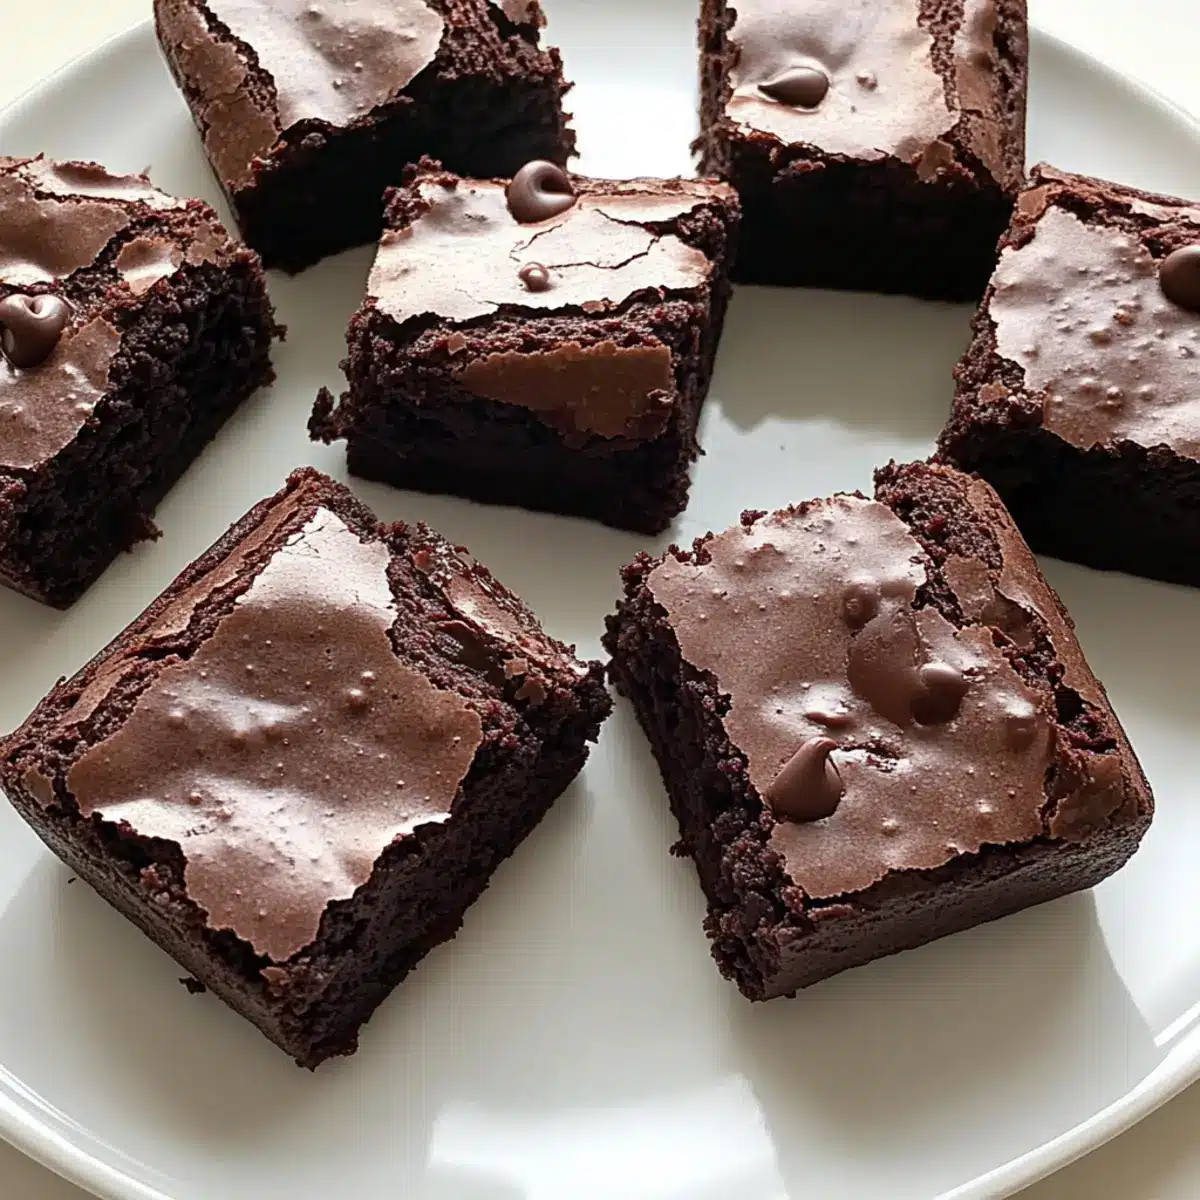
- Dark Chocolate Chips – Optional add-in for extra richness; can substitute with milk chocolate or omit entirely.
Step‑by‑Step Instructions for Greek Yogurt Brownies
Step 1: Preheat the Oven
Begin by preheating your oven to 350°F (175°C). This ensures your Greek Yogurt Brownies will bake evenly and thoroughly. While the oven warms up, you can gather your ingredients so everything is ready for the mixing.
Step 2: Prepare the Baking Pan
Grease or line an 8×8-inch baking pan with parchment paper to prevent the brownies from sticking. This step is crucial for easy removal of your fudgy delights later. Make sure to press the parchment into the corners for a snug fit.
Step 3: Mix Wet Ingredients
In a mixing bowl, combine Greek yogurt, applesauce, granulated sugar, and brown sugar. Use a whisk to blend them together until the mixture is smooth and creamy. Aim for a rich consistency that will contribute to the moistness of the Greek Yogurt Brownies.
Step 4: Add Eggs and Vanilla
Incorporate the eggs and vanilla extract into your wet mixture. Continue whisking until everything is well combined and the batter appears light and fluffy. This step enhances the overall flavor of your brownies and helps bind the ingredients together.
Step 5: Combine Dry Ingredients
In a separate bowl, whisk together whole wheat flour, cocoa powder, baking powder, and salt. Mixing these dry ingredients separately helps to evenly distribute the baking powder and ensures an even rise in your Greek Yogurt Brownies.
Step 6: Combine Wet and Dry Mixtures
Gradually mix the dry ingredients into the wet mixture, stirring gently until just combined. Be careful not to overmix; this is key to keeping your brownies tender and fudgy. The batter should have a thick consistency at this stage.
Step 7: Optional Chocolate Chips
If you’d like to enhance the chocolaty richness, fold in dark chocolate chips at this point. This optional step adds a delightful richness and texture to your Greek Yogurt Brownies, creating a more indulgent dessert experience.
Step 8: Pour Batter into the Pan
Pour the brownie batter into the prepared baking pan, spreading it evenly with a spatula. Make sure the top is level to ensure consistent baking. The even surface will help your brownies cook uniformly, resulting in a perfectly fudgy texture.
Step 9: Bake the Brownies
Bake in the preheated oven for 20-25 minutes. Start checking for doneness at the 20-minute mark; insert a toothpick in the center—it should come out with a few moist crumbs. This indicates your Greek Yogurt Brownies are ready to be removed from the oven.
Step 10: Cool and Slice
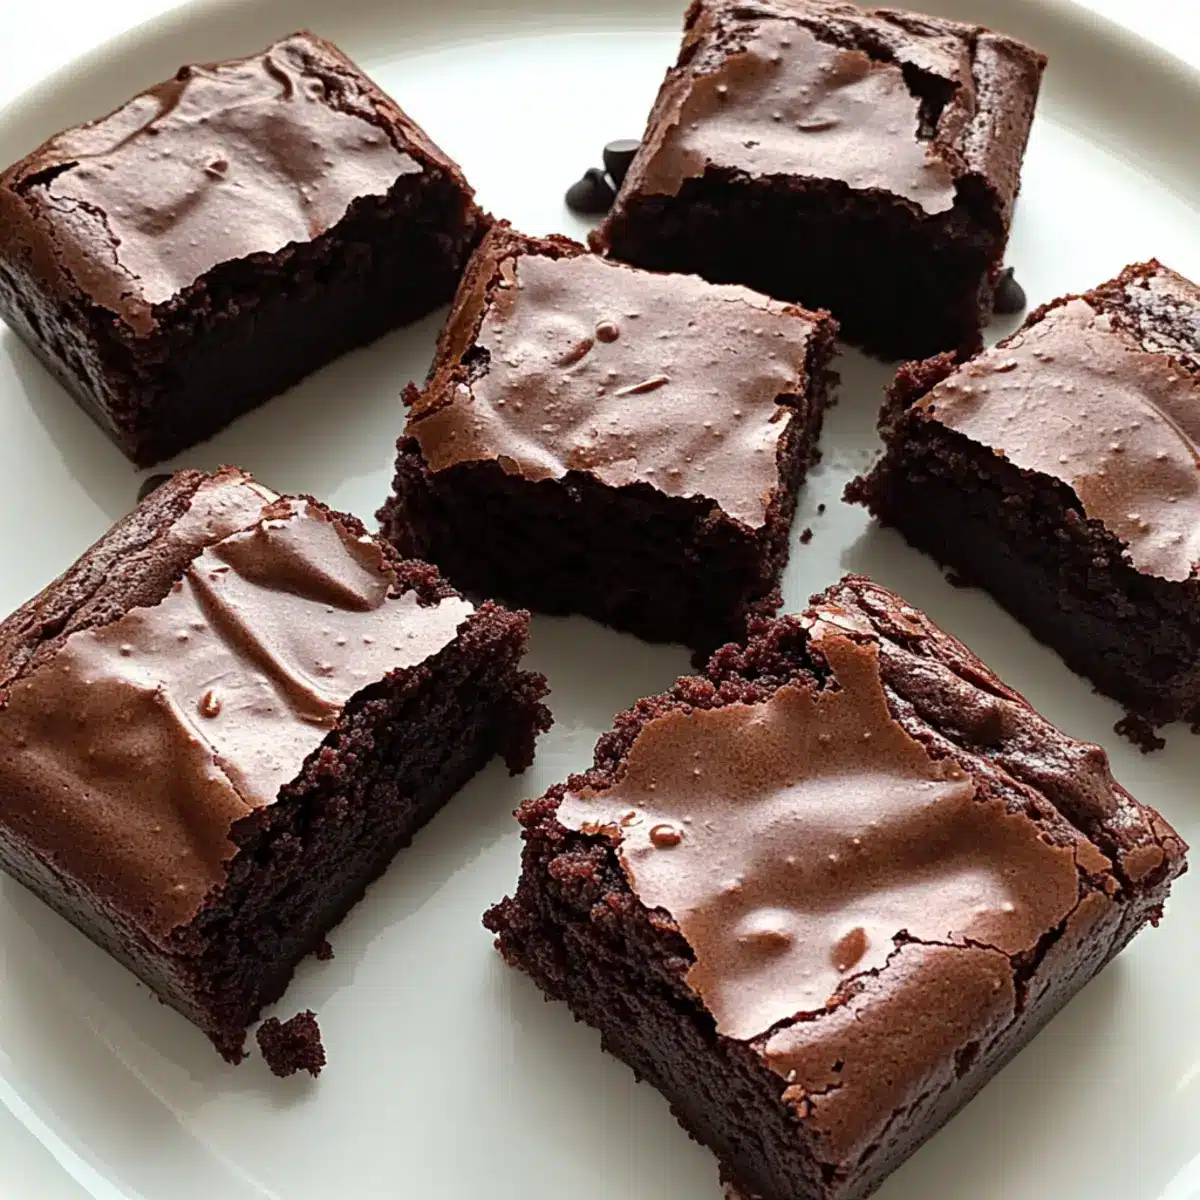
Allow the brownies to cool in the pan for about 10 minutes before transferring them to a wire rack. This step prevents sogginess and allows them to firm up slightly. Once completely cooled, slice into squares and enjoy your guilt-free indulgence!
Greek Yogurt Brownies Variations & Substitutions
Feel free to get creative and make these Greek Yogurt Brownies your own with these simple swaps and additions!
-
Nutty Delight: Fold in chopped walnuts or pecans for a crunchy texture that beautifully contrasts the fudgy brownies.
-
Peanut Butter Swirl: Add a swirl of creamy peanut butter or Nutella before baking to introduce a rich, nutty flavor that’s simply irresistible.
-
Sweetener Swap: Experiment with honey, agave, or monk fruit as alternatives to granulated sugar for a different sweet experience.
-
Flour Choices: For a gluten-free option, use almond flour or a gluten-free baking blend and adjust the liquid as needed.
-
Chocolate Lover’s Boost: Add semi-sweet or milk chocolate chips for heightened chocolate deliciousness, or try a mix of different chocolates for variety.
-
Espresso Enrichment: Incorporate a teaspoon of espresso powder into the batter to deepen the chocolate flavor for that coffee lover in you.
-
Fruit Fusion: Toss in dried cherries or cranberries for a lovely fruity twist that complements the chocolate perfectly, inspiring a delightful chew.
-
Spice it Up: Stir in a pinch of cinnamon or a dash of sea salt for an unexpected flavor boost that elevates your brownies to gourmet status.
These tasty variations can easily personalize your recipe for a gathering, or just for your enjoyment! And if you love the idea of adding even more fruit flavors, check out our delightful Lemon Sauce Greek for a fresh twist!
Storage Tips for Greek Yogurt Brownies
Room Temperature: Store brownies in an airtight container at room temperature for up to 3-4 days. This keeps them fresh and perfect for snacking!
Fridge: If you live in a warm climate or prefer them chilled, store the brownies in the fridge for up to a week. Let them come to room temperature before serving for the best flavor and texture.
Freezer: Freeze Greek Yogurt Brownies for up to 2-3 months. Wrap individual pieces tightly in plastic wrap and place them in a freezer-safe container.
Reheating: Thaw brownies at room temperature or warm them gently in the microwave for about 10-15 seconds for a delightful, fudgy treat whenever you desire.
Make Ahead Options
These Greek Yogurt Brownies are perfect for meal prep, allowing you to enjoy a delicious treat without the last-minute rush. You can prepare the brownie batter up to 24 hours in advance; just store it covered in the refrigerator until you’re ready to bake. For maximum freshness, add the chocolate chips (if using) just before baking. When ready to bake, pour the chilled batter into the prepared pan and follow the baking instructions as usual. This method maintains the brownies’ rich, fudgy texture, ensuring every bite is just as delightful. Embrace this time-saving strategy so you can enjoy guilt-free indulgence whenever cravings strike!
Expert Tips for Greek Yogurt Brownies
- Quality Matters: Use high-quality cocoa powder for the best chocolate flavor in your Greek Yogurt Brownies; cheap brands can taste chalky.
- Don’t Overmix: Mixing the batter just until combined prevents tough brownies. Overmixing introduces too much air, leading to a dry texture.
- Check Early: Start checking for doneness at 20 minutes; these brownies will continue to cook slightly after being removed from the oven.
- Experiment with Flavors: Try adding a splash of espresso or a pinch of sea salt to enhance the chocolate flavor in your brownies.
- Storage Solutions: Store brownies in an airtight container to maintain freshness; they can last up to 3-4 days or be frozen for longer enjoyment.
What to Serve with Guilt-Free Greek Yogurt Brownies?
Pair your delightful brownies with these tempting sides to create a satisfying dessert experience. You’ll want to indulge in a little bit of everything!
-
Vanilla Ice Cream: The creamy, cool texture of vanilla ice cream contrasts beautifully with the fudginess of the brownies, creating a decadent harmony. It’s a classic pairing that elevates your guilt-free dessert to a whole new level.
-
Mixed Berries: Fresh strawberries, blueberries, and raspberries add a delightful tartness that complements the rich chocolate flavor. Their natural sweetness brings a refreshing balance to your treat.
-
Whipped Cream: Light and airy, whipped cream is the perfect way to add an indulgent touch without the guilt. A dollop on top of your brownies transforms them into a luxurious dessert experience.
-
Caramel Sauce: A drizzle of warm caramel sauce over the brownies offers a luscious sweet note that makes each bite feel extra special. The gooey texture enhances the rich taste of the brownies, making it a divine match.
-
Chopped Nuts: Sprinkle some walnuts or pecans on top of your brownies for added crunch. The nuttiness not only adds texture but also pairs wonderfully with the chocolate depth.
-
Chocolate Sauce: For a bold chocolate lover’s dream, pour a little chocolate sauce over the top. This adds an indulgent layer of flavor and is sure to impress any chocolate aficionado.
-
Coffee: Brew a cup of your favorite coffee to serve alongside, as the rich, warm flavors of coffee complement chocolate splendidly. This pairing is perfect for coffee lovers and gives your dessert a cozy touch.
-
Mint Tea: A refreshing mint tea balances the richness of the brownies and offers a delightful after-dinner drink option. You’ll find the mint notes clean your palate beautifully after the chocolatey dessert.
-
Shortbread Cookies: Serve with buttery shortbread cookies for a delightful texture contrast. They offer a sweet crunch that pairs perfectly with the soft fudginess of the brownies.
Indulge in these delightful pairings and turn your serving of Greek Yogurt Brownies into a memorable dessert feast!
Greek Yogurt Brownies Recipe FAQs
What type of Greek yogurt should I use for the brownies?
Absolutely use plain, unsweetened Greek yogurt for the best results! It provides the best balance of moisture and creaminess, helping to create that rich texture without excess fat. If you’re in a pinch, regular yogurt can be substituted, but be aware that it may not provide the same creamy consistency.
How should I store my Greek Yogurt Brownies?
You can store your brownies in an airtight container at room temperature for about 3-4 days. If you live in a warm climate, refrigerating them will extend their freshness to about a week. Just remember, let them come to room temperature before serving to enjoy their full fudgy goodness!
Can I freeze Greek Yogurt Brownies?
Indeed! You can freeze these delicious brownies for up to 2-3 months. To do this, wrap each brownie tightly in plastic wrap or foil and place them in a freezer-safe container. For a quick treat later on, simply thaw them at room temperature or microwave them for about 10-15 seconds until warmed through.
What can I do if my brownies turn out too dense?
This can happen if the batter is mixed too vigorously—don’t worry! To ensure a lighter texture next time, mix the wet and dry ingredients gently and only until just combined. Also, be careful not to overbake; start checking around the 20-minute mark for doneness. The toothpick method is your friend here!
Are these brownies suitable for those with dietary restrictions?
Absolutely! These Greek Yogurt Brownies are lower in fat and higher in protein, making them a healthier option for many. For allergies, keep in mind that they do contain eggs. If you want to modify the recipe for dietary needs, consider using egg substitutes like flax eggs if it suits your recipe goals.
Can I customize the flavor profile of my Greek yogurt brownies?
Very! You can personalize your brownies by adding ingredients like chopped nuts, a swirl of peanut butter or Nutella before baking, or even a teaspoon of espresso powder to intensify that chocolate flavor. Feel free to get creative with flavors while still keeping them guilt-free!
Decadent Greek Yogurt Brownies That Are Guilt-Free Delights
Ingredients
Equipment
Method
- Preheat your oven to 350°F (175°C).
- Grease or line an 8x8-inch baking pan with parchment paper.
- In a mixing bowl, combine Greek yogurt, applesauce, granulated sugar, and brown sugar until smooth and creamy.
- Incorporate the eggs and vanilla extract into your wet mixture, whisking until well combined.
- In a separate bowl, whisk together whole wheat flour, cocoa powder, baking powder, and salt.
- Gradually mix the dry ingredients into the wet mixture until just combined.
- Fold in dark chocolate chips if desired.
- Pour the batter into the prepared baking pan and spread it evenly.
- Bake in the preheated oven for 20-25 minutes. Check for doneness at 20 minutes.
- Allow the brownies to cool in the pan for about 10 minutes before transferring them to a wire rack.
Leave a Reply