
“Ready for a delightful culinary adventure? My kitchen came alive the other evening when I decided it was time to whip up some Japanese Katsu Bowls. These crispy, golden-brown cutlets, whether made with chicken or pork, are nestling atop a fluffy bed of rice, drizzled with savory tonkatsu sauce. What makes this dish truly special is its versatility—perfect for a quick dinner that can easily cater to any dietary need, from meat to vegetarian options. Plus, it’s the ultimate comfort food that not only satisfies your cravings but also creates a joyful atmosphere around your dinner table. Curious how to recreate this comforting masterpiece at home?”
Why Are Japanese Katsu Bowls So Irresistible?
Comforting and satisfying, these bowls are a warm hug on a plate! Quick and easy, they make busy weeknights a breeze without sacrificing flavor. Customizable options let you cater to any palate, whether you prefer chicken, pork, or a tasty vegetarian alternative like tofu or eggplant. Served with a drizzle of tangy tonkatsu sauce, each bite bursts with umami goodness, making it a family favorite. If you love easy meals, you might also enjoy my Cheesesteak Rice Bowls or Korean BBQ Steak Rice Bowls for delightful twists on comfort food!
Japanese Katsu Bowls Ingredients
Get ready to create a mouthwatering masterpiece!
For the Katsu
- Chicken Breasts (or Pork Loin) – Main protein; substitute with eggplant or tofu for a vegetarian option.
- Salt and Pepper – Enhances flavor; use to taste.
- All-Purpose Flour – Provides a base for breading; can substitute with gluten-free flour for gluten-sensitive individuals.
- Large Eggs – Binds the breadcrumbs to the meat; egg substitutes can be used for vegan options.
- Panko Breadcrumbs – Adds crunch and texture; Japanese-style breadcrumbs for authenticity.
For the Rice
- Japanese Short-Grain Rice – Essential for authentic texture; substitute with sushi rice if unavailable.
- Water – Required for cooking rice.
- Rice Vinegar – Adds acidity and flavor to the rice seasoning; can substitute with apple cider vinegar.
- Sugar – Balances acidity in the seasoning; coconut sugar can be used as an alternative.
- Salt – Enhances overall flavor of the rice.
For the Sauce
- Tonkatsu Sauce – The key sauce that brings umami; can use store-bought or homemade sauce.
- Soy Sauce – Adds extra flavor depth; tamari can be used for a gluten-free option.
- Worcestershire Sauce – Adds tanginess and mystery to the sauce; use vegan Worcestershire if desired.
- Ketchup – Provides sweetness and acidity to the sauce.
For Toppings
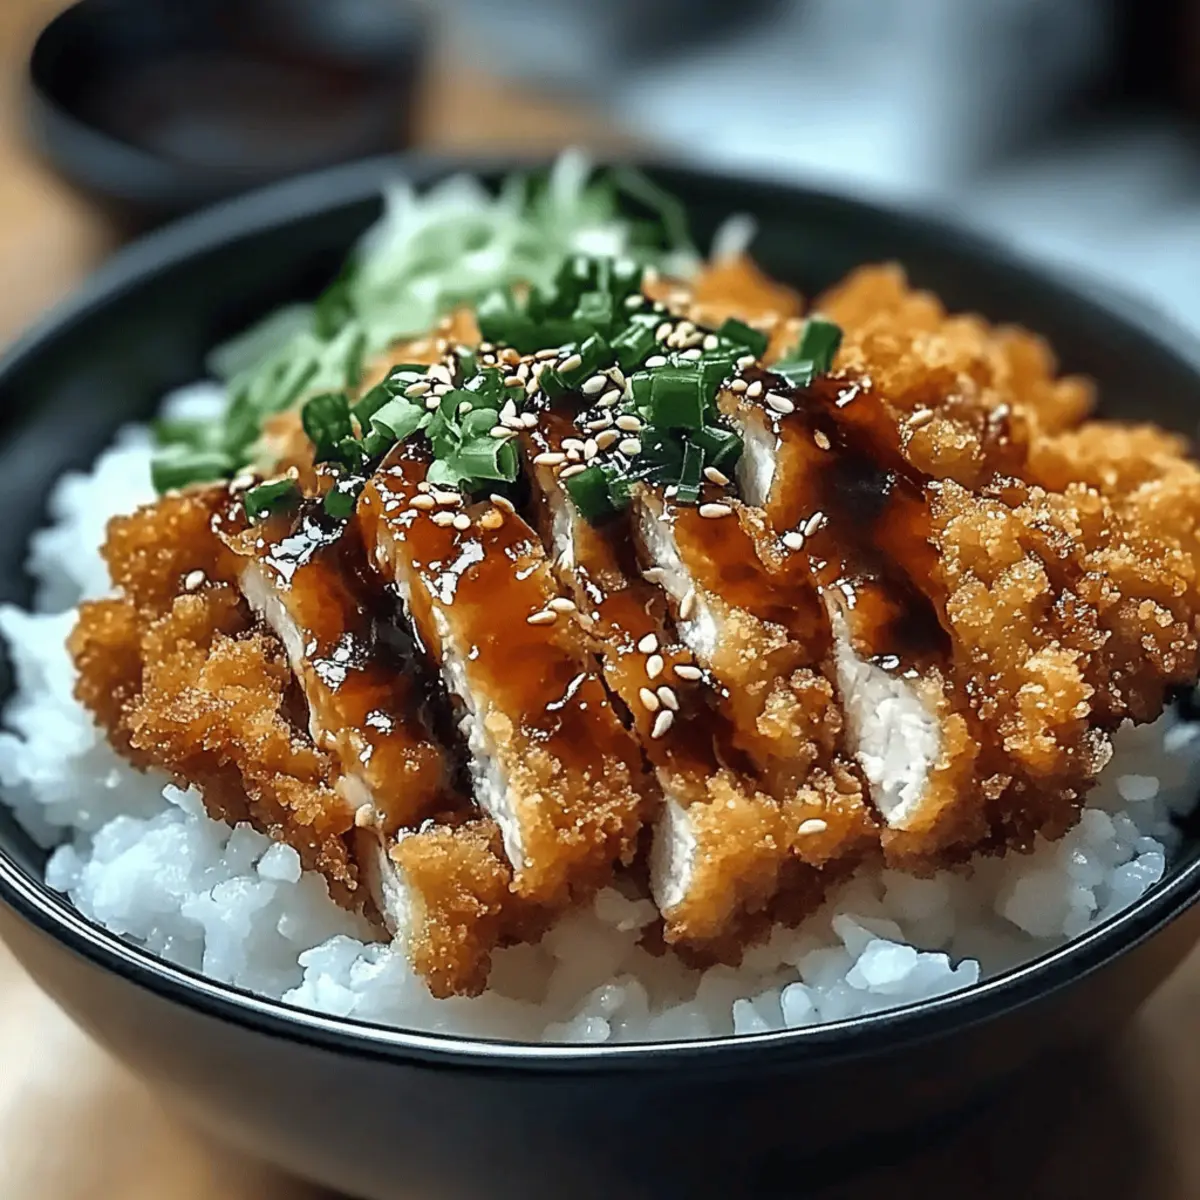
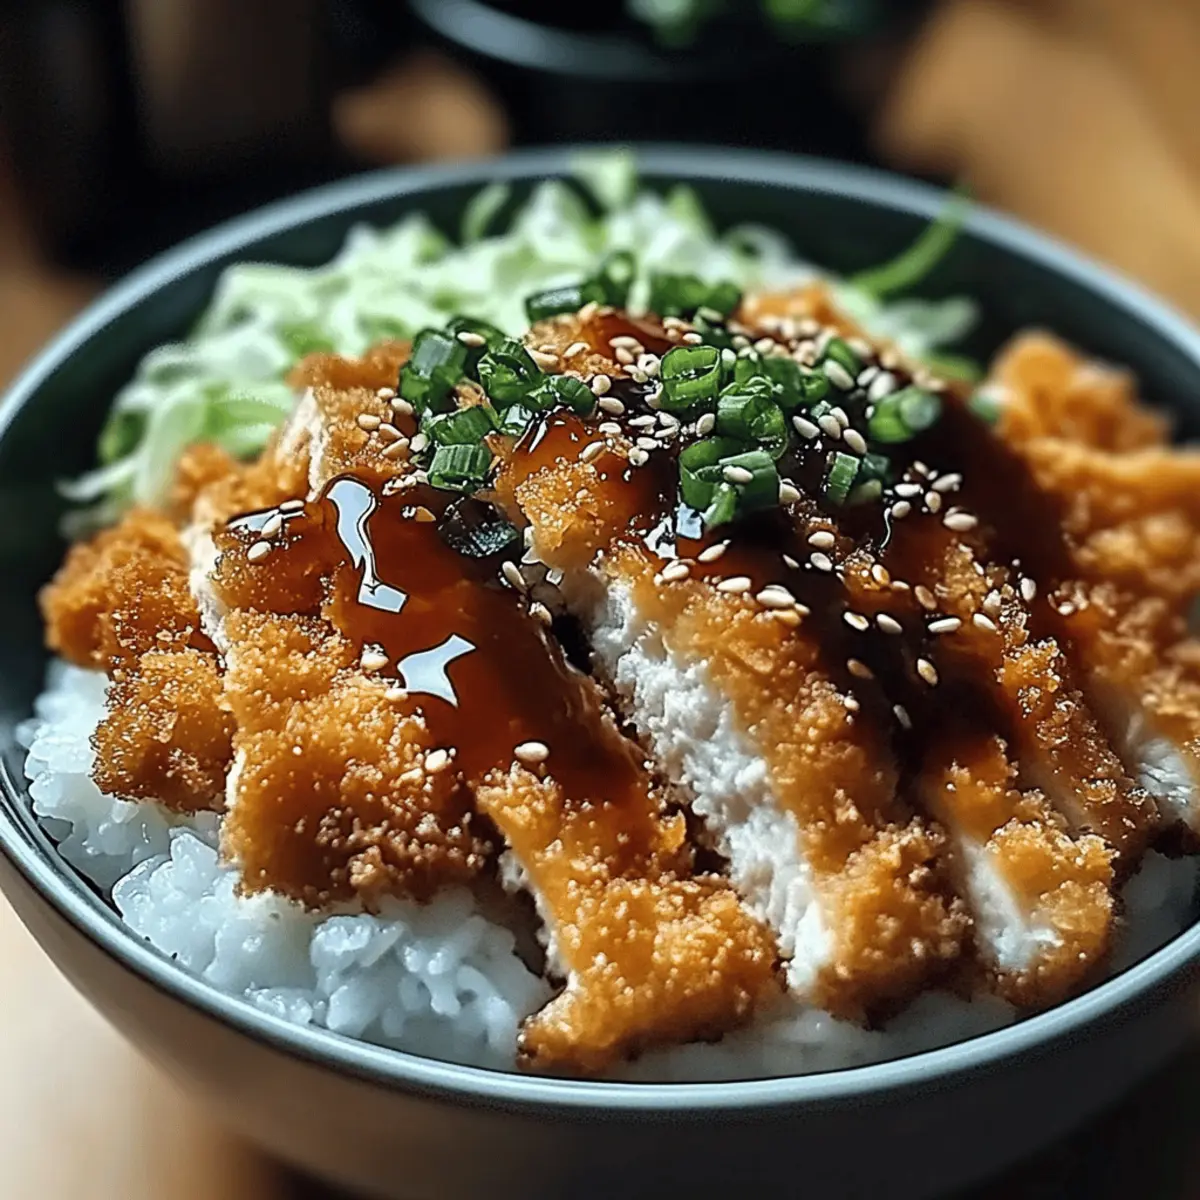
- Shredded Cabbage – Adds a fresh crunch as a topping.
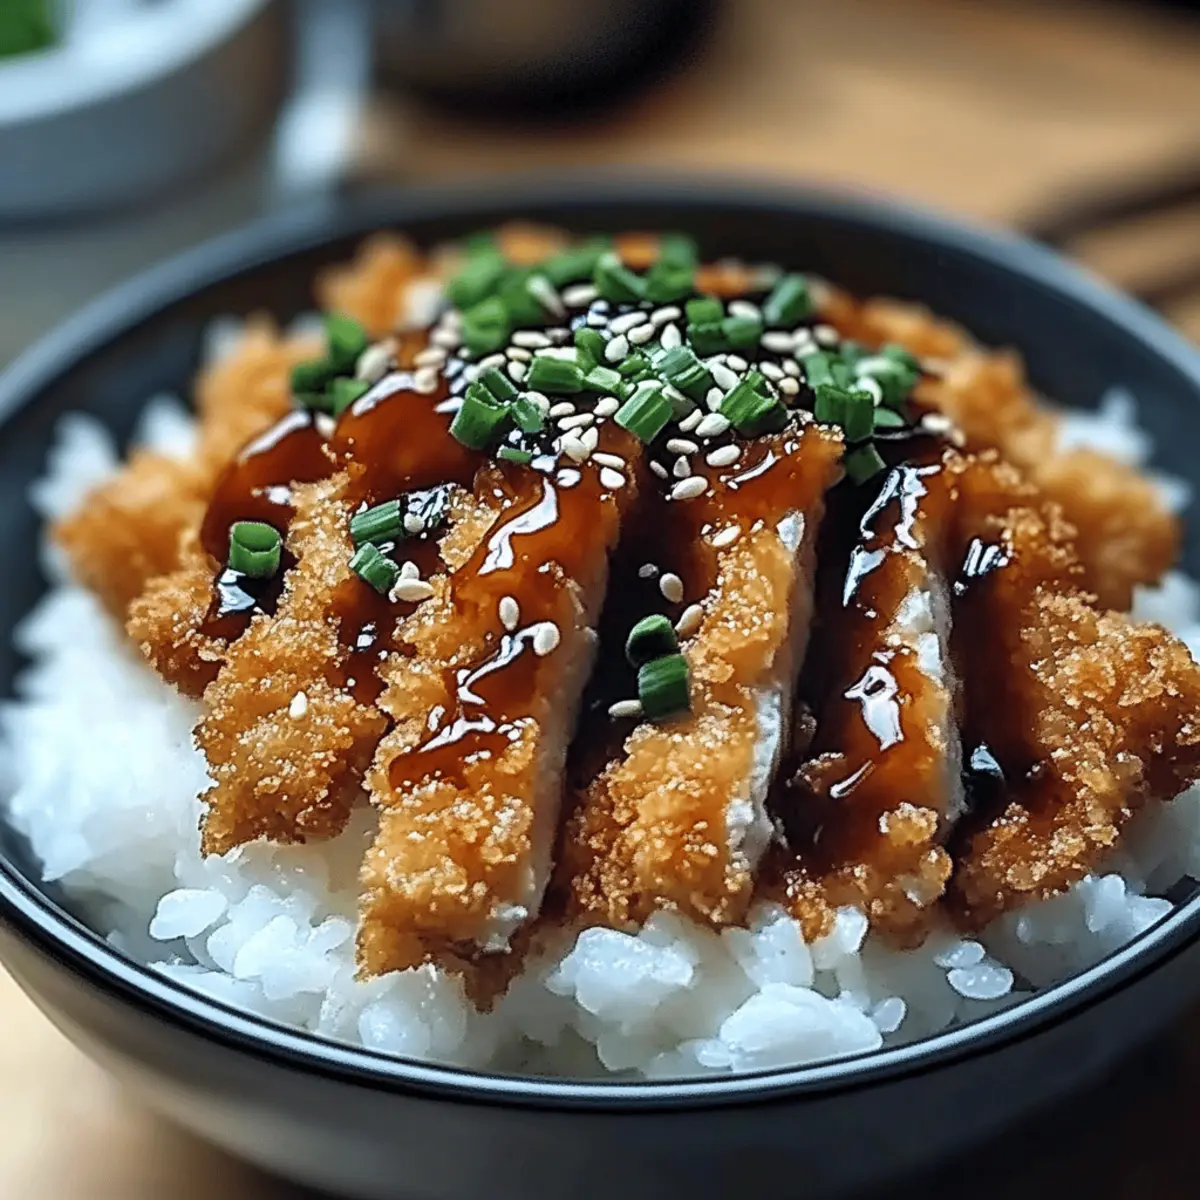
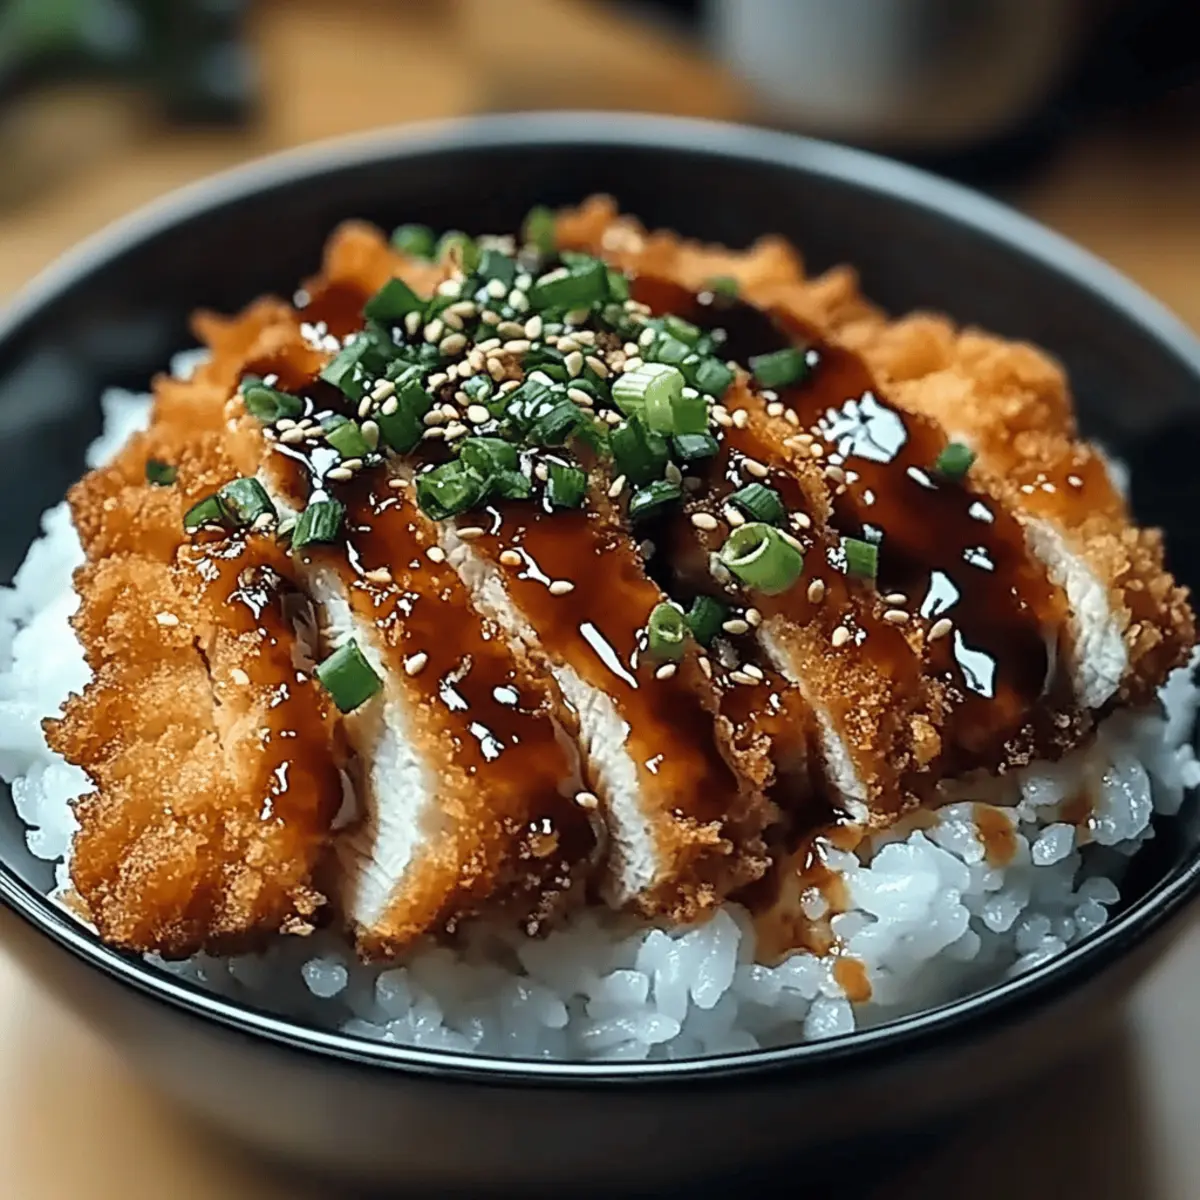
- Green Onions – Garnish and added flavor; slice up for a pop of color.
- Sesame Seeds – Garnish for texture and visual appeal; toast for extra flavor.
- Pickled Ginger – Optional garnish that enhances flavor profiles with its zesty kick.
Step‑by‑Step Instructions for Japanese Katsu Bowls
Step 1: Prepare the Rice
Start by rinsing 1 cup of Japanese short-grain rice in cold water until the water runs clear, about 2-3 times. Then, soak the rice in enough water for 30 minutes. After soaking, drain and add to a pot with 1 ¼ cups fresh water. Bring to a boil over medium heat, then reduce to a simmer, cover, and cook for 15 minutes. Once done, let it sit, covered, for an additional 10 minutes.
Step 2: Season Rice
In a small bowl, mix 2 tablespoons of rice vinegar, 1 tablespoon of sugar, and ½ teaspoon of salt until dissolved. Gently fold this mixture into the cooked rice, being careful not to break the grains. This will enhance the flavor of your Japanese Katsu Bowls, giving the rice a subtle tang that complements the crispy cutlets beautifully.
Step 3: Prepare Katsu
While the rice sits, pound 2 chicken breasts or pork loin to an even thickness of about ½ inch. Season the meat generously with salt and pepper. Set up a breading station by placing ½ cup of all-purpose flour, 2 beaten large eggs, and 1 cup of panko breadcrumbs in separate shallow dishes. This setup makes it easy to coat your cutlets evenly as you prepare for frying.
Step 4: Bread and Fry Katsu
Coat each seasoned cutlet in flour, tapping off the excess, then dip in the beaten eggs, and finally, press into the panko breadcrumbs until fully coated. Heat a skillet over medium-high heat and add enough vegetable oil to cover the bottom, about ¼ inch deep. Once the oil is hot, fry the cutlets for 4-5 minutes on each side or until golden brown and crispy, making sure the internal temperature reaches 165°F (75°C).
Step 5: Prepare the Sauce
In a small bowl, mix together ¼ cup of tonkatsu sauce, 1 tablespoon of soy sauce, 1 tablespoon of Worcestershire sauce, and 1 tablespoon of ketchup. Stir until well combined to create a savory sauce that brings depth to your Japanese Katsu Bowls. Set the sauce aside; it will add a delicious umami kick when drizzled over the finished dish.
Step 6: Assemble the Bowl
To serve, spoon a generous portion of seasoned rice into each bowl, followed by the crispy katsu cutlets on top. Drizzle the prepared sauce over the cutlets and finish with a handful of shredded cabbage, sliced green onions, and a sprinkle of sesame seeds. Enhance the presentation and flavor with pickled ginger if desired, creating a beautiful and hearty Japanese Katsu Bowl for your family to enjoy.
Japanese Katsu Bowls Variations & Substitutions
Embrace your inner chef and get creative with these delightful twists for your Japanese Katsu Bowls!
-
Pork Katsu: Swap chicken for tender pork loin to enjoy a different flavor profile that’s just as delicious!
-
Vegetarian Delight: Replace meat with breaded eggplant or tofu, providing a satisfying alternative without sacrificing texture.
-
Gluten-Free Option: Use gluten-free flour and breadcrumbs for a version that caters to dietary restrictions while still being delightful.
-
Creamy Spin: Top your katsu with a soft-boiled egg for an extra richness that elevates the dish to a whole new level. The runny yolk adds a creamy, luxurious touch!
-
Spicy Kick: Add sriracha or chili oil to the sauce for those who enjoy a little heat. It brings a new dimension of flavor that’s sure to impress.
-
Asian Slaw: Replace shredded cabbage with a crunchy Asian slaw mix for a vibrant crunch and a burst of fresh flavors that adds special zing.
-
Savory Stir-Fry: Serve your katsu alongside a quick vegetable stir-fry to incorporate seasonal vegetables like bell peppers and snap peas for added color and health benefits.
-
Citrus Zing: Experiment with a splash of yuzu juice in your sauce for an unexpected twist of brightness that perfectly complements the savory elements.
These variations ensure that every time you make your Japanese Katsu Bowls, you can surprise your family and friends with something new and delicious! If you’re looking for more inspiration, why not try my tasty Crockpot Chipotle Pineapple Pot Roast Bowls for a unique flavor experience?
How to Store and Freeze Japanese Katsu Bowls
-
Fridge: Store leftover katsu in an airtight container in the fridge for up to 3 days. This helps retain moisture while preventing any unwanted smells from affecting your delicious dish.
-
Freezer: Freeze katsu in a single layer on a baking sheet before transferring to an airtight container or freezer bag. They’ll keep well for up to 2 months, allowing for easy, quick meals later.
-
Reheating: Reheat katsu in a preheated oven at 375°F (190°C) for about 10-15 minutes to maintain their crispiness. Avoid microwaving, as this can make them soggy.
-
Rice Storage: Store the seasoned rice in the fridge for up to 2 days, but it’s best enjoyed fresh. If freezing, mold it into portions for easy use later, defrosting as needed.
Make Ahead Options
These Japanese Katsu Bowls are a perfect solution for busy weeknights, allowing you to enjoy a comforting meal with minimal effort! You can prepare the katsu cutlets up to 24 hours in advance by breading them and storing them covered in the refrigerator. Additionally, the seasoned rice can be cooked and refrigerated for up to 3 days; simply reheat it in the microwave or on the stovetop with a splash of water to restore its fluffy texture. When you’re ready to serve, quickly fry the prepped katsu until golden and crisp, and assemble your bowls as usual. This way, you’ll have deliciously satisfying Japanese Katsu Bowls that taste just as good as when freshly made!
What to Serve with Japanese Katsu Bowls
Complement your meal with delightful sides that elevate the comforting flavors of katsu and rice.
-
Crispy Edamame: These lightly salted green soybeans provide a satisfying crunch that balances the richness of the katsu.
-
Miso Soup: A warm bowl of miso soup adds umami and depth to the meal, enhancing the traditional Japanese experience.
-
Pickled Vegetables: Bright, tangy pickles contrast beautifully with the fried katsu, offering a refreshing bite that’s palate-cleansing.
-
Sautéed Spinach: Lightly seasoned sautéed spinach adds a vibrant color and a dose of nutrients, as well as a tender, fresh texture.
-
Japanese Potato Salad: Creamy and slightly sweet, this comforting side dish perfectly complements the crispy katsu, rounding out your meal.
-
Chilled Soba Noodles: These cool, savory noodles tossed in soy sauce are a refreshing addition that helps balance the dish’s crunchiness.
-
Green Tea: A cup of warm green tea cleanses the palate and ties together the meal with its subtle flavors.
-
Berry Mochi: For dessert, these chewy rice cakes filled with sweet berries offer a delightful, sweet finish after the savory katsu.
Expert Tips for Perfect Japanese Katsu Bowls
-
Choose the Right Oil: Use vegetable oil with a high smoke point, ensuring your katsu gets that perfect crispy texture without burning.
-
Temperature Check: Always check the oil temperature before frying; a drop of water should sizzle upon contact. This helps avoid soggy katsu.
-
Avoid Crowding: Fry katsu in batches if necessary to prevent crowding the pan, which can lower the oil temperature and result in uneven cooking.
-
Resting Time: Let the fried katsu rest on paper towels for a few minutes after cooking to remove excess oil, ensuring maximum crispiness for your Japanese Katsu Bowls.
-
Customize Sauce: Feel free to adjust the tonkatsu sauce by adding more ketchup for sweetness or extra soy sauce for depth. This allows you to tailor the flavor to your liking!
Japanese Katsu Bowls Recipe FAQs
How do I choose the best chicken or pork for katsu?
Absolutely! Look for boneless, skinless chicken breasts or pork loin that are firm and have a pinkish color. Fresh cuts should have a clean scent and no dark spots. If you’re opting for a vegetarian version, select firm eggplant or tofu that feels dense and has a nice, neutral color.
What’s the best way to store leftovers?
Very! For storing leftover katsu, place it in an airtight container in the fridge where it can last for up to 3 days. If you want to keep it a bit longer, transfer the cooled katsu to a freezer-safe bag after letting it cool completely and freeze for up to 2 months. This way, you can enjoy it later without losing its texture!
Can I freeze and reheat katsu?
Certainly! To freeze, lay the breaded katsu on a baking sheet in a single layer and freeze until solid. Then, transfer to an airtight container or zip-top bag for up to 2 months. For reheating, preheat your oven to 375°F (190°C) and bake for about 10-15 minutes until crispy, avoiding the microwave to prevent sogginess.
What should I do if my katsu isn’t crispy?
No worries at all! If your katsu turns out less crispy, check the oil temperature. It should be hot enough to sizzle when the cutlet is added. If it’s too low, the katsu will absorb oil instead of frying properly. Additionally, avoid crowding the pan; frying in smaller batches allows for better air circulation, keeping them crisp!
Are there any dietary considerations when making katsu?
Definitely! If you or your loved ones have specific dietary needs, consider substituting ingredients. You can use gluten-free flour for breading, and egg substitutes like flaxseed meal mixed with water work well for vegan options. Remember to check sauces for gluten and any allergens if you’re serving guests with dietary restrictions.
Can I use other proteins or vegetables?
Absolutely! For a delightful twist, you can swap out chicken with pork or even go for air-fried eggplant or tofu for a vegetarian option. The great thing about Japanese Katsu Bowls is their versatility! Feel free to experiment with various proteins or toppings to cater to your family’s tastes or dietary needs.
Japanese Katsu Bowls: Comfort Food Made Easy at Home
Ingredients
Equipment
Method
- Rinse 1 cup of Japanese short-grain rice in cold water until clear, then soak in fresh water for 30 minutes.
- Drain and add rice to a pot with 1 ¼ cups fresh water. Bring to boil, reduce to simmer, cover, and cook for 15 minutes. Let sit, covered, for 10 minutes.
- Pound 2 chicken breasts or pork loin to an even thickness and season with salt and pepper.
- Set up a breading station with ½ cup of flour, 2 beaten eggs, and 1 cup of panko breadcrumbs.
- Coat each cutlet in flour, dip in egg, then press into panko breadcrumbs.
- Heat vegetable oil in a skillet, fry coated cutlets for 4-5 minutes on each side until golden brown and crispy.
- Mix together ¼ cup tonkatsu sauce, 1 tablespoon soy sauce, 1 tablespoon Worcestershire sauce, and 1 tablespoon ketchup.
- Spoon seasoned rice into bowls, place katsu on top, drizzle with sauce, and garnish with cabbage, green onions, and sesame seeds.
Leave a Reply