
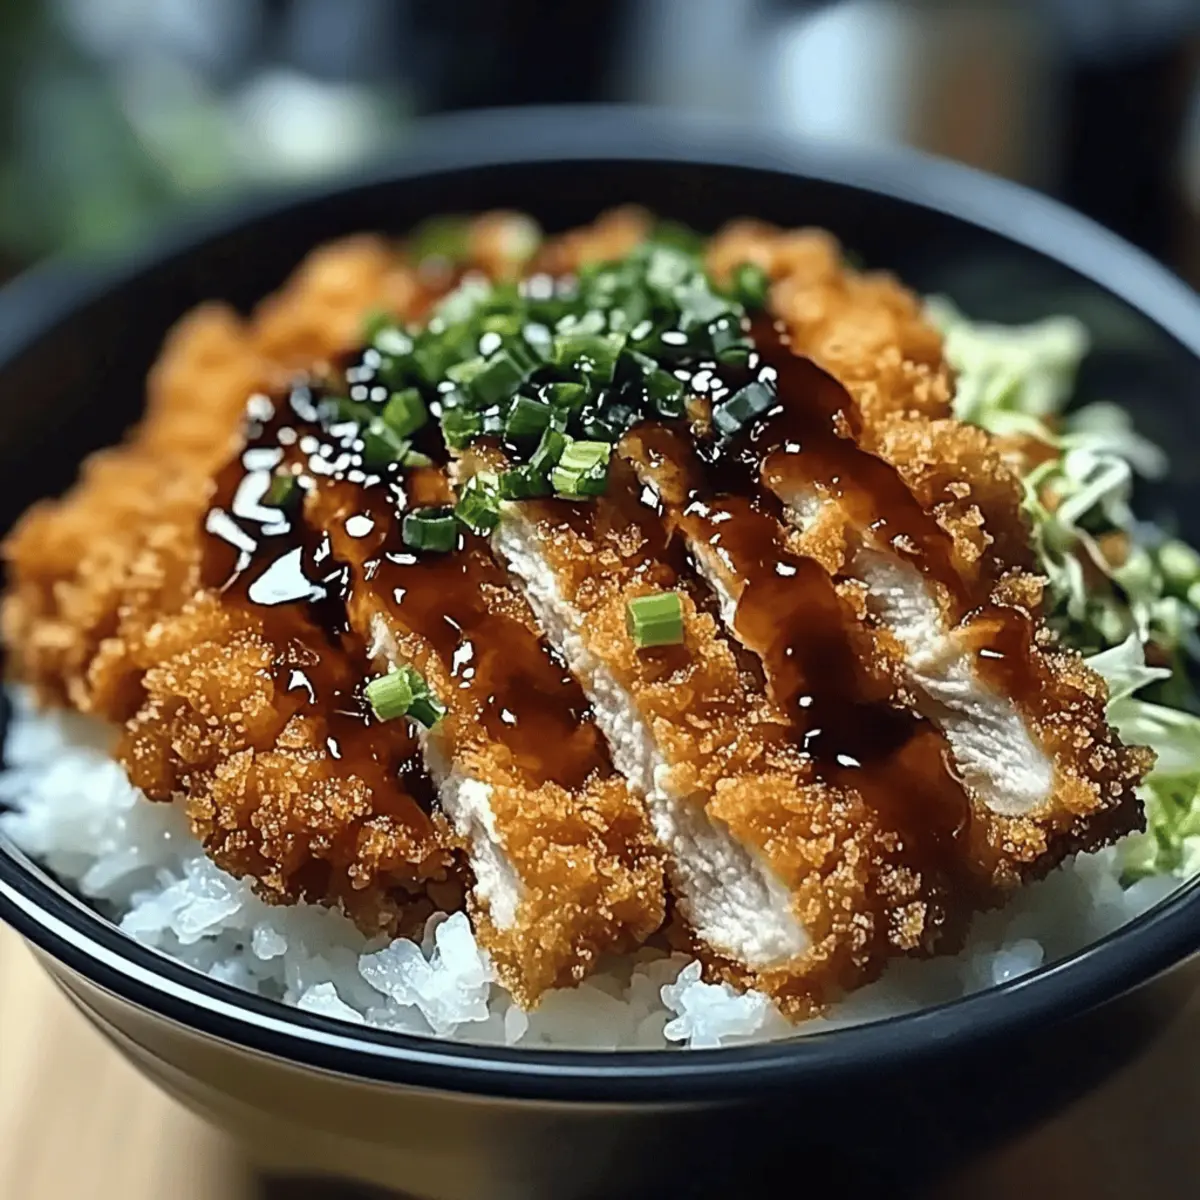
The sizzle of hot oil and the tantalizing aroma of breaded chicken frying can transport you straight to a bustling izakaya in Japan. Let me introduce you to a dish that can effortlessly bring this experience into your home: Japanese Katsu Bowls. These flavorful bowls not only showcase crispy, golden-brown chicken but also come together in no time, making them perfect for hectic weeknights or casual gatherings with friends. Plus, with endless variations—swap in pork or even go vegetarian—everyone can indulge in this comforting, homemade meal. Ready to take your taste buds on a trip to Japan? Let’s dive into crafting these delightful katsu bowls that will undoubtedly become a favorite around your table.
Why are Japanese Katsu Bowls so beloved?
Comforting and Delicious: Japanese Katsu Bowls combine crispy cutlets over fluffy rice, delivering a warm and satisfying meal.
Super Versatile: Easily swap chicken for pork, tofu, or even eggplant to cater to different diets and preferences.
Quick to Make: This recipe is perfect for busy weeknights, thanks to the straightforward preparation and cooking process.
Crowd-Pleasing: Whether for family dinners or casual gatherings, these bowls are a hit with everyone, making them the ideal choice for entertaining.
Rustic Flavor: The blend of tonkatsu sauce and fresh toppings brings a unique taste that’s both savory and tangy, reminiscent of your favorite izakaya.
If you enjoy this comforting dish, you might also love our Cheesesteak Rice Bowls or Korean BBQ Steak for more delicious creations!
Japanese Katsu Bowls Ingredients
• Get ready to make a comforting favorite!
For the Katsu
- Chicken Breasts (or Pork Loin) – Your main protein choice—chicken is traditional, but pork works beautifully too.
- Salt and Pepper – Essential seasonings that enhance the flavor; adjust to taste for perfection.
- All-Purpose Flour – This is your breading base; as an alternative, feel free to use gluten-free flour for a different twist.
- Eggs – Large eggs are best for binding the breadcrumbs effectively together.
- Panko Breadcrumbs – Key to achieving that delightful crunch; regular breadcrumbs can be used but won’t be as crispy.
- Vegetable Oil – For frying, choose a neutral oil like canola or sunflower that won’t overpower the dish.
For the Rice
- Japanese Short-Grain Rice – This variety offers the sticky texture that complements katsu perfectly; sushi rice can be used as a substitute.
- Rice Vinegar – Adds a delightful tanginess to the rice; in a pinch, apple cider vinegar can work but will alter the flavor slightly.
- Sugar – Balances the acidity in the rice seasoning; consider coconut sugar for a healthier touch.
For the Sauce
- Tonkatsu Sauce – The star condiment of this dish; if unavailable, you can mix ketchup with Worcestershire sauce for a quick alternative.
- Soy Sauce – Adds a rich umami flavor; use tamari for a gluten-free option.
- Worcestershire Sauce – Enhances depth of flavor, but it can be omitted for a simpler taste.
- Ketchup – Provides sweetness; feel free to swap with hoisin sauce for a more complex flavor profile.
For Toppings
- Shredded Cabbage – Adds a fresh crunch; substitute with other fresh veggies like carrots if desired.
- Green Onions – Brings a burst of freshness to the dish; chives can serve as an excellent alternative.
- Sesame Seeds – These are optional but make for a beautiful garnish that enhances both texture and presentation.
- Pickled Ginger (optional) – Offers a tangy contrast to the meal; feel free to omit if you prefer a simpler look.
With these ingredients ready, you’re one step closer to whipping up your very own Japanese Katsu Bowls!
Step‑by‑Step Instructions for Japanese Katsu Bowls
Step 1: Prepare Rice
Begin by rinsing 1 cup of Japanese short-grain rice under cold water until the water runs clear. Soak the rice in water for about 30 minutes, then drain. In a pot, combine the soaked rice with 1 ¼ cups of water, bring to a boil, then reduce to a simmer, cover, and cook for 18-20 minutes. Let it steam off the heat for another 10 minutes.
Step 2: Season Rice
In a small bowl, mix together 2 tablespoons of rice vinegar, 1 tablespoon of sugar, and a pinch of salt to create the seasoning. Once the rice is finished steaming, transfer it to a large bowl and gently fold in the seasoning mixture while the rice is still warm. This adds flavor and a delightful tanginess, setting the stage for your Japanese Katsu Bowls.
Step 3: Prep Katsu
While the rice cooks, prepare the chicken for the katsu. Take two chicken breasts and pound them gently to an even thickness of about ½ inch, ensuring they cook evenly. Season both sides generously with salt and pepper. Set up a breading station with three shallow bowls: one with all-purpose flour, another with beaten eggs, and the third with panko breadcrumbs for that signature crunch.
Step 4: Bread Chicken
Start breading the chicken by dredging each piece in flour, ensuring all sides are coated. Next, dip it into the beaten eggs, allowing any excess to drip off. Finally, press the chicken into the panko breadcrumbs, making sure it’s fully covered. Set the breaded chicken aside on a plate for a few minutes to help the coating adhere before frying.
Step 5: Fry Katsu
Heat about ½ inch of vegetable oil in a large skillet over medium heat until hot (approximately 350°F). Carefully add the breaded chicken to the pan, making sure not to overcrowd it, and fry for 4-5 minutes on each side until golden brown and crisp. Use tongs to flip the chicken, ensuring even cooking and a beautiful, crunchy exterior.
Step 6: Make Sauce
While the katsu is frying, prepare the sauce by combining ¼ cup of tonkatsu sauce, 1 tablespoon of soy sauce, 1 tablespoon of Worcestershire sauce, and 2 teaspoons of ketchup in a small bowl. Stir well until smooth, creating a tangy and savory topping for your Japanese Katsu Bowls that beautifully complements the crispy chicken.
Step 7: Assemble Bowls
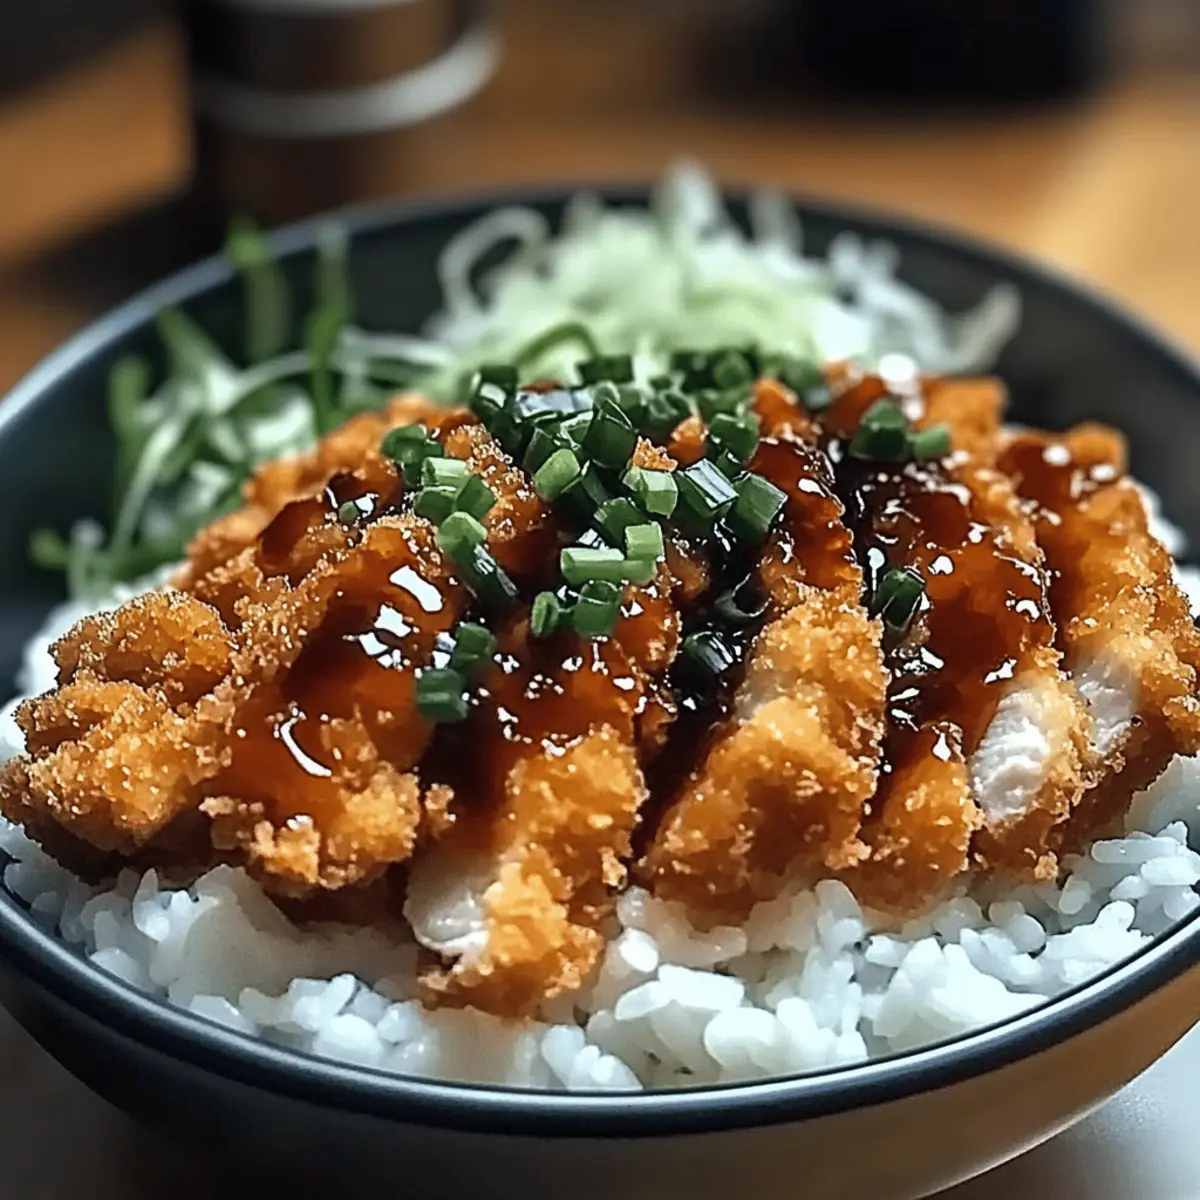
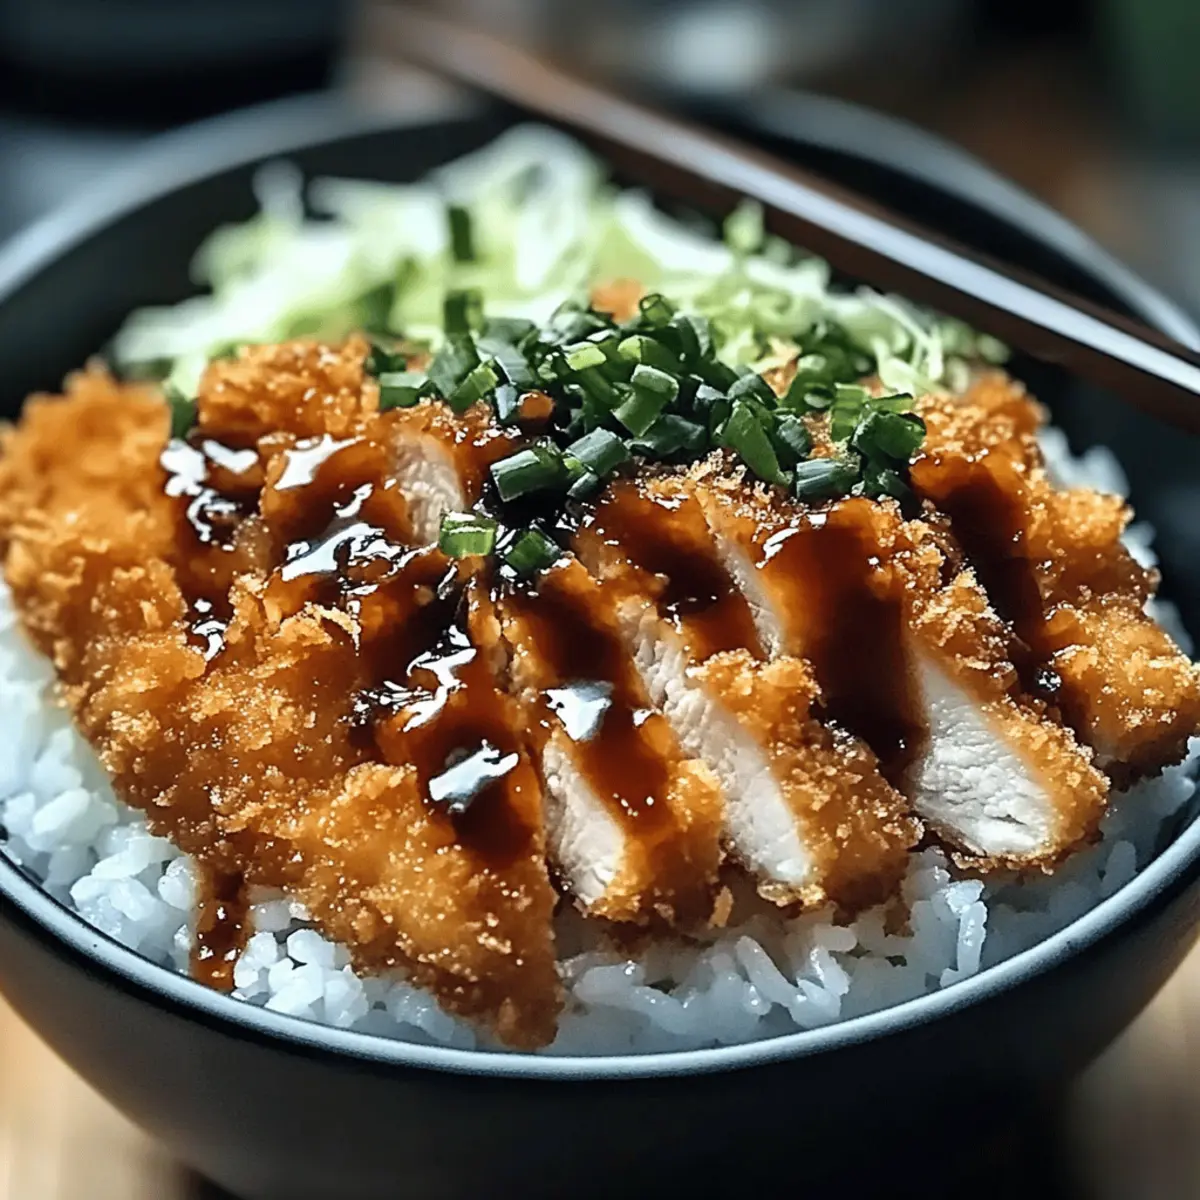
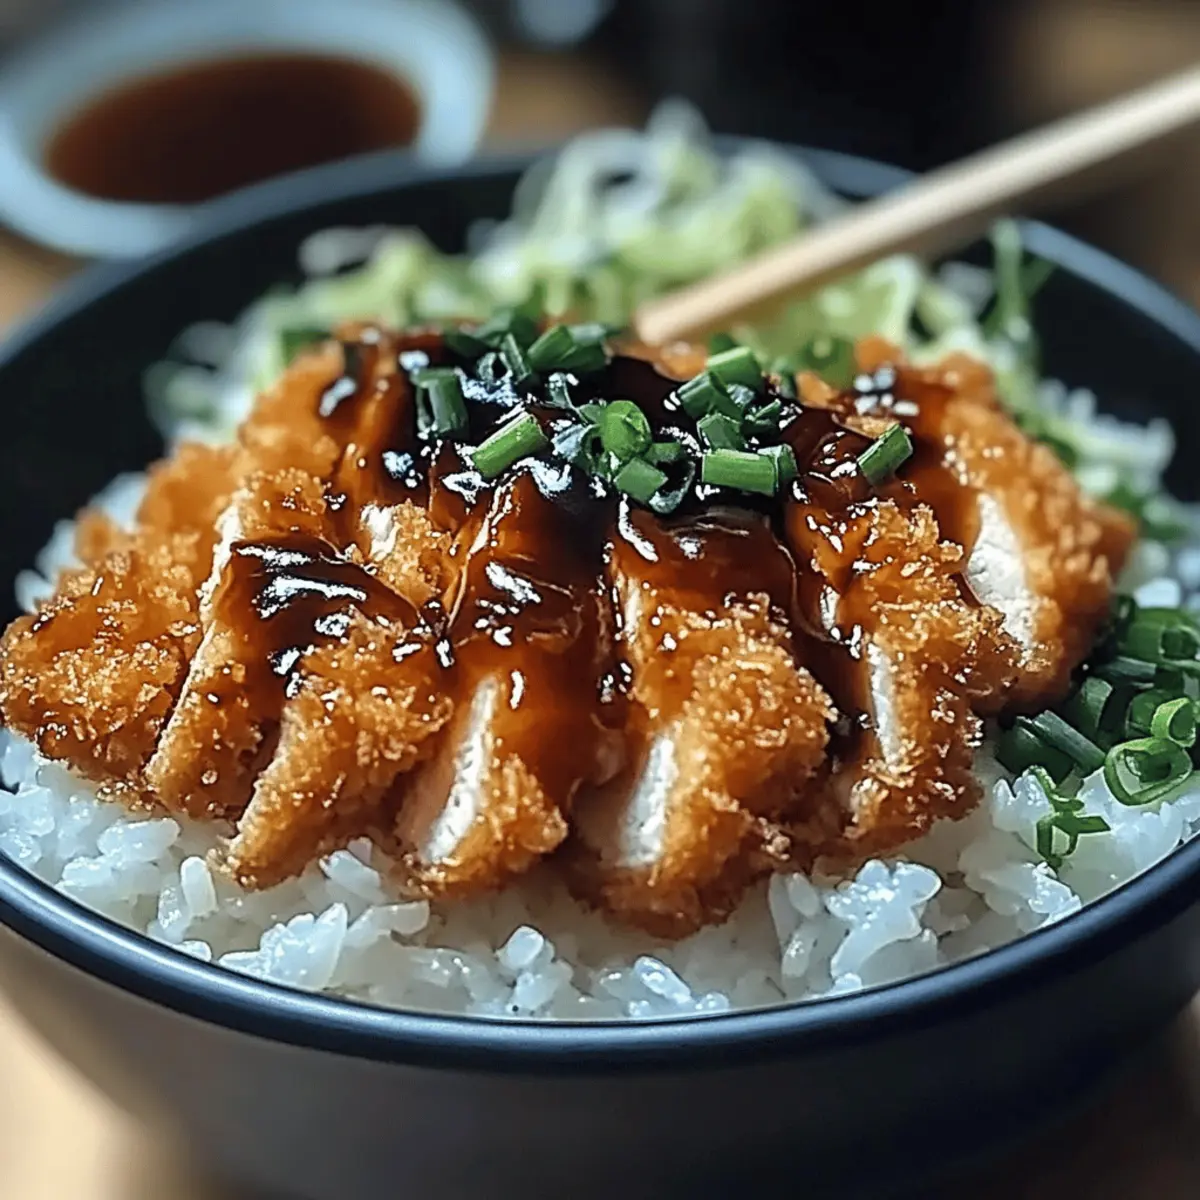
Once the katsu is cooked, allow it to rest on a paper towel-lined plate for a couple of minutes before slicing it into strips. To assemble your Japanese Katsu Bowls, place a generous scoop of seasoned rice in each bowl, top with the sliced katsu, and drizzle with the prepared sauce. Finish with a handful of shredded cabbage, chopped green onions, and a sprinkle of sesame seeds for that perfect final touch.
How to Store and Freeze Japanese Katsu Bowls
- Fridge: Store leftover katsu in an airtight container for up to 3 days. Ensure it’s cooled to room temperature before sealing to maintain freshness.
- Freezer: Freeze breaded, uncooked katsu for up to 2 months. Place layers of parchment paper between pieces to prevent sticking and ensure easy removal.
- Reheating: Reheat fried katsu in an oven at 375°F for about 10-15 minutes to restore its crispiness. You can also microwave the rice separately for a quick meal.
- Leftover Sauce: Keep tonkatsu sauce in the fridge for up to a week. It also freezes well for up to 3 months, allowing you to enjoy your Japanese Katsu Bowls anytime!
Make Ahead Options
These Japanese Katsu Bowls are perfect for busy home cooks looking to save time on weeknights! You can prepare the rice and season it up to 24 hours in advance; just keep it covered in the refrigerator to maintain its light and fluffy texture. The breaded chicken can be assembled and refrigerated for up to 3 days before frying. To keep the coating crispy, avoid frying until just before serving. When ready to enjoy, simply fry the katsu, heat the precooked rice, and assemble your bowls with fresh toppings. This way, you’ll have delicious, homemade katsu bowls ready to savor with minimal effort!
Expert Tips for Japanese Katsu Bowls
-
Oil Temperature: Ensure the oil is hot enough by testing with a breadcrumb; it should sizzle immediately to avoid soggy katsu.
-
Breading Technique: For a flawless coating, press the panko firmly onto the chicken so it adheres well and stays crispy while frying.
-
Avoid Overcrowding: Fry the chicken in batches to prevent lowering the oil temperature, which leads to uneven cooking and less crunch in your katsu.
-
Resting Period: Allow the fried katsu to rest on a paper towel for a couple of minutes before slicing; this helps seal in juices for a moist cutlet.
-
Rice Texture: Use Japanese short-grain rice for that ideal sticky texture; other rice types may not yield the same comfort food experience.
-
Sauce Balance: Adjust the tonkatsu sauce by adding a touch more sugar or vinegar based on your preference for sweetness or tanginess in your Japanese Katsu Bowls.
What to Serve with Japanese Katsu Bowls?
Elevate your dining experience with delightful sides that perfectly complement the crispy indulgence of katsu.
- Creamy Cabbage Slaw: This fresh slaw adds a cool crunch and vibrant flavor, balancing the rich, savory notes of the katsu.
- Miso Soup: Warm and comforting, miso soup enhances the meal with a umami depth, making each bite more satisfying.
- Edamame: Lightly salted edamame brings a healthy, protein-packed snack that’s easy to prepare and a nice texture contrast.
- Garlic Fried Rice: The aromatic flavors of garlic-fried rice pair beautifully with katsu, creating a hearty and fulfilling dish.
- Pickled Vegetables: Tangy and slightly sweet, pickled vegetables offer a refreshing contrast to the crispy katsu, cleansing the palate.
- Ginger Tea: A warm cup of ginger tea serves as a lovely digestive, enhancing the flavors of your meal while promoting comfort.
- Sesame Broccoli: Lightly steamed with a sprinkle of sesame seeds, this side provides nutrition and a crunch that complements the katsu’s crunchiness.
- Fruit Salad: Refreshing and light, a mix of seasonal fruits can offer a sweet finish to the meal, making it feel festive and revitalizing.
These pairings turn your Japanese Katsu Bowls into a complete feast, sure to leave everyone wanting more!
Japanese Katsu Bowls Variations
Feel free to get creative with your Japanese Katsu Bowls and make them your own! These delightful variations will elevate the flavors and keep the meal exciting.
-
Pork Option: Swap chicken for pork loin for a juicy, rich alternative that pairs beautifully with the sauce.
-
Vegetarian Delight: Use eggplant or tofu instead of meat for a delicious veggie version. Just ensure to season well before frying!
-
Extra Crunch: Add panko-coated vegetables like zucchini or sweet potato to the fry pan for a colorful, crispy treat.
-
Garnish Twist: Instead of green onions, sprinkle with thinly sliced radishes. They add a refreshing crunch and a beautiful pop of color.
-
Spicy Kick: Mix in a little Sriracha or chili sauce into your tonkatsu sauce for an exciting heat that tickles the taste buds.
-
Topped with Avocado: Slice up some creamy avocado for a luscious topping. It adds a delightful creaminess that balances the crunchy katsu.
-
Soft-Boiled Egg: For a veggie protein boost, top each bowl with a soft-boiled egg. The rich yolk adds an indulgent creaminess to every bite!
-
Side of Pickles: Serve with a side of pickled vegetables—they add a tangy crunch that beautifully complements the savory flavors of the katsu.
If you’re intrigued by the idea of adding different proteins or flavors, be sure to check out our Burger Bowls Caramelized for more inspiration! Or if you’re looking for a scrumptious twist, try our Crockpot Chipotle Bowls for a smoky alternative. Enjoy experimenting!
Japanese Katsu Bowls Recipe FAQs
How do I choose ripe ingredients for my katsu bowls?
Absolutely! For the chicken, select fresh and firm breasts. They should be pale pink without any dark spots, as they ensure tenderness. If you opt for vegetables like cabbage, look for crisp leaves without wilting. For the rice, quality matters—Japanese short-grain rice is ideal, so avoid anything that looks discolored or broken.
What’s the best way to store leftover katsu bowls?
Very! Leftover katsu can be placed in an airtight container and stored in the refrigerator for up to 3 days. Allow the katsu to cool at room temperature before sealing to maintain its crunch and freshness. It’s best to keep the rice and katsu separate until you’re ready to enjoy it again.
Can I freeze katsu for later use?
Absolutely! To freeze uncooked, breaded katsu, place it on a baking sheet in a single layer, then freeze until solid. Once frozen, transfer them into a freezer bag with parchment paper between pieces to avoid sticking. They can be kept frozen for up to 2 months. When ready to cook, fry them directly from the freezer, increasing the cooking time slightly.
What if my katsu doesn’t come out crispy?
Don’t worry! If your katsu turns out soggy, it might be due to oil that’s not hot enough. Aim for around 350°F when frying; a breadcrumb should sizzle immediately upon contact. Also, avoid overcrowding your pan—this can lower the oil temperature. Lastly, let the fried katsu rest on paper towels for a few minutes; this helps absorb excess oil, enhancing that crispy texture.
Are there dietary considerations for my katsu bowls?
Very! If you or someone in your household has allergies, always check labels on sauces and seasonings. For gluten-free options, use tamari instead of soy sauce and gluten-free breadcrumbs. If cooking for a vegetarian, consider using firm tofu or eggplant in place of chicken. Always ensure that your ingredients match your dietary needs for a delicious experience!
Can I make variations of katsu bowls?
Absolutely! The beauty of katsu bowls lies in their versatility. You can substitute chicken for pork, eggplant, or even tofu for a vegetarian dish. Additionally, mix in different toppings like avocado, soft-boiled eggs, or your favorite vegetables. Feel free to experiment with flavors to cater to all taste preferences!
Crispy Japanese Katsu Bowls Packed with Flavor and Love
Ingredients
Equipment
Method
- Rinse rice under cold water until clear, soak for 30 minutes, drain, combine with water, boil, then simmer for 18-20 minutes, and steam off heat for 10 minutes.
- Mix rice vinegar, sugar, and salt in a bowl. Fold into warm rice.
- Pound chicken to ½ inch thickness, season with salt and pepper, and set up breading station with flour, eggs, and breadcrumbs.
- Dredge chicken in flour, dip in eggs, then coat in breadcrumbs. Let rest.
- Heat oil in skillet, fry chicken for 4-5 minutes on each side until golden brown.
- Mix tonkatsu sauce, soy sauce, Worcestershire sauce, and ketchup in a bowl.
- Slice cooked chicken, assemble bowls with rice, katsu, sauce, cabbage, green onions, and sesame seeds.
Leave a Reply