
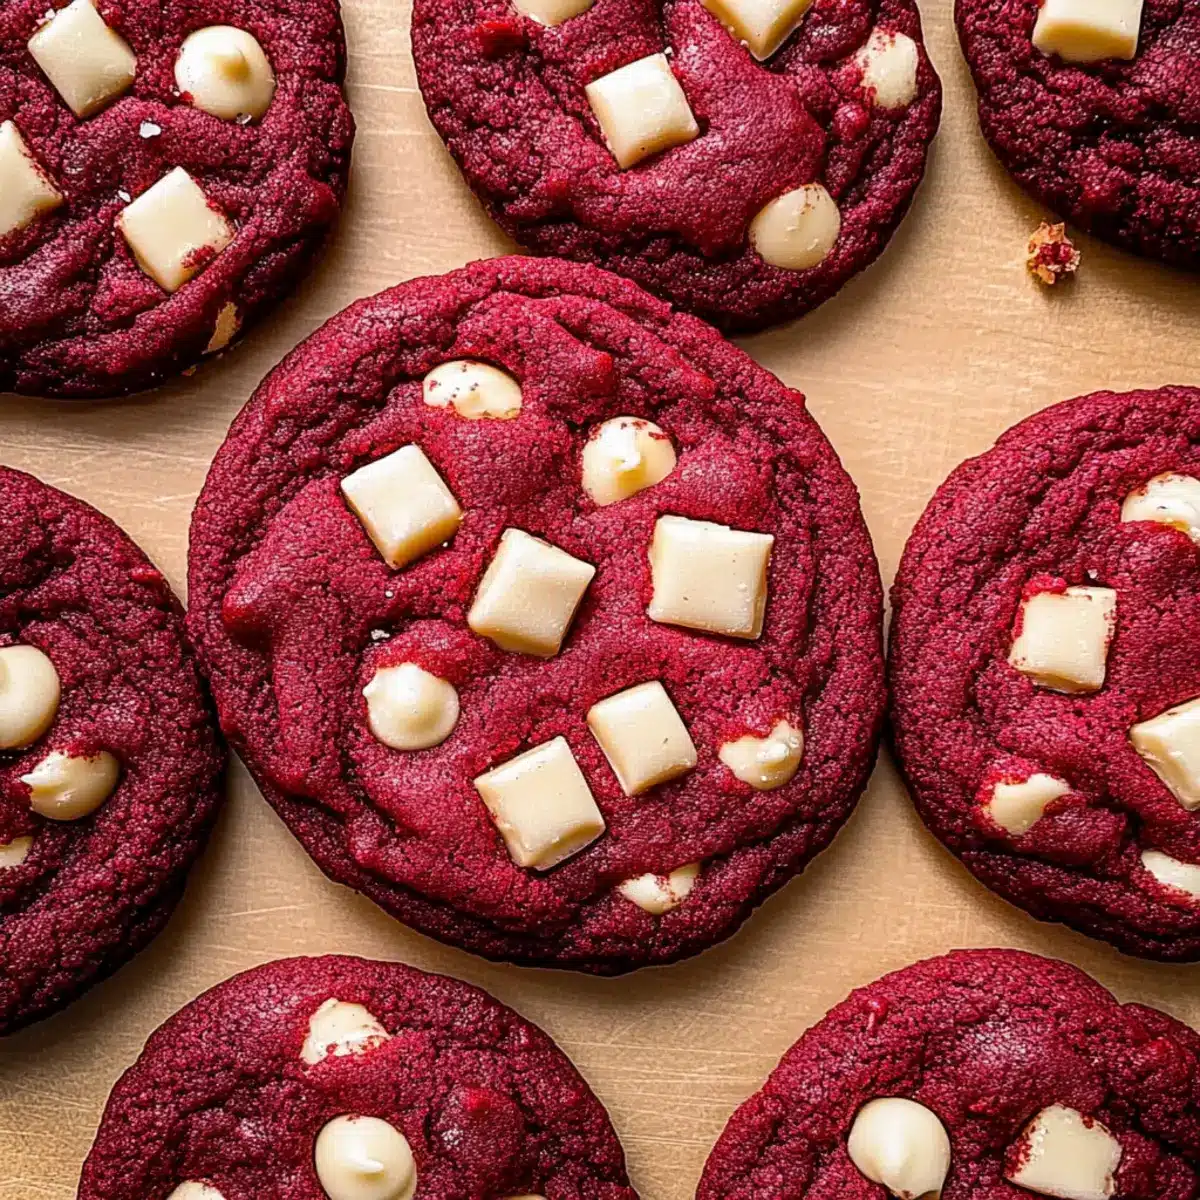
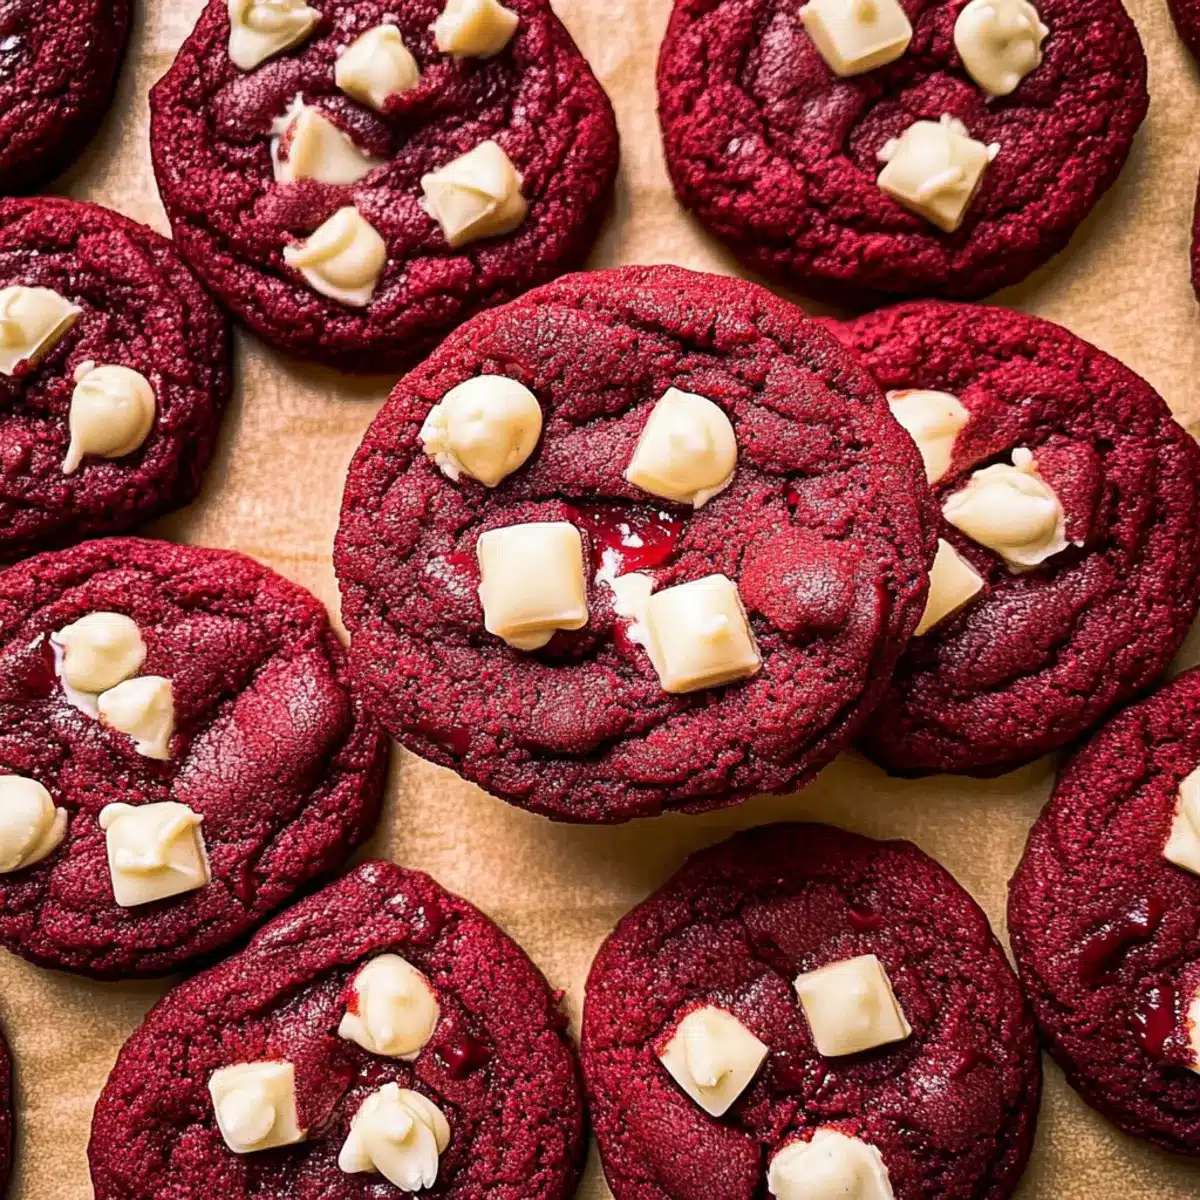
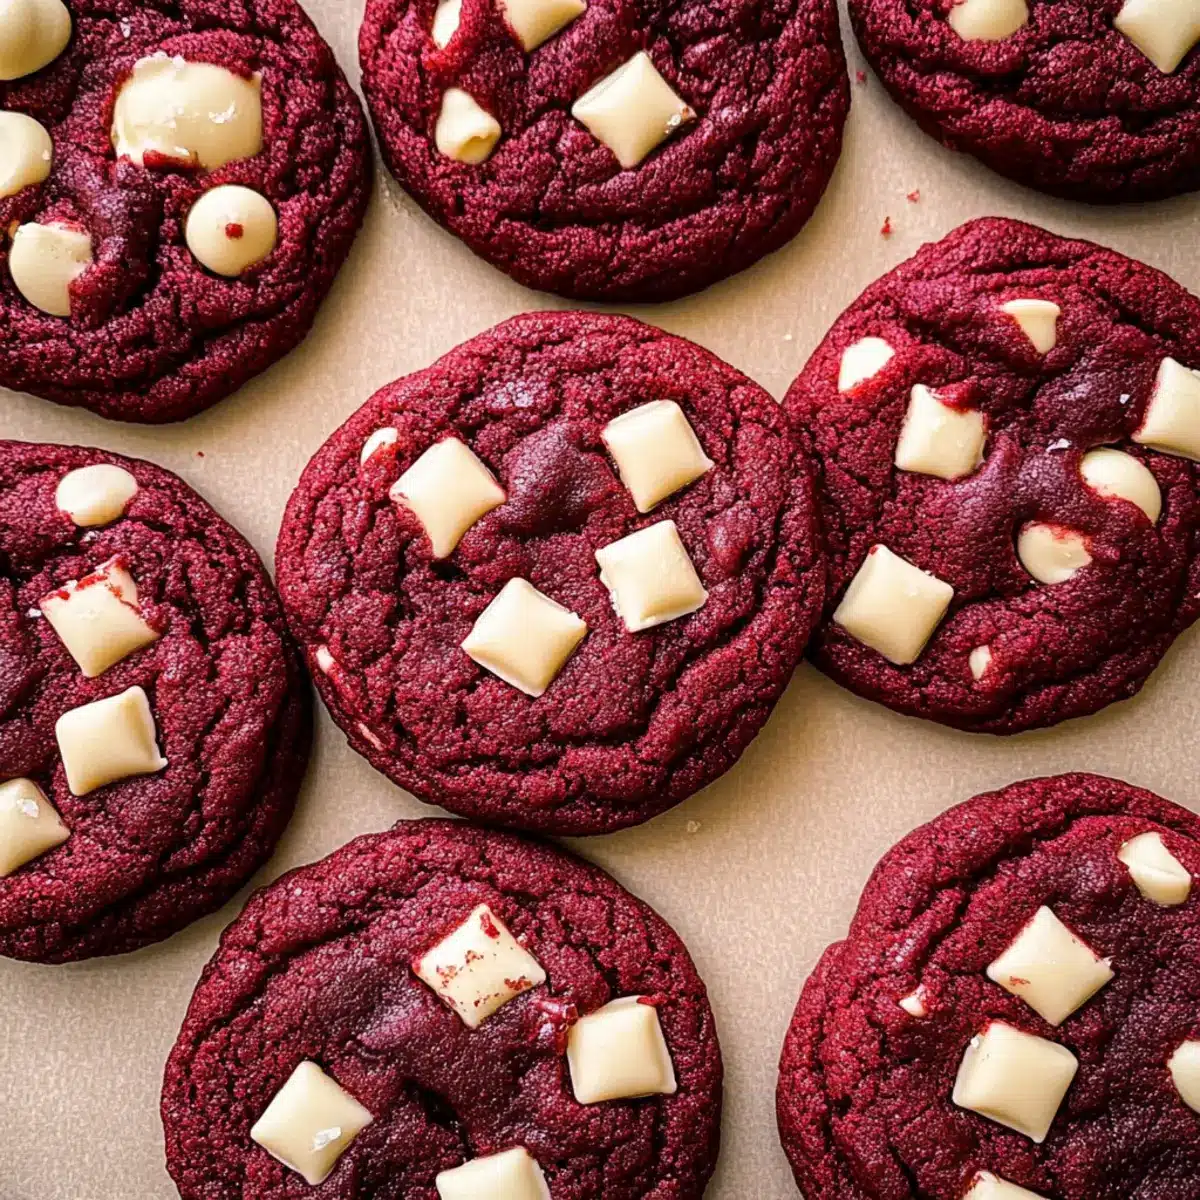
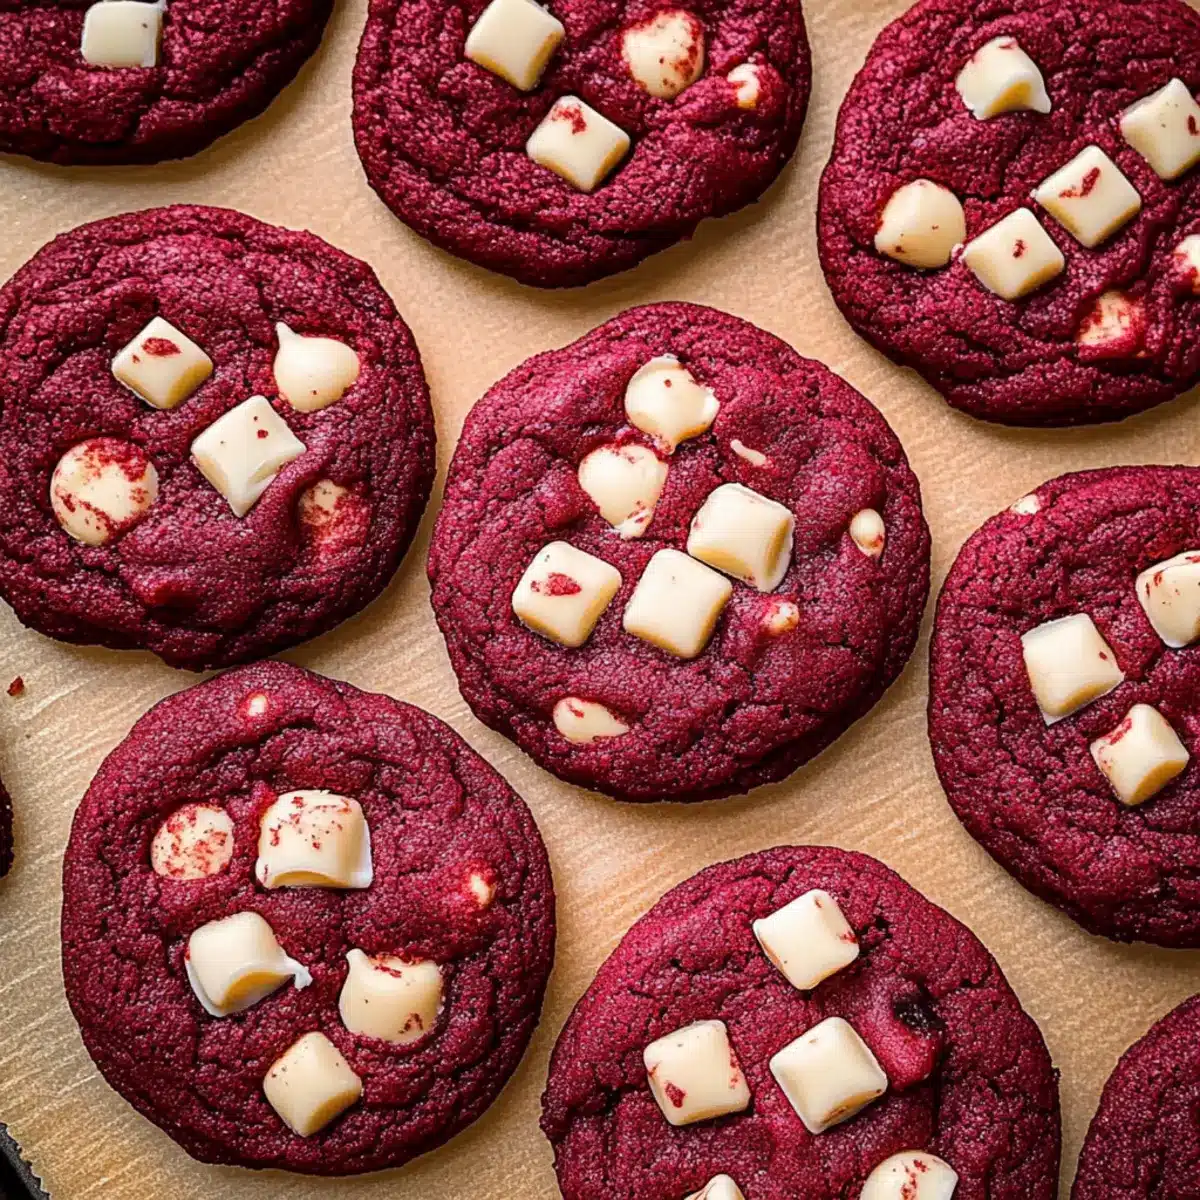
As I rummaged through my pantry, searching for a sweet remedy to satisfy my late-night cravings, I stumbled upon the perfect combination: chewy red velvet cookies. With a hint of cocoa and the delightful surprise of melty white chocolate chunks, these cookies quickly transformed my snacking dilemma into a joyous triumph. They’re not just easy to make—taking less than 30 minutes and requiring no chill time—but they’re also a guaranteed hit with kids and adults alike. Whether you’re planning a festive gathering or just yearning for a comforting treat, these red velvet cookies will bring warmth and smiles to any occasion. Curious about how to whip up these delightful morsels? Let’s dive in and create some cookie magic together!
Why Are Red Velvet Cookies So Irresistible?
Chewy Texture: These cookies are perfectly soft and chewy, ensuring each bite is a delightful experience.
Quick and Easy: No need to chill the dough—whip them up in under 30 minutes!
Vibrant Color: The stunning red hue will brighten up any dessert table, making them a showstopper.
Crowd Favorite: They’re not just tasty—they’re kid-friendly and adored by adults, perfect for sharing at parties.
Endless Variations: Whether you prefer them with dark chocolate or even a different color, customization is easy!
Try these delightful Gingerbread Thumbprint Cookies or swap in some white chocolate for a twist on classic Chocolate Chip Cookies. Prepare to fall in love with this magical treat!
Red Velvet Cookies Ingredients
• Get ready to bake these delicious treats!
- All-Purpose Flour – Provides the structure for your red velvet cookies; remember to spoon and level it for accuracy.
- Dutch Process Cocoa Powder – Adds a subtle chocolate flavor; regular cocoa can be used if Dutch isn’t available.
- Baking Soda – A crucial leavening agent to ensure the cookies have a great rise and texture.
- Baking Powder – Works in tandem with baking soda for lift; make sure it’s fresh for optimal results.
- Salt – Enhances the overall flavor and balances the sweetness of the sugars.
- Salted Butter – Contributes moisture and richness; you can use unsalted butter, just increase the salt slightly.
- Light Brown Sugar – Adds moisture and a richer flavor; dark brown sugar can be swapped for a deeper taste.
- Granulated White Sugar – Sweetens the cookies perfectly; no direct substitution, but adjust totals if using other sweeteners.
- Egg Yolks – Provide moisture and rich color; use at room temperature for better mixing.
- Vanilla Extract – Enhances the flavor profile; opt for pure vanilla for the best taste.
- Red Gel Food Coloring – Gives the cookies their signature vibrant color; use about 1-1.5 teaspoons depending on your desired shade.
- Chopped White Chocolate or White Chocolate Chips – Adds creaminess and sweetness; feel free to substitute with dark or milk chocolate for a different twist.
Step‑by‑Step Instructions for Chewy Red Velvet Cookies
Step 1: Preheat the Oven
Begin by preheating your oven to 350°F (175°C). While the oven is heating, line two baking sheets with parchment paper, ensuring they are ready for the cookie dough. The warm kitchen will set the stage for baking those scrumptious chewy red velvet cookies, providing the perfect environment for that delicious rise.
Step 2: Combine the Dry Ingredients
In a mixing bowl, whisk together 2 cups of all-purpose flour, 2 tablespoons of Dutch process cocoa powder, 1 teaspoon of baking soda, 1 teaspoon of baking powder, and ½ teaspoon of salt. Keep whisking until the mixture is well blended and free of lumps; this step is crucial for ensuring your red velvet cookies have the right texture and a balanced flavor.
Step 3: Cream Butter and Sugars
In a large mixing bowl, cream together ½ cup of softened salted butter, ¾ cup of light brown sugar, and ½ cup of granulated white sugar. Use a hand mixer to beat them until the mixture is light and fluffy, about 2 minutes. This creates a wonderful base for your cookies, infusing them with moisture and sweetness that will keep everyone reaching for more.
Step 4: Add Wet Ingredients
Next, incorporate 2 large egg yolks, 1 teaspoon of vanilla extract, and 1 to 1.5 teaspoons of red gel food coloring into the butter-sugar mix. Mix on medium speed for another 2 minutes until everything is well combined and fluffy. The vibrant red color will gradually transform the mixture into a luscious base for your chewy red velvet cookies.
Step 5: Fold in the Dry Ingredients
Gradually mix the dry ingredients into the wet mixture, stirring gently until just incorporated. Avoid overmixing to keep the cookies tender and chewy. The dough will be a rich red hue, signaling that you are on the right track to create these captivating red velvet cookies.
Step 6: Add White Chocolate
Stir in 1 cup of chopped white chocolate or white chocolate chips, ensuring they are evenly distributed throughout the cookie dough. These creamy chunks will melt beautifully as your cookies bake, adding indulgent sweetness. Make sure each scoop of dough has a generous portion of chocolate to enhance every bite.
Step 7: Form the Cookies
Scoop the dough into 18 evenly sized balls using a tablespoon or cookie scoop. Place them about 2 inches apart on the lined baking sheets to allow for spreading. The uniform size will ensure that each of your chewy red velvet cookies bakes evenly, creating that perfect texture everyone will love.
Step 8: Bake the Cookies
Slide the baking sheets into the preheated oven and bake for 10 to 12 minutes. For softer centers, opt for the shorter baking time, while the longer duration will yield crispier edges. As they bake, the enticing aroma of cocoa and vanilla will fill your kitchen, a delightful sign that cookies are on their way.
Step 9: Cool the Cookies
Once baked, let the cookies rest on the baking sheets for 5 minutes to firm up slightly. After that, carefully transfer them to a cooling rack for another 5 minutes before serving. This cooling period allows the cookies to develop their ideal chewy texture, ensuring everyone can enjoy them warm and fresh!
Red Velvet Cookies Variations & Substitutions
Don’t hesitate to put your unique spin on these delightful cookies! Let your imagination soar with a few tasty alternatives.
- Dairy-Free: Substitute butter with a plant-based alternative (like coconut oil) for a vegan-friendly twist.
- Gluten-Free: Use a 1:1 gluten-free flour blend instead of all-purpose flour to cater to gluten sensitivities. Adjust the baking time as needed for the best texture.
- Nutty Flavor: Stir in ½ cup of chopped walnuts or pecans for a crunchy texture that complements the chewiness beautifully.
- Chocolate Lovers: Replace chopped white chocolate with dark chocolate chunks for a richer, more decadent flavor. The subtle bitterness of dark chocolate balances the sweetness perfectly.
- Colorful Variations: Swap out the red gel food coloring for green, blue, or yellow to align with themes like St. Patrick’s Day, baby showers, or springtime delights.
- Spice It Up: Add a pinch of cinnamon or nutmeg to the dough for a warm, cozy flavor that’s perfect for chilly days.
- Fruity Twist: Incorporate dried cranberries or cherries for a tangy surprise with each bite, adding both flavor and texture.
- Extra Creaminess: Mix in a tablespoon of cream cheese into the batter for an indulgent rich flavor, making these cookies even more delightful!
Feel free to explore further with other treats like these tempting Thick Chewy Cookies or indulge in a classic with Chewy Chocolate Chip Cookies. The possibilities are endless, so get ready for some cookie fun!
Tips for the Best Red Velvet Cookies
-
Measure Precise Flour: Spoon and level your flour to avoid excess, which can lead to dry cookies. Accuracy is key for perfect chewy red velvet cookies!
-
Room Temperature Eggs: Using egg yolks at room temperature helps them incorporate better, ensuring your cookies are light and fluffy.
-
Avoid Overmixing: When combining wet and dry ingredients, mix just until incorporated. Overmixing can toughen the cookies, losing that desirable chewiness.
-
Monitor Baking Time: Keep an eye on your cookies while baking. For gooey centers, aim for 10-11 minutes; if you prefer crispier edges, go for 12 minutes.
-
Use a Cookie Cutter: For uniform shapes after baking, consider using a circular cookie cutter to gently round the edges while they are still warm.
How to Store and Freeze Red Velvet Cookies
Airtight Container: Store leftover cookies in an airtight container at room temperature for up to 3 days to maintain their chewy texture.
Freezer: To keep cookies fresh longer, freeze them in a single layer on a baking sheet, then transfer to a sealed freezer bag for up to 2 weeks.
Reheating: When ready to enjoy leftovers, reheat in the microwave for about 10-15 seconds or in a preheated oven at 350°F (175°C) for about 5 minutes for that fresh-baked taste.
Dough Storage: If you want to make the cookie dough ahead of time, it can be stored in the fridge for up to 3 days or in the freezer for up to 2 weeks before baking!
Make Ahead Options
These chewy red velvet cookies are perfect for meal prep enthusiasts! You can prepare the cookie dough up to 3 days in advance by mixing all the ingredients and storing it in an airtight container in the refrigerator. This not only helps to save time on busy weeknights but also intensifies the flavors. For longer storage, freeze the dough for up to 2 weeks—just scoop the dough into balls and place them on a baking sheet to freeze before transferring them to a freezer-safe bag. When you’re ready to bake, simply pop them in the oven directly from the freezer, adding an extra minute or two to the baking time. You’ll enjoy delicious, fresh cookies without the last-minute rush!
What to Serve with Chewy Red Velvet Cookies
Indulging in these vibrant red velvet cookies is just the beginning—the perfect meal can elevate the experience even more!
-
Creamy Vanilla Ice Cream: A scoop of vanilla ice cream adds a cool and creamy contrast to the warm cookies, enhancing their delightful texture.
-
Frosty Milkshake: Pair with a rich chocolate or vanilla milkshake for a nostalgic, sweet touch that children and adults both adore.
-
Fresh Raspberry Salad: The tartness of fresh raspberries balances the sweetness of the cookies, providing a refreshing bite that brightens the palate.
-
Chocolate Dipped Strawberries: These elegant treats not only look stunning alongside your cookies but also bring a delightful mix of flavors to the table.
-
Mocha Coffee: A warm cup of mocha coffee complements the chocolatey undertones of the cookies perfectly, making for an indulgent pairing.
-
Red Velvet Cake Pops: Keep the red velvet theme going by serving homemade cake pops, which add another layer of fun to your dessert spread.
-
Chocolate Mousse: This rich and creamy dessert provides a luxurious experience, enhancing the overall chocolatey goodness on your table.
-
Sparkling Lemonade: For a refreshing drink, sparkling lemonade adds a zesty kick that contrasts beautifully with the sweet cookies.
-
Cheesecake Bites: Mini cheesecake bites are a delightful and creamy addition, creating a harmonious gathering of flavors and textures.
No matter what you choose, these pairings will take your cookie experience to delightful new heights!
Red Velvet Cookies Recipe FAQs
How do I choose ripe ingredients for this recipe?
Absolutely! For the best results, ensure your egg yolks are at room temperature before incorporating them into your dough, as this enhances the cookie’s texture. When selecting your butter, look for soft, creamy salted butter for that rich flavor. Using high-quality red gel food coloring will also make your cookies visually stunning, so opt for a brand that offers a vibrant hue.
What is the best way to store leftover red velvet cookies?
Very! To keep your leftover red velvet cookies fresh, store them in an airtight container at room temperature for up to 3 days. If you want to maintain their chewy texture, layer them with parchment paper to prevent sticking. For longer storage, you can freeze the cookies for up to 2 weeks. Just wrap each cookie in plastic wrap, then place them in a sealed freezer bag.
Can I freeze the cookie dough for later use?
Absolutely! Freezing cookie dough is a great idea if you’re planning ahead. To do this, scoop the dough into 18 balls and place them on a baking sheet lined with parchment paper. Freeze them in a single layer until solid, which takes about 1-2 hours. After that, transfer the frozen dough balls to a sealed freezer bag, where they can be stored for up to 2 weeks. To bake, simply preheat your oven and add a couple of extra minutes to the baking time!
What troubleshooting tips do you have for making these cookies?
If your cookies spread too much while baking, this could be due to warm dough or insufficient flour. Next time, ensure your butter is softened but not melted, and measure your flour accurately by spooning it into the measuring cup. On the other hand, if they turn out too dry, try spooning and leveling your flour more carefully, or ensure you’re using the right amounts of wet ingredients like egg yolks and butter.
Are these cookies safe for people with allergies?
The chewy red velvet cookies do contain common allergens such as flour, butter, and eggs. If you’re baking for someone with allergies, consider using gluten-free flour and dairy-free butter substitutes. Always check the labels of your ingredients, including the chocolate, as these may also contain allergens. For families with small children, ensure they are not sensitive to artificial coloring by choosing natural food dyes if preferred.
How do I know when my cookies are done baking?
Great question! Keep an eye on your cookies towards the end of the baking time. For that perfect chewy texture, you want them to be set around the edges but still slightly soft in the center. They should look a little puffed and might even crack slightly on top. If you prefer a firmer cookie, you can bake them for an additional minute or two.
Chewy Red Velvet Cookies That Will Melt Your Heart
Ingredients
Equipment
Method
- Preheat your oven to 350°F (175°C) and line two baking sheets with parchment paper.
- In a mixing bowl, whisk together flour, cocoa powder, baking soda, baking powder, and salt until well blended.
- Cream together butter, light brown sugar, and granulated white sugar until light and fluffy, about 2 minutes.
- Mix in egg yolks, vanilla extract, and red gel food coloring until well combined and fluffy.
- Gradually fold in the dry ingredients until just incorporated.
- Stir in chopped white chocolate or chips until evenly distributed.
- Scoop dough into 18 balls and place them on lined baking sheets, spaced 2 inches apart.
- Bake for 10 to 12 minutes. For softer cookies, opt for the shorter time.
- Let cookies rest on baking sheets for 5 minutes, then transfer to a cooling rack for another 5 minutes.
Leave a Reply