
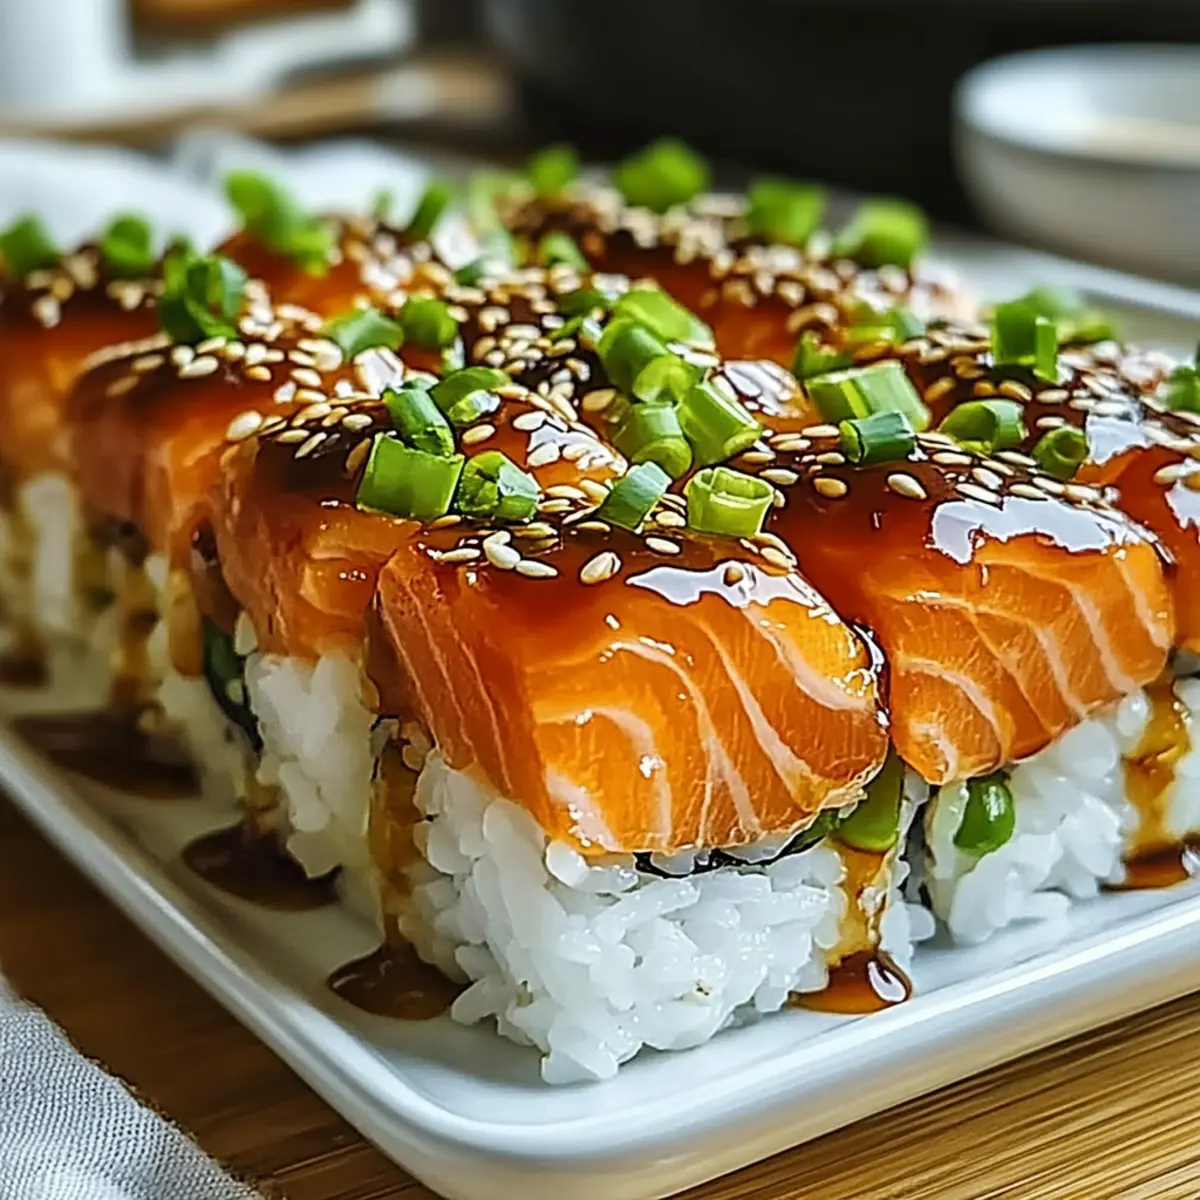
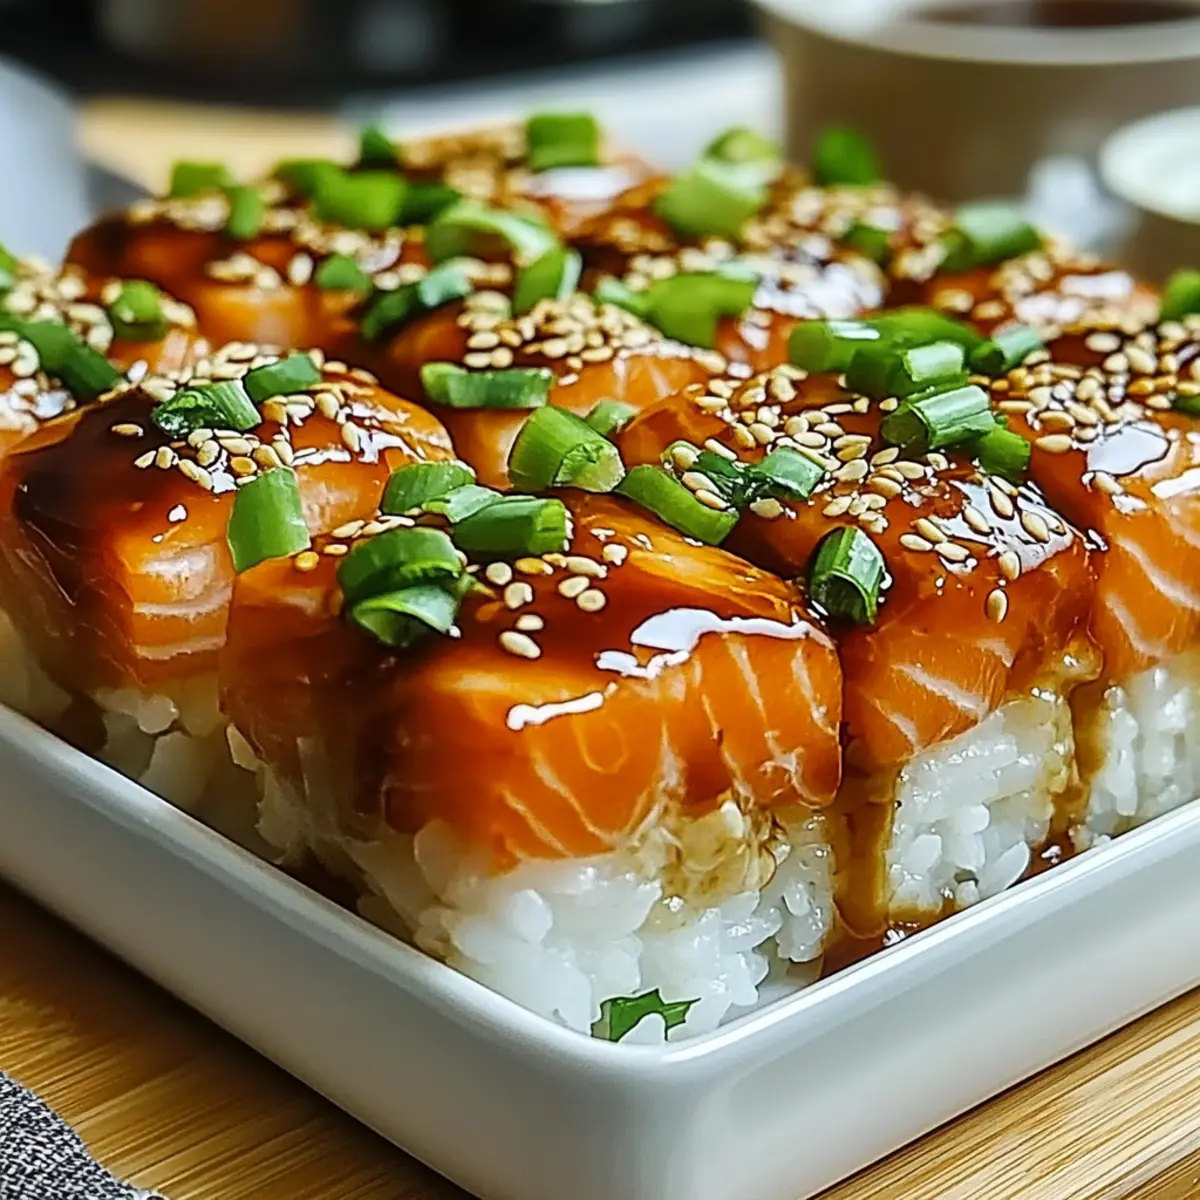
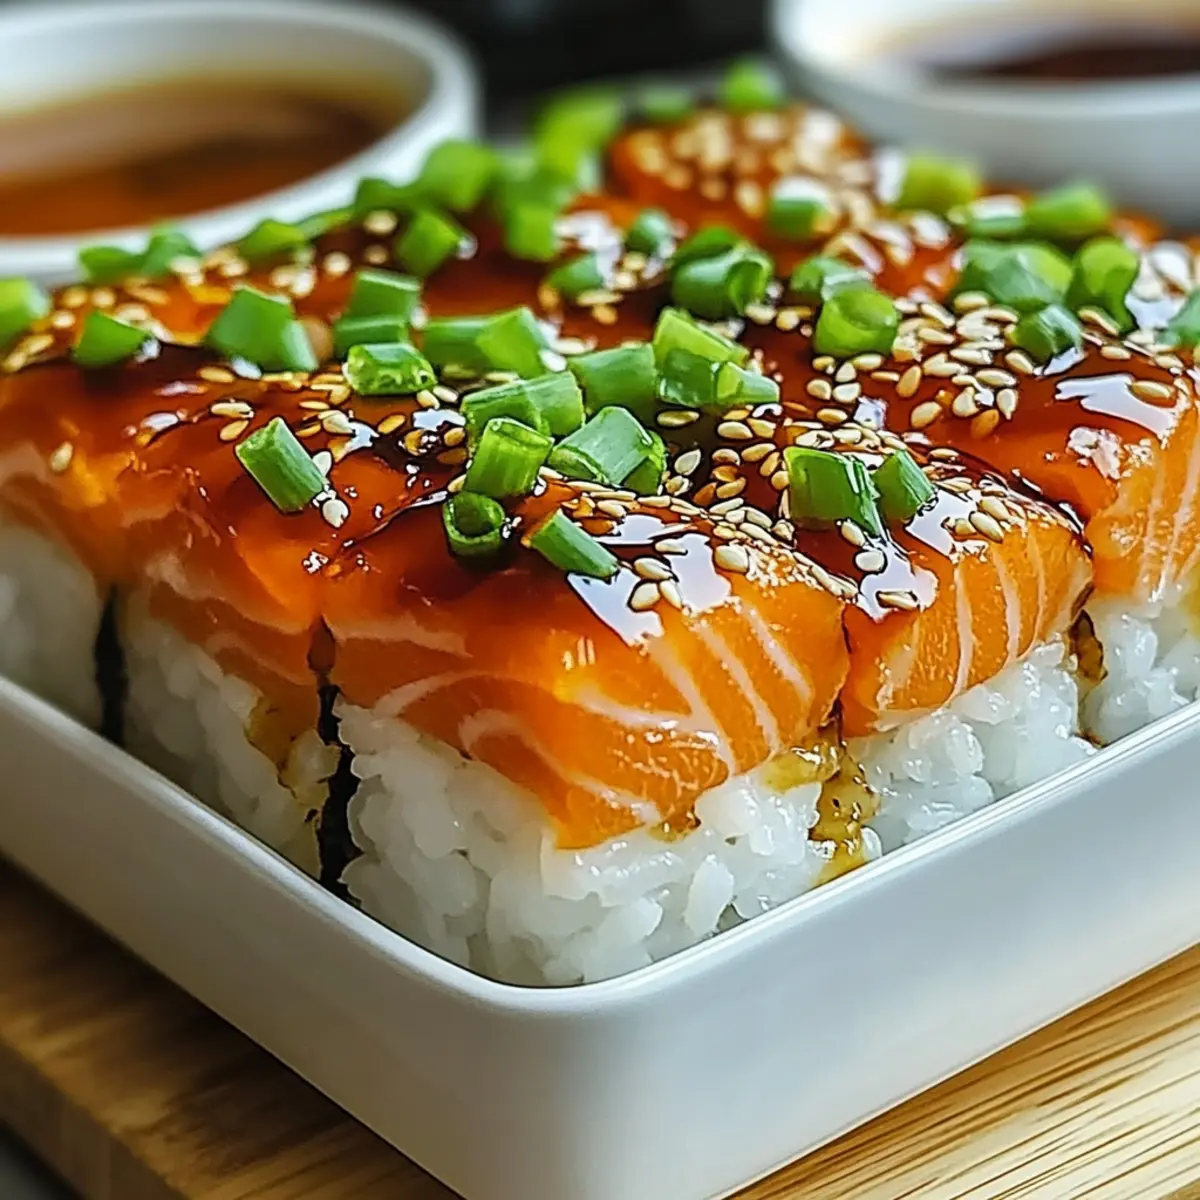
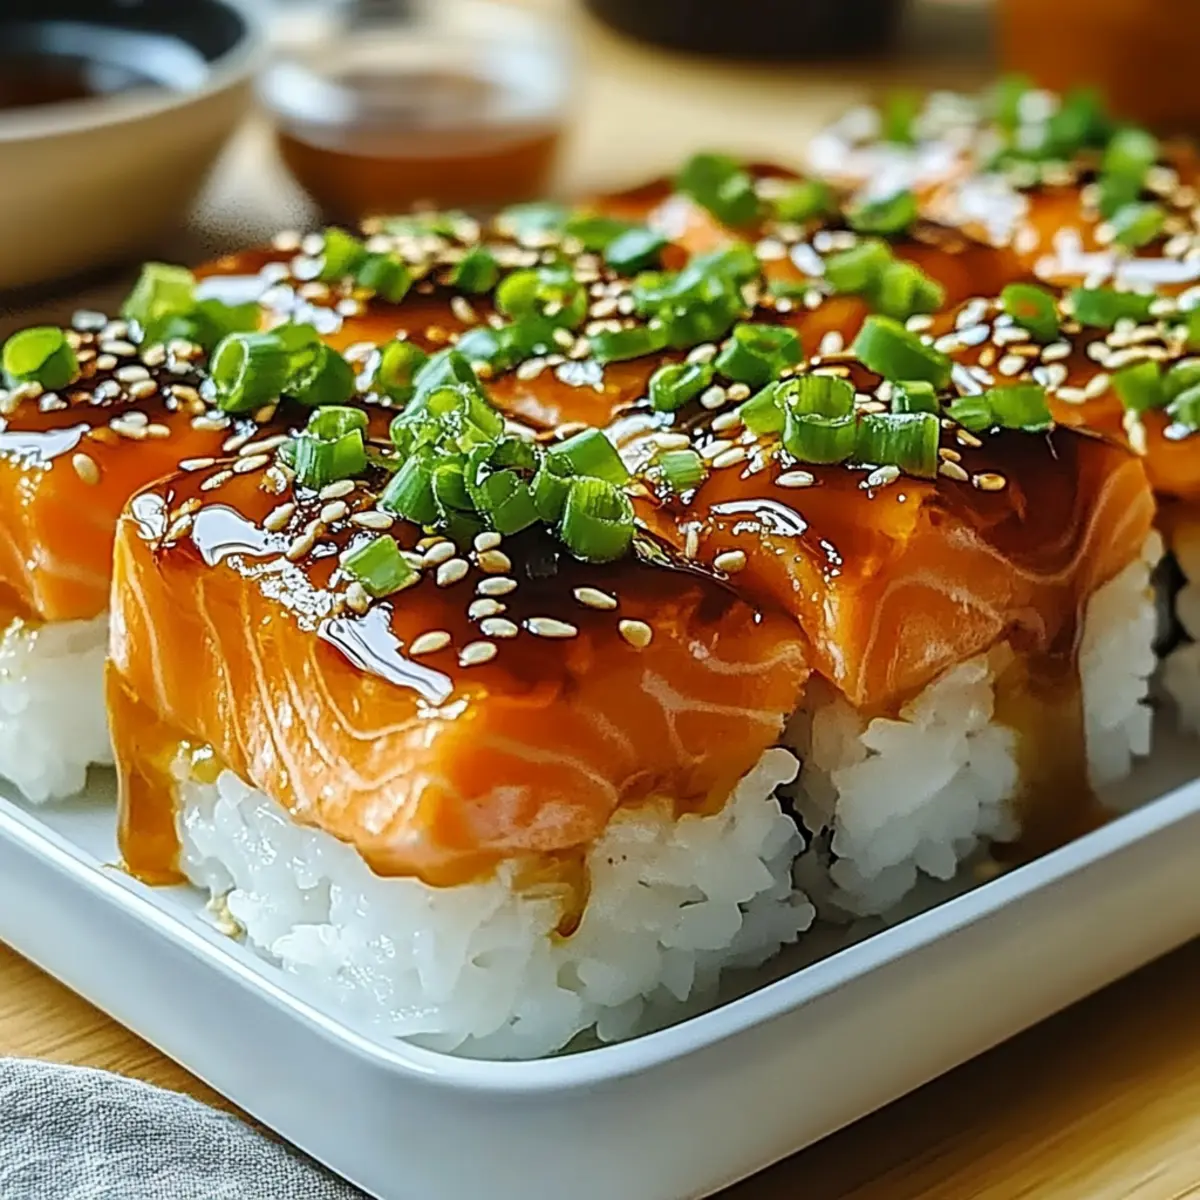
There’s something magical about the first bite of a cozy casserole that evokes the comfort of home, don’t you think? My Best Ever Salmon Sushi Bake combines the delightful flavors of sushi with the heartiness of a family-style dish, making it a perfect choice for those busy weeknights when you crave something nourishing yet simple. With effortless preparation and adaptable fillings, this recipe not only satisfies sushi lovers but also introduces a fun twist that even the pickiest eaters will enjoy. Plus, you’ll have more time to relax since it’s all baked in one dish! Trust me, once you try making this Salmon Sushi Bake, you’ll wonder how you ever lived without it. What unique toppings do you think you’d add to make it your own?
Why Will You Love This Salmon Sushi Bake?
Family-Friendly: This dish is sure to win over both kids and adults alike, making it perfect for family dinners.
Effortless Preparation: Simple steps mean you can whip it up without a fuss, allowing more time to enjoy your meal with loved ones.
Adaptable Fillings: Customize with your favorite ingredients! From veggies to different proteins, the options are endless.
Comforting Flavors: A beautiful mix of sushi and casserole, encapsulating the warmth of home-cooked meals.
Quick Baking Time: Ready in just 15 minutes, it’s a time-saver for those busy weeknights when you want a satisfying meal fast.
You’ll wish you’d known about this Best Ever Salmon Sushi Bake sooner! Whether you serve it alongside a fresh salad or indulge in it alone, your taste buds are in for a treat.
Salmon Sushi Bake Ingredients
• Here’s everything you’ll need for the ultimate Salmon Sushi Bake—let’s create some magic!
For the Rice
- Sushi Rice – Provides structure and base; rinse well to ensure fluffiness.
- Rice Vinegar – Adds tang that balances flavors; mix with warm rice for best results.
- Sugar – Enhances sweetness; balances the tanginess of the vinegar.
- Salt – Elevates flavor and helps draw moisture from the salmon.
For the Salmon Mixture
- Fresh Salmon (sushi-grade) – The star ingredient, offering rich flavor; ensure it’s properly thawed if frozen.
- Japanese Mayonnaise (Kewpie) – Adds creaminess and enhances flavor.
- Sriracha – Optional for added heat and flavor depth.
- Soy Sauce – Enhances umami; consider low-sodium variants for a healthier option.
For Toppings and Garnishes
- Furikake – A Japanese seasoning that adds umami and visual appeal.
- Teriyaki or Eel Sauce – Drizzle to enhance flavor and add a glossy finish.
- Chopped Green Onions – Provides freshness and crunch as a garnish.
- Sesame Seeds – Adds a nutty flavor and delightful crunch.
- Tobiko – An optional garnish that adds texture and color.
Get ready to indulge in your new favorite Salmon Sushi Bake!
Step‑by‑Step Instructions for Salmon Sushi Bake
Step 1: Rinse and Cook the Sushi Rice
Start by rinsing 2 cups of sushi rice under cold water until the water runs clear; this ensures fluffiness. Then, cook the rice according to package instructions (usually about 20 minutes), allowing it to steam for an additional 10 minutes once cooked. This steaming process will help create perfect, fluffy sushi rice as the base of your Salmon Sushi Bake.
Step 2: Season the Rice
In a bowl, combine ¼ cup rice vinegar, 2 tablespoons sugar, and 1 teaspoon salt. Once the sushi rice has finished steaming, gently mix this seasoning into the warm rice using a wooden spatula. The warm rice will absorb the flavors, enhancing the overall taste of your Salmon Sushi Bake and adding that delightful tang we love in sushi.
Step 3: Prepare the Salmon Mixture
While the rice cools, cube 1 pound of sushi-grade salmon into bite-sized pieces. In a mixing bowl, combine the cubed salmon with ⅓ cup Japanese mayonnaise, 1 tablespoon sriracha, 1 teaspoon soy sauce, and a pinch of salt. Stir until the salmon is evenly coated, creating a creamy mixture that will be the star of your Salmon Sushi Bake.
Step 4: Preheat the Oven
Preheat your oven to 400°F (200°C). While waiting for the oven to heat up, take a greased baking dish and spread the seasoned sushi rice evenly across the bottom. Sprinkle 2 tablespoons of furikake over the rice for added flavor, ensuring a delightful umami taste when the Salmon Sushi Bake is ready.
Step 5: Layer the Salmon on Rice
Once the oven is preheated, layer the prepared salmon mixture on top of the seasoned rice in the baking dish. Spread it evenly, making sure that each scoop gets a generous amount of that creamy salmon mixture. This layering is essential for ensuring that every bite of your Salmon Sushi Bake is packed with flavor.
Step 6: Bake the Dish
Carefully place the baking dish into the preheated oven and bake uncovered for 12-15 minutes. Keep an eye on the dish until the salmon is cooked through and slightly golden on top. This baking time ensures the flavors meld beautifully while keeping the fish tender—just perfect for your Salmon Sushi Bake.
Step 7: Add Final Touches
Once baked, remove the Salmon Sushi Bake from the oven and drizzle it with teriyaki or eel sauce for a touch of sweetness and shine. Then, sprinkle chopped green onions, sesame seeds, and optional tobiko over the top. These garnishes will not only add extra flavor but also enhance the visual appeal of your delicious creation.
Make Ahead Options
These Best Ever Salmon Sushi Bake preparations are a lifesaver for busy home cooks! You can prepare the sushi rice and salmon mixture up to 24 hours in advance; simply store them separately in airtight containers in the refrigerator to maintain freshness. To prevent the rice from drying out, cover it with a damp paper towel before sealing. When it’s time to enjoy your meal, spread the seasoned rice in a baking dish, layer the salmon mixture on top, and bake as directed. This approach ensures you’ll have a delicious, comforting dish ready to serve with minimal effort, making evenings much easier!
Expert Tips for Salmon Sushi Bake
-
Choose Quality Salmon: Using sushi-grade salmon is essential for safety and optimal flavor; ensure it’s well-thawed if using frozen fish.
-
Rinse for Fluffiness: Rinse the sushi rice until the water is clear to prevent it from becoming sticky or mushy, ensuring a perfect base for your Salmon Sushi Bake.
-
Watch Baking Time: Keep a close eye on the baking process; aim for a lightly golden top to avoid drying out the salmon and maintain moistness.
-
Customize with Toppings: Don’t hesitate to experiment—customize your Salmon Sushi Bake with different sauces, proteins, or garnishes to make it uniquely yours!
-
Serve Fresh: For the best taste and texture, serve the dish warm right out of the oven. The comforting flavors are at their peak freshness!
What to Serve with Best Ever Salmon Sushi Bake
There’s nothing quite like complementing a warm, comforting dish with delightful sides that elevate your meal to new heights.
- Crispy Asian Slaw: A fresh, crunchy mix of cabbage and carrots tossed in a tangy sesame dressing, bringing brightness to the plate.
- Steamed Edamame: Lightly salted edamame pods offer a satisfying bite and add a nutritious touch alongside your sushi bake.
- Miso Soup: A traditional Japanese soup that warms the soul with umami richness; a perfect companion that balances the dish beautifully.
- Roasted Asparagus: Tender asparagus spears drizzled with olive oil and lemon enhance the earthy flavors, providing a delightful contrast.
- Cucumber Salad: A refreshing salad with thinly sliced cucumbers in rice vinegar; its crispness pairs wonderfully with the creamy sushi bake.
- Sushi Rolls: If you’re feeling adventurous, serve with a side of your favorite sushi rolls for a full sushi experience.
- Chilled Green Tea: A light beverage that cleanses the palate and complements the flavors of the salmon without overpowering it.
- Homemade Gyoza: These savory dumplings can add a comforting side option, filled with flavorful ingredients that enhance the meal’s appeal.
- Mochi Ice Cream: For dessert, these chewy treats filled with ice cream add a sweet and delightful finish to your meal.
Salmon Sushi Bake Variations
Feel free to unleash your creativity and customize this dish to match your unique taste preferences!
-
Seafood Swap: Replace salmon with cooked shrimp or crab for a delightful seafood twist. Both offer refreshing flavors reminiscent of a classic sushi roll.
-
Chicken Option: Substitute salmon with shredded cooked chicken if you’re looking for a different protein. It’s a great way to use leftovers while keeping it family-friendly!
-
Vegetarian Delight: Go meatless by using tofu or a medley of sautéed vegetables. Carrots, bell peppers, and edamame could offer a crunchy and nutritious twist.
-
Heat Level: Add more sriracha or a sprinkle of red pepper flakes if you want to amp up the heat and create a spicy flavor explosion!
-
Topping Variety: Experiment with toppings such as avocado or sliced cucumbers for added creaminess and freshness. These toppings enhance the sushi vibe beautifully!
-
Flavor Boost: Drizzle some ponzu sauce in place of teriyaki for a citrusy punch that brightens the entire dish. It’s a tasty way to mix up the flavor palette.
-
Grain Alternatives: Substitute sushi rice with quinoa or cauliflower rice for a lighter, gluten-free version. Both options will give you a new texture you’re sure to enjoy.
This delicious Salmon Sushi Bake is remarkably versatile, allowing you to adjust it as needed. If you’re looking for other scrumptious dishes, consider trying this Mango Teriyaki Salmon or Chicken Zucchini Bake for a change of pace!
How to Store and Freeze Salmon Sushi Bake
Fridge: Store leftovers in an airtight container and refrigerate for up to 2 days. Reheat gently in the oven to maintain the dish’s texture.
Freezer: If you want to freeze, wrap portions tightly in plastic wrap then foil, and place in the freezer for up to 2 months. Thaw in the fridge overnight before reheating.
Reheating: Reheat the Salmon Sushi Bake in the oven at 350°F (175°C) for about 15-20 minutes, until warmed through. This helps preserve the creamy texture and flavors.
Make-Ahead: Prepare sushi rice and salmon mixture up to 24 hours in advance. Store them separately in airtight containers for easy assembly right before baking.
Salmon Sushi Bake Recipe FAQs
How should I select the salmon for my sushi bake?
When choosing salmon for your Salmon Sushi Bake, opt for sushi-grade salmon for the best quality and safety. Look for bright, vibrant color without any dark spots. If you’re using frozen salmon, make sure to thaw it overnight in the fridge for optimum texture and flavor.
How should I store leftovers of the salmon sushi bake?
Store any leftover Salmon Sushi Bake in an airtight container in the fridge, where it will keep for up to 2 days. I recommend gently reheating it in the oven at 350°F (175°C) for around 15-20 minutes for the best texture, ensuring it remains warm and comforting.
Can I freeze salmon sushi bake?
Absolutely! To freeze your Salmon Sushi Bake, wrap portions tightly in plastic wrap and then in aluminum foil. This method protects it from freezer burn and will keep it delicious for up to 2 months. When you’re ready to enjoy it, simply thaw it in the fridge overnight before reheating it gently.
What if I want to make the salmon sushi bake ahead of time?
If you’re prepping ahead, you can prepare the sushi rice and salmon mixture up to 24 hours in advance. Store them separately in airtight containers in the fridge. When you’re ready to bake, simply layer the rice and salmon in your baking dish, and you’re good to go!
Can dietary restrictions affect my salmon sushi bake?
Yes, certain dietary considerations could apply. For those with allergies, ensure that the Japanese mayonnaise and sauces are free from ingredients you need to avoid. Alternatively, use a homemade mayo or yogurt for a lighter option. Also, keep an eye out for low-sodium soy sauce if you’re watching your salt intake.
What should I do if the rice is too sticky or mushy?
If you notice your rice is sticky or mushy, it might not have been rinsed properly. It’s important to rinse the sushi rice under cold water until the water runs clear to remove excess starch. In the future, be cautious not to overcook the rice, as this can lead to a similar outcome. With practice, perfect sushi rice will become second nature!
Delicious Salmon Sushi Bake: Your New Family Favorite Dish
Ingredients
Equipment
Method
- Rinse 2 cups of sushi rice under cold water until the water runs clear. Cook the rice according to package instructions (about 20 minutes), then steam for an additional 10 minutes.
- In a bowl, combine ¼ cup rice vinegar, 2 tablespoons sugar, and 1 teaspoon salt. Mix this into the warm rice using a wooden spatula.
- Cube 1 pound of sushi-grade salmon into bite-sized pieces. In a bowl, combine salmon with ⅓ cup Japanese mayonnaise, 1 tablespoon sriracha, 1 teaspoon soy sauce, and a pinch of salt.
- Preheat your oven to 400°F (200°C). Spread seasoned sushi rice evenly across the bottom of a greased baking dish. Sprinkle 2 tablespoons of furikake over the rice.
- Layer the salmon mixture on top of the rice in the baking dish. Spread evenly.
- Bake uncovered for 12-15 minutes until the salmon is cooked through and slightly golden.
- Remove from the oven, drizzle with teriyaki or eel sauce, and sprinkle with green onions, sesame seeds, and optional tobiko.
Leave a Reply