
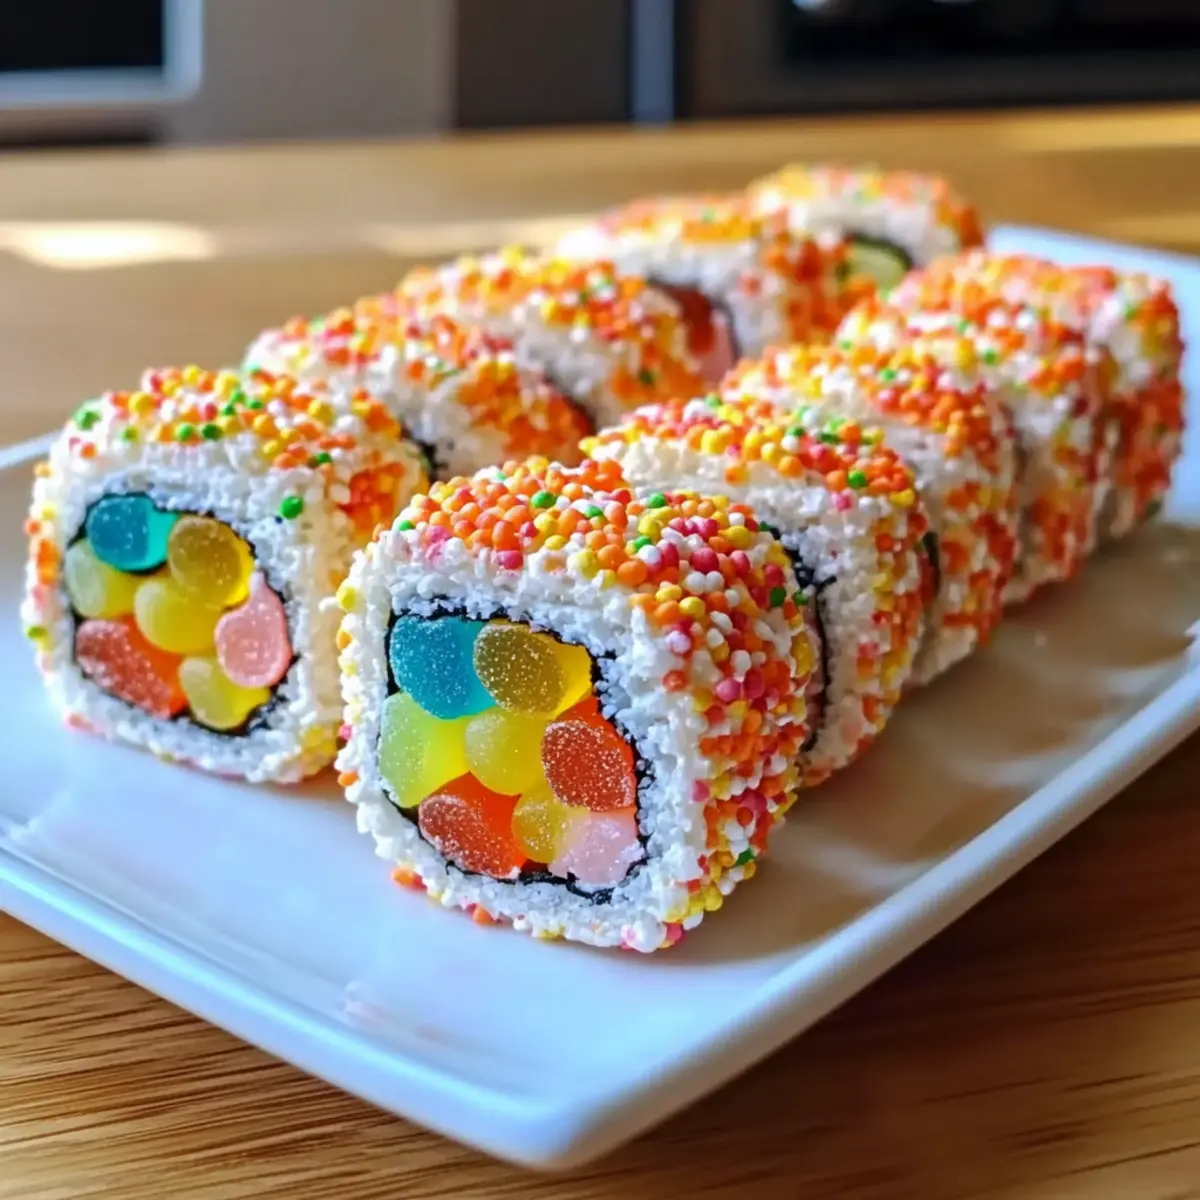
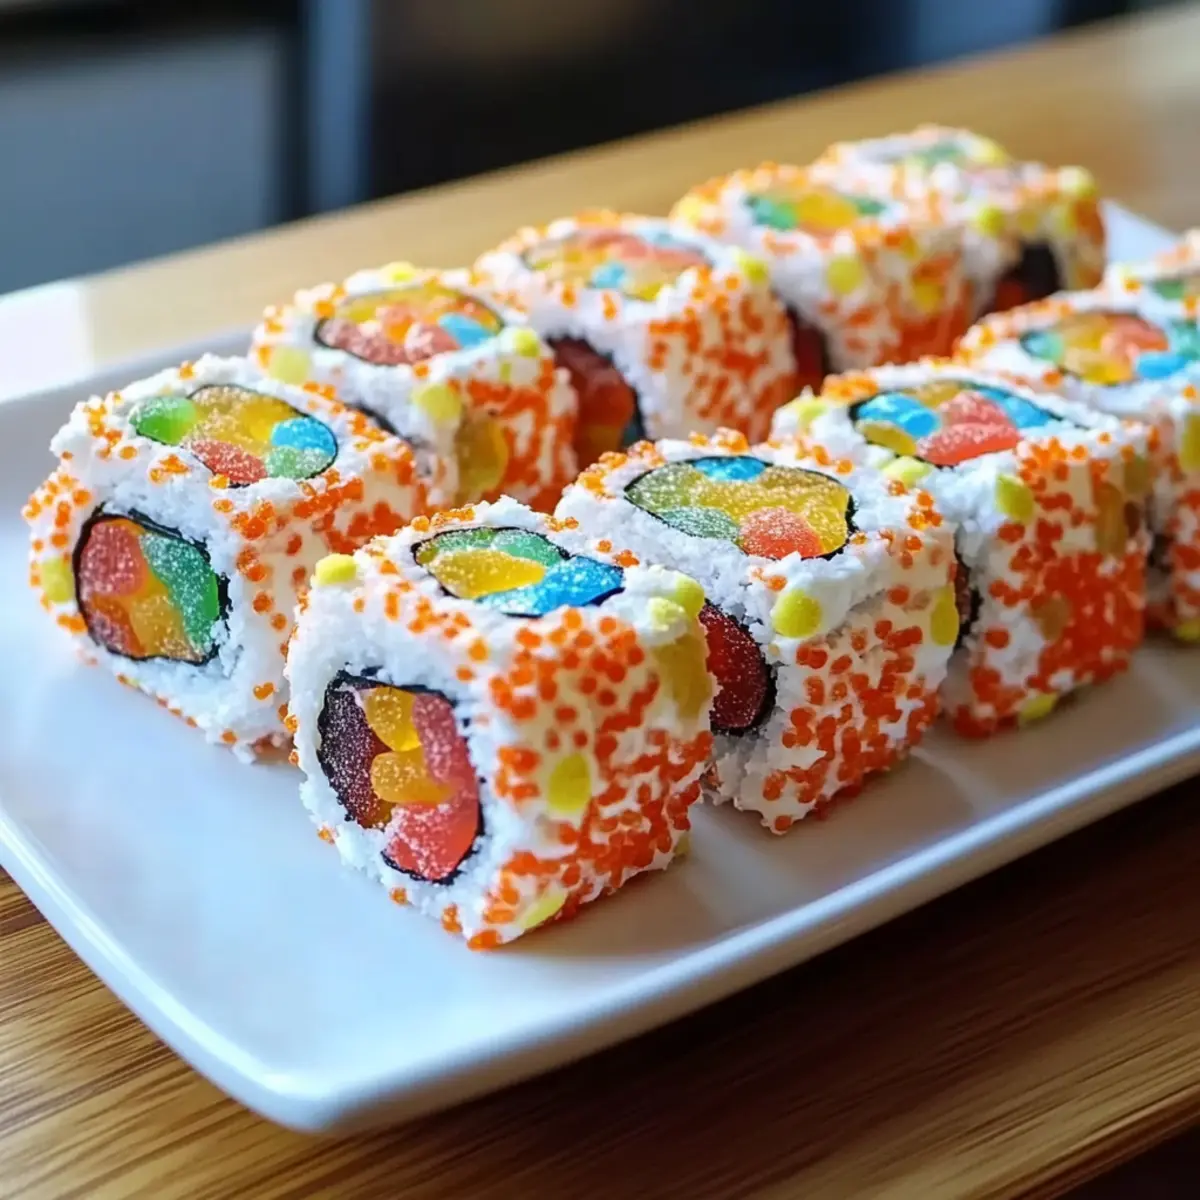
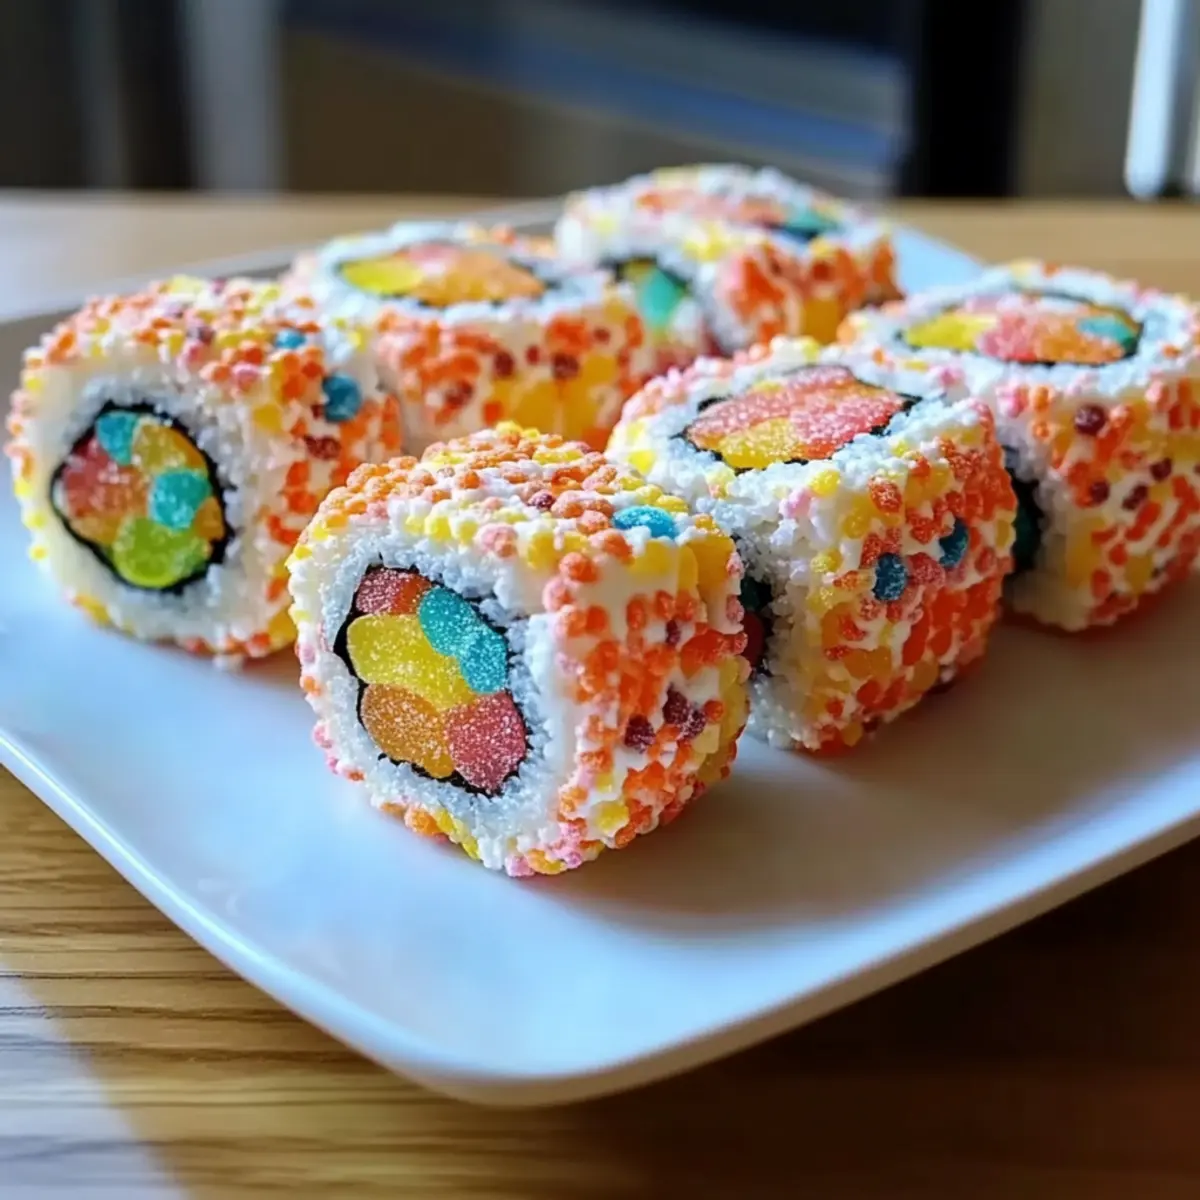
As I stood in my kitchen, the smell of melted marshmallows wafted through the air, instantly igniting my childhood memories of colorful cereal and laughter. Today, I’m sharing one of my new favorites: Tasty Fruity Pebbles Sushi! This fun no-bake dessert is not only a feast for the eyes, showcasing a vibrant array of colors, but it also brings a delightful crunch and chewy texture that’s sure to please kids and adults alike. With its simple preparation and customizable options, it’s perfect for parties, playdates, or just an afternoon treat. Plus, it’s a fantastic way to get creative in the kitchen without the fuss of baking. Ready to roll up something delicious? Let’s dive in!
Why is Fruity Pebbles Sushi a Must-Try?
Fun and Creative: This Fruity Pebbles Sushi is not just a treat; it’s a playful experience that invites creativity. No-Bake Wonder: No baking is required, making it a quick option for those busy days. Customizable Delights: Feel free to swap in your favorite cereals or add exciting fillings like Nutella or gummy candies for a personal twist. Nostalgic Appeal: This colorful delight evokes wonderful childhood memories, appealing to children and adults alike. Perfect for Sharing: A charming centerpiece for gatherings, it is sure to wow guests, making it a go-to for parties and celebrations. Enjoy making sweet memories with your loved ones while whipping up this delightful dessert!
Tasty Fruity Pebbles Sushi Ingredients
For the Sushi Base
- Fruity Pebbles Cereal – Adds a delightful crunch and vibrant color to your sushi rolls. Try Cocoa Pebbles for a chocolatey twist!
- Marshmallows – The key ingredient that mimics sushi rice, providing a chewy texture. Use fresh marshmallows for the best results; larger ones melt faster when cut.
- Butter – Greases hands and surfaces for easy handling of the sticky mixture. Non-stick cooking spray can be a handy alternative.
For the Optional Fillings
- Gummy Candies – These add a fun surprise in each bite, making the sushi even more playful. Feel free to mix and match your favorites!
- Chocolate Chips – Perfect for sweetening the deal, they melt slightly into the warm marshmallow mix. Mini chocolate chips work great for even distribution.
- Nutella – Adds a creamy, chocolatey layer that takes your sushi to the next level. Also think about shredded coconut for a tropical flair!
Note: Ensure all ingredients are gluten-free if dietary restrictions apply while preparing this tasty Fruity Pebbles Sushi.
Step‑by‑Step Instructions for Tasty Fruity Pebbles Sushi
Step 1: Melt the Marshmallows
In a medium saucepan, melt 4 cups of marshmallows along with 2 tablespoons of butter over low heat, stirring continuously for about 5–7 minutes until completely smooth and gooey. This mixture resembles thick, fluffy clouds, so be sure to keep the heat gentle to prevent burning. You’ll know it’s ready when there are no lumps left, creating a luscious base for your Tasty Fruity Pebbles Sushi.
Step 2: Combine the Cereal
Once your marshmallow mix is smooth, quickly stir in 6 cups of Fruity Pebbles cereal until all the pieces are fully coated. This should take about 1–2 minutes, and you’ll see the vibrant colors of the cereal shine through. Make sure the cereal is evenly distributed throughout the mixture for a lovely crunch. Remove the saucepan from heat and prepare to shape your sushi!
Step 3: Shape the Sushi
Grease your hands with a little butter or non-stick cooking spray to prevent sticking. Scoop the marshmallow-cereal mixture onto a large piece of parchment paper. Using your fingers, press and flatten it into a rectangular shape about 1/2 inch thick. This should take around 2–3 minutes, and the colorful mixture will become compact and form a base for your delicious sushi.
Step 4: Add the Fillings
Sprinkle your choice of optional fillings—like gummy candies or chocolate chips—onto the center of the flattened mixture. Leave about an inch around the edges so you can roll it easily. Add about 1/2 cup of fillings, distributing them evenly. The colors and textures will add an exciting surprise in every bite of your Tasty Fruity Pebbles Sushi!
Step 5: Roll the Sushi
Using the parchment paper as a guide, carefully lift one edge and start rolling the sushi mixture tightly away from you. This should take about 2–3 minutes. Gently press as you roll to ensure it holds together without squishing the fillings out. Once rolled into a log shape, seal the edges gently to secure everything inside, offering an enticing surprise that awaits each slice.
Step 6: Slice and Serve
Let your roll sit for about 10 minutes to firm up before slicing. Using a sharp knife, cut the sushi log into bite-sized pieces about 1-inch thick. You’ll notice the colorful, chewy interior and fun fillings as you cut through. Arrange the slices on a platter for a vibrant presentation and prepare for joy as everyone enjoys your Tasty Fruity Pebbles Sushi!
Tasty Fruity Pebbles Sushi Variations
Feel free to let your imagination run wild while making this delicious dessert! With just a few tweaks, you can create personalized versions that are as unique as your family.
- Chocolate Delight: Swap Fruity Pebbles for Cocoa Pebbles for a delightful chocolatey sushi experience. It’s a simple switch that brings a whole new flavor dimension!
- Nutella Surprise: Spread a layer of Nutella inside your sushi for creamy richness. This addition makes every bite a little taste of indulgence—a wonderful surprise!
- Tropical Twist: Mix in shredded coconut along with your fillings for a tropical flair. The fragrant coconut pairs beautifully with the fruity flavors, evoking beachy vibes in every mouthful.
- Berry Blast: Fold in freeze-dried strawberries or blueberries to the cereal mixture for an extra fruity punch. These will add a burst of natural sweetness and color—who wouldn’t love that?
- Gummy Goodness: Incorporate an assortment of gummy candies like worms or bears for an extra pop of fun. Kids will especially love this twist, making it a hit at parties!
- Spicy Kick: For the adventurous, add a sprinkle of cayenne pepper to the melted marshmallow mix for a surprising heat. Sweet and spicy? Yes, please!
- Peanut Butter Fusion: Drizzle some peanut butter inside before rolling for a nutty flavor that complements the sweetness. This adds a satisfying creaminess that you won’t want to miss.
- Festive Colors: Customize your Fruity Pebbles Sushi for the holidays by incorporating themed cereals and colorful sprinkles. It’s an easy way to make special occasions even brighter!
Remember, this recipe is all about having fun in the kitchen! For more ideas, check out my Gummy Candy Sushi recipe to explore other creative desserts, or learn about customizing with Gluten-Free Options to cater to dietary needs. Enjoy creating your variations!
Make Ahead Options
These Tasty Fruity Pebbles Sushi are perfect for busy home cooks looking to save time on sweet treats! You can prepare the sushi base—involving the marshmallow and cereal mixture—up to 24 hours in advance. After forming the log, wrap it tightly in plastic wrap and store it at room temperature to maintain its chewy texture. When you’re ready to serve, simply slice the roll into bite-sized pieces. If you wish to add fillings, you can do so right before rolling to keep them fresh and intact. This way, you’ll have a delightful dessert ready to impress with minimal effort!
How to Store and Freeze Tasty Fruity Pebbles Sushi
Airtight Container: Store your Tasty Fruity Pebbles Sushi in an airtight container at room temperature for up to 3 days to maintain its chewy texture.
No Refrigeration: Avoid refrigerating the sushi, as this can alter the consistency and make it hard rather than sweet and chewy.
Make-Ahead Tip: You can prepare the sushi a day in advance; just store it in a single layer to prevent sticking and ensure fresh enjoyment.
Freezing Option: If you need to store it longer, wrap individual pieces in plastic wrap and place them in a freezer bag for up to a month. Thaw at room temperature before serving.
Expert Tips for Tasty Fruity Pebbles Sushi
• Work Quickly: The marshmallow mixture firms up fast, so make sure to work quickly after melting to shape your sushi before it hardens.
• Grease Everything: Don’t skip greasing your hands and the parchment; it prevents the sticky mixture from clinging and makes shaping effortless.
• Balance Fillings: Distribute your optional fillings evenly but avoid overloading; too many will make the sushi difficult to roll and may spill out.
• Cutting Technique: Use a sharp knife and a gentle sawing motion to slice through the sushi log without squishing the colorful layers, ensuring each piece stays intact.
• Customize Ingredients: Feel free to substitute with gluten-free cereals or fillings that match your preferences, making your Tasty Fruity Pebbles Sushi uniquely yours!
What to Serve with Tasty Fruity Pebbles Sushi
Create a delightful spread that pairs perfectly with this vibrant dessert, taking your gathering to the next level.
-
Fresh Fruit Skewers:
Colorful skewers of strawberries, pineapple, and grapes offer a refreshing balance to the sweetness of the sushi. -
Chocolate Dipping Sauce:
A warm, rich chocolate sauce serves as a fun dip for the sushi, adding a luxurious touch to each bite. -
Creamy Vanilla Ice Cream:
Served alongside, this creamy delight enhances the dessert experience, contrasting the crunchy cereal with a smooth texture. -
Sparkling Lemonade:
This fizzy, citrus refreshing drink pairs beautifully, cutting through the sweetness and awakening your palate. -
Nutella-Filled Pastries:
Sweet pastries filled with Nutella complement the flavors of the sushi, providing an indulgent twist that dessert lovers will adore. -
Rainbow Sprinkles:
Offer a side of rainbow sprinkles to sprinkle on the sushi slices, enhancing their playful look and adding extra fun for kids. -
Mini Marshmallow Pops:
These charming pops not only resonate with the sushi’s ingredients but also add a delightful sweetness that everyone will love. -
Coconut Water:
Refreshing and hydrating, coconut water adds a tropical flair that’s a perfect fit alongside the fruity treats.
Tasty Fruity Pebbles Sushi Recipe FAQs
How do I choose the best Fruity Pebbles for sushi?
Absolutely! Look for boxes where the cereal has vibrant colors and no dark spots or stale pieces. Freshness boosts both flavor and crunch, so check expiration dates! If you’re unsure, a colorful cereal mix like Froot Loops can also work beautifully.
What’s the best way to store Tasty Fruity Pebbles Sushi?
To maintain that delightful chewiness, store your Tasty Fruity Pebbles Sushi in an airtight container at room temperature for up to 3 days. Avoid the refrigerator, as it can toughen the texture, turning your sweet treat into a chewy challenge!
Can I freeze Tasty Fruity Pebbles Sushi for later?
Yes, you can! For longer storage, wrap individual pieces of sushi tightly in plastic wrap and place them in a freezer bag. They will stay good for up to 3 months. When you’re ready to enjoy, simply let them thaw at room temperature for about 30 minutes.
What should I do if my marshmallow mixture hardens too quickly?
Very! If the mixture hardens too fast, just pop it back on low heat for a minute or two to soften it. Stir gently until it returns to a gooey state, being careful not to overheat. Always work promptly with the mixture to shape your sushi before it firms up!
Are Tasty Fruity Pebbles Sushi safe for people with gluten allergies?
Definitely! To keep your fruity sushi gluten-free, always check that the cereal and any optional fillings are labeled gluten-free. This is crucial, as some cereals or candies may contain gluten. Enjoy this colorful treat with peace of mind!

Delicious Tasty Fruity Pebbles Sushi for Fun Family Treats
Ingredients
Equipment
Method
- In a medium saucepan, melt 4 cups of marshmallows along with 2 tablespoons of butter over low heat, stirring continuously for about 5–7 minutes until completely smooth and gooey.
- Once the marshmallow mix is smooth, quickly stir in 6 cups of Fruity Pebbles cereal until all the pieces are fully coated. This should take about 1–2 minutes.
- Grease your hands with a little butter or non-stick cooking spray to prevent sticking. Scoop the marshmallow-cereal mixture onto a large piece of parchment paper and press it into a rectangular shape about 1/2 inch thick.
- Sprinkle your choice of optional fillings onto the center of the flattened mixture, leaving about an inch around the edges.
- Using the parchment paper as a guide, carefully lift one edge and start rolling the sushi mixture tightly away from you. Gently press as you roll to ensure it holds together.
- Let your roll sit for about 10 minutes to firm up before slicing into bite-sized pieces about 1-inch thick.
Leave a Reply