
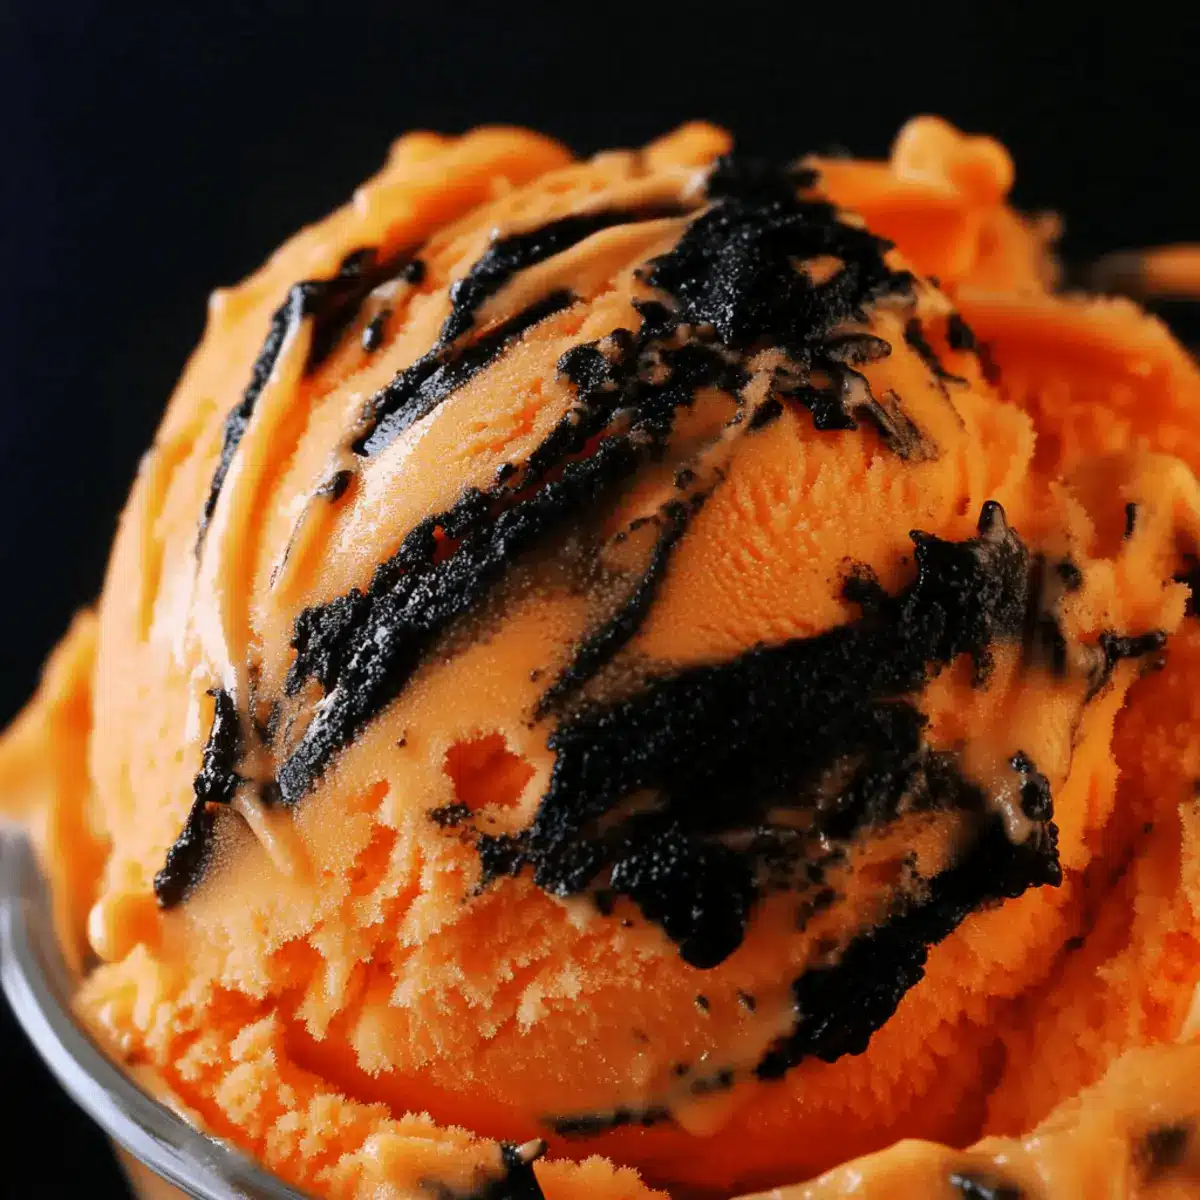
As I stood in my kitchen, the scent of vanilla and citrus dancing in the air, I couldn’t help but feel a wave of nostalgia wash over me. This Homemade Canadian Tiger Tail Ice Cream is a delightful remix of childhood memories, merging sweet orange goodness with the uniquely bold flavor of a black licorice ribbon. It’s a treat that sparks joy and brings loved ones together, making it perfect for hot summer days or cozy family gatherings. The best part? This recipe is quick to whip up and a total crowd-pleaser, ensuring there’s something exciting for every adventurous ice cream lover. Ready to indulge in a taste of Canada with a twist? Let’s dive into making this unforgettable scoop!
Why is Tiger Tail Ice Cream special?
Nostalgia: This classic Canadian treat brings back memories of summer days spent enjoying sweet, simple pleasures—perfect for indulging your inner child!
Unique Flavor Blend: The delightful partnership of zesty orange and rich black licorice offers a taste experience like no other.
Super Easy to Make: With straightforward steps, you can create this rich and creamy dessert in no time, making it ideal for a last-minute gathering or a fun family project.
Crowd Favorite: Whether you love licorice or not, this ice cream is sure to impress any audience. Plus, it pairs beautifully with other favorites like Cajun Chicken Pasta for a full meal!
Versatile Recipe: You can easily swap ingredients, like using regular orange extract instead of blood orange, to personalize your creation.
Make every scoop a memorable moment with this deliciously quirky twist on a beloved ice cream classic!
Tiger Tail Ice Cream Ingredients
• Here’s everything you need to create this delightful Canadian treat!
For the Ice Cream Base
- 8 Large Egg Yolks – Essential for richness and creamy texture.
- 1 Cup Granulated Sugar – Sweetens the base; feel free to adjust to your taste.
- ½ teaspoon Salt – Enhances all the flavors beautifully.
- 2 Cups Milk – Whole milk is recommended for that creamy finish.
- 2 Cups Heavy Cream – The key ingredient for a rich and luxurious texture.
- 2-3 teaspoons Blood Orange Extract – Infuses a vibrant orange flavor; regular orange extract works too.
- Orange Food Coloring – Optional, but it makes your ice cream visually stunning!
For the Licorice Ribbon
- ⅓ Cup Water – The base for your homemade licorice sauce.
- 1 Cup Granulated Sugar – Sweetens the sauce, contributing to its perfect consistency.
- ½ Cup Butter – Adds richness and depth to the licorice flavor.
- ½ Cup Milk – Helps in creating a creamy finish for the licorice sauce.
- 3 teaspoons Anise Extract – A must for achieving that authentic licorice flavor.
- Black Food Coloring – Optional, but needed for that iconic licorice appearance.
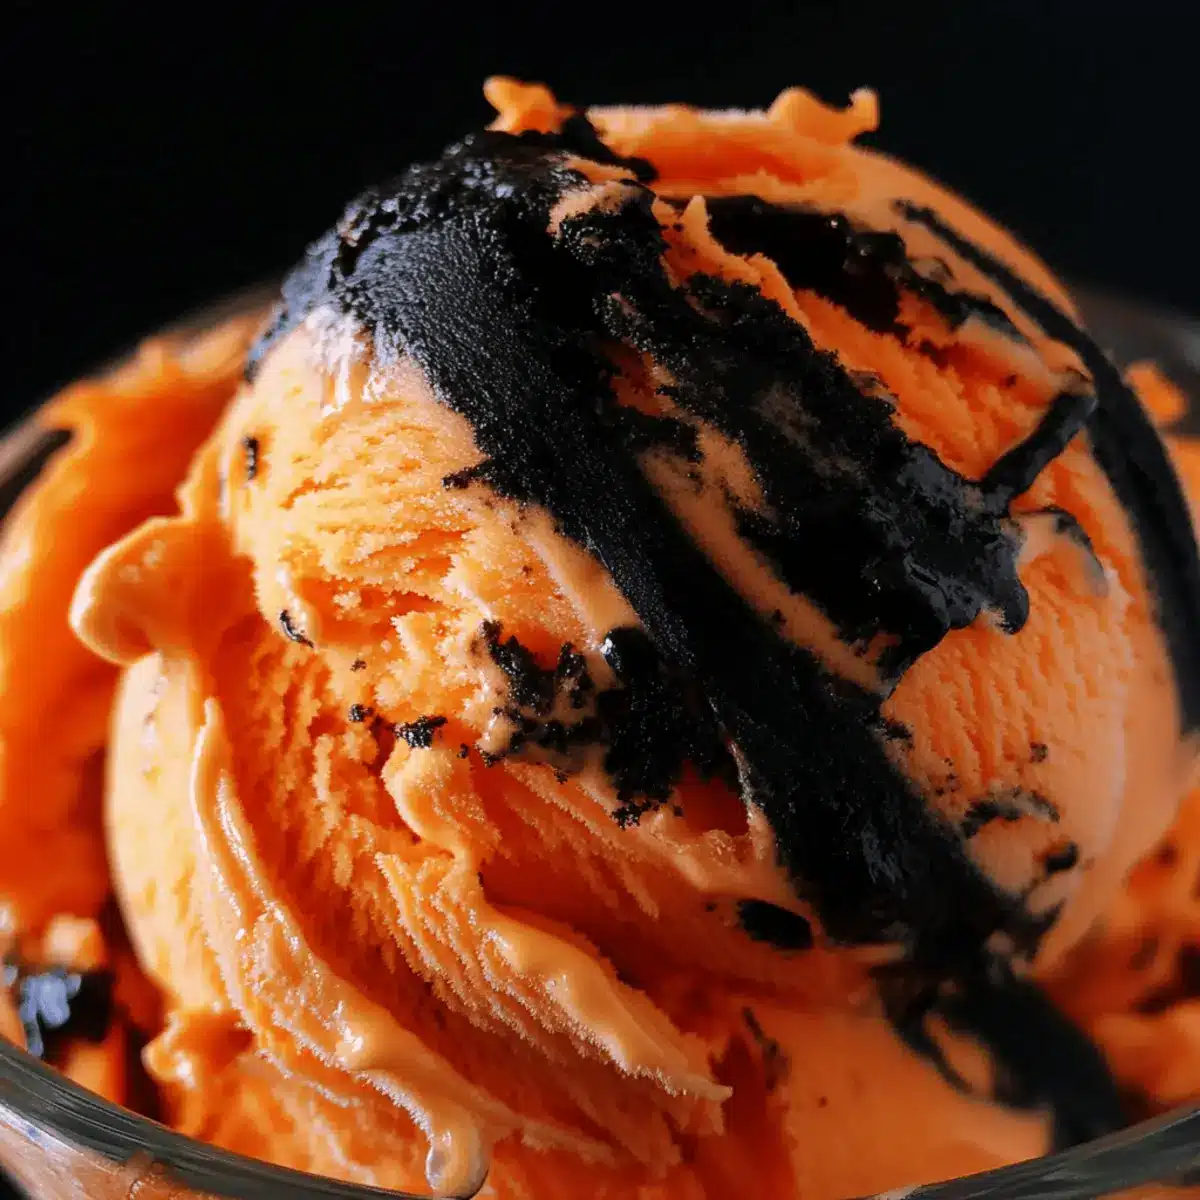
Unlock the flavors of nostalgia with this homemade Tiger Tail Ice Cream, a perfect treat for warm days and family gatherings!
Step‑by‑Step Instructions for Tiger Tail Ice Cream
Step 1: Prepare the Ice Cream Base
In a large pot, use a whisk to vigorously combine 8 egg yolks, 1 cup of sugar, and ½ teaspoon of salt until the mixture becomes fluffy and pale, about 2-3 minutes. Gradually pour in 2 cups of milk and 2 cups of heavy cream, stirring continuously to ensure all ingredients blend smoothly together.
Step 2: Heat the Mixture
Place the pot over medium heat and stir the mixture constantly. Continue heating until it reaches a slight boil, which should take around 8-10 minutes. Be careful not to let the egg mixture scramble. Once it begins to boil, remove it from the heat, and stir in 2-3 teaspoons of blood orange extract and a few drops of orange food coloring to achieve your desired hue.
Step 3: Cool the Ice Cream Base
Transfer the heated mixture to a large bowl and let it cool at room temperature for about 30 minutes. Then, cover the bowl with plastic wrap and refrigerate for at least 4 hours or overnight. Cooling the Tiger Tail ice cream base thoroughly is crucial for a smooth texture once churned.
Step 4: Make the Licorice Ribbon
In a separate pot, combine ⅓ cup of water and 1 cup of sugar. Bring this mixture to a boil over medium heat, stirring until the sugar has completely dissolved, which should take about 5 minutes. Watch closely for the mixture to turn a light golden color; this indicates it’s ready for the next step.
Step 5: Incorporate the Rich Ingredients
Once the sugar syrup reaches the golden stage, carefully mix in ½ cup of butter, stirring until melted and combined. Then, add ½ cup of milk and 3 teaspoons of anise extract, stirring well to create a smooth sauce. If desired, add black food coloring to achieve that classic licorice look, then remove from heat and let cool.
Step 6: Refrigerate the Licorice Sauce
Pour the licorice ribbon sauce into a bowl and cover it with plastic wrap. Refrigerate for at least 2 hours to ensure it thickens to the right consistency before you layer it with the ice cream. This cooling time helps the flavors meld beautifully together.
Step 7: Churn the Ice Cream
Once both mixtures are cooled, it’s time to make your Tiger Tail Ice Cream! Pour the chilled ice cream base into an ice cream maker and churn it according to the manufacturer’s instructions, generally around 20-30 minutes until it reaches a soft-serve consistency.
Step 8: Layer the Ice Cream and Licorice
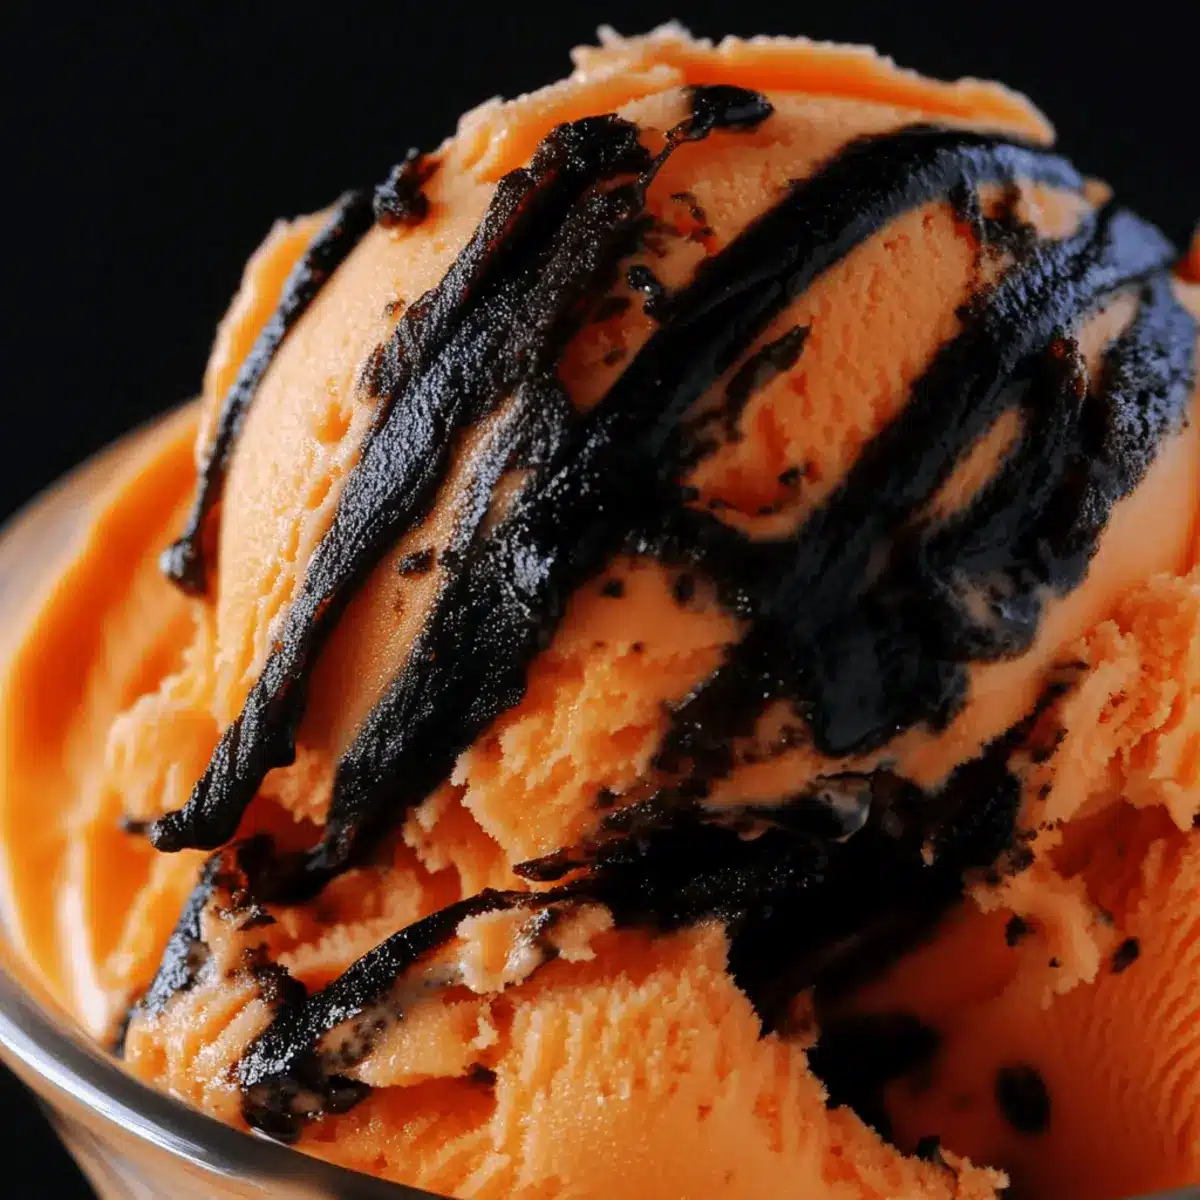
In a suitable storage container, layer the churned orange ice cream with ribbons of the cooled licorice sauce. Alternate the ice cream and licorice to create a beautiful striped effect. Use a spatula to gently swirl together for a fun, marbled look.
Step 9: Freeze the Combined Mixture
Cover the container with a lid or plastic wrap and place it in the freezer. Allow the layered Tiger Tail Ice Cream to freeze for at least 4 hours, or overnight for a firmer texture before serving. The longer it sets, the better the flavors will develop!
Step 10: Serve and Delight
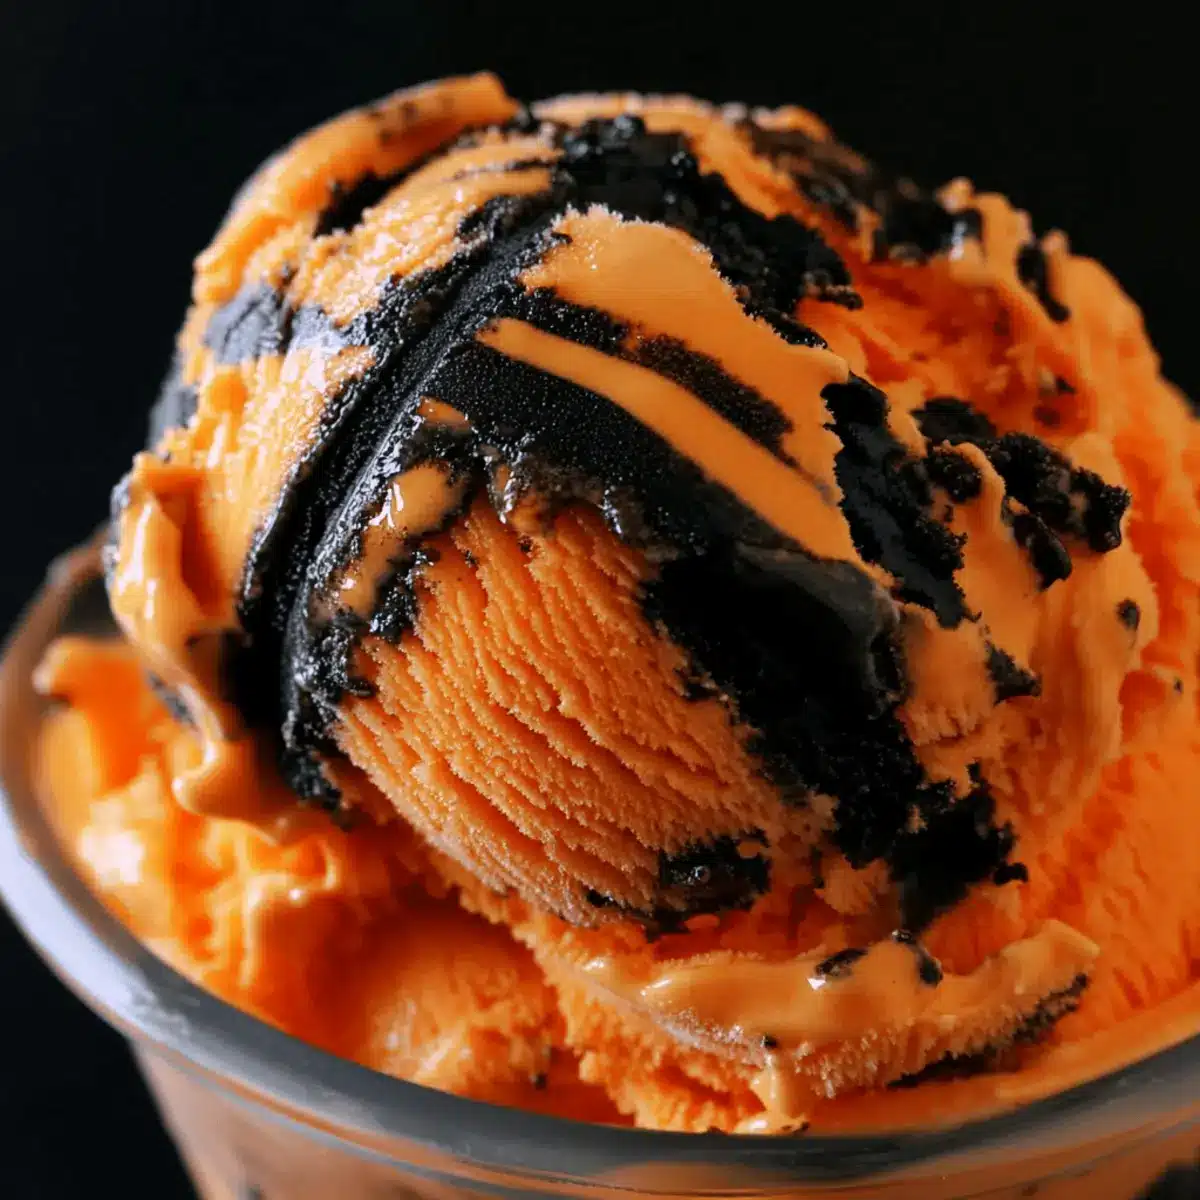
When ready to enjoy, scoop the Tiger Tail Ice Cream into bowls or waffle cones. The creamy orange base with its striking black licorice ribbon is sure to be a delightful treat for everyone. Let the fun memories of this classic Canadian favorite bring joy to your table!
Expert Tips for Tiger Tail Ice Cream
-
Prevent Scrambling: Whisk constantly during the heating process to ensure your egg yolks don’t scramble, keeping the base smooth and creamy.
-
Cool Completely: Allow both the ice cream base and licorice sauce to cool fully before churning to achieve the best texture in your Tiger Tail Ice Cream.
-
Watch for Color: When making the licorice sauce, aim for a light golden color rather than fixed cooking times to perfect its consistency.
-
Adjust Sweetness: Feel free to tweak the sugar in both the base and sauce according to your taste; the balance of flavors can make all the difference!
-
Layer Thoughtfully: When adding the licorice sauce to the ice cream, alternate scoops carefully to create beautiful stripes and ensure everyone gets the iconic flavor in every bite.
Storage Tips for Tiger Tail Ice Cream
Fridge: Store leftover Tiger Tail Ice Cream in an airtight container in the fridge for up to 3 days for optimal freshness.
Freezer: Keep your homemade Tiger Tail Ice Cream in the freezer, covered, for up to 2 weeks. After this, the texture may start to change.
Reheating: If the ice cream becomes too hard, let it sit at room temperature for about 10 minutes before scooping to restore its creamy consistency.
Layering: When storing, ensure that layers of licorice sauce are evenly distributed to maintain flavor and texture, avoiding souring or separation.
Make Ahead Options
These Homemade Canadian Tiger Tail Ice Cream preparations are perfect for meal prep enthusiasts! You can prepare the ice cream base and the licorice ribbon sauce up to 24 hours in advance. Simply follow the initial steps of your recipe and allow both mixtures to cool before refrigerating; this keeps the flavors vibrant and maintains a creamy texture. When ready to serve, churn the base in your ice cream maker, layer it with the licorice ribbon, and freeze for at least 4 hours. This way, you’ll have a delightful and nostalgic treat ready to scoop, saving you time on busy weeknights while still being just as delicious!
Tiger Tail Ice Cream Variations & Substitutions
Feel free to get creative with these delicious twists to make your Tiger Tail Ice Cream even more delightful!
- Flavor Swap: Swap blood orange extract for regular orange extract for a more traditional citrus taste.
- Less Licorice: Use commercial licorice syrup instead of anise extract for a milder flavor that still retains that beloved licorice note.
- Fruit Fusion: Add a swirl of ** raspberry or strawberry sauce** to the ice cream for a fruity burst that complements the orange beautifully.
- Nutty Crunch: Fold in chopped almonds or pecans just before freezing for a delightful crunch that adds texture to every scoop.
- Chocolate Drizzle: For an extra treat, drizzle your servings with dark chocolate sauce for a sweet contrast to the tangy orange and bold licorice.
- Herbal Hint: Mixing in a few teaspoons of fresh mint or basil can add an unexpected freshness that rounds out the flavors beautifully.
- Enhanced Creaminess: Replace heavy cream with coconut cream for a vegan-friendly version that adds a subtle tropical flair to the ice cream.
- Heat Factor: Add a pinch of cayenne pepper to the ice cream base for a surprising spicy kick that contrasts the sweetness.
Remember, there are no wrong choices when making this retro favorite! Once you’ve made your Tiger Tail Ice Cream, consider pairing it with dishes like Coconut Chicken Rice or Mediterranean Chicken Gyros for a fantastic meal combo that your family will love!
What to Serve with Tiger Tail Ice Cream
Indulging in this nostalgic delight opens the door to a world of delicious pairings that bring balance and excitement to your dessert experience.
-
Waffle Cones:
Crisp, crunchy waffle cones provide a lovely contrast to the creamy texture of the Tiger Tail Ice Cream, adding an extra layer of delight with each bite. -
Fresh Berries:
Juicy strawberries or blueberries add a refreshing burst of flavor that perfectly complements the rich orange and licorice notes. The vibrant colors also enhance the visual appeal. -
Chocolate Sauce:
A warm drizzle of silky chocolate sauce offers a decadent touch, creating a perfect harmony of sweet and nostalgic flavors with the ice cream. -
Peanut Butter Cookies:
The nutty, slightly salty flavor of freshly baked peanut butter cookies pairs beautifully with the sweetness of Tiger Tail Ice Cream, making for a delightful dessert duo. -
Homemade Lemon Sorbet:
A refreshing lemon sorbet provides a zesty contrast that cleanses the palate while keeping the dessert experience bright and playful. -
Caramel Sauce:
A drizzle of rich caramel brings a depth of flavor that enhances the already complex notes of orange and anise, creating a symphony of sweetness that’s utterly irresistible. -
Chilled Sparkling Water:
For a light and refreshing drink pairing, chilled sparkling water with a twist of lime can cleanse your palate, elevating the enjoyment of each scoop. -
Nostalgic Licorice Candy:
For those who truly love the bold flavor of licorice, serving some nostalgic licorice candies alongside enhances the theme while giving fellow ice cream lovers a playful treat!
With these delicious accompaniments, you can enhance the vibrant flavors of your homemade Tiger Tail Ice Cream and create an unforgettable dessert experience for friends and family.
Tiger Tail Ice Cream Recipe FAQs
How do I select the right ingredients for Tiger Tail Ice Cream?
Choosing fresh, high-quality ingredients is essential for the best flavor. Look for vibrant, unripened blood oranges for the extract, as this will impart a more intense flavor. When selecting eggs, make sure they are fresh and large for a rich custard base. Regarding granulated sugar, opt for refined sugar to ensure a smooth consistency.
How should I store leftover Tiger Tail Ice Cream?
Store your homemade Tiger Tail Ice Cream in an airtight container in the freezer for up to 2 weeks. For optimal freshness, ensure the container is well-covered to prevent freezer burn. You can expect the best texture during the first week; afterward, you may notice some changes in creaminess. If it becomes too hard, just let it sit at room temperature for about 10 minutes before scooping.
Can I freeze Tiger Tail Ice Cream? If so, how?
Absolutely! After you’ve layered the ice cream and licorice ribbon in a suitable storage container, cover it with a lid or plastic wrap tightly to prevent ice crystals from forming. Freeze it for at least 4 hours, or overnight for the best texture. To serve, let it soften at room temp for 10 minutes to restore that luscious creaminess.
What should I do if my licorice ribbon sauce turns out too thick or grainy?
If your licorice sauce ends up too thick, you can reheat it gently over low heat, stirring in small amounts of milk until it reaches your desired consistency. If it’s grainy, this usually indicates that the sugar didn’t dissolve properly. To fix it, combine the sauce back with the heat, stirring constantly until it smooths out. Don’t forget to cool it again before layering it with your ice cream!
Are there any dietary considerations for Tiger Tail Ice Cream?
This ice cream contains eggs, dairy, and sugar, making it unsuitable for vegans or those with lactose intolerance. If you’re concerned about allergies, you can substitute coconut milk and non-dairy whipped cream for a dairy-free version, but note that it will change the texture and flavor slightly. Always check for cross-contamination if allergies are a concern.
What is the best way to serve Tiger Tail Ice Cream?
This delightful dessert shines when served in waffle cones or colorful bowls. For an added touch, drizzle extra licorice syrup on top or sprinkle with mini chocolate chips for a creative spin. It’s perfect for family gatherings or simply to enjoy a scoop while reminiscing about childhood summers!
Delightful Tiger Tail Ice Cream: A Sweet Canadian Classic
Ingredients
Equipment
Method
- In a large pot, whisk together egg yolks, sugar, and salt until fluffy and pale, about 2-3 minutes. Gradually pour in milk and heavy cream, stirring continuously.
- Place the pot over medium heat and stir constantly until it reaches a slight boil, about 8-10 minutes. Remove from heat and stir in blood orange extract and orange food coloring.
- Transfer the mixture to a bowl and cool at room temperature for 30 minutes. Cover with plastic wrap and refrigerate for at least 4 hours or overnight.
- In a separate pot, combine water and sugar. Bring to a boil over medium heat, stirring until dissolved, about 5 minutes.
- Once golden, mix in butter until melted, then add milk and anise extract. Stir until smooth. If desired, add black food coloring, then cool.
- Refrigerate the licorice sauce covered for at least 2 hours.
- Pour the chilled ice cream base into an ice cream maker and churn according to instructions, about 20-30 minutes until soft-serve consistency.
- Layer the churned ice cream with ribbons of cooled licorice sauce in a storage container. Alternate to create a striped effect.
- Cover and freeze for at least 4 hours, or overnight for firmer texture before serving.
- Serve scoops of Tiger Tail Ice Cream in bowls or cones, and enjoy!
Leave a Reply