
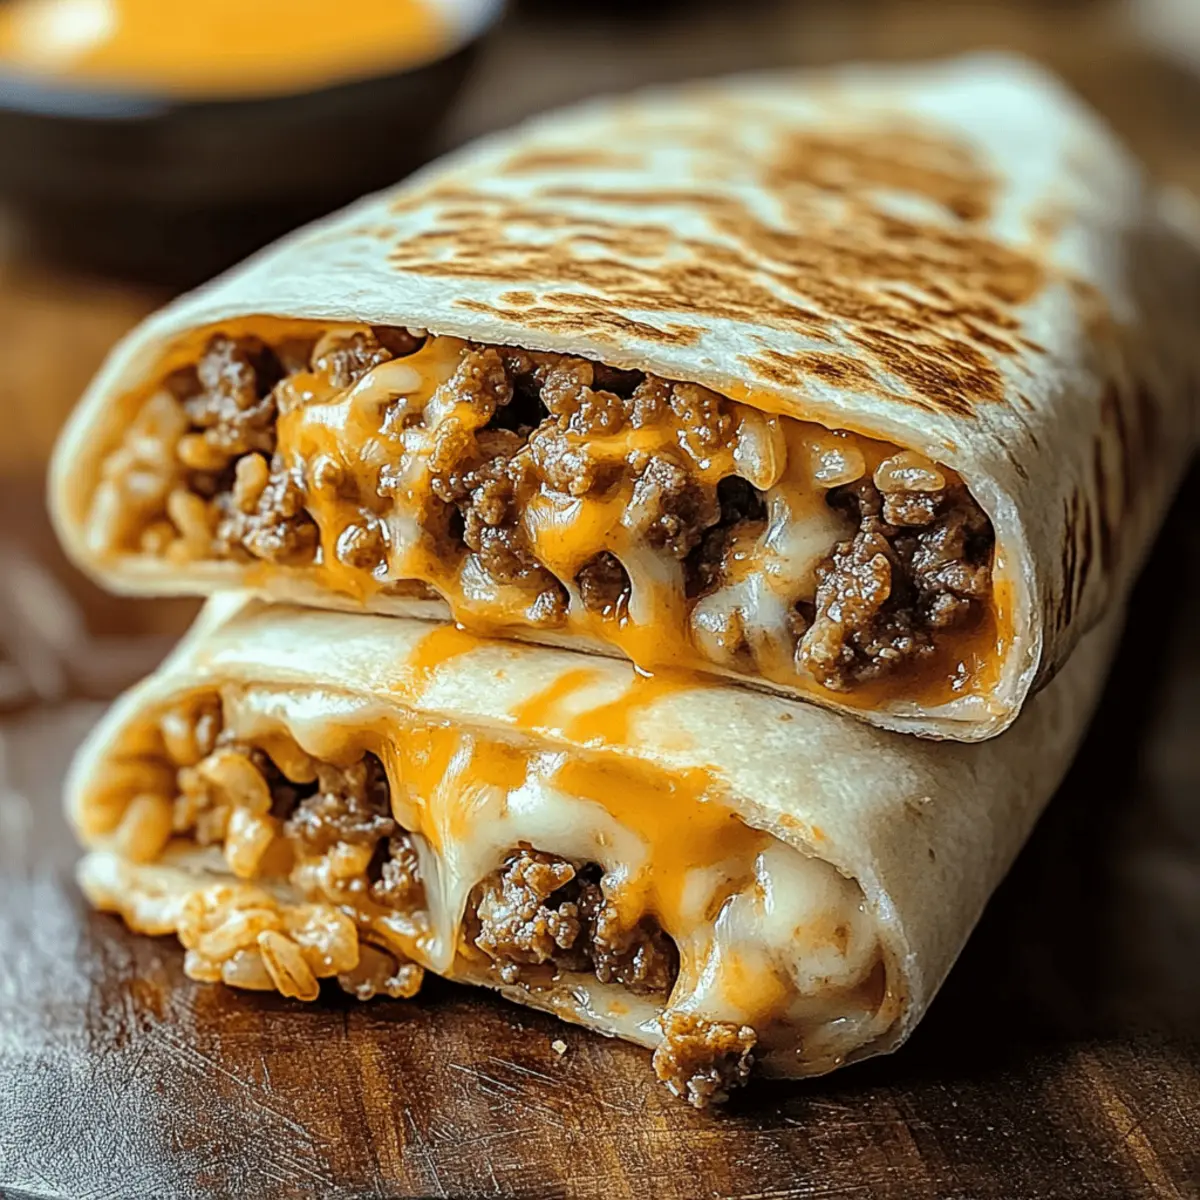
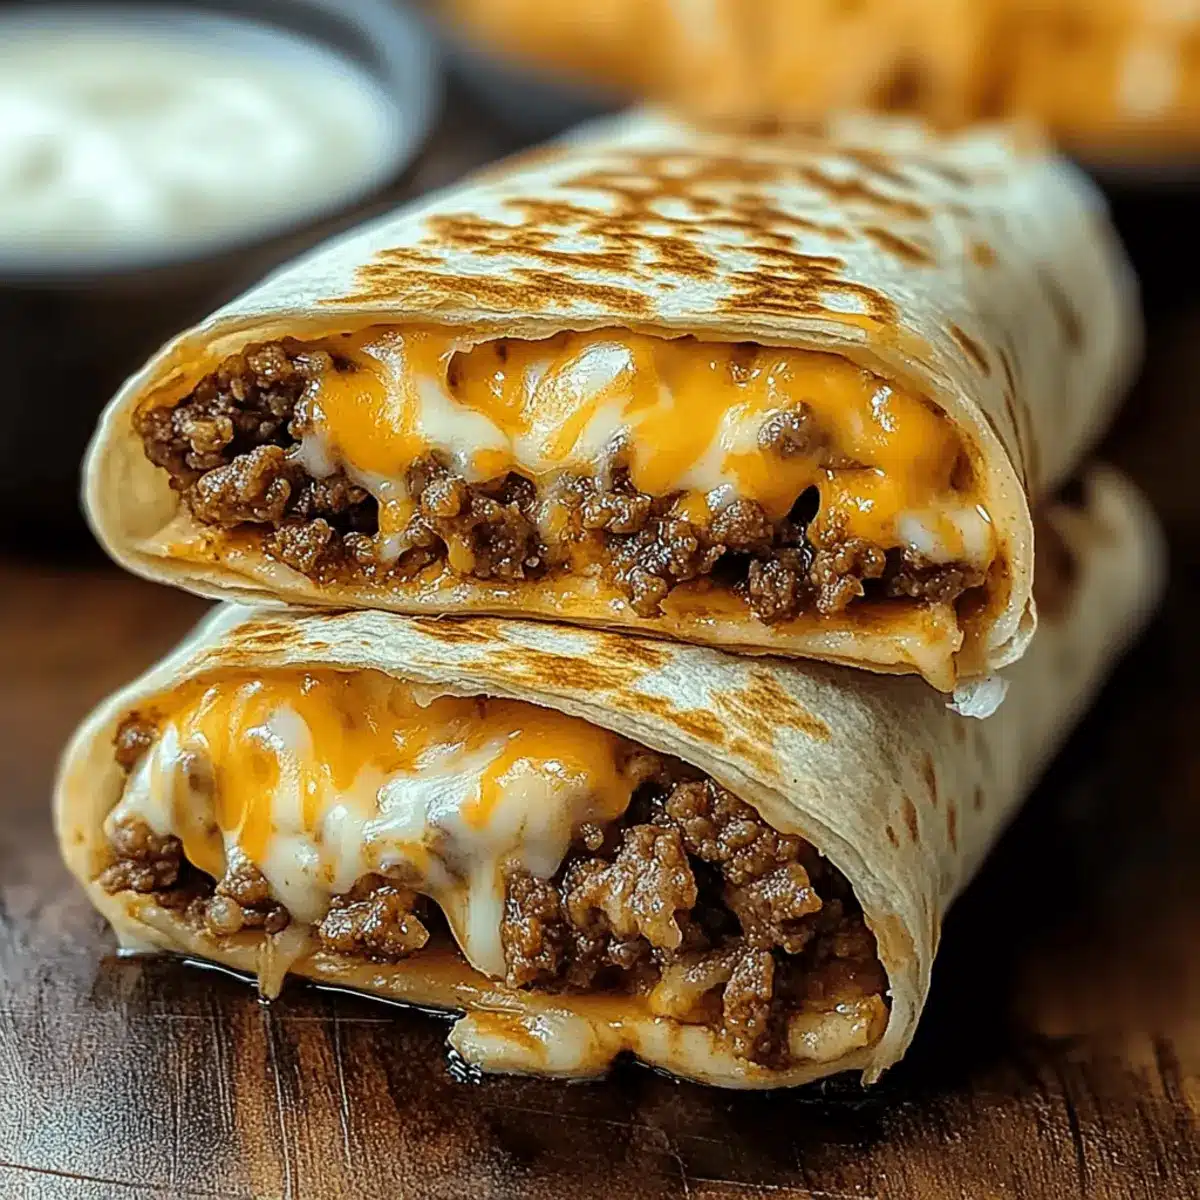
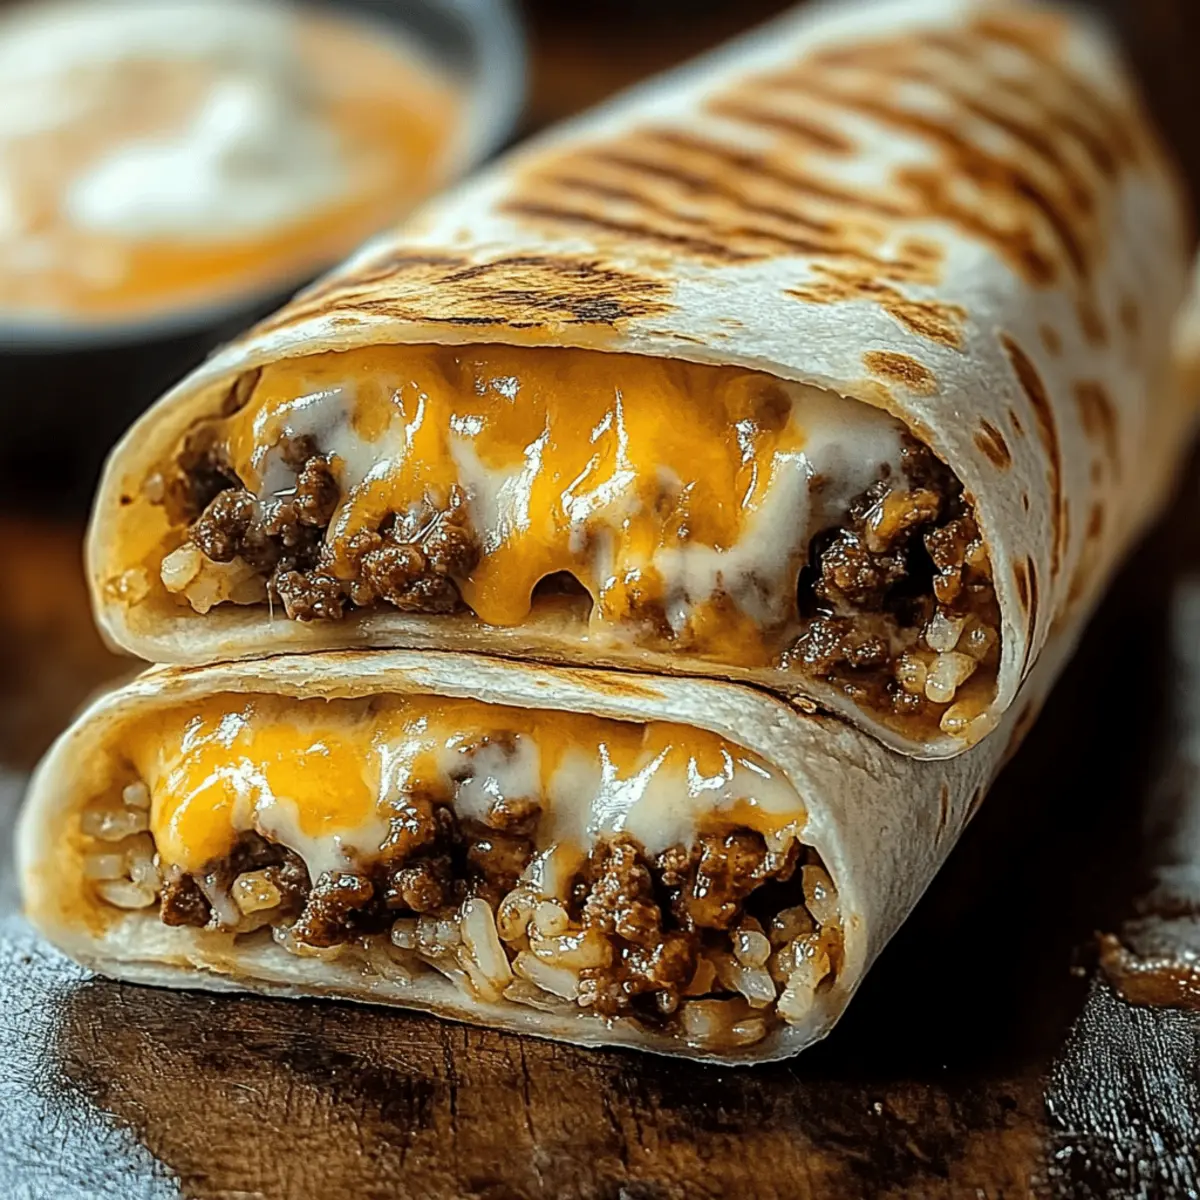
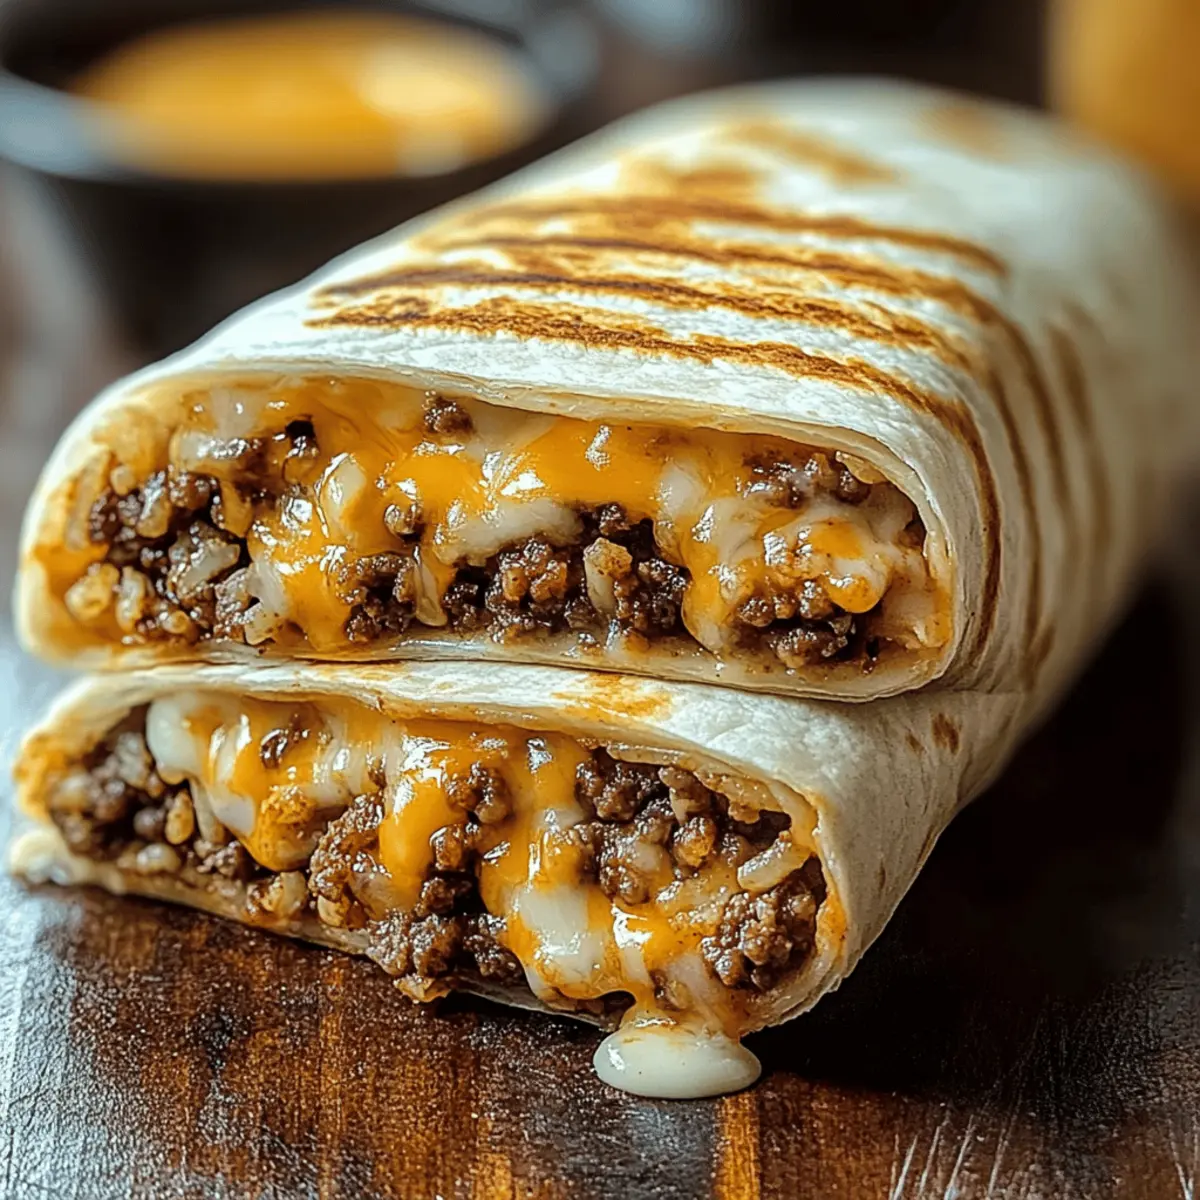
There’s something magical about the fusion of comfort food and Tex-Mex flair. As I bit into a homemade Grilled Cheese Burrito, inspired by Taco Bell’s classic, I knew I had struck culinary gold. This recipe combines spicy seasoned beef, silky nacho cheese, and fluffy rice, all wrapped in a warm tortilla and grilled to cheesy perfection. Not only is it ready in under 30 minutes—perfect for busy weeknights—but it’s also a customizable masterpiece that everyone in the family will adore, from picky eaters to adventurous taste buds. With options for veggie swaps and additional toppings, this dish lets you unleash your inner chef while ditching fast food for something wholesome and delicious. Intrigued? Let’s dive into the details of this cheesy delight together!
Why is this Grilled Cheese Burrito special?
Crispy Texture: The grilling brings a satisfying crunch to the outside, enveloping a warm, cheesy center.
Rapid Preparation: In just 30 minutes, you can indulge in this comforting meal, saving you precious time on busy evenings.
Customizable Delight: Whether you like it spicy with jalapeños or prefer a mild flavor, this burrito is easy to adapt for every palate.
Kid-Approved: With flavors appealing to all ages, it’s a guaranteed hit that can turn your dinner table into a fiesta!
Wholesome Ingredients: Ditch the fast food without sacrificing taste; you’ll enjoy homemade goodness that’s both indulgent and satisfying.
Plus, don’t forget to check out our tips on how to make it veggie-friendly or explore the best ways to serve with salsa or guacamole for an extra zing!
Grilled Cheese Burrito Ingredients
For the Filling
- Ground Beef – Provides savory protein and richness; can substitute with beans, tofu, or meat alternatives for vegetarian versions.
- Taco Seasoning – Adds a kick of flavor; opt for a homemade blend for fresh and bold seasoning.
- Cooked White Rice – Contributes bulk and texture; substitute with brown rice for a healthier option.
- Sour Cream – Adds creaminess and tang; swap with Greek yogurt for a thicker texture or dairy-free alternatives for a vegan version.
- Nacho Cheese Sauce – Provides creamy, cheesy goodness; use homemade queso for a fresh taste or vegan cheese for a dairy-free option.
- Chipotle Sauce – Imparts a smoky spice; adjust quantity based on heat preference or replace with salsa for milder flavors.
For the Cheese and Wrap
- Shredded Cheddar and Mozzarella Cheese – Offers great melting quality and flavor; experiment with pepper jack for a spicy kick.
- Flour Tortillas – Serves as the wrap to hold the fillings; whole wheat tortillas can serve as a healthier alternative.
- Butter or Oil – Used for grilling; opt for olive oil for a healthier cooking fat.
Feel free to mix and match ingredients to create your perfect Grilled Cheese Burrito, tailored just to your liking!
Step‑by‑Step Instructions for Grilled Cheese Burrito
Step 1: Cook Ground Beef
In a large skillet over medium heat, add the ground beef and cook for 8-10 minutes until browned, breaking it apart as it cooks. Once browned, drain excess fat and stir in taco seasoning along with ¼ cup water. Allow it to simmer for 5 minutes, until the mixture thickens and becomes fragrant, creating the savory filling for your Grilled Cheese Burrito.
Step 2: Warm Tortillas
While the beef simmers, warm your flour tortillas to create a pliable wrapper. You can do this easily by heating a dry skillet over medium heat for about 30 seconds per side, or microwave them for 10-15 seconds until soft and flexible. This step is crucial to avoid tearing the tortillas when assembling your delicious Grilled Cheese Burrito.
Step 3: Assemble Burrito
On a warmed tortilla, layer a scoop of cooked rice, followed by the seasoned beef, a generous drizzle of nacho cheese sauce, and a splash of chipotle sauce. Top with a dollop of sour cream and a mix of shredded cheddar and mozzarella cheese. Ensure the fillings are evenly distributed to create a balanced and flavorful Grilled Cheese Burrito that everyone will love.
Step 4: Grill Burrito
Heat a skillet over medium heat and add a small amount of butter or oil. Place the assembled burrito seam-side down in the skillet, pressing gently to ensure it holds together. Grill for approximately 3-4 minutes, until the cheese starts melting and the bottom is golden brown. Carefully flip the burrito and grill the other side for another 3-4 minutes, achieving a crispy exterior.
Step 5: Serve and Enjoy
Once both sides are beautifully golden and crispy, transfer the Grilled Cheese Burrito to a cutting board. Allow a moment for coolness, then slice it in half to reveal the gooey, cheesy center. Serve immediately with your favorite salsa or guacamole for dipping, and enjoy a delightful and homemade alternative to fast food that is sure to please the entire family.
Grilled Cheese Burrito: Customization Ideas
Feel free to personalize your Grilled Cheese Burrito to create a meal that truly delights your senses!
- Vegetarian Option: Substitute ground beef with black beans or lentils for a hearty, plant-based filling that maintains all the flavor.
- Spicy Twist: Add sliced jalapeños or a dash of hot sauce to crave that fiery kick. Your taste buds will dance with joy!
- Chicken Swap: Use shredded chicken instead of beef for a lighter protein-packed version. It brings a lovely twist to the classic.
- Extra Crunch: Toss in some crispy tortilla strips. They add delightful texture and elevate the overall burrito experience.
- Flavor-Bomb Cheese: Use a combination of pepper jack and sharp cheddar for a spicy flavor explosion. Each bite will be cheesy goodness!
- Sour Cream Sub: Swap sour cream for creamy avocado or guacamole for a fresh, zesty twist. This adds a rich creaminess that’s simply delightful.
- Rice Alternative: Experiment with quinoa or cauliflower rice for a healthier option that offers its own unique flavor and texture.
- Dairy-Free Delight: Choose dairy-free cheese and sour cream for a vegan-friendly version without sacrificing the creamy goodness that everyone loves.
Each of these variations allows you to have fun in the kitchen. Want to make your burrito even bolder? Pair it with homemade salsa for an extra zing! And remember, the beauty of this burrito lies in its versatility—whether it’s a busy weeknight dinner or a casual weekend feast, there’s no wrong way to enjoy it!
What to Serve with Grilled Cheese Burrito
Pairing the perfect sides transforms your Grilled Cheese Burrito into a delightful feast, elevating your meal to a whole new level of comfort and joy.
- Fresh Guacamole: A creamy and zesty dip that balances the spicy flavors of the burrito, adding smoothness with every bite.
- Salsa Verde: The bright, tangy taste of this salsa brings a refreshing contrast that enhances the Tex-Mex vibes of the dish.
- Crispy Tortilla Chips: Their crunchiness adds a fun texture while soaking up any extra sauce, making for a delightful appetizer.
- Spanish Rice: Flavored with tomatoes and spices, this side complements the burrito, keeping the flavors cohesive and delicious.
- Seasoned Black Beans: Their hearty texture provides a nutritious touch, offering a protein boost while enhancing your burrito experience.
- Mexican Street Corn (Elote): Grilled to perfection and smothered in creamy sauce, it’s a crowd-pleasing side that rounds out your meal wonderfully.
For a refreshing drink, consider pairing your burrito with a tangy limeade or chilled Mexican beer for a complete Tex-Mex dining experience.
Expert Tips for Grilled Cheese Burrito
-
Warm Tortillas: Ensure tortillas are adequately warmed to prevent tearing during assembly; this is crucial for a seamless wrap and easy handling.
-
Cheese Layering: Add shredded cheese on the outside of the burrito before grilling. This creates a crispy and gooey crust that enhances the Grilled Cheese Burrito experience.
-
Even Filling Distribution: Use even portions of filling across the tortilla to avoid overspill and create a balanced flavor in every bite.
-
Grill Temperature: Maintain a medium heat while grilling to ensure the burrito gets crispy without burning; it allows the cheese to melt perfectly too.
-
Cooling Time: Let the burrito cool for a minute after grilling before slicing to prevent the cheesy center from spilling out, ensuring a neat presentation.
How to Store and Freeze Grilled Cheese Burrito
Fridge: Store leftover Grilled Cheese Burrito in an airtight container for up to 3 days to maintain freshness and texture.
Freezer: For longer storage, freeze individually wrapped burritos in aluminum foil or freezer bags for up to 3 months.
Reheating: Reheat in a skillet over medium heat to restore crispiness, approximately 5-7 minutes per side. Alternatively, microwave for quicker servings, but note that the texture may differ.
Assemble and Refrigerate: For best results, assemble and refrigerate burritos without grilling; grill them just before serving to achieve that delightful crunchy finish.
Make Ahead Options
These Grilled Cheese Burritos are perfect for meal prep enthusiasts! You can assemble the burritos and refrigerate them for up to 24 hours in advance, ensuring they stay fresh and flavorful. To do this, prepare the filling and layer it inside the tortillas, then wrap each burrito tightly in plastic wrap or foil. This will help maintain their quality and prevent the tortillas from drying out. When you’re ready to enjoy, simply grill them straight from the fridge (there’s no need to thaw), cooking each side for 3-4 minutes until they’re golden and crispy. This approach saves you time, allowing you to treat your family to homemade deliciousness on busy weeknights!
Grilled Cheese Burrito Recipe FAQs
How do I choose the right ripeness for my avocados or tomatoes when adding to my Grilled Cheese Burrito?
Absolutely! For avocados, look for a gentle squeeze; they should yield slightly without feeling mushy. Tomatoes should have a vibrant color and a slight give; avoid those with dark spots or wrinkles. Fresh, ripe ingredients elevate your burrito’s flavor!
What’s the best way to store leftover Grilled Cheese Burritos, and how long will they last?
You can store leftover burritos in an airtight container in the refrigerator for up to 3 days. Just make sure they cool completely before sealing to keep them fresh. Reheating in a skillet revives that crispy exterior wonderfully!
Can I freeze Grilled Cheese Burritos for later use? How do I do it?
Yes! You can freeze assembled but ungrilled burritos wrapped tightly in aluminum foil or freezer bags for up to 3 months. When ready to enjoy, thaw them in the fridge overnight and grill on medium heat for 5-7 minutes per side to restore that delightful crunch.
What if my burrito filling is too wet? How can I fix it?
If you find your filling is overly moist, try adding a bit more cooked rice to absorb the liquid. You can also use less sour cream or nacho cheese initially to control consistency. Always mix well and fill the burrito judiciously to prevent any overflow!
Are there any dietary considerations for my Grilled Cheese Burrito?
Absolutely! You can easily make this dish vegetarian by substituting ground beef with beans or tofu. For dairy-free alternatives, opt for vegan cheese and dairy-free sour cream. Always check for allergens in seasoning mixes and sauces to keep it safe for everyone.
How can I adjust the heat level of my burrito?
To control the spice in your Grilled Cheese Burrito, start with mild taco seasoning and reduce the amount of chipotle sauce. If you like it spicier, consider adding fresh jalapeños or using pepper jack cheese. Taste as you go to find that perfect balance!
Grilled Cheese Burrito: Your New Favorite Comfort Food Adventure
Ingredients
Equipment
Method
- In a large skillet over medium heat, add the ground beef and cook for 8-10 minutes until browned. Drain excess fat, stir in taco seasoning and ¼ cup water, and simmer for 5 minutes.
- Warm your flour tortillas to create a pliable wrapper either in a dry skillet for 30 seconds per side or in the microwave for 10-15 seconds.
- On a warmed tortilla, layer a scoop of cooked rice, seasoned beef, a drizzle of nacho cheese sauce, chipotle sauce, sour cream, and shredded cheese.
- Heat a skillet over medium heat with butter or oil. Grill the burrito seam-side down for 3-4 minutes until golden, then flip and grill the other side.
- Transfer to a cutting board, slice in half, and serve with salsa or guacamole.
Leave a Reply