
As I gathered my kids for a cozy afternoon in the kitchen, the air filled with laughter and playful chaos—my heart swelled with joy. That’s when we decided to whip up a batch of colorful Daisy Cookies. These delightful treats not only satisfy our sweet cravings but also provide a wonderful opportunity for creativity and bonding. With just a handful of simple ingredients, making these easy, kid-friendly cookies becomes an adventure we all cherish. Each cookie is a burst of color and fun, perfect for enticing little hands to explore their culinary skills. Whether you’re baking for a family gathering, a playdate, or simply to indulge your sweet tooth, Daisy Cookies are the perfect solution. Curious about how to make these delightful flowers? Let’s dive in!
Why are Daisy Cookies a must-try?
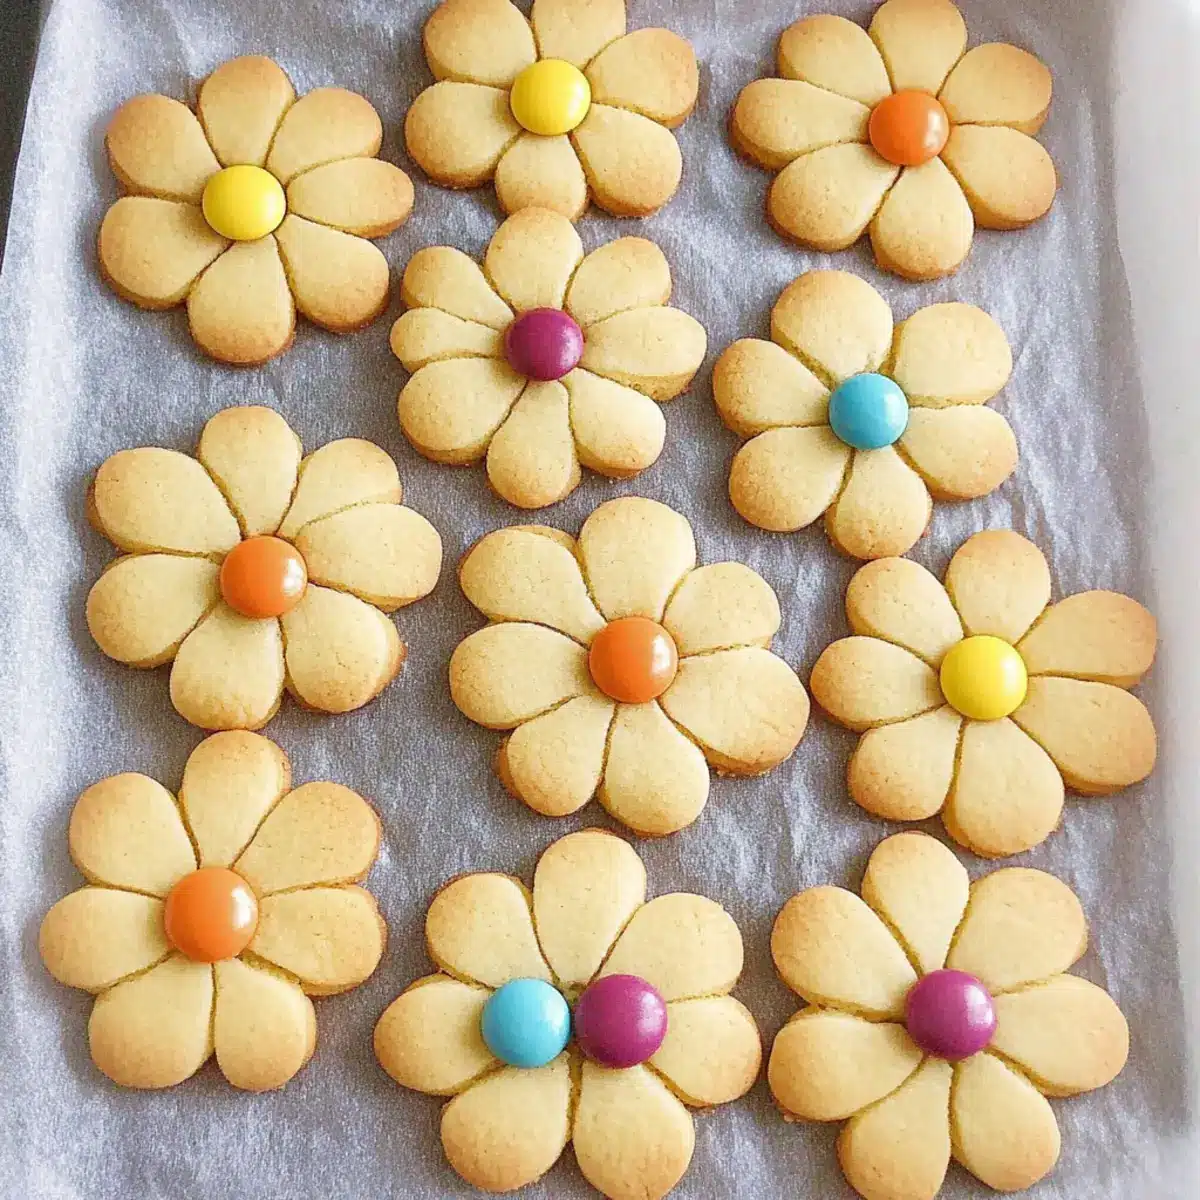
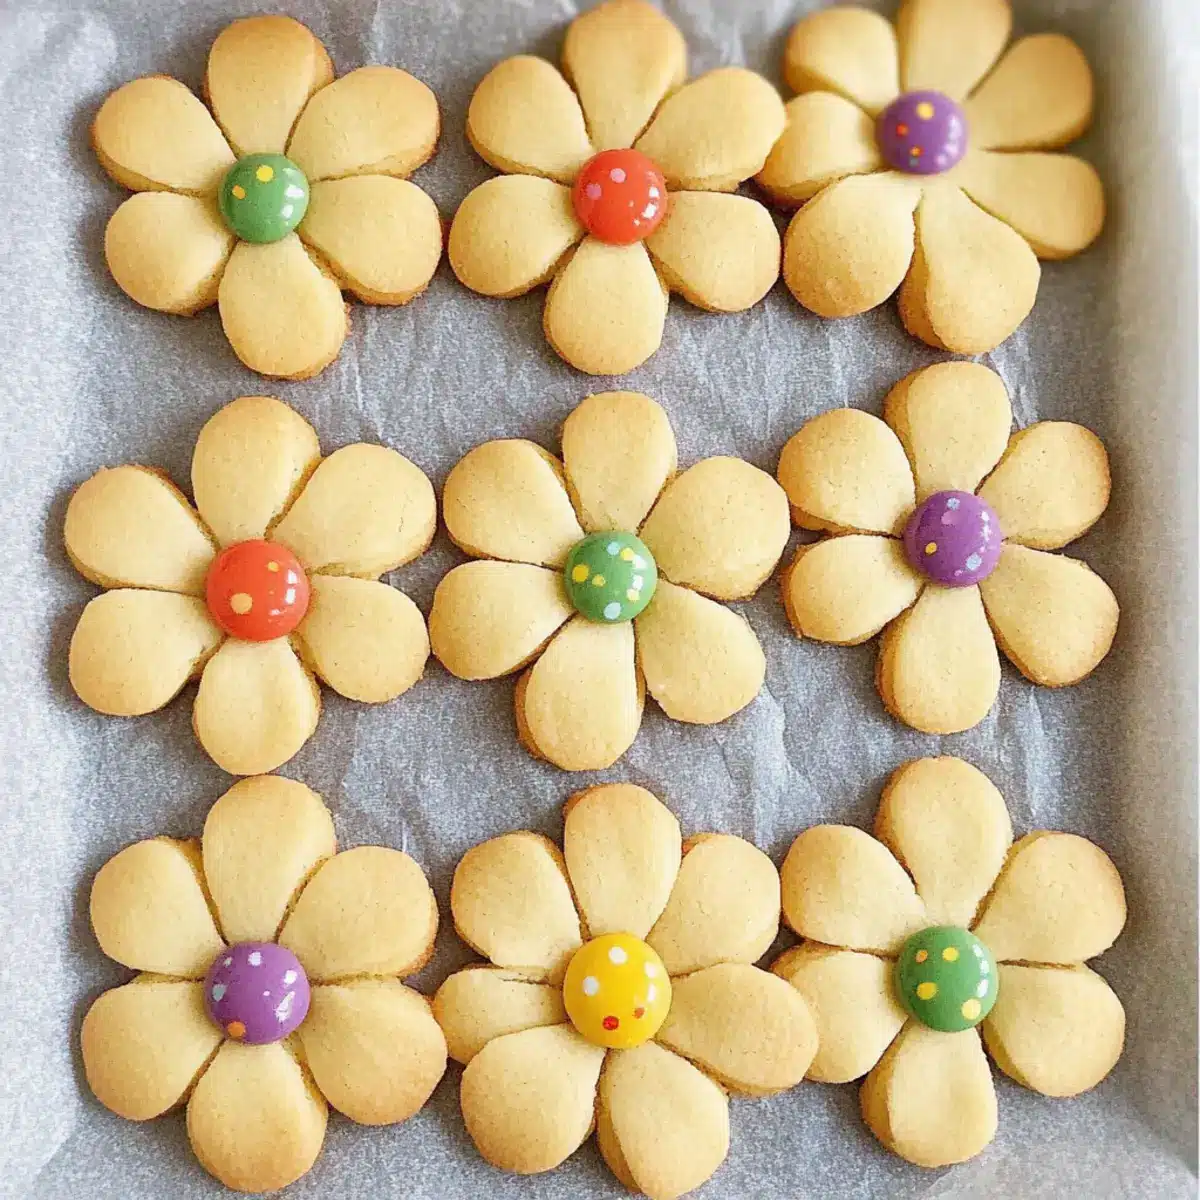
Colorful, Fun Shapes: Each cookie is shaped like a cheerful flower, making them visually appealing and perfect for kids.
Easy to Make: With just a few simple ingredients and straightforward steps, even novice bakers can create these delightful treats.
Creativity Unleashed: Let your children pick their favorite candies, like Smarties or M&M’s, to add a personal touch to each cookie.
Perfect for Any Occasion: Birthday parties, playdates, or just a fun family baking day, these cookies fit right in!
Storage Friendly: Easy to store and pack, they’re ideal for lunchboxes or as sweet surprises for your family.
For more fun baking ideas, check out these Gingerbread Thumbprint Cookies or Chewy Pumpkin Cookies to keep the sweet adventures going!
Daisy Cookie Ingredients
• Ready to get started on these delightful Daisy Cookies? Here’s what you’ll need:
For the Dough
- Butter – Provides richness and moisture; unsalted is preferable for controlling saltiness.
- Flour – Offers structure to cookies; all-purpose flour will work perfectly.
- Sugar – Sweetens the dough and helps with browning; white sugar creates a cleaner taste.
For the Decoration
- Smarties – Add vibrancy and fun decoration to each cookie; substitute with M&M’s or chocolate chips for variety.
Optional Add-ins
- Chocolate chips – Can be used instead of Smarties for a different flavor twist.
Dive into the vibrant world of baking with these Daisy Cookies and enjoy crafting a colorful treat with your loved ones!
Step‑by‑Step Instructions for DAISY COOKIES
Step 1: Preheat the Oven
Begin by preheating your oven to 190°C (375°F). This crucial first step ensures your Daisy Cookies bake evenly and achieve that perfect golden hue. While the oven warms up, it’s an excellent time to gather your baking supplies, including a mixing bowl, baking sheets, and parchment paper to streamline your cookie-making process.
Step 2: Prepare the Dough
In a large mixing bowl, combine the all-purpose flour and sugar. Next, rub in the unsalted butter until the mixture resembles fine breadcrumbs. This technique incorporates air into the dough, giving your Daisy Cookies a tender texture. Make sure the butter is well-blended to achieve optimal richness.
Step 3: Knead the Dough
Once the mixture forms a crumbly texture, gently knead the dough in the bowl for about 30 seconds until it becomes smooth. This step activates the gluten in the flour, contributing to the dough’s elasticity and structure. Be careful not to over-knead; you want the dough soft and pliable for your delightful Daisy Cookies.
Step 4: Shape the Cookies
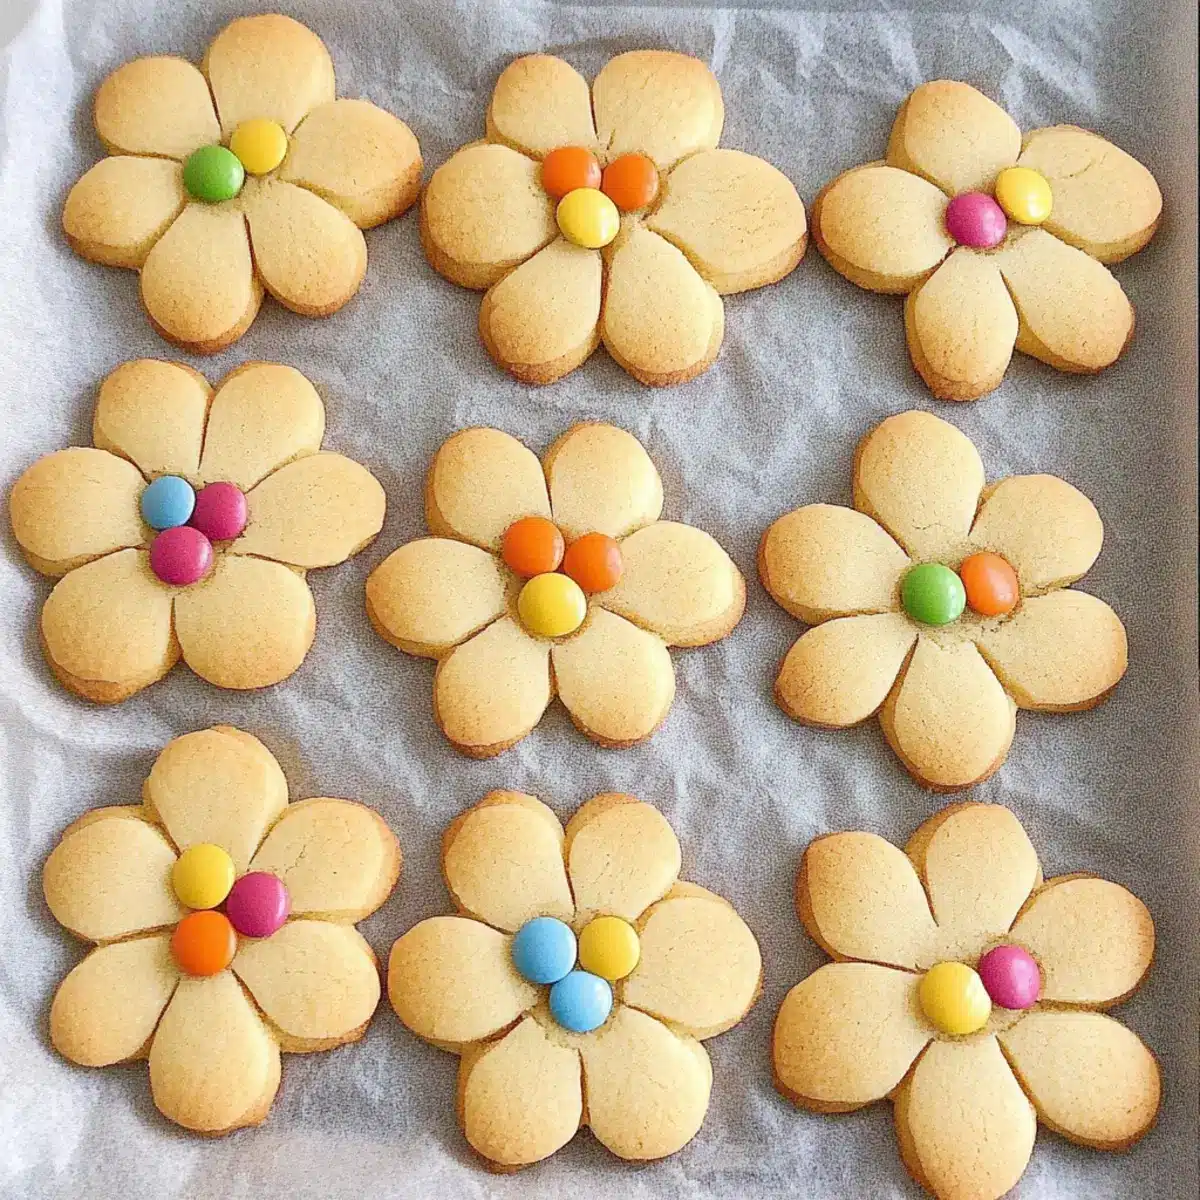
Roll the dough into small balls, approximately the size of a walnut. For that charming flower shape, arrange five balls in a circle on a parchment-lined baking sheet. Leave enough space between each flower so they can spread gently while baking. This presentation is part of what makes your Daisy Cookies so visually appealing!
Step 5: Form Petals
Gently press down on each ball with your fingers to create petal shapes. This step is all about getting creative and making each cookie look like a cheerful flower. Remember to keep the center one slightly higher than the petals for that perfect daisy look, which will catch the eye of kids and adults alike!
Step 6: Add Candy Centers
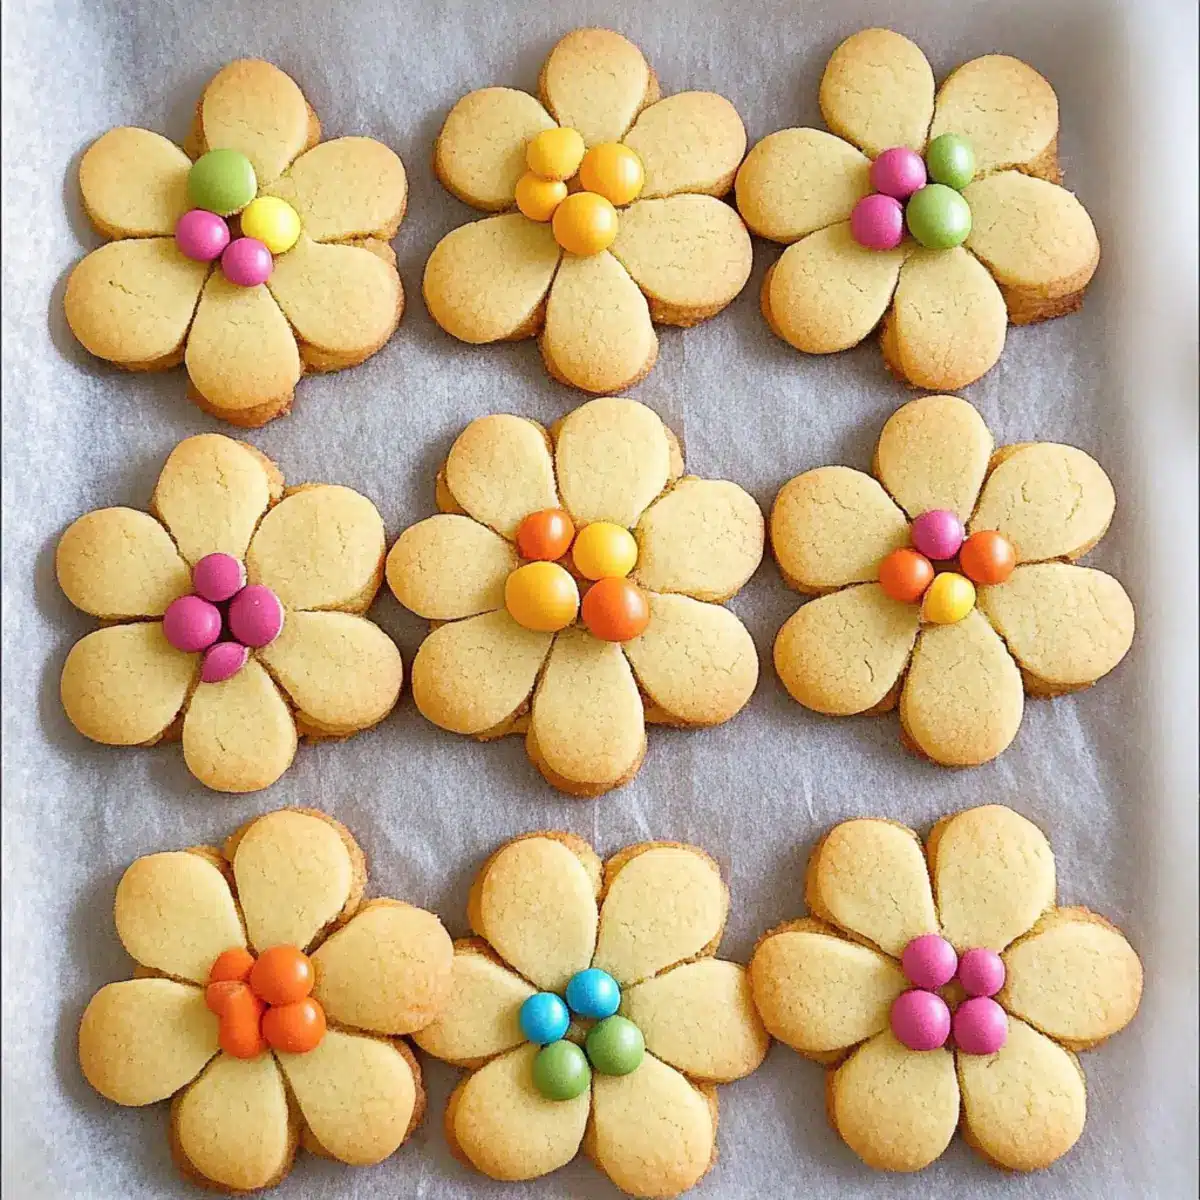
Place a Smartie in the center of each flower, pushing it down slightly so it stays put during baking. The bright colors will not only make your Daisy Cookies beautiful but also add a sweet crunch that kids love. Feel free to mix it up with M&M’s or chocolate chips to add a personal touch!
Step 7: Chill the Cookies
To maintain their shape, pop the baking sheet into the freezer for 30 minutes. This chilling step is crucial for achieving those perfectly formed Daisy Cookies that don’t flatten while baking. Maximize the fun and use this time to clean up or prepare a little festive workspace for decorating later!
Step 8: Bake the Cookies
Once chilled, bake the cookies in the preheated oven for 8-10 minutes, or until they’re lightly golden around the edges. Keep an eye on them, as ovens can vary! Your kitchen will soon be filled with a delightful aroma, announcing that these colorful Daisy Cookies are almost ready to come out!
Step 9: Cool Before Serving
After baking, remove the baking sheet from the oven and allow the cookies to cool on the sheet for a few minutes. Then, carefully transfer them to a wire rack to cool completely. This step keeps them from getting too soft and ensures they hold their fun shapes, making them ready for enjoyment at family gatherings or snack time!
What to Serve with Colorful Daisy Cookies
These delightful treats are perfect for adding a touch of sweetness to any occasion, making a well-rounded meal truly special.
-
Milk:
A classic pairing that complements the sweetness of the cookies and enhances their chewiness, making every bite a comforting experience. -
Fruit Salad:
A refreshing medley of seasonal fruits adds a burst of color and freshness, balancing the sweetness with a touch of natural brightness. -
Colorful Veggie Platter:
Crisp, crunchy vegetables bring texture to the table and invite kids to munch on healthy snacks alongside their sugary treats. -
Hot Chocolate:
This warming drink creates a cozy atmosphere, ideal for a family gathering, elevating the cookie experience to a delightful indulgence. -
Frosted Cupcakes:
The playful colors and flavors of cupcakes echo your colorful Daisy Cookies, creating a dessert spread that’s equally enticing for kids and adults. -
Creamy Vanilla Ice Cream:
The smoothness of vanilla ice cream melts beautifully against the chewy texture of the cookies, making for an unforgettable dessert duo. -
Decorated Cake Pops:
Another fun treat for kids, these bites of cake on a stick can mirror the colorful theme, sparking joy during celebrations or casual get-togethers.
How to Store and Freeze Daisy Cookies
Room Temperature: Store your Daisy Cookies in an airtight container at room temperature for up to 1 week to maintain their freshness and delightful texture.
Fridge: If you prefer, you can keep them in the fridge for up to 2 weeks. Just be sure to use an airtight container to prevent them from drying out.
Freezer: For longer storage, freeze Daisy Cookies in a single layer on a baking sheet before transferring them to a freezer-safe container. They will keep for up to 3 months.
Reheating: When ready to enjoy, thaw at room temperature or reheat in a preheated oven at 150°C (300°F) for a few minutes to restore their soft, chewy goodness.
Expert Tips for DAISY COOKIES
- Chill for Shape: Keep the dough in the freezer for 30 minutes before baking; this helps retain their adorable flower shape.
- Use Unsalted Butter: Opt for unsalted butter to better control the overall flavor of your Daisy Cookies and prevent them from being too salty.
- Don’t Over-Knead: Knead the dough gently until it’s smooth; over-kneading can turn your cookies tough instead of tender and chewy.
- Creative Toppings: Feel free to swap Smarties with seasonal candies or chocolate chips for a fun twist! This keeps the cookie decorating exciting for kids.
- Watch the Bake Time: Every oven is different, so keep an eye on your Daisy Cookies and take them out as soon as they’re lightly golden to ensure a perfect texture.
Make Ahead Options
These delightful Daisy Cookies are perfect for meal prep, allowing you to enjoy baking without the stress on busy days! You can prepare the cookie dough up to 24 hours in advance by mixing, kneading, and shaping the flower forms into balls. Once shaped, simply cover the tray with plastic wrap and refrigerate it until you’re ready to bake. For longer storage, freeze the unbaked cookies for up to 3 months; just ensure they’re on a parchment-lined tray to keep them from sticking. When you’re ready to serve your colorful cookies, bake directly from the fridge or frozen state, adding an extra minute or two to the baking time. This way, your Daisy Cookies will come out just as delicious, letting you savor those sweet moments with your family!
DAISY COOKIES: Fun Variations & Substitutions
Feel free to embrace your creativity and make these Daisy Cookies uniquely yours with delightful twists!
-
Flavor Boost: Add Vanilla Extract for a warm, aromatic flavor that elevates the sweetness of the cookies. A splash of vanilla can truly enhance the overall taste!
-
Nutty Crunch: Toss in Chopped Nuts like almonds or pecans to the dough for a delightful crunch. The nuts add both texture and a hint of earthy flavor, making these cookies even more satisfying.
-
Fruity Freshness: Replace some sugar with Mashed Banana or Applesauce for a natural sweetness. This twist introduces a fruity flavor and moistness, perfect for an adventurous palate.
-
Colorful Alternatives: Swap Smarties for Seasonal Candies. Think Valentine’s Day hearts or Halloween-themed treats! This is a fun way to make the cookies festive for any occasion.
-
Chocolate Lovers: Use Chocolate Chips in place of Smarties for a rich, chocolatey cookie. Transforming the cookies this way can please even the biggest chocolate enthusiasts in your family.
-
Dairy-Free: Substitute Plant-Based Butter or coconut oil for a dairy-free option. These alternatives work well, ensuring that everyone can enjoy these colorful treats.
-
Gluten-Free: Use Almond Flour or a gluten-free flour blend for a gluten-free version. This swap allows those avoiding gluten to join in the baking fun, making it an inclusive recipe.
For more sweet adventures in baking, don’t forget to explore these delightful ideas: Thick Chewy Cookies or Chewy Pumpkin Cookies. Happy baking!
Daisy Cookies Recipe FAQs
How do I choose ripe ingredients for the Daisy Cookies?
Absolutely! When selecting ingredients, use fresh unsalted butter for optimal flavor and texture; check that it’s smooth and creamy, not crumbly. For the flour and sugar, make sure they are stored properly and free from clumps to ensure even mixing, resulting in delightful cookies.
How should I store leftover Daisy Cookies?
Very! Store your Daisy Cookies in an airtight container at room temperature for up to 1 week. If you want them to last longer, the fridge keeps them fresh for up to 2 weeks. Just remember to keep them sealed to avoid dryness.
Can I freeze Daisy Cookies for later use?
Absolutely! To freeze Daisy Cookies, place them in a single layer on a baking sheet and chill in the freezer for about an hour. Then, transfer them to a freezer-safe container or zip-top bag, keeping them separated with parchment paper. They can be frozen for up to 3 months. When you’re ready to enjoy, simply thaw at room temperature.
What if my dough is too crumbly?
No worries! If your dough is too dry and crumbly, try adding a teaspoon of cold water or milk. Mix gently until the dough comes together. If it’s overly sticky, sprinkle a little more flour until the desired consistency is reached. Ensure to knead it gently to get that tender texture.
Are Daisy Cookies suitable for kids with allergies?
I recommend checking ingredient labels carefully! These cookies can be made nut-free by simply omitting any optional nuts. Also, confirm that the candies you use are free from allergens like peanut or gluten, especially since Smarties and M&M’s have different ingredient lists depending on local manufacturing. Always prioritize safety so everyone can enjoy!
Can I use other candies in place of Smarties?
Absolutely! You can swap out Smarties for M&M’s, Skittles, or chocolate chips for a fun twist. Feel free to make it seasonal by using themed candies for holidays, letting the kids get creative and excited about their colorful Daisy Cookies!
Delightfully Colorful Daisy Cookies for Family Fun
Ingredients
Equipment
Method
- Preheat your oven to 190°C (375°F). Gather baking supplies.
- In a large mixing bowl, combine flour and sugar. Rub in butter until it resembles fine breadcrumbs.
- Knead the dough gently for about 30 seconds until smooth.
- Roll the dough into small balls, arrange five in a circle to form flowers.
- Press down on each ball to create petal shapes, keeping the center higher.
- Place a Smartie in the center of each flower, pushing it down slightly.
- Chill the baking sheet in the freezer for 30 minutes.
- Bake for 8-10 minutes until lightly golden.
- Cool on the baking sheet for a few minutes, then transfer to a wire rack.
Leave a Reply