
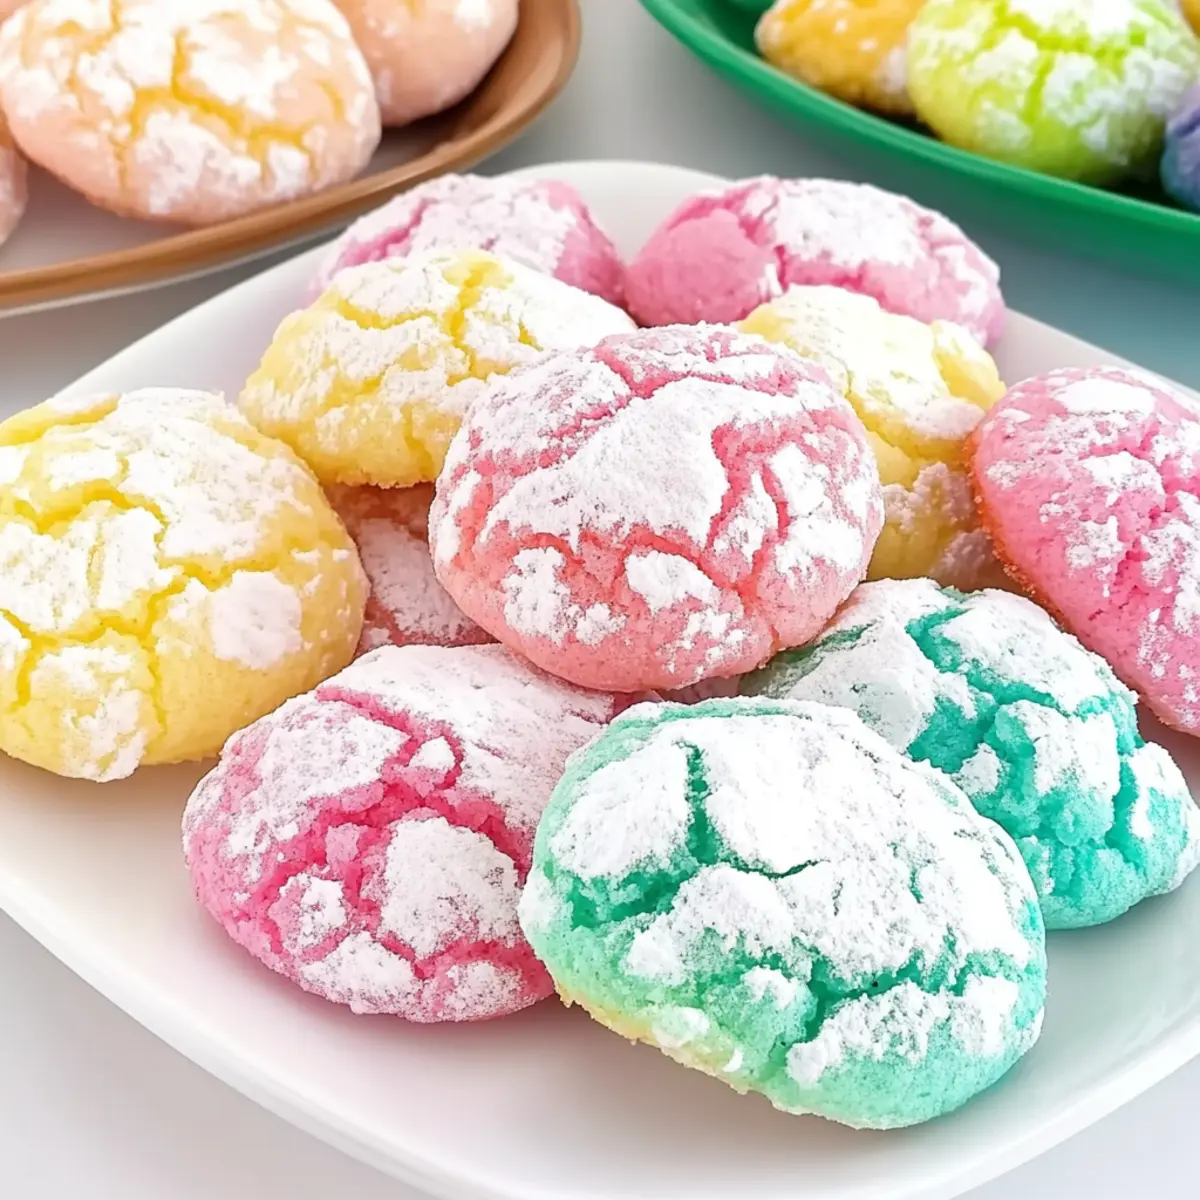
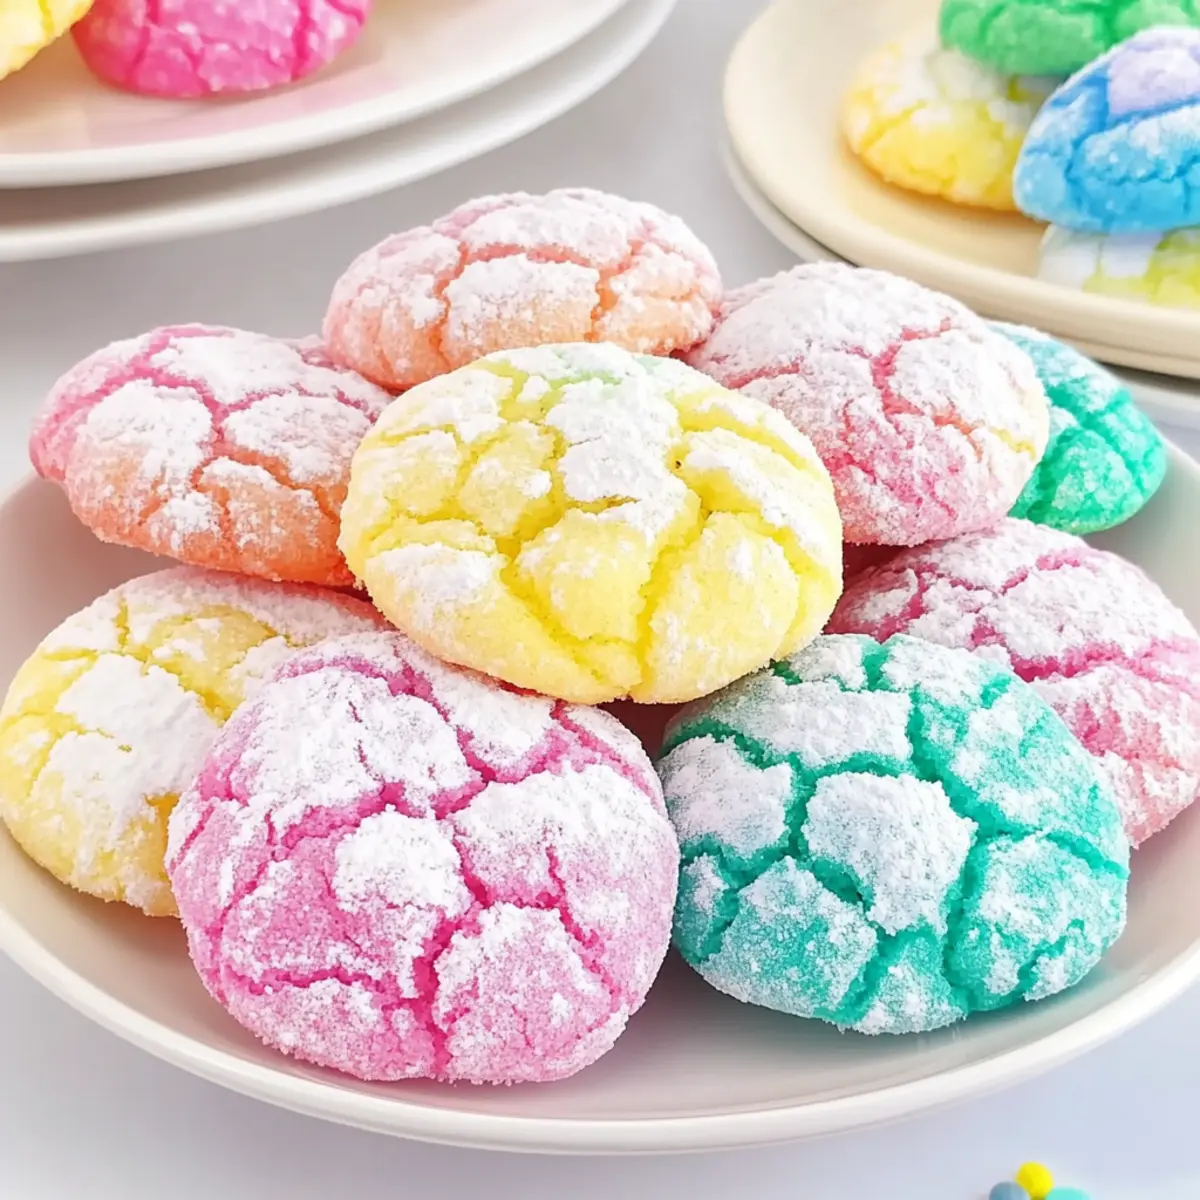
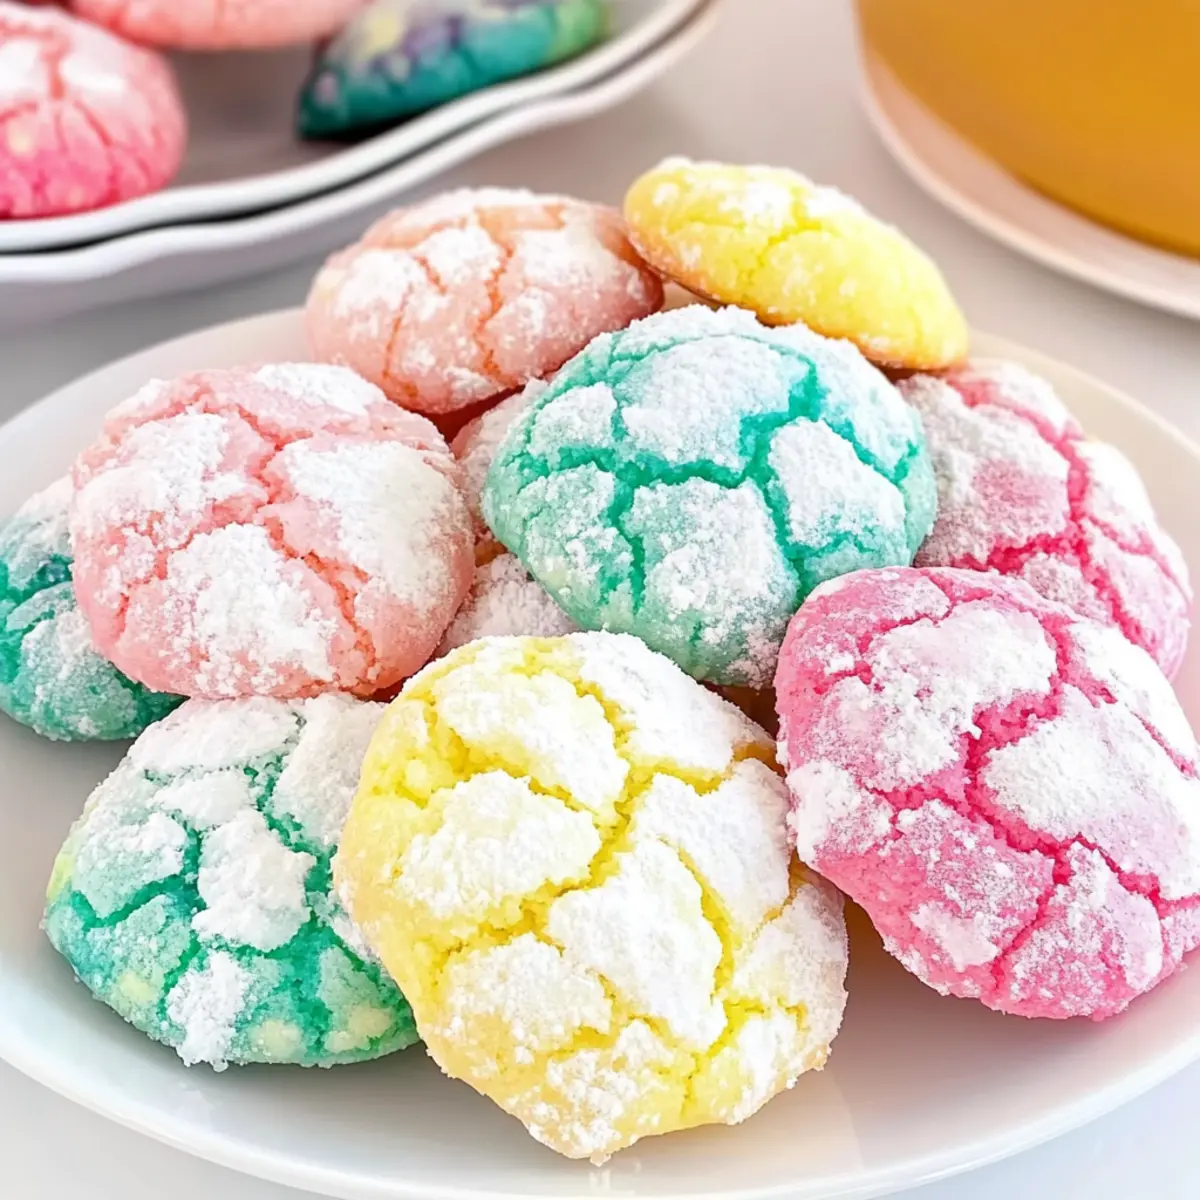
As the first blooms of spring break through the still-cool earth, I can’t help but feel a rush of excitement in the kitchen. That’s when I whip up a batch of these delightful Springtime Crinkle Cookies. With their soft and chewy texture and charming crinkled tops, they bring a vibrant splash of color that perfectly mirrors the season’s renewal. This easy-to-follow recipe not only delivers a joyful baking experience for everyone, regardless of skill level, but also offers a fun, eye-catching treat that dazzles at gatherings or as a sweet afternoon pick-me-up. Are you ready to add some spring cheer to your baking repertoire?
Why Are These Cookies So Special?
Colorful, Eye-Catching Treats: These Springtime Crinkle Cookies are a feast for the eyes, with vibrant hues that celebrate the season.
Soft and Chewy: Their delightful texture offers the perfect contrast of softness and a slight crunch, making every bite a joy!
Simple to Make: This recipe is approachable for all bakers, promising delightful results with just a few ingredients.
Versatile Appeal: These cookies are perfect for any occasion, whether a spring gathering, picnic, or just a cozy day at home.
Add Your Twist: Feel free to mix in your favorite flavors like coconut or experiment with different food colorings! You could also serve them alongside a scoop of vanilla ice cream for a delightful dessert experience.
Springtime Crinkle Cookies Ingredients
For the Cookie Batter
- All-purpose flour – Provides the essential structure needed for these delicious Springtime Crinkle Cookies.
- Baking powder – Acts as a leavening agent, ensuring your cookies rise beautifully.
- Salt – Enhances the overall flavor profile, making each bite delightful.
- Unsalted butter (softened) – Adds richness and moisture, creating a lovely texture.
- Granulated sugar – Sweetens the cookies and promotes a lovely golden-brown color.
- Eggs – Contribute moisture and help bind the ingredients together.
- Vanilla extract – Enhances flavor; using pure extract boosts taste significantly.
- Almond extract (optional) – Infuses a nutty depth; feel free to leave it out if desired.
For Rolling
- Powdered sugar – Creates a sweet, snowy crust around the cookies, making them extra festive.
For Color
- Gel food coloring – Optional for adding vibrant colors, perfect for a colorful spring celebration!
Step‑by‑Step Instructions for Springtime Crinkle Cookies
Step 1: Prepare Dough
In a large mixing bowl, whisk together 2 cups of all-purpose flour, 2 teaspoons of baking powder, and ½ teaspoon of salt until well combined. In a separate bowl, cream together ½ cup of softened unsalted butter with 1 cup of granulated sugar until light and fluffy—about 3-4 minutes using a hand mixer. Then, add 2 eggs, 2 teaspoons of vanilla extract, and optional almond extract, mixing until fully combined. Gradually add the dry ingredients, stirring just until incorporated.
Step 2: Add Color
Divide the dough into smaller portions, and add a few drops of gel food coloring to each portion as desired. Use your hands or a spatula to gently knead the color into the dough until evenly distributed, achieving vibrant, cheerful hues. This step not only adds flair to your Springtime Crinkle Cookies but also makes the baking process more fun!
Step 3: Chill
Once colored, cover the dough with plastic wrap or place it in an airtight container and refrigerate for at least 30 minutes. Chilling the dough is crucial; it helps enhance the crinkly effect when baking. Meanwhile, preheat your oven to 350°F (175°C), so it’s ready when your dough is perfectly chilled.
Step 4: Shape Cookies
After chilling the dough, remove it from the refrigerator. Preheat your oven to 350°F (175°C) and line a baking sheet with parchment paper. Use a cookie scoop or tablespoon to portion out the dough, shaping them into balls. Roll each ball in powdered sugar until fully coated, then place them on the prepared baking sheet, spacing them about 2 inches apart for even baking and to allow for spreading.
Step 5: Bake
Bake the Springtime Crinkle Cookies in the preheated oven for 10-12 minutes. Look for edges that are set while the centers remain soft; they will continue to cook slightly as they cool. You want those delightful crinkles to form beautifully as they rise!
Step 6: Cool
Once baked, remove the cookies from the oven and let them cool on the baking sheet for 5 minutes. Then, transfer them to a wire rack to cool completely. This cooling step is essential, allowing them to firm up while maintaining that soft, chewy interior. Enjoy the delightful aroma as you work through this final step!

Springtime Crinkle Cookies Variations
Feel inspired to make these Springtime Crinkle Cookies your own with a few fun twists that will elevate your baking experience!
-
Gluten-Free: Substitute all-purpose flour with a gluten-free flour blend for a chewy treat suitable for gluten-sensitive friends.
-
Dairy-Free: Use plant-based butter in place of unsalted butter for a delightful non-dairy version that everyone can enjoy!
-
Coconut Delight: Replace almond extract with coconut extract to infuse a tropical essence, creating a lovely flavor that pairs perfectly with the crinkles.
-
Color Explosion: Experiment with various gel food colorings to create a rainbow of vibrant hues or even marble effects in your cookie dough.
-
Nutty Crunch: Add chopped nuts like walnuts or pecans to the dough before baking for a delightful crunch that complements the cookie’s soft texture.
-
Spicy Kick: Incorporate a pinch of cinnamon or nutmeg for a warm, spiced flavor that brings an exciting twist to the classic cookie.
-
Fruit Infusion: Mix in dried fruits like cranberries or apricots to add chews and compliment the sweetness, enhancing the colorful look of your cookies.
-
Chocolate Surprise: Fold in chocolate chips or chunks for a rich chocolatey experience that perfectly contrasts with the soft, chewy cookie base. Consider pairing these crinkle cookies with a scoop of ice cream or a serving of fresh berries, just like my delightful Gingerbread Thumbprint Cookies do!
There’s no end to the creativity you can explore with these cookies; it’s all about making them a reflection of your tastes. Happy baking!
Expert Tips for Springtime Crinkle Cookies
-
Chill the Dough: To achieve those signature crinkles, don’t skip chilling the dough for at least 30 minutes. It’s key for the perfect texture.
-
Use Quality Extracts: For the best flavor in your Springtime Crinkle Cookies, opt for pure vanilla and almond extracts rather than artificial versions.
-
Measure Precisely: Use a cookie scoop to ensure uniform sizes for each cookie, helping them bake evenly and look inviting on the platter.
-
High Heat Reminder: Always preheat your oven completely before baking. This ensures the cookies puff up with that lovely crinkle as they start cooking.
-
Keep an Eye on Time: Watch your cookies closely while baking; you want them soft in the center and lightly set at the edges to maintain their chewy texture.
What to Serve with Springtime Crinkle Cookies
Elevate your dessert game with a delightful spread that complements these colorful cookies perfectly!
-
Vanilla Ice Cream: A scoop of creamy vanilla ice cream adds a rich contrast to the sweet, chewy cookies, making every bite extra indulgent.
-
Fresh Berries: Serve alongside vibrant strawberries or blueberries for a refreshing, tart contrast that brightens up the sweetness of the cookies.
-
Whipped Cream: A dollop of light, fluffy whipped cream provides a cloud-like texture that pairs beautifully with the chewy delight of the cookies.
-
Lemonade: A tall glass of homemade lemonade with its zesty tang balances the sweetness of the cookies, creating a refreshing treat for warm days.
-
Chocolate Ganache: Drizzling warm chocolate ganache over the cookies enhances their flavor with a decadent chocolatey richness.
-
Coffee or Tea: A warm cup of coffee or herbal tea rounds off the experience, the warmth contrasting splendidly with the soft texture of the cookies.
-
Fruit Salad: A colorful bowl of mixed fruit adds a fresh, juicy element, providing a light and healthy side that complements the sweetness.
-
Decorative Platter: Arrange your cookies on a vibrant platter accompanied by edible flowers for an eye-catching presentation that embodies the spirit of spring.
Make Ahead Options
These Springtime Crinkle Cookies are fantastic for meal prep, allowing you to enjoy the deliciousness even on your busiest days! You can prepare the cookie dough up to 24 hours in advance—just cover it tightly and refrigerate. Chilling is key as it enhances that delightful crinkly effect you’ll love! When you’re ready to bake, simply scoop the chilled dough into balls, roll them in powdered sugar, and follow the baking instructions as usual. This method not only saves you time but ensures that your cookies stay just as delicious and colorful. Embrace the joy of baking ahead and feel the stress melt away!
How to Store and Freeze Springtime Crinkle Cookies
Room Temperature: Store your colorful Springtime Crinkle Cookies in an airtight container at room temperature for up to one week to keep them fresh and chewy.
Fridge: If you prefer your cookies chilled, you can store them in the fridge in an airtight container for up to 10 days; just allow them to come to room temperature before enjoying.
Freezer: For longer storage, freeze the cookies in a single layer on a baking sheet until solid, then transfer them to a freezer bag for up to 3 months. Thaw at room temperature before serving.
Reheating: To refresh leftover cookies, place them on a baking sheet and warm in a preheated oven at 350°F (175°C) for about 5-7 minutes, restoring that delightful softness.
Springtime Crinkle Cookies Recipe FAQs
What type of flour is best for Springtime Crinkle Cookies?
All-purpose flour is perfect as it provides the necessary structure. If you’re looking for a gluten-free alternative, consider using a gluten-free flour blend that works for baking—make sure to follow the package instructions for the best results.
How should I store my cookies to keep them fresh?
Store these colorful Springtime Crinkle Cookies in an airtight container at room temperature for up to one week. If you prefer them chilled, they can be kept in the fridge for up to 10 days. Just remember to let them warm to room temperature before serving for the best flavor and texture.
Can I freeze the cookie dough?
Absolutely! To freeze the dough, shape it into balls after Step 4, then place on a baking sheet in a single layer. Freeze until solid, then transfer to a freezer bag. You can keep the dough for up to 3 months. When ready to bake, there’s no need to thaw; just add an additional minute or two to the baking time!
What if my cookies don’t crinkle?
If your Springtime Crinkle Cookies don’t develop that signature crinkle top, ensure you chilled the dough for at least 30 minutes before baking. Also, it’s important to not overmix the dough after adding dry ingredients—just mix until combined. Proper oven temperature is crucial, too; an oven that’s not hot enough can lead to flat cookies.
Are these cookies safe for pets or people with allergies?
These cookies contain common allergens such as eggs and dairy. If you’re baking for someone with allergies, consider using substitutes—like flax eggs for egg replacements and margarine for butter. As for pets, keep these cookies away from them, particularly because of the sugar and ingredients that may not be healthy.
How can I make these cookies even more colorful?
Feel free to experiment with different gel food coloring combinations to create custom hues for your Springtime Crinkle Cookies! Simply divide your dough into several portions before adding the food coloring, allowing you to craft unique patterns or solid colors for a celebratory look.
Springtime Crinkle Cookies: Soft, Colorful Treats to Savor
Ingredients
Equipment
Method
- In a large mixing bowl, whisk together the flour, baking powder, and salt until combined.
- In a separate bowl, cream the softened butter with the granulated sugar until light and fluffy.
- Add the eggs, vanilla extract, and almond extract, mixing until combined.
- Gradually add the dry ingredients, stirring just until incorporated.
- Divide the dough into portions and add gel food coloring as desired.
- Knead the color into the dough until evenly distributed.
- Cover the dough and refrigerate for at least 30 minutes.
- Preheat your oven to 350°F (175°C) and line a baking sheet with parchment paper.
- Scoop and shape the dough into balls, rolling them in powdered sugar.
- Place them on the baking sheet about 2 inches apart.
- Bake for 10-12 minutes, until edges are set and centers are soft.
- Allow to cool on the baking sheet for 5 minutes before transferring to a wire rack.
Leave a Reply