
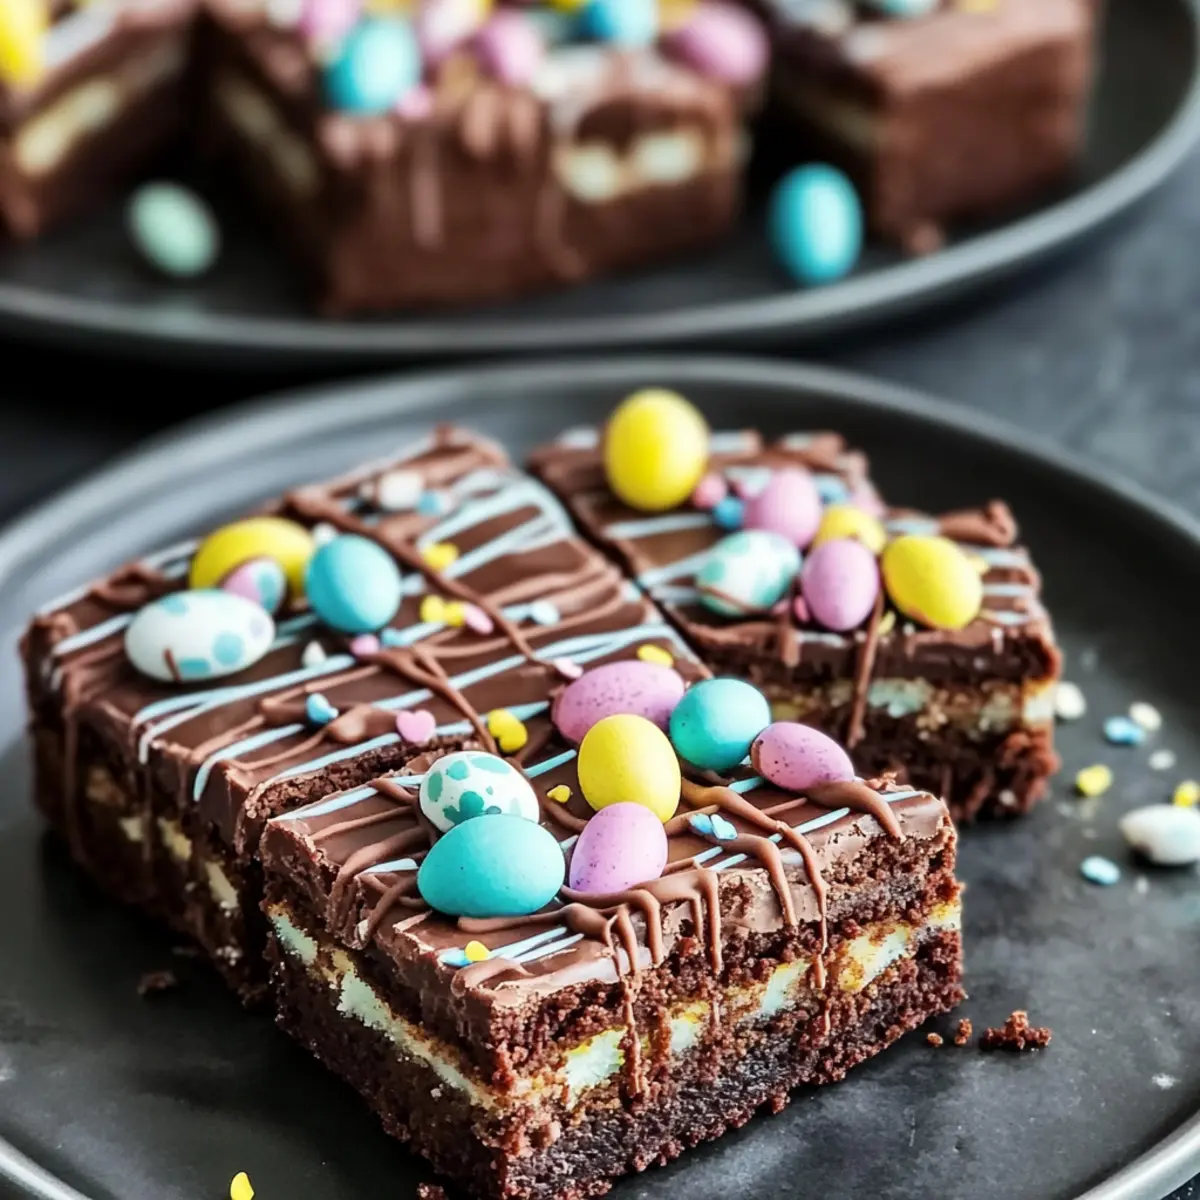
Spring is in the air, and with it comes a wave of celebration and sweetness! As I was assembling my kitchen for Easter baking, I couldn’t resist the thought of crafting a delightful treat to share with loved ones. Enter my Easter Brownies Recipe—these chewy chocolate delights are not only vibrant with pastel colors but also exceptionally easy to prepare. With just a few simple ingredients, you’ll create a delectable dessert that is perfect for spring gatherings. A luscious chocolate topping makes each bite feel special, and the colorful decorations bring a festive flair that both kids and adults will adore. If you’re looking to elevate your holiday baking this season, these brownies are just the ticket. What’s your favorite way to celebrate Easter?
Why Are These Easter Brownies a Must-try?
Simplicity: This recipe requires only a handful of pantry staples, making it accessible for anyone eager to bake.
Festive Touch: With pastel colors and playful toppings, these brownies add a cheerful vibe to your Easter celebrations.
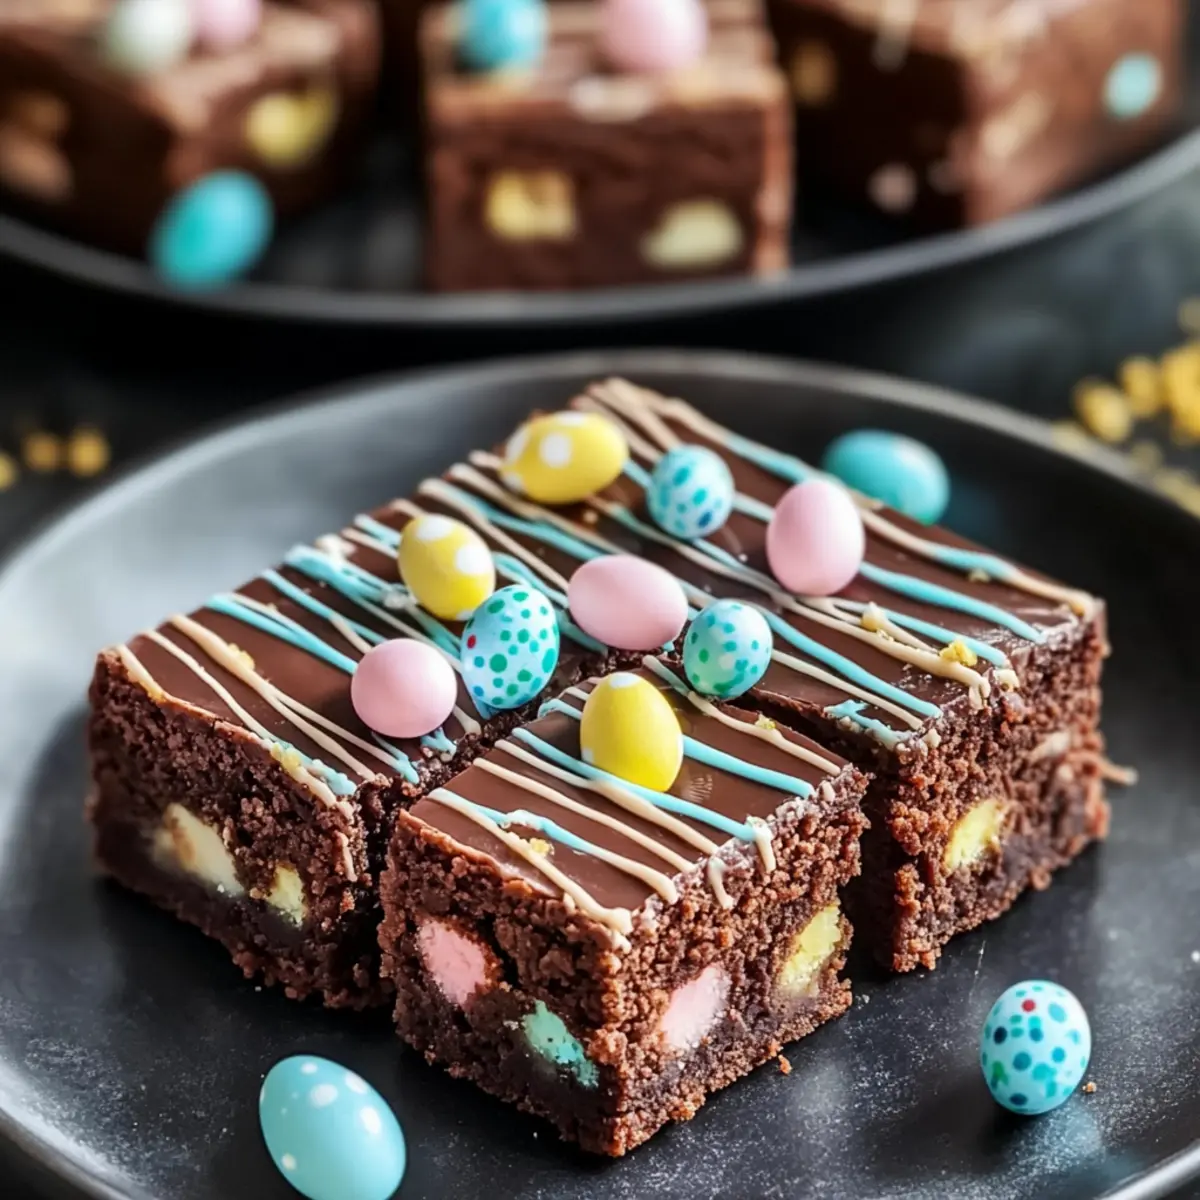
Chewy Delight: Each bite delivers a rich, fudgy texture complemented by melting chocolate chips for pure indulgence.
Family Favorites: Kids and adults alike will be beguiled by the vibrant presentation and delightful flavors, making them a hit at any gathering.
Make Ahead: With storage tips for keeping them fresh and delicious, you can even prepare these treats in advance for a hassle-free celebration.
If you’re in the mood for more seasonal sweetness, why not try these Chewy Pumpkin Cookies for fall or create some delightful Apple Brownies Deliciously for a unique twist? Enjoy baking!
Easter Brownies Ingredients
For the Brownies
• Granulated Sugar – Adds sweetness and contributes to a crisp top layer.
• Brown Sugar – Provides moisture and a chewy center.
• Unsalted Butter (melted) – Enriches flavor and texture for this Easter brownies recipe.
• Eggs – Bind ingredients together, creating a rich, thick batter.
• Vanilla Extract – Enhances the overall flavor profile, making each bite delightful.
• All-Purpose Flour – Supplies structure to provide that perfect chewy consistency.
• Cocoa Powder – Grounds the chocolate flavor, balancing sweetness with a hint of bitterness.
• Salt – Enhances other flavors and balances the sweetness of the brownies.
• Chocolate Chips – Creates pockets of melted chocolate within the brownie for indulgence.
For the Topping
• Coconut Oil – Gives a glossy finish to the chocolate topping, perfect for presentation.
• Chocolate Chips – Essential for a rich and satisfying topping that complements the brownie base.
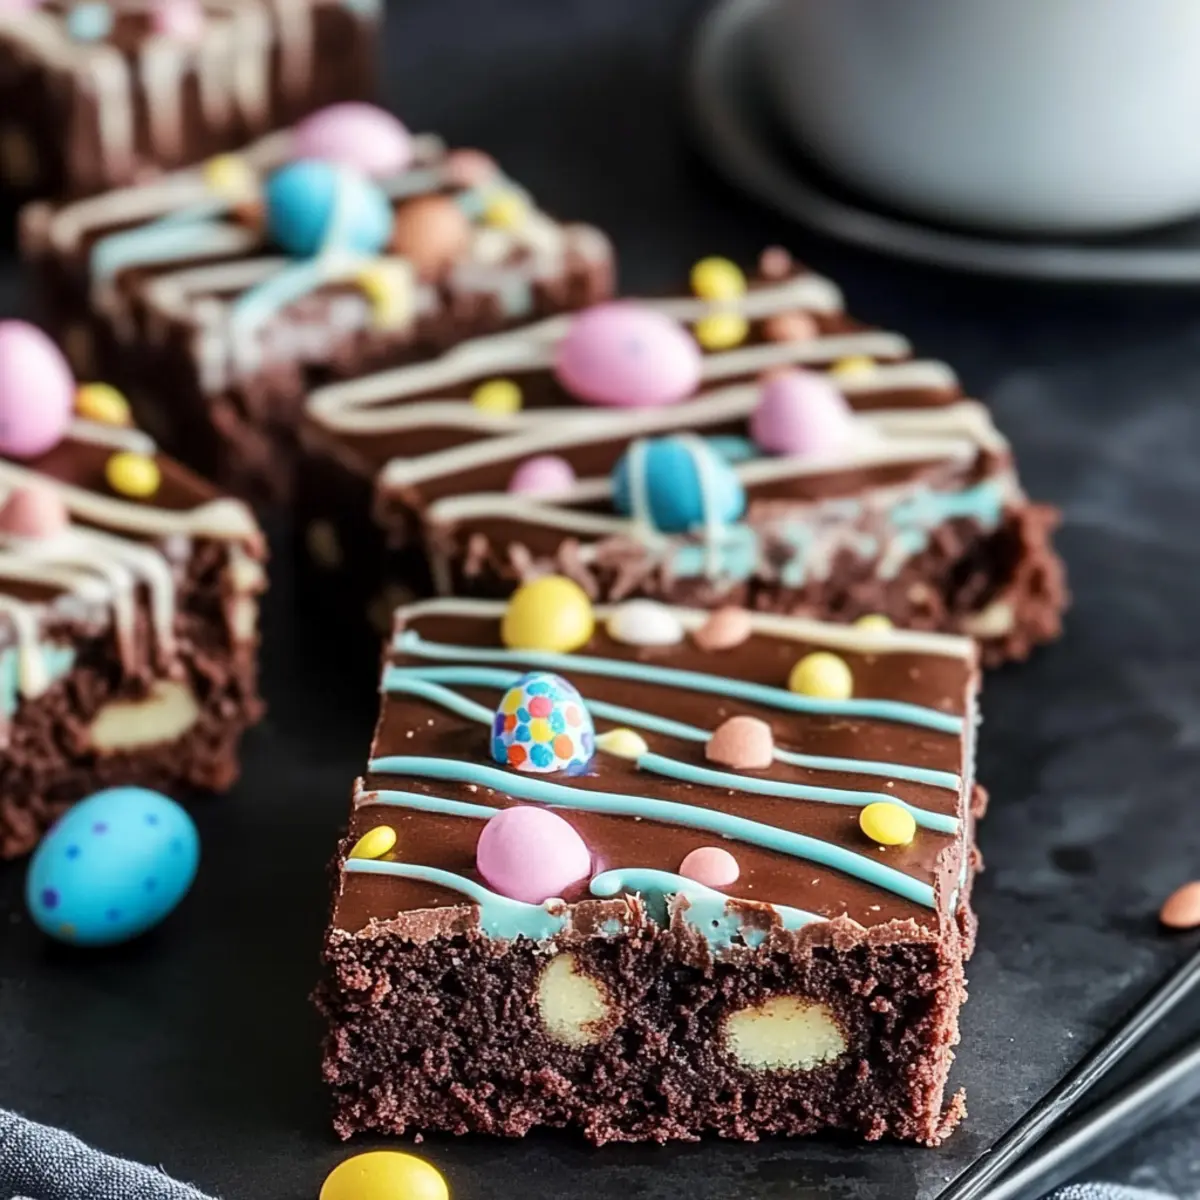
• White Chocolate – Used for decorative drizzle; tint with food coloring for that festive touch.
• Gel Food Coloring – Produces vibrant pastel colors to decorate without altering chocolate consistency.
• Sprinkles and Mini Candy Eggs – Fun decorative elements to enhance the festive presentation of your Easter brownies.
Step‑by‑Step Instructions for Easter Brownies Recipe
Step 1: Preheat the Oven
Begin by preheating your oven to 350°F (175°C). This step is crucial for ensuring your Easter brownies bake evenly. While the oven heats up, prepare a 9×13 inch baking pan by lining it with parchment paper for easy removal and cleanup.
Step 2: Melt the Butter and Mix Sugars
In a medium mixing bowl, melt 1 cup of unsalted butter until smooth. Stir in 1 cup of granulated sugar and 1 cup of brown sugar, mixing well until the mixture is fully combined and creamy. This will take about 2-3 minutes. The buttery aroma filling your kitchen will be a delightful start to your Easter brownies.
Step 3: Add Eggs and Vanilla
Once the sugar and butter mixture is smooth, add 4 large eggs, one at a time, mixing well after each addition. The eggs will bind the ingredients and create a rich batter. Add in 1 teaspoon of vanilla extract and continue mixing until everything is well incorporated, giving your brownies a lovely depth of flavor.
Step 4: Combine Dry Ingredients
Sift together 1 cup of all-purpose flour, 1/2 cup of cocoa powder, and 1/2 teaspoon of salt into the wet mixture. Gently fold these dry ingredients into the batter using a spatula or wooden spoon until just combined. Take care not to overmix, as this preserves the fudgy texture that defines your Easter brownies recipe.
Step 5: Fold in Chocolate Chips
Now, it’s time to add 1 cup of chocolate chips to your batter. Gently fold them in until they are evenly distributed throughout. These will create delightful pockets of melty chocolate in every bite, ensuring your Easter brownies are indulgently rich.
Step 6: Bake the Brownies
Pour the brownie batter into your prepared baking pan, spreading it out evenly with a spatula. Place the pan in your preheated oven and bake for 30-35 minutes. Once done, perform the toothpick test; a few moist crumbs should cling to the toothpick, indicating they are perfectly fudgy inside.
Step 7: Cool the Brownies
After baking, remove the brownies from the oven and allow them to cool in the pan for about 10 minutes. Then, lift them out using the parchment paper and transfer them to a wire rack to cool completely. This resting period is essential for achieving the perfect texture before adding the topping.
Step 8: Prepare the Chocolate Topping
While the brownies are cooling, prepare the chocolate topping. In a microwave-safe bowl, combine 1 cup of chocolate chips with 1 tablespoon of coconut oil. Microwave in 30-second increments, stirring in between until the mixture is smooth and glossy. This topping will enhance the appearance and flavor of your Easter brownies.
Step 9: Decorate with White Chocolate
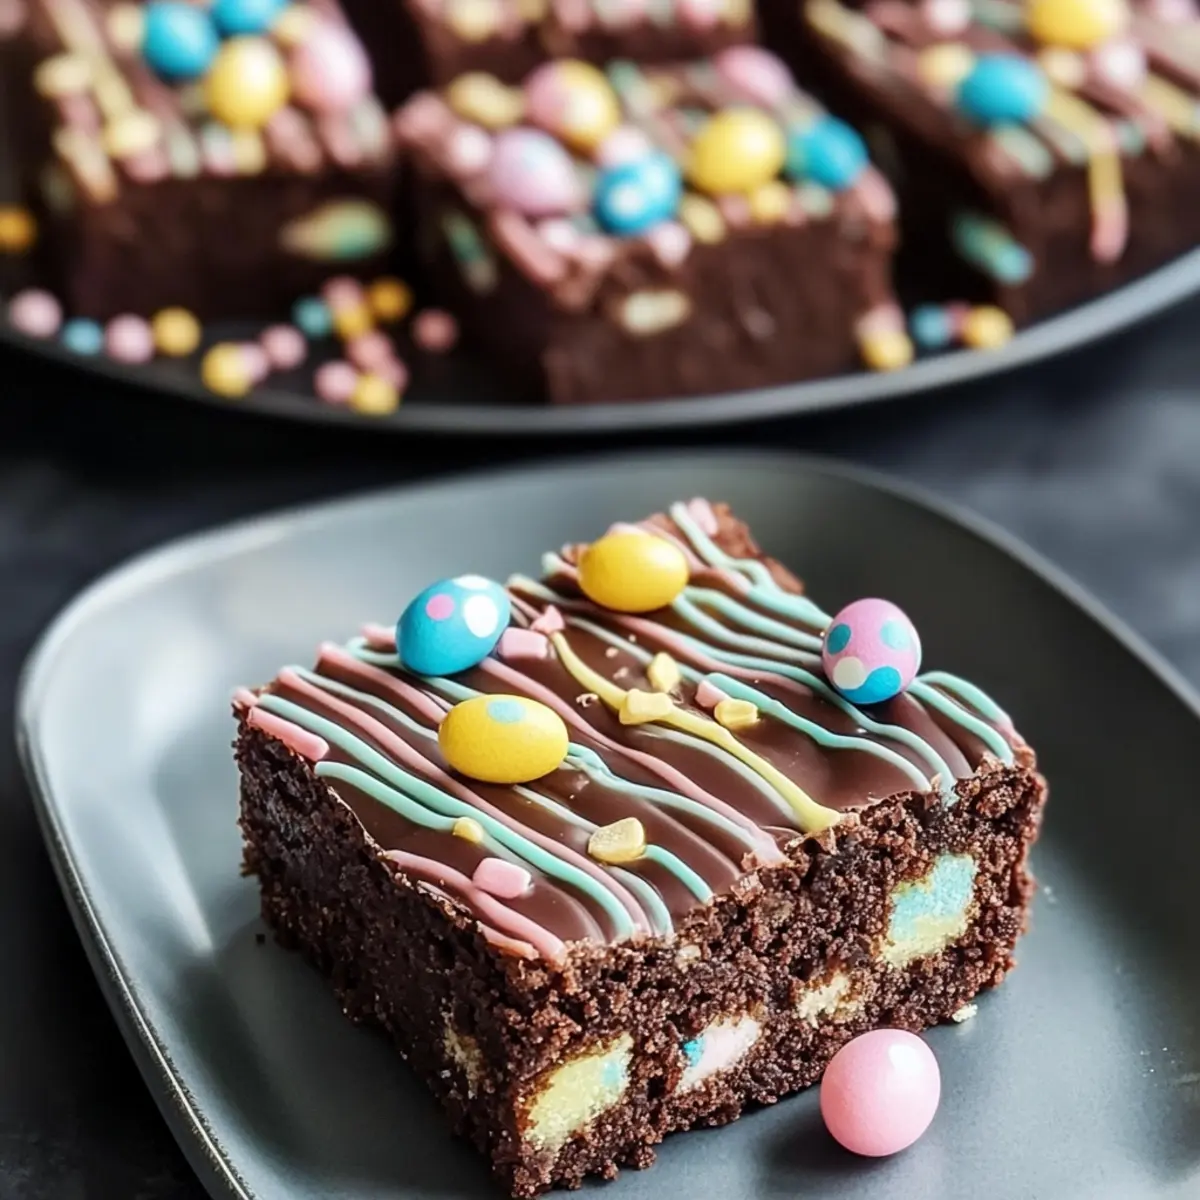
To create a festive look, melt white chocolate and tint it with your choice of gel food coloring. Using a piping bag or a fork, drizzle the colored white chocolate over the chocolate topping of your brownies, creating beautiful patterns. This adds a whimsical touch for your Easter celebration.
Step 10: Finish with Sprinkles
While the chocolate is still warm, sprinkle colorful sprinkles and mini candy eggs on top for added festive flair. These decorations will bring a joyful vibe to your Easter brownies, making them irresistible for both kids and adults alike. Allow the toppings to set before slicing into squares.
How to Store and Freeze Easter Brownies
Room Temperature: Store brownies in an airtight container at room temperature for up to 3 days to keep them chewy and flavorful.
Fridge: Alternatively, you can refrigerate them in the same container for up to a week. Allow them to reach room temperature before enjoying for the best taste.
Freezer: For longer storage, freeze your Easter brownies by wrapping them tightly in plastic wrap, followed by foil. They can last up to 3 months in the freezer.
Reheating: To enjoy later, thaw in the fridge overnight and microwave for about 10-15 seconds to revive that fresh, fudgy goodness.
Expert Tips for Easter Brownies
• Choose Quality Chocolates: Use high-quality chocolate chips for melting and baking to elevate your Easter brownies flavor; the richness truly shines through.
• Avoid Overmixing: Be gentle when combining your dry ingredients into the wet mixture; overmixing can lead to dense brownies. You want chewy, not tough!
• Cut Warm for Neat Slices: Warm a knife under hot water, dry it, and use it to slice your brownies. This ensures clean edges for a beautiful presentation.
• Use Gel Colors: Opt for gel food coloring instead of liquid for vibrant decoration; this way, your chocolate maintains its delightful consistency while getting that festive flair.
• Cool Completely: Patience is key! Let your brownies cool fully before adding toppings to maintain the layers’ integrity and avoid a melty mess.
• Store Properly: Keep your Easter brownies in an airtight container at room temperature for optimum freshness; they’ll stay delicious and chewy for several days!
Easter Brownies Recipe Variations
Feel free to get creative with these delightful brownies and make them your own!
- Nutty Delight: Add 1 cup of chopped walnuts or pecans to the batter for a crunchy texture and flavor contrast.
- Fruit Fusion: Fold in 1 cup of dried cranberries or cherries for a cheerful fruity twist that complements the chocolate perfectly.
- Spice It Up: Incorporate 1 teaspoon of cinnamon or a pinch of cayenne pepper into the batter for a surprising warmth.
- Dairy-Free Option: Substitute coconut oil for butter and use dairy-free chocolate chips for an equally delicious treat.
- Espresso Boost: Mix in 1 tablespoon of instant coffee or espresso powder to deepen the chocolate flavor for coffee lovers.
- Different Chocolates: Experiment with dark or white chocolate chips in place of semi-sweet for a unique taste experience.
- Festive Variants: Swap the pastel gel food coloring for seasonal colors like red and green for Christmas celebrations or orange and black for Halloween.
- Cheesecake Swirl: Blend 8 oz of cream cheese with 1 egg and ¼ cup of sugar, then swirl into the brownie batter before baking for a creamy delight.
As you craft these variations, don’t forget about other sweet treats to enjoy! For a fruity option, how about some delightful Apple Brownies Deliciously? Or, if you’re in the mood for fall flavors, give my Chewy Pumpkin Cookies a try! Happy baking!
What to Serve With Easter Brownies:
Springtime baking brings joy and deliciousness into your home, especially when it involves these fun, colorful brownies that everyone will love!
-
Vanilla Ice Cream: The creamy texture of vanilla ice cream complements the rich, fudgy chocolate brownies beautifully. A warm brownie paired with cold ice cream makes for a heavenly contrast.
-
Fresh Berries: Serve with raspberries or strawberries for a burst of freshness and tartness that cuts through the sweetness, making each bite delightful.
-
Whipped Cream: Light and fluffy whipped cream adds an airy element to the dense brownies, enhancing their indulgence while providing a lovely visual presentation.
-
Chocolate Milk: A glass of cold chocolate milk is a nostalgic pairing, perfect for both kids and adults. The chocolatey goodness elevates the brownie experience to a whole new level.
-
Mint Tea: For a refreshing drink option, serve mint tea alongside your brownies. Its herbal notes can cleanse the palate and balance the sweetness.
-
Decaf Coffee: A warm cup of decaf coffee pairs well, enhancing the chocolate flavor while providing a comforting and cozy vibe for your celebration.
-
Chocolate Sauce: Drizzle some extra chocolate sauce on top for those who crave even more indulgence. It adds richness and makes the dessert even more decadent!
-
Mini Cupcakes: Serve alongside miniature cupcakes for a delightful dessert spread. Their charming size and variety will appeal to both adults and kids during your festive gathering.
-
Easter-themed Cookies: Consider pairing your brownies with fun, decorated Easter cookies. Their playful shapes and colors create a delightful dessert table that’s perfect for celebrations.
Make Ahead Options
These Easter Brownies are incredibly perfect for meal prep, allowing you to enjoy effortless baking! You can bake the brownies up to 3 days in advance and store them in an airtight container at room temperature. For the ultimate freshness, refrigerate them for up to a week or freeze for up to 3 months. To maintain their chewy texture, ensure they are completely cool before covering them. When you’re ready to serve, simply prepare the chocolate topping and festive decorations just before enjoying. This way, you can easily prepare these delightful Easter brownies ahead of time, saving valuable moments for family gatherings and making your celebration more enjoyable!
Easter Brownies Recipe FAQs
What kind of chocolate should I use for the topping?
Absolutely! For the best flavor, I recommend using high-quality chocolate chips for melting and baking. Dark, semi-sweet, or even milk chocolate can work wonders depending on your preference, but you can always opt for a mix to achieve different flavor profiles in your Easter brownies.
How should I store leftover brownies?
To keep your Easter brownies fresh and delicious, store them in an airtight container at room temperature for up to 3 days. If you don’t think you’ll finish them by then, refrigerate the brownies, and they’ll last up to a week. Just make sure to let them come back to room temperature for that perfect chewy texture!
Can I freeze these brownies for later?
Very! To freeze your Easter brownies, wrap them tightly in plastic wrap and then cover with foil to prevent freezer burn. When stored correctly, these brownies can last for up to 3 months. When you’re ready to enjoy, simply thaw them in the refrigerator overnight and give them a quick zap in the microwave for 10-15 seconds to bring back their fudgy goodness.
What if my brownies come out too dry?
If your brownies turn out dry, there are a couple of things to consider. First, make sure you’re testing for doneness correctly. Conduct the toothpick test; it should come out with a few moist crumbs, not clean. If they do overbake, you can always serve them with a scoop of ice cream or drizzle extra melted chocolate on top to add moisture back in.
Are these brownies suitable for people with allergies?
I often make these delightful brownies for gatherings, but keep in mind that this Easter brownies recipe contains common allergens like gluten, eggs, and dairy. If you’re accommodating guests with allergies, consider using gluten-free flour alternatives or egg replacements like flaxseed meal or applesauce. Additionally, using dairy-free chocolate can make them suitable for those avoiding dairy.
How can I enhance the festive colors of my brownies?
To achieve vibrant pastel colors without compromising the texture, I recommend using gel food coloring instead of liquid. You can gradually add it to the melted white chocolate used for decoration until you reach your desired hue. Feel free to experiment with mixing the colors for unique designs on your Easter brownies!
Chewy Easter Brownies Recipe with Festive Chocolate Toppings
Ingredients
Equipment
Method
- Preheat your oven to 350°F (175°C) and prepare a 9x13 inch baking pan by lining it with parchment paper.
- Melt 1 cup of unsalted butter in a medium mixing bowl, then mix in 1 cup of granulated sugar and 1 cup of brown sugar until creamy.
- Add 4 large eggs one at a time and 1 teaspoon of vanilla extract, mixing well until fully combined.
- Sift together 1 cup of all-purpose flour, 1/2 cup of cocoa powder, and 1/2 teaspoon of salt into the wet mixture. Fold until just combined.
- Gently fold in 1 cup of chocolate chips, ensuring they are evenly distributed.
- Pour the brownie batter into the prepared pan and bake for 30-35 minutes.
- Allow the brownies to cool in the pan for 10 minutes, then transfer to a wire rack to cool completely.
- Combine 1 cup of chocolate chips and 1 tablespoon of coconut oil in a microwave-safe bowl and microwave until smooth.
- Melt white chocolate and tint it with gel food coloring, then drizzle over the chocolate topping.
- While the chocolate is warm, add colorful sprinkles and mini candy eggs on top for decoration.
Leave a Reply