
You won’t believe how easy it is to whip up these 4-Ingredient Gluten-Free Chocolate Oat Cookies! Just when I thought I couldn’t simplify my baking any further, I stumbled upon this delightful recipe that combines the rich flavor of cocoa with the delightful chewiness of oats. Not only are these cookies irresistibly simple, but they also make for the perfect quick treat that can satisfy your sweet tooth without the fuss of complicated ingredients. Plus, they fit beautifully into a gluten-free diet—so everyone can indulge! Whether you’re in need of an after-school snack or a quick pick-me-up during a busy day, these cookies might just become your new go-to. Ready to dive into a world of effortless baking? Let’s get started!
Why Are These Cookies a Must-Try?
Simplicity: With just four ingredients, these cookies come together in a flash, making them perfect for busy schedules.
Flavorful Blend: The rich cocoa and hearty oats offer a delightful taste that satisfies chocolate cravings without guilt.
Versatile Recipe: Tailor them to your taste! Explore different nut butters or flavor extracts for a unique twist each time you bake.
Crowd-Pleasing Snack: They’re not just tasty; these cookies are great for sharing with friends and family, ensuring everyone can enjoy a gluten-free treat.
Quick and Easy: In under 30 minutes, you can whip up a batch that’s both nourishing and satisfying—ideal for a last-minute dessert or snack!
These Chocolate Oat Cookies are perfect for anyone looking to indulge without the hassle. For more delightful recipes, check out these Espresso Cheesecake Decadent bars or Vanilla Bean Cheesecake treats!
Chocolate Oat Cookies Ingredients
For the Dough
- Oats – Ensure you use certified gluten-free oats for a safe option.
- Cocoa Powder – Opt for Dutch-processed cocoa for a smoother, richer flavor.
- Nut Butter – Use your favorite nut butter, like almond or peanut, for binding and healthy fats.
- Sweetener – Adjust the amount of maple syrup according to your sweetness preference; honey works well too.
Optional Add-Ins
- Chocolate Chips – Fold in some semi-sweet chocolate chips for extra indulgence.
- Nuts – Chopped nuts like walnuts or pecans can add a delightful crunch and flavor.
- Dried Fruits – Consider mixing in dried fruits like cranberries for a fruity touch to your cookies.
These Chocolate Oat Cookies are as versatile as they are delicious!
Step‑by‑Step Instructions for 4-Ingredient Gluten-Free Chocolate Oat Cookies
Step 1: Preheat the Oven
Begin by preheating your oven to 350°F (175°C). This temperature is key to achieving that perfect balance of crispy edges and chewy centers in your Chocolate Oat Cookies. While the oven heats, gather your mixing bowl, spatula, and lined baking sheet to ensure you’re ready for the next steps.
Step 2: Combine the Dry Ingredients
In a mixing bowl, add the oats and cocoa powder. Stir them together until they’re well combined, creating a uniform chocolatey blend. The aroma of cocoa will fill the air, signaling that you’re on the right track. This step ensures that the chocolate flavor is evenly distributed throughout your cookies.
Step 3: Mix in the Wet Ingredients
Next, introduce your nut butter and sweetener to the oat and cocoa mixture. With a spatula, mix everything until a sticky dough forms. Be sure to scrape down the sides of the bowl to incorporate all ingredients well. The mixture should hold together while still being slightly soft and pliable, ready for shaping into cookies.
Step 4: Shape the Cookies
Using a tablespoon, scoop out mounds of the dough and place them onto the lined baking sheet, giving them some space to spread. Gently flatten each mound slightly with the back of the spoon. By doing this, your Chocolate Oat Cookies will bake evenly, ensuring that they become crispy on the outside while remaining chewy within.
Step 5: Bake the Cookies
Slide the baking sheet into your preheated oven and bake for 10-12 minutes, or until the edges appear firm. Keep an eye out; the cookies should look beautifully set but still slightly soft in the center. This contrast is essential to achieving that delightful chewy texture that everyone loves in a cookie.
Step 6: Cool on a Rack
Once baked, remove the cookies from the oven and transfer them to a wire rack. Let them cool for at least 5 minutes on the baking sheet before moving them. This resting time allows the cookies to firm up slightly, ensuring that they maintain their perfect shape when you enjoy your delicious Chocolate Oat Cookies later.
Make Ahead Options
These 4-Ingredient Gluten-Free Chocolate Oat Cookies are fantastic for meal prep enthusiasts looking to save time on busy days! You can prepare the cookie dough up to 24 hours in advance; just mix all the ingredients and refrigerate the dough in an airtight container. This helps preserve the freshness and prevents the oats from absorbing too much moisture. When you’re ready to enjoy, simply scoop and shape the cookies, then bake them as directed. If you prefer, you can also freeze the formed cookies on a baking sheet, and once solid, transfer them to a freezer bag to keep for up to 3 months. When you’re ready to bake from frozen, no need to thaw—just pop them in the oven for a delightful treat that remains just as delicious!
Chocolate Oat Cookies Variations & Substitutions
Feel free to explore these exciting twists on the recipe, making it truly your own!
- Nut-Free: Substitute nut butter with sunflower seed butter to accommodate allergies while keeping the texture delightful.
- Sweetener Swap: Use agave syrup instead of maple syrup for a lighter taste, or try coconut sugar for a more caramel-like sweetness.
- Cocoa Variation: Replace cocoa powder with carob powder for a different flavor profile that’s naturally sweet and caffeine-free.
- Flavor Extracts: Incorporate vanilla or almond extract into the mix for an extra layer of fragrance and taste—just a few drops can elevate your cookies!
- Coconut Flakes: Adding unsweetened coconut flakes gives these cookies a chewy texture and tropical twist. It’s a delightful surprise with each bite.
- Fruit & Nut Mix: Fold in chopped dried fruits like apricots or raisins along with nuts to boost the flavor and nutrition; this adds bursts of sweetness and crunch.
- Spicy Kick: Dust some cinnamon or cayenne pepper into the dough for a lively flavor twist. The balance of sweet and spicy can be truly exciting!
For additional inspiration, be sure to check out these scrumptious Espresso Cheesecake Decadent bars or try our luscious Vanilla Bean Cheesecake. They’re perfect for complementing your chocolate oat cookies!
Expert Tips for Chocolate Oat Cookies
- Ingredient Quality: Use high-quality nut butter for a creamier texture and better flavor; fresh nut butter makes all the difference in these delicious cookies.
- Don’t Overmix: Mix until just combined to avoid tough cookies. You want a tender consistency that enhances the chewy goodness of the chocolate oat cookies.
- Baking Time Awareness: Keep an eye on your cookies as they bake; every oven is different, and overbaking can lead to dry cookies instead of the desired chewy center.
- Cooling Patience: Allow your cookies to cool completely on the rack to finish firming up; removing them too early may result in a crumbly mess.
- Storage Savvy: Store cookies in an airtight container to maintain their freshness and chewy texture; they also freeze well if you want to save some for later!
How to Store and Freeze Chocolate Oat Cookies
Fridge: Store your Chocolate Oat Cookies in an airtight container for up to 1 week. This keeps them fresh and chewy for those spontaneous snack cravings!
Freezer: For longer storage, freeze the cookies in a single layer on a baking sheet, then transfer to a freezer-safe container for up to 3 months. Thaw at room temperature when ready to enjoy!
Reheating: To restore their delightful chewy texture, warm cookies in the microwave for about 10-15 seconds. Alternatively, place them in a preheated oven at 350°F (175°C) for a few minutes.
Room Temperature: If left out, cookies can stay fresh for about 3 days. Just make sure to keep them in a cool, dry place to avoid them becoming stale.
What to Serve with 4-Ingredient Gluten-Free Chocolate Oat Cookies
These delightful treats are perfect for creating a cozy and delicious meal experience, whether you’re sharing them with loved ones or enjoying them solo.
-
Creamy Vanilla Ice Cream: The rich cookies pair perfectly with a scoop of creamy vanilla ice cream, creating a delightful contrast of warm and cold. Each bite is a blissful combination of textures and flavors that will leave you smiling.
-
Fresh Berries: A medley of strawberries, blueberries, and raspberries brings a burst of freshness that complements the chocolatey richness wonderfully. The acidity of the berries cuts through the sweetness, balancing each mouthful.
-
Nutty Trail Mix: A handful of nutty trail mix adds a satisfying crunch and an array of flavors, enhancing your snack experience. Whether you choose almonds, walnuts, or seeds, it brings an extra layer of texture alongside the soft cookies.
-
Almond Milk Latte: Sip on a warm almond milk latte for a cozy drink that enhances the cookie experience. The nutty flavor of the milk pairs beautifully with the chocolate, creating a lovely harmony of tastes.
-
Chocolate Dipped Fruit: For a decadent touch, consider chocolate dipped strawberries or bananas. This pairing ties in the rich cocoa from the cookies while adding a fresh, fruity component that feels indulgent yet light.
-
Whipped Coconut Cream: Light and fluffy, whipped coconut cream adds a luscious topping option for your cookies. This dairy-free delight beautifully complements the chocolate without overwhelming the palate, making it perfect for a gluten-free dessert.
Chocolate Oat Cookies Recipe FAQs
What type of oats should I use for these cookies?
Absolutely! It’s best to use certified gluten-free oats, especially if you’re adhering to a gluten-free diet. They provide the necessary structure and chewiness while ensuring there’s no gluten contamination. If you’re using regular oats and don’t have a gluten sensitivity, standard rolled oats will work too.
How should I store my Chocolate Oat Cookies?
I recommend keeping your cookies in an airtight container at room temperature for up to about 1 week. This method keeps them fresh and chewy. If you’d like them to last longer, it’s best to freeze them. You can freeze the cookies by laying them in a single layer on a baking sheet until solid, then transferring them to a freezer-safe container. They’ll stay good for up to 3 months!
Can I freeze Chocolate Oat Cookies?
Yes, you can! To freeze your cookies, first place them in a single layer on a baking sheet and freeze for about 1 hour until solid. Afterward, transfer them to a freezer-safe bag or container. They can last up to 3 months. When ready to enjoy, simply let them thaw at room temperature. For a warm treat, heat them in a microwave for 10-15 seconds!
What if my cookies are too dry?
If you find your Chocolate Oat Cookies coming out too dry, it might be due to overbaking or not enough moisture from the nut butter or sweetener. Ensure you’re baking them just until the edges set and keep the center slightly soft. You could also mix in a bit more nut butter or sweetener to the dough if you’d like to add additional moisture before baking.
Are these cookies suitable for people with nut allergies?
If you’re looking to accommodate nut allergies, absolutely! You can replace the nut butter with sunflower seed butter. It provides a similar texture and holds everything together nicely, making it safe for those with nut allergies. Just ensure to check that all ingredients, like oats and any add-ins, are also allergen-safe.
How can I tell when the cookies are perfectly baked?
I often find it helpful to look at the edges! Your cookies should be firm around the edges while retaining a soft and slightly undercooked center. Aim for a baking time of 10-12 minutes, but always keep an eye on them since every oven can vary slightly. After baking, allow them to cool on a rack to finish setting up.
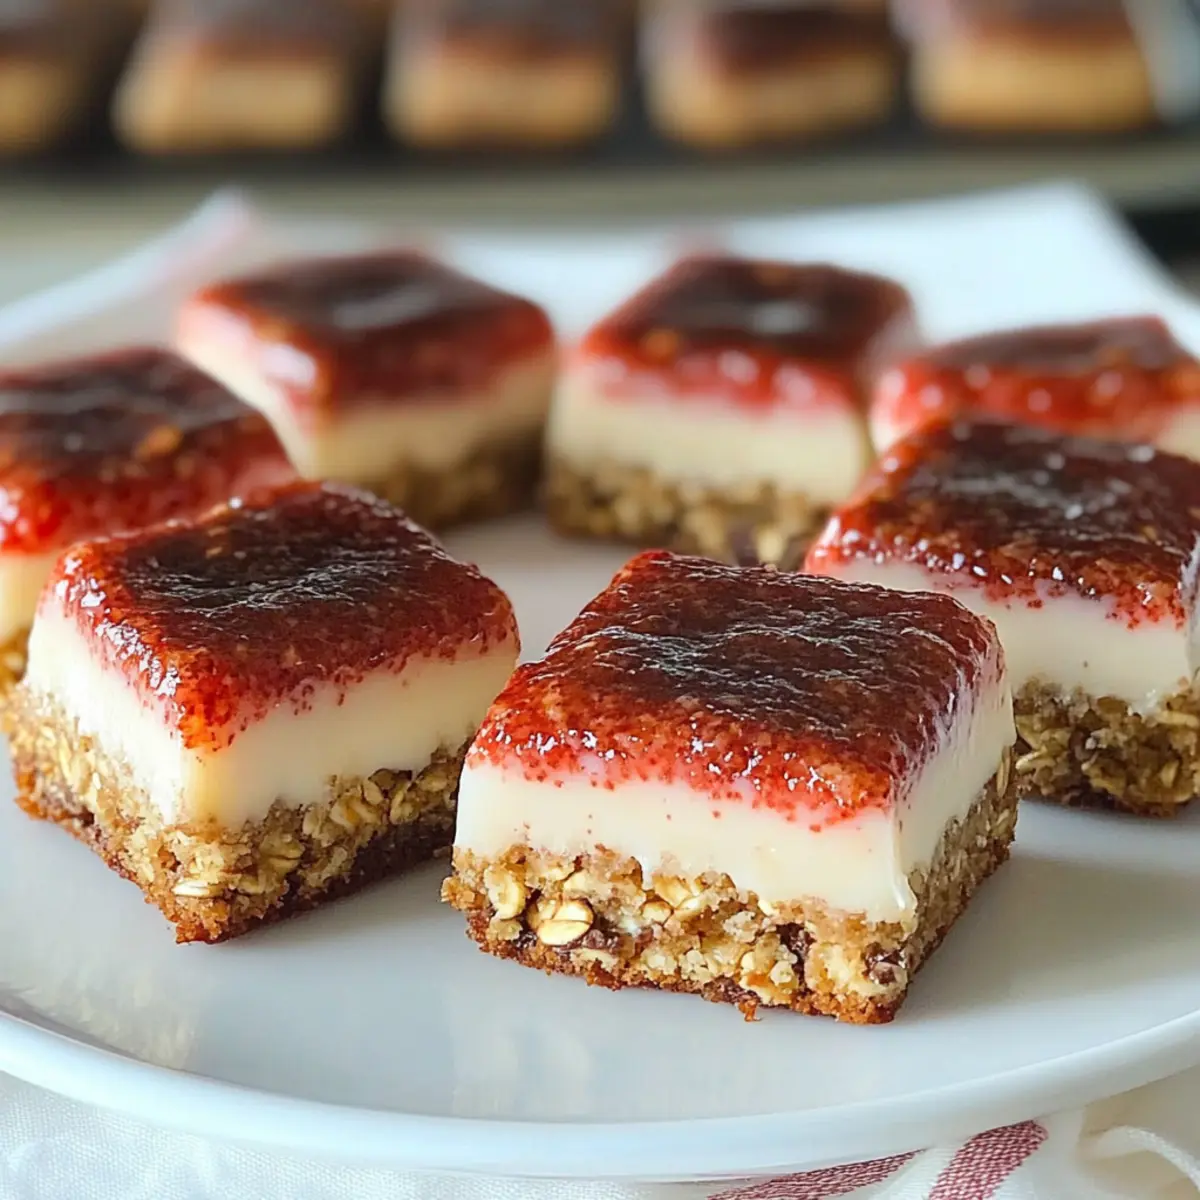
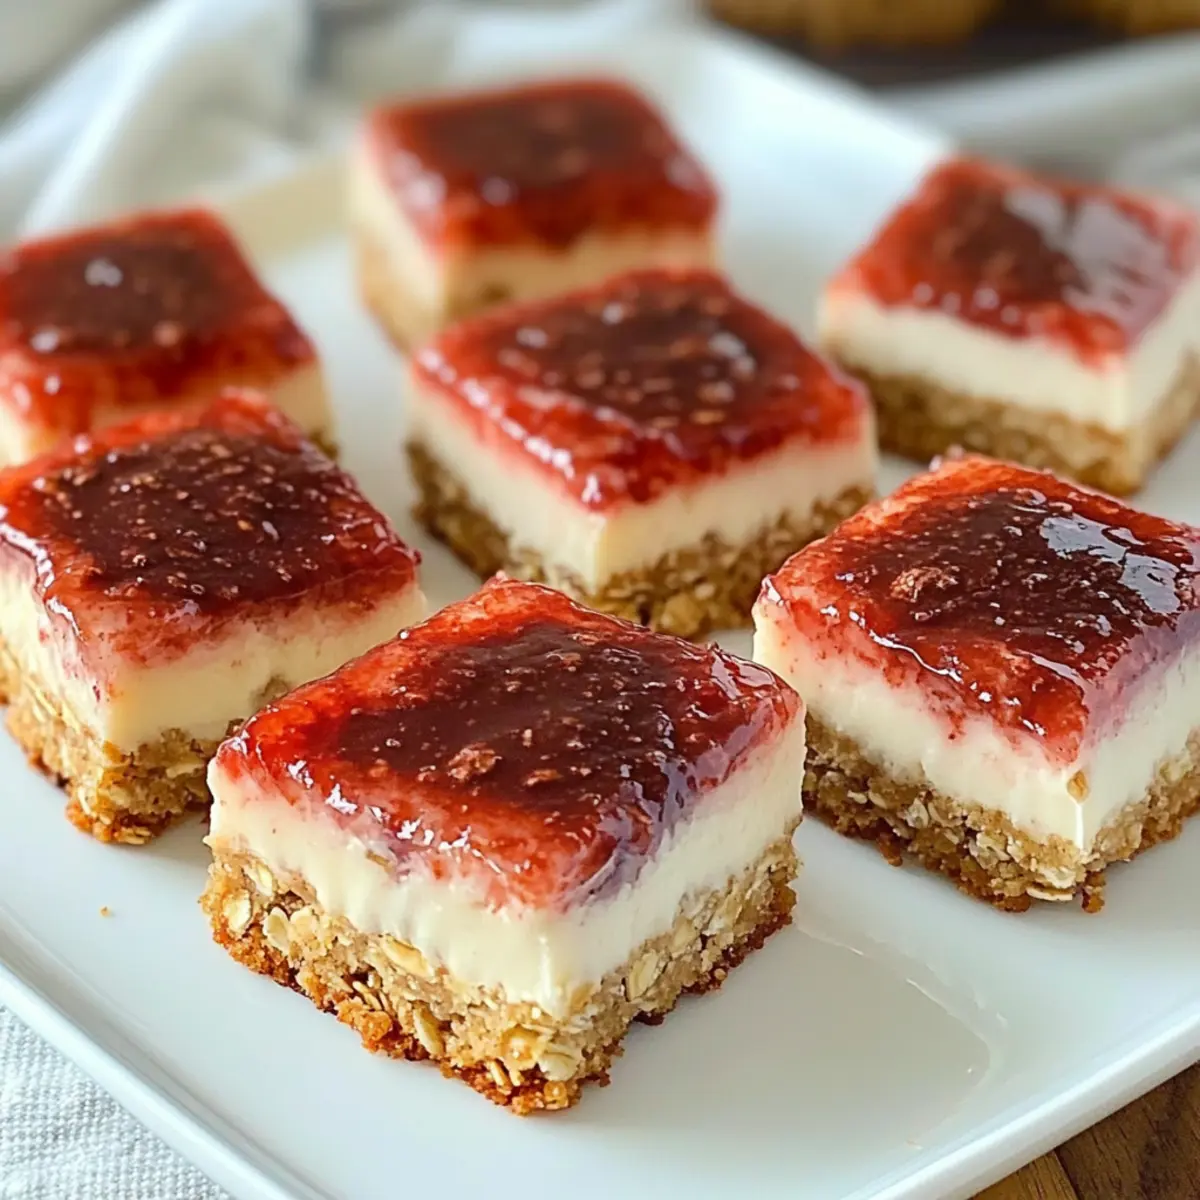
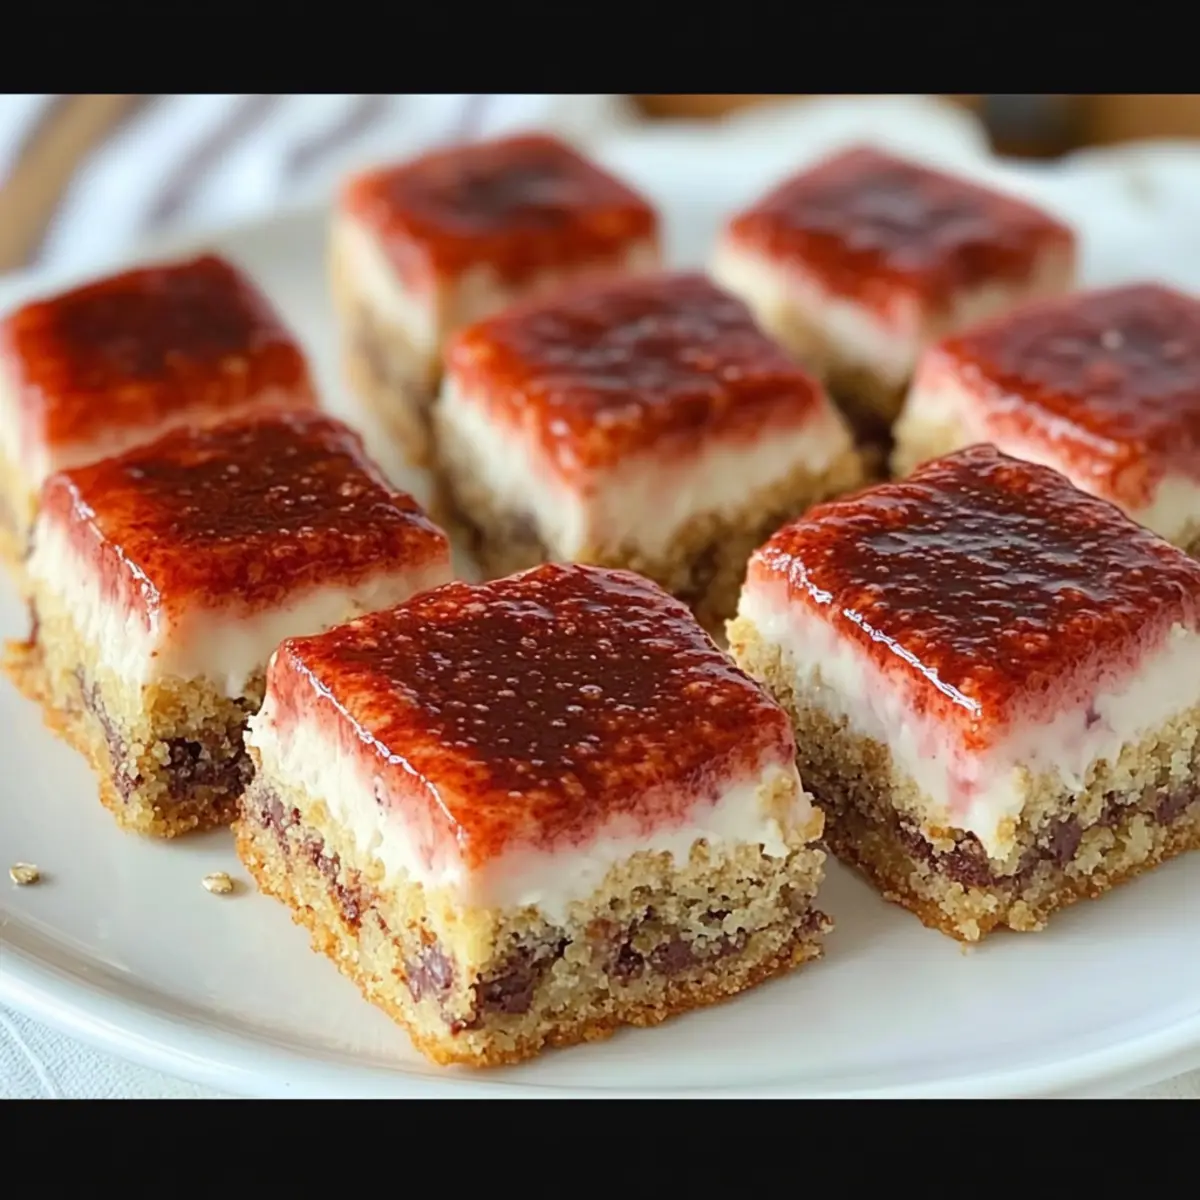
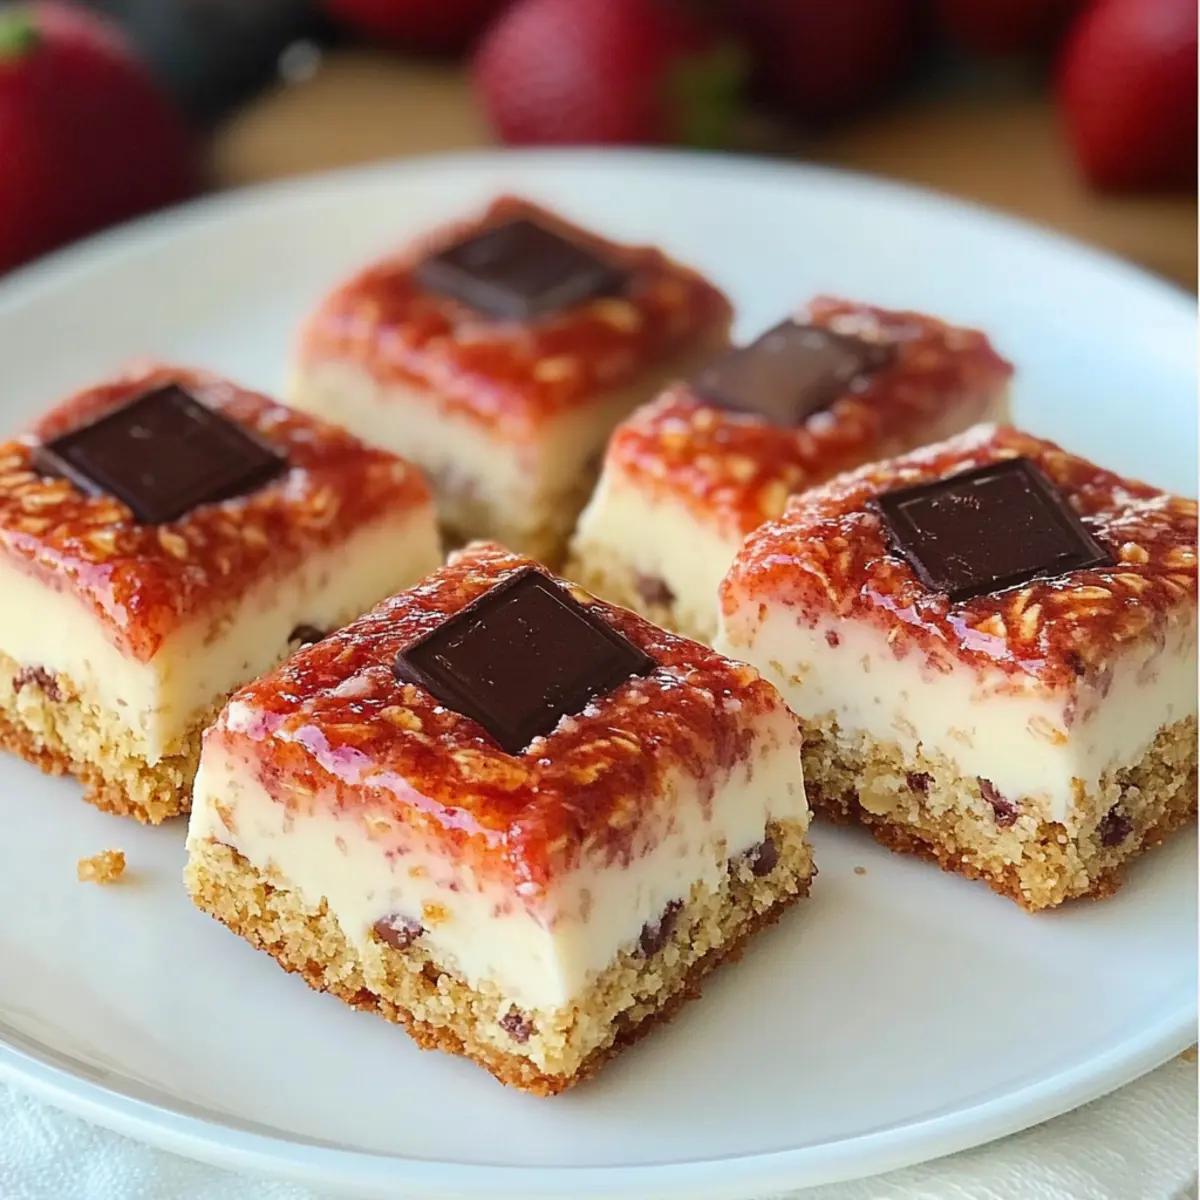
No-Bake Strawberry Cheesecake Bars That Wow Every Time
Ingredients
Equipment
Method
- In a mixing bowl, combine gluten-free graham cracker crumbs, melted butter, and sugar. Press this mixture into the bottom of a lined 9x9 inch baking pan.
- In another bowl, whip the cream cheese and sugar until smooth. Fold in whipped cream and strawberry puree until fully combined.
- Spread the filling evenly over the crust in the baking pan, smoothing the top with a spatula.
- Cover and refrigerate for at least 60 minutes to set.
- Once set, slice into bars and serve chilled.
Leave a Reply