
The other day, I overheard my neighbor’s kids squealing with delight as they dug into a bowl of something that looked like pure fun. It turned out to be Oreo Cookie Dirt Cups, a whimsical no-bake dessert that turns ordinary ingredients into a playful treat! Perfect for both kids and the young at heart, these cups are not only easy to whip up but also allow for delightful customization. Whether you’re throwing together a quick family dessert or planning a lively party, these creamy layers topped with crunchy cookie crumbles are a guaranteed hit. And the best part? You can play around with toppings and flavors to make each batch uniquely yours. Curious how to create this fun and treat the whole family will rave about? Keep reading!
Why Are Oreo Cookie Dirt Cups a Must-Try?
Fun and Creative: These Oreo Cookie Dirt Cups unleash your creativity! Layer rich, creamy filling with crunchy cookie crumbs for a whimsical treat that’s sure to impress at any gathering.
Easy to Customize: Tailor this dessert to suit your tastes! Add fresh fruits, nuts, or themed toppings to delight your crowd, making every batch uniquely yours.
No-Bake Convenience: Forget about baking! The no-bake nature of this recipe means you can whip it up quickly, perfect for busy weeknights or impromptu parties.
Kid-Friendly Delight: These cups are not just fun to eat; they’re also fun to make! Involve the kids in the layering process for a memorable family activity.
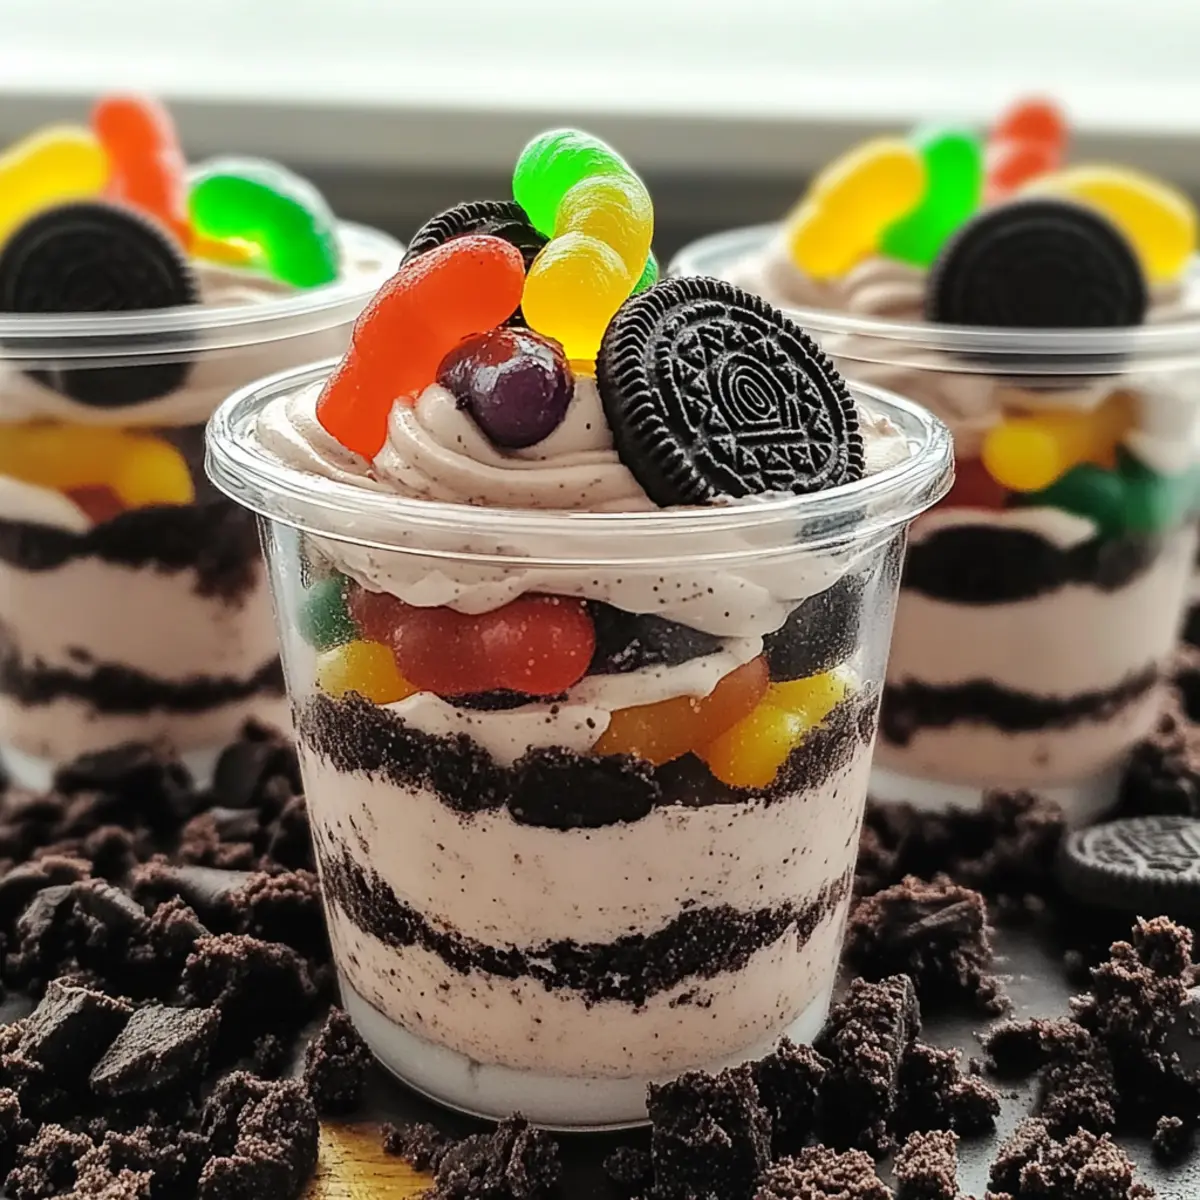
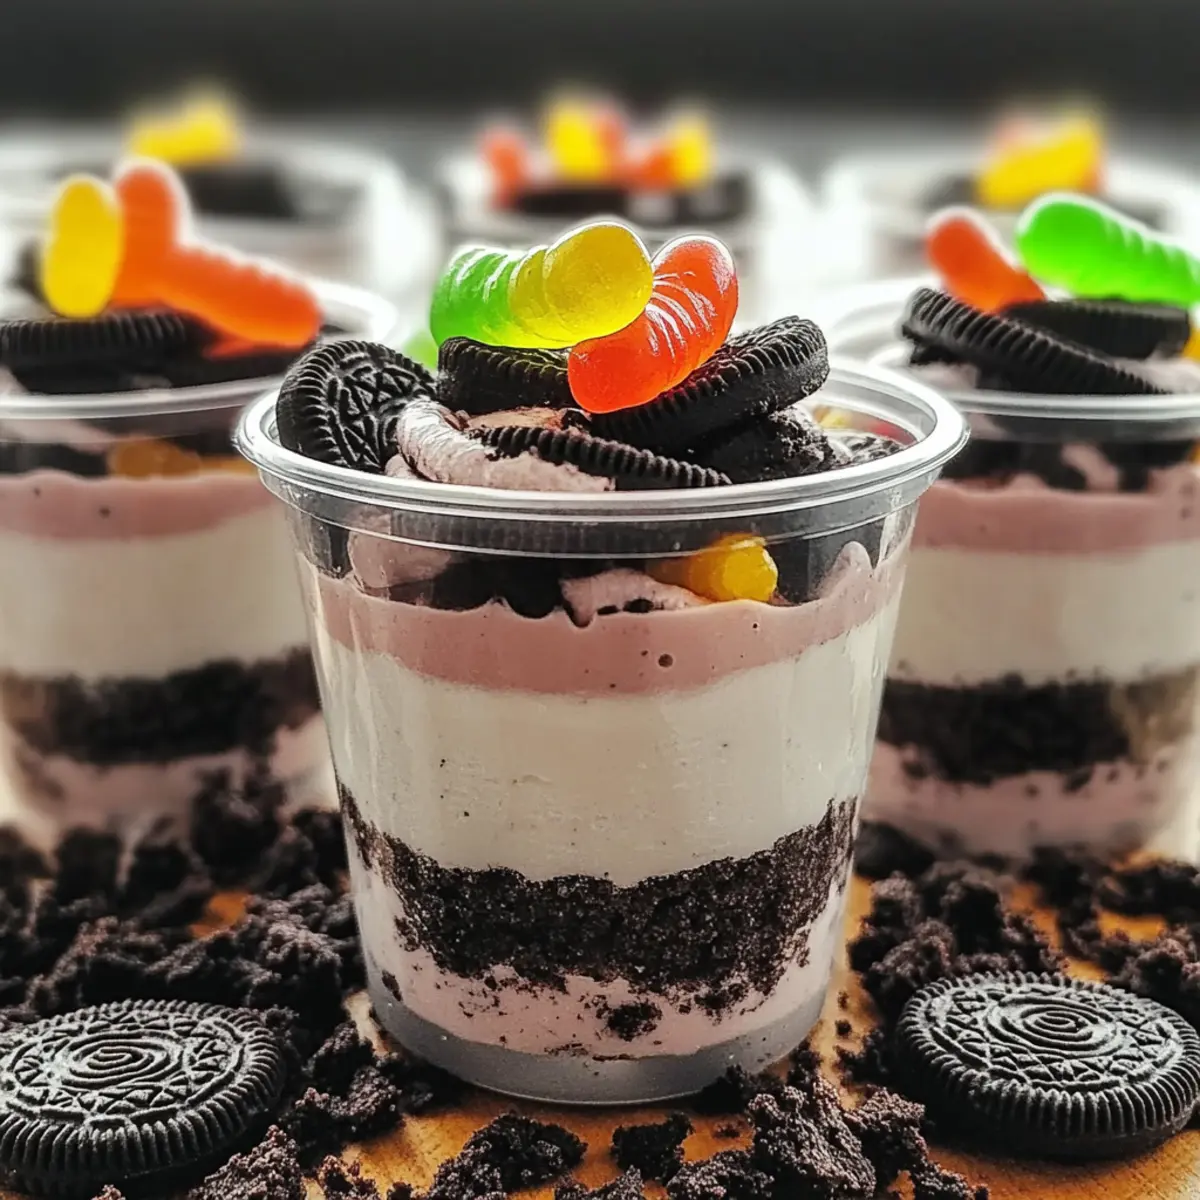
Visually Appealing: The distinct layers look gorgeous in clear cups, making them a great centerpiece for any dessert table. You can easily impress guests with their presentation!
Check out our Thick Chewy Cookies for more dessert inspiration that your family will love!
Oreo Cookie Dirt Cup Ingredients
Here’s everything you need to create your delightful Oreo Cookie Dirt Cups!
For the Dessert Base
- Oreo Cookies – The foundation, providing rich chocolate flavor and satisfying crunch; feel free to swap for any chocolate sandwich cookie.
- Butter (4 tbsp, softened) – Helps bind the cream cheese mixture; margarine can be a great dairy-free alternative.
- Cream Cheese (8 oz, softened) – Delivers a creamy, luscious filling; consider Neufchâtel or a dairy-free option to lighten up your treat.
For the Sweetness
- Powdered Sugar (1 cup) – Sweetens and smooths the cream cheese; granulated sugar can work, but it’ll change the texture a bit.
For the Pudding Layer
- Instant Chocolate Pudding (2 packages, 3.9 oz each) – Essential for a thick, rich chocolate flavor; make sure to use only instant pudding.
- Milk (3.5 cups) – Combined with the pudding to create a creamy consistency; any dairy or nut-based milk works beautifully here.
For the Topping
- Cool Whip (12 oz) – Adds a light and fluffy texture; you can swap it with homemade whipped cream for that fresh touch!
- Gummy Worms – These fun little critters add a playful charm to your dessert; don’t hesitate to replace with candy flowers or chocolate-covered bugs for a twist!
Get ready to assemble these layers of joy and delight everyone at your next gathering with your irresistible Oreo Cookie Dirt Cups!
Step‑by‑Step Instructions for Oreo Cookie Dirt Cup
Step 1: Crush Oreos
Begin by placing 24 Oreo cookies into a food processor. Pulse until the cookies turn into fine crumbs, resembling sand, which should take about 30 seconds. If you prefer, you can also place the cookies in a zip-top bag and crush them with a rolling pin until no large chunks remain. Set these crumbs aside in a bowl for layering later.
Step 2: Prepare the Cream Cheese Mixture
In a mixing bowl, combine 4 tablespoons of softened butter, 1 cup of powdered sugar, and 8 ounces of softened cream cheese. Using a hand mixer, beat the mixture on medium speed for about 2-3 minutes until it becomes smooth and creamy, with no lumps visible. This mixture will provide a rich base for your Oreo Cookie Dirt Cups.
Step 3: Make the Chocolate Pudding
In a separate bowl, whisk together 2 packages (3.9 oz each) of instant chocolate pudding mix and 3.5 cups of milk. Continue whisking for approximately 2 minutes until the mixture thickens slightly and achieves a uniform consistency. After this, gently fold in 12 ounces of Cool Whip until everything is combined and airy, creating the pudding layer for the dirt cups.
Step 4: Combine Mixtures
Carefully fold the creamy cream cheese mixture into the thickened chocolate pudding mix. Use a spatula to combine them gently until the mixture is smooth and evenly blended. This delicious combination will be the main filling for your Oreo Cookie Dirt Cups, bringing together rich flavors.
Step 5: Layer the Cups
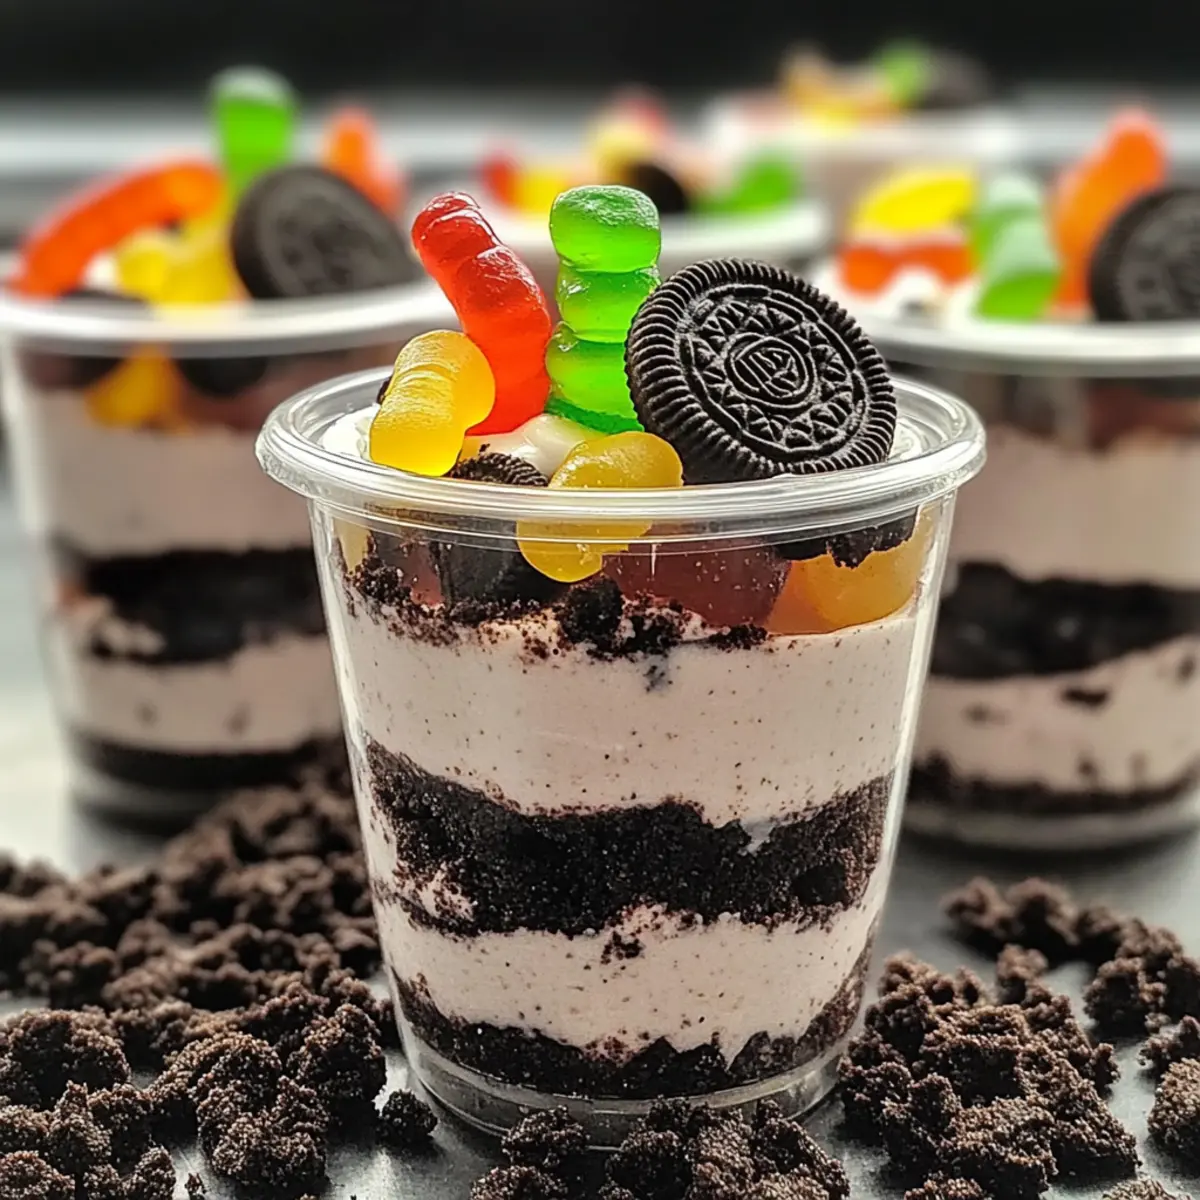
Grab your serving cups and start layering your dessert! Begin with a layer of the creamy pudding mixture, then add a layer of the crushed Oreo cookie crumbs. Repeat these layers, ending with a final topping of Oreo crumbs. Aim for at least three layers for a beautiful presentation that showcases the deliciousness of your Oreo Cookie Dirt Cups.
Step 6: Garnish the Top
For the final touch, sprinkle extra crushed Oreo crumbs over the top layer of your dessert. Then, artfully place gummy worms into the mixture for that whimsical dirt-and-worm effect! These fun toppings not only enhance the look but also add a playful element to your Oreo Cookie Dirt Cups.
Step 7: Chill and Serve
Cover the assembled cups with plastic wrap and refrigerate for at least 1 hour. This chilling time allows the layers to set and flavors to meld beautifully together. When ready to serve, take them out, scoop up a delightful layer, and enjoy the refreshing, creamy treat with family and friends!
Storage Tips for Oreo Cookie Dirt Cups
-
Fridge: Store leftovers in an airtight container for up to 2 days. This keeps the creamy layers fresh while maintaining their delightful texture.
-
Freezer: If you need to keep them longer, freeze the assembled cups for up to 1 month. Just be aware that the texture may change slightly upon thawing.
-
Reheating: There’s no need to reheat these cups! Simply serve them chilled straight from the fridge for the best experience.
-
Assembling Layers: For optimal crunch, assemble and layer the Oreo Cookie Dirt Cups right before serving, keeping the crushed Oreos crisp and delightful!
What to Serve with Oreo Cookie Dirt Cups?
Elevate your dessert experience by pairing these playful Oreo Cookie Dirt Cups with delightful accompaniments that complement their creamy and crunchy textures.
-
Vanilla Ice Cream: A scoop of vanilla ice cream adds a delightful creaminess, balancing out the rich chocolate flavor of the dirt cups.
-
Fresh Fruit Salad: Light and refreshing, a fruit salad introduces a splash of color and natural sweetness that contrasts perfectly with the decadent dessert.
-
Mini Cupcakes: These sweet treats provide a bite-sized indulgence alongside your dirt cups. Choose flavors like vanilla or chocolate for a harmonious match.
-
Chocolate Chip Cookies: Soft and chewy cookies bring a nostalgic touch, echoing the flavors of the Oreo while adding their own delightful texture.
-
Crushed Candy Bars: Sprinkle crushed candy bars over the cups for an extra layer of sweetness and texture. Choose your favorite for a fun twist!
-
Sparkling Lemonade: A refreshing drink with a citrusy zing, sparkling lemonade brightens up your palate and offers a fizzy counterpoint to the creamy layers.
-
Whipped Cream: A dollop of freshly whipped cream adds a light, fluffy touch, enhancing the overall indulgence without overwhelming the dish.
Pair these suggestions with your Oreo Cookie Dirt Cups to create a fun dessert spread everyone will adore!
Make Ahead Options
These Oreo Cookie Dirt Cups are perfect for meal prep, allowing you to enjoy this delightful treat even on your busiest days! You can prepare the cream cheese mixture and pudding layers up to 24 hours in advance; simply store them in airtight containers in the refrigerator to maintain their creamy consistency. The crushed Oreo crumbs can also be prepped ahead and kept in a separate container, ensuring they stay crisp. When you’re ready to serve, just layer the prepped components in your cups, topping with extra crumbs and gummy worms for that fun finishing touch. With these make-ahead options, you’ll have an effortless, crowd-pleasing dessert ready to delight everyone!
Variations & Substitutions for Oreo Cookie Dirt Cups
Feel free to let your imagination run wild as you customize these delicious Oreo Cookie Dirt Cups to suit your cravings and creativity!
-
Dairy-Free: Swap the cream cheese and Cool Whip for dairy-free alternatives to make this a treat for everyone, including those with lactose sensitivities. Almond cream cheese works wonderfully, maintaining that luscious texture.
-
Nutty Delight: Add a layer of crushed almonds or hazelnuts for a delightful crunch that pairs perfectly with the creamy filling. The nutty flavor will add an extra dimension to this already scrumptious treat.
-
Fruity Twist: Slide in some fresh berries between the layers for a refreshing burst of flavor. Strawberries or raspberries harmonize beautifully with the chocolate cookies, creating a balanced, flavorful dessert.
-
Seasonal Variations: Infuse seasonal flavors by adding pumpkin spice in autumn or peppermint extract in winter. This keeps your dirt cups exciting and ensures your family keeps coming back for more!
-
Chocolate Overload: Instead of standard Oreos, use chocolate sandwich cookies or even Double Stuff Oreos for an ultra-rich experience. For true chocolate lovers, consider drizzling melted chocolate between the layers too.
-
Elegant Parfaits: Serve them in clear glass jars as fancy parfaits. Layer your cups and present them at brunch or a dinner party for a charming touch. Guests will be amazed at the stunning layers!
-
Mini Cupcakes: For a fun twist, consider topping these dirt cups with mini chocolate cupcakes or brownie bites. This delightful addition will create a layered dessert that adds both flavor and fun to your treat!
Discover more delicious ideas by checking out our Peanut Butter Cup and Gingerbread Thumbprint Cookies so you can continue to delight your family with awesome dessert creations!
Expert Tips for Oreo Cookie Dirt Cups
-
Chill Time Matters: Let the cups chill for at least one hour after assembly to ensure perfect layering and melded flavors for your Oreo Cookie Dirt Cups.
-
Crush with Care: For the best texture, make sure your Oreo crumbs are perfectly fine. A food processor is ideal for achieving this consistency.
-
Presentation Counts: Using clear cups highlights the beautiful layers of your dessert, making it visually appealing and exciting to serve at parties.
-
Limit Prep Time: Preparing the cream cheese and pudding mixtures up to 24 hours in advance saves time. Just layer with crushed Oreos before serving to retain crispness.
-
Be Mindful of Allergies: If you have guests with dietary restrictions, you can easily adapt your Oreo Cookie Dirt Cups by using dairy-free cream cheese and gluten-free cookies.
Oreo Cookie Dirt Cups Recipe FAQs
How do I select the best Oreo cookies for this recipe?
Absolutely! When choosing your Oreo cookies, look for those without any dark spots or packaging damage. Fresh cookies will give your dessert the best texture and flavor. You can also swap them for any chocolate sandwich cookie if desired, ensuring you get that desired crunch!
How should I store leftover Oreo Cookie Dirt Cups?
Store any leftovers in an airtight container in the refrigerator for up to 2 days. This will keep the creamy layers fresh while maintaining that delightful texture. If you know you won’t finish them within that timeframe, you can also freeze the assembled cups for up to 1 month for longer-lasting enjoyment.
Can I freeze Oreo Cookie Dirt Cups, and how?
Yes, you can! To freeze your Oreo Cookie Dirt Cups, wrap each cup tightly in plastic wrap or place them in a freezer-safe container. Freeze them for up to 1 month. When ready to enjoy, simply transfer them to the refrigerator and let them thaw overnight. The texture may change slightly, so keep this in mind when you take them out!
What are the common troubleshooting tips for this recipe?
If your mixture seems too runny, it may be due to not letting the pudding set long enough after mixing with milk. Whisk the pudding for the full 2 minutes, then let it sit for a few minutes before folding in the Cool Whip. For the best layering, ensure your crushed Oreos are very fine; larger chunks can disrupt the pretty layers.
Are there any allergies I should consider when making Oreo Cookie Dirt Cups?
Absolutely! If you have guests with dietary restrictions, consider using dairy-free cream cheese and gluten-free cookies to make the dessert accessible to everyone. If you’re serving this to children, always check for any candy allergies, especially with gummy worms or other decorative toppings.
How can I add a personal twist to my Oreo Cookie Dirt Cups?
The more the merrier! Feel free to add fresh fruit between layers for a fruity twist or incorporate crushed nuts for added crunch. Decorate with seasonal toppings, like pumpkin spice in the fall or crushed candy canes during winter. Each variation can make your dish uniquely yours!

Decadent Oreo Cookie Dirt Cups: A Fun Treat for Everyone
Ingredients
Equipment
Method
- Begin by placing 24 Oreo cookies into a food processor. Pulse until the cookies turn into fine crumbs, resembling sand, about 30 seconds. Set aside in a bowl.
- In a mixing bowl, combine 4 tablespoons of softened butter, 1 cup of powdered sugar, and 8 ounces of softened cream cheese. Beat on medium speed for 2-3 minutes until smooth and creamy.
- In a separate bowl, whisk together 2 packages of instant chocolate pudding mix and 3.5 cups of milk for about 2 minutes until thickened. Fold in 12 ounces of Cool Whip until creamy.
- Carefully fold the cream cheese mixture into the chocolate pudding until smooth and evenly blended.
- Layer your dessert! Begin with a layer of pudding mixture, then crushed Oreo crumbs, and repeat layers, ending with Oreo crumbs on top.
- Sprinkle extra crushed Oreo crumbs over the top and add gummy worms for decoration.
- Cover and refrigerate for at least 1 hour before serving to allow flavors to meld.
Leave a Reply