
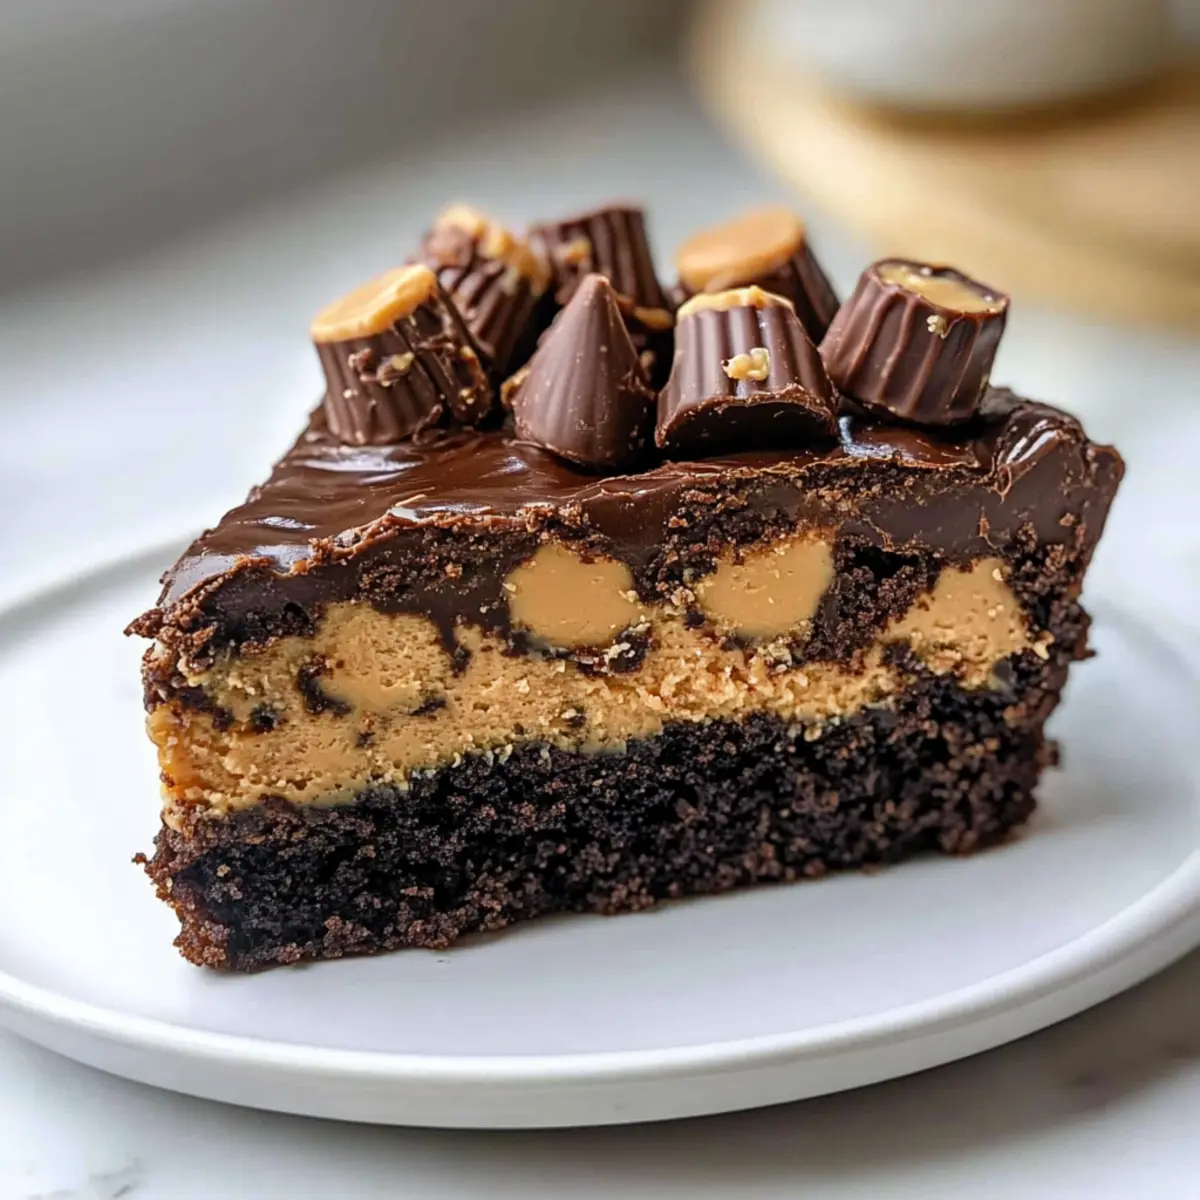
The moment I peeled back the foil from last week’s bake sale treats, the rich aroma of chocolate and peanut butter swirled through the air, tempting everyone around. That’s when I revealed my secret weapon: the 5-Ingredient Peanut Butter Cup Dump Cake. This indulgent dessert combines creamy peanut butter with a fudgy chocolate cake, and it’s so simple to make! It’s not just kid-friendly; it’s the ultimate crowd-pleaser that’s sure to become a family favorite. With a mere five ingredients and zero fuss, this cake can be whipped up in no time, making it perfect for busy weeknights or that last-minute potluck invitation. Who could resist diving into a gooey slice topped with a scoop of vanilla ice cream? Trust me, this cake will have you dreaming of your next baking adventure! Are you ready to find out how to create this delightful dessert?
Why is this cake a must-try?
Simplicity at its finest: With just five ingredients, you can whip up this delightful dessert without breaking a sweat.
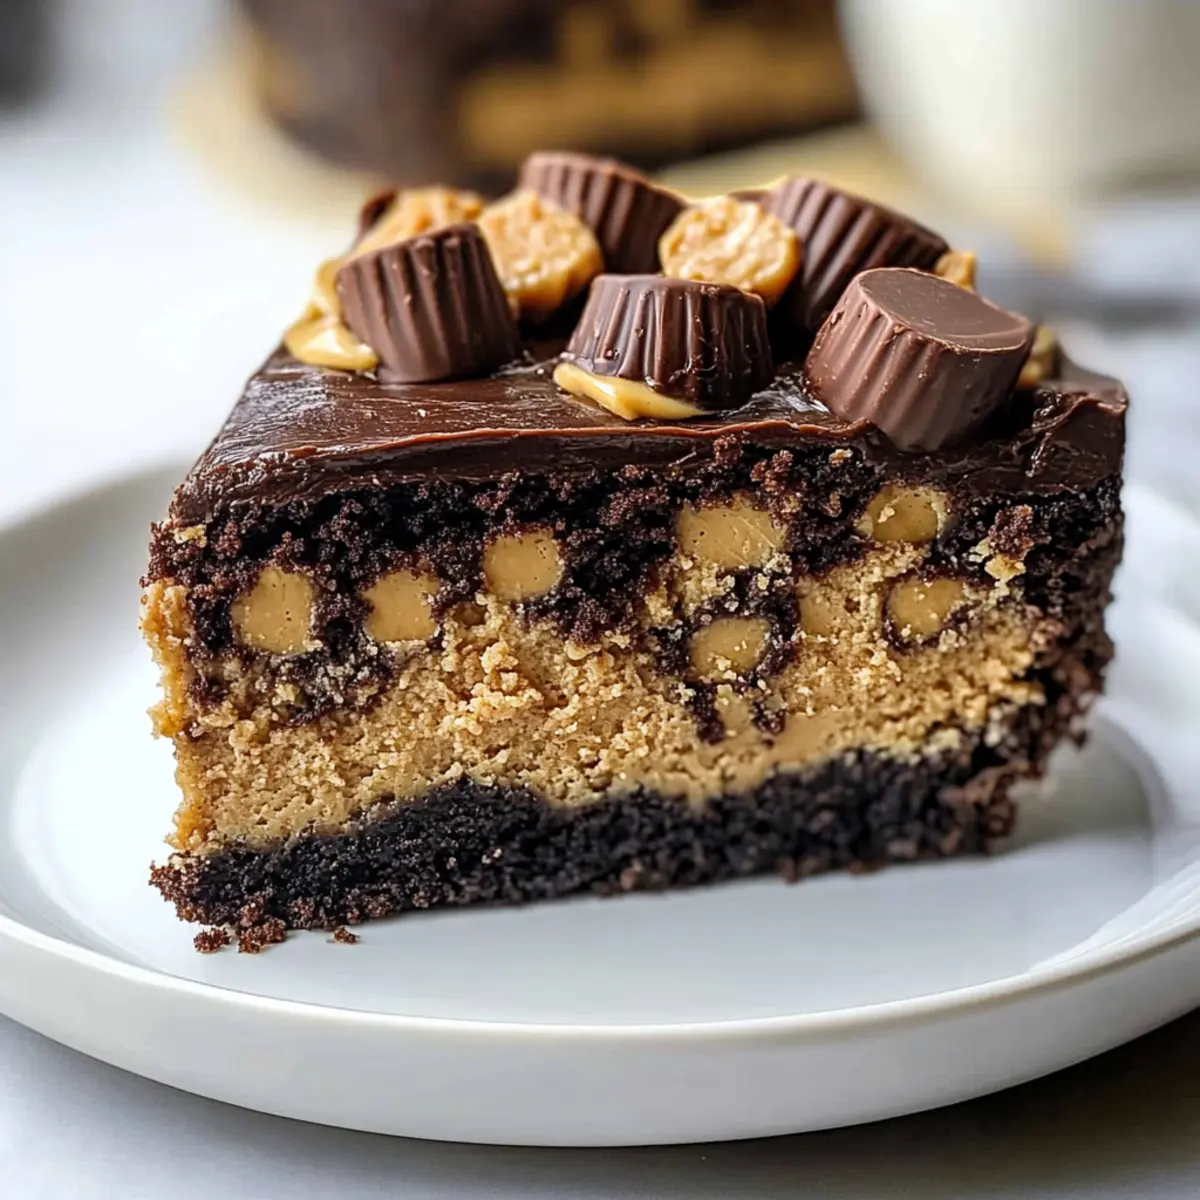
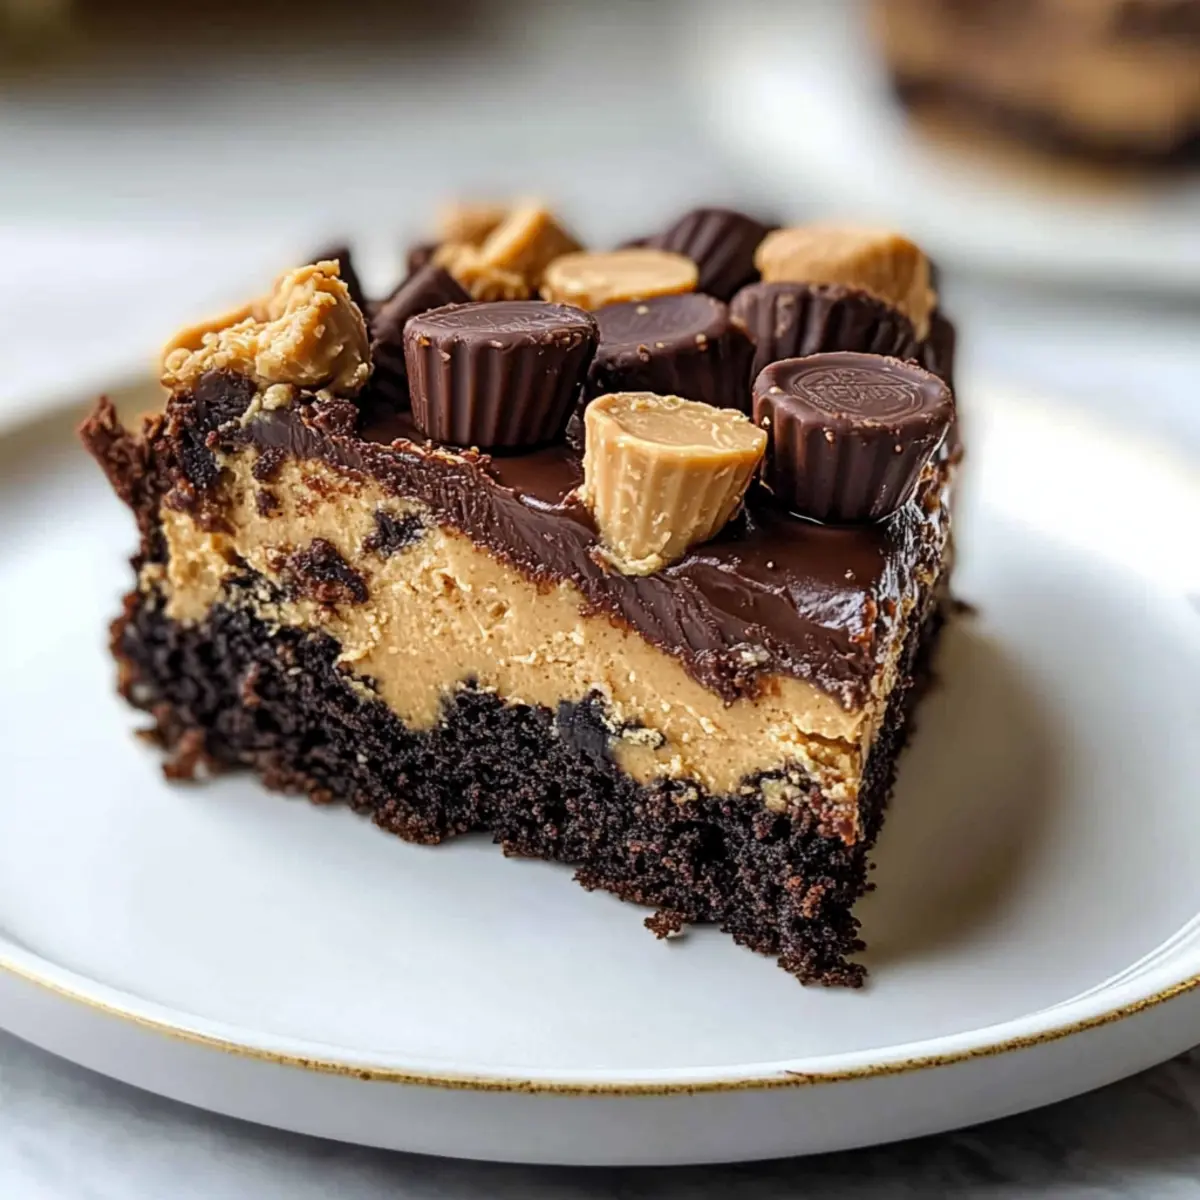
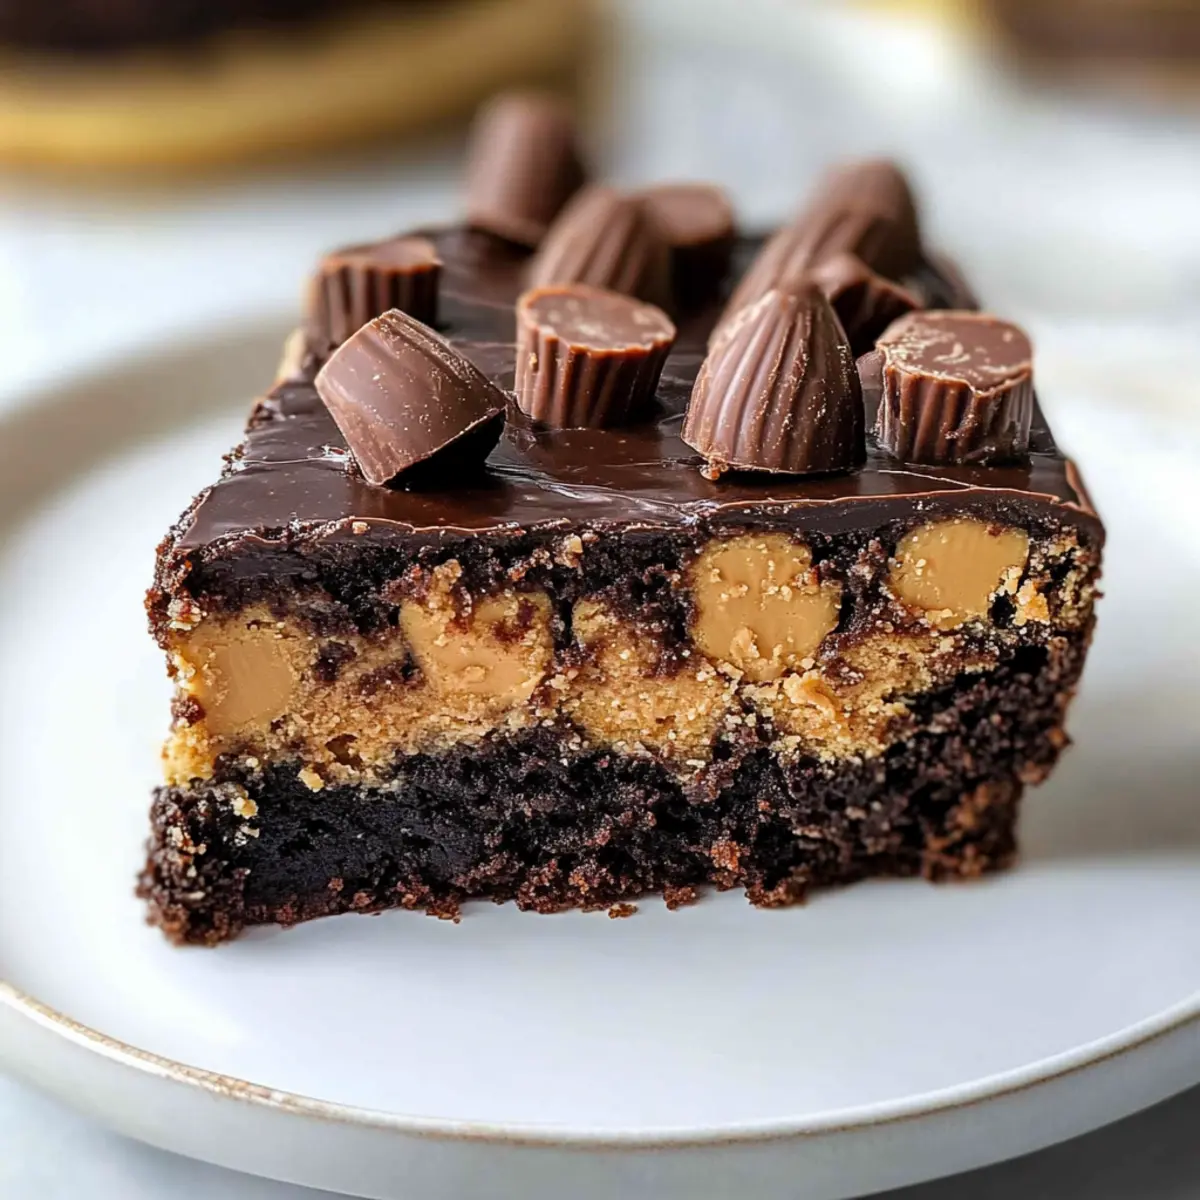
Gooey textures galore: Enjoy a fudgy chocolate base layered over creamy peanut butter, delivering mouthwatering bites in every slice.
Versatility unlocked: Try swapping the chocolate cake mix for yellow or vanilla for a fresh twist that caters to all taste buds!
Kid-friendly fun: Perfect for little helpers in the kitchen, this recipe ensures every family member can join in on the baking excitement.
Quick indulgence: Bake it ahead of time, and let the flavors meld overnight for an easy, impressive dessert perfect for gatherings. Trust me, once you serve this Peanut Butter Cup Dump Cake, it’ll quickly become your go-to for any occasion!
Peanut Butter Cup Dump Cake Ingredients
For the Cake
• Chocolate Cake Mix – This forms the essential fudgy base; don’t substitute if you want the classic flavor.
• Melted Butter – Adds moisture and richness; can be swapped with coconut oil for a dairy-free alternative.
• Milk – Ensures the right batter consistency; any type of milk works, whether dairy or non-dairy.
For the Peanut Butter Layer
• Peanut Butter – Provides creamy richness; letting it sit at room temperature makes for easy spreading.
For the Topping
• Mini Peanut Butter Cups – These add delightful bursts of flavor; replace with chocolate chips for a more chocolatey treat.
With these five simple ingredients, you’ll create a stunning Peanut Butter Cup Dump Cake that’ll have everyone swooning!
Step‑by‑Step Instructions for Peanut Butter Cup Dump Cake
Step 1: Preheat and Prepare
Begin by preheating your oven to 350°F (175°C). While the oven heats, grab a 9×13-inch baking dish and generously grease it with non-stick spray or butter. Make sure to coat the bottom and sides evenly, ensuring a perfect release of your Peanut Butter Cup Dump Cake once it’s baked.
Step 2: Spread the Peanut Butter
Take your room-temperature peanut butter and spread it evenly across the bottom of the greased baking dish. Use a spatula for smooth, even coverage. This layer is crucial for creating that creamy base that complements the fudgy chocolate cake. It should be a lovely, even layer that invites all the delightful textures to blend.
Step 3: Mix the Batter
In a large mixing bowl, combine the chocolate cake mix, melted butter, and milk. Stir these ingredients together until well mixed, ensuring you have a smooth batter—don’t fret if there are a few lumps! This batter will be the decadent top layer of your Peanut Butter Cup Dump Cake, so make sure it looks rich and delicious.
Step 4: Pour Over the Peanut Butter
Gently pour the chocolate batter over the peanut butter layer, being careful not to disturb it. Use a spatula to spread it evenly across the surface, ensuring full coverage over the peanut butter. This layered approach is what creates the delicious contrasting textures in each slice of the cake.
Step 5: Add the Toppings
Sprinkle the mini peanut butter cups generously over the top of the batter. If you like an extra chocolatey flavor, feel free to add chocolate chips as well. This combination will melt into the cake as it bakes, creating delightful pockets of gooey goodness throughout your Peanut Butter Cup Dump Cake.
Step 6: Bake to Perfection
Place your dish in the preheated oven and bake for 35-40 minutes. Keep a close eye on it; you’ll know it’s ready when the edges start to pull away from the sides and a toothpick inserted in the center comes out with moist crumbs. This is the hallmark of a fudgy, delectable cake!
Step 7: Cool and Serve
Once baked, remove the Peanut Butter Cup Dump Cake from the oven and let it cool in the dish for at least 15 minutes. This cooling period helps the cake set, making it easier to slice. Serve warm and consider adding a scoop of vanilla ice cream on top for that perfect finishing touch!
Expert Tips for Peanut Butter Cup Dump Cake
-
Room Temperature Peanut Butter: Ensure your peanut butter is at room temperature for easy spreading, helping create even layers and a gooey texture.
-
Avoid Overmixing: Mix the batter until just combined for the best fudgy consistency; a few lumps are okay and will enhance the cake’s texture.
-
Cooling Time Matters: Allow the cake to cool for at least 15 minutes before slicing. This helps it set and makes for cleaner, mess-free slices.
-
Serving Suggestions: Elevate your dessert by serving it warm with a scoop of vanilla ice cream, creating a delectable contrast to the rich peanut butter cup dump cake.
-
Storage Tips: Keep leftover cake in an airtight container at room temperature for up to 3 days. For longer storage, freeze in individual slices for a delightful quick treat later.
Peanut Butter Cup Dump Cake Variations
Feel free to explore these delightful variations and make this dessert your own!
-
Yellow Cake Mix: Swap the chocolate cake mix for yellow cake mix to create a lighter base with a hint of vanilla flavor. It’s a wonderful twist that enhances the creaminess of the peanut butter!
-
Vanilla Cake Mix: For a different fun flavor profile, try using vanilla cake mix. This change brings a subtle sweetness while still allowing the peanut butter to shine.
-
Funfetti Delight: Add a sprinkle of rainbow jimmies to a vanilla or yellow cake mix for a festive touch that makes this dessert even more exciting! It’s perfect for birthdays or special occasions.
-
Dairy-Free Option: Substitute melted butter with coconut oil and use a non-dairy milk, like almond or oat milk, making it a delicious dairy-free dessert everyone can enjoy.
-
Crunchy Layer: Instead of mini peanut butter cups, consider using crushed Oreos or walnuts. This swap adds an exciting crunch and a different texture to each bite, making it even more indulgent!
-
Extra Chocolatey: Mix in semi-sweet or dark chocolate chips into the batter for an added chocolatey richness, complementing the peanut butter perfectly.
-
Spicy Kick: For those who love a little heat, sprinkle in a pinch of cayenne pepper to the batter for an unexpected spicy kick that pairs surprisingly well with the sweetness!
Each variation opens up a world of taste and texture, and as you explore, don’t forget to check out my Peach Cake with Brown Sugar Frosting or the Garlic Butter Beef Cheeseburger Rollups for more homey delights. Happy baking!
How to Store and Freeze Peanut Butter Cup Dump Cake
Room Temperature: Store in an airtight container for up to 3 days to keep the flavors fresh and the cake moist.
Fridge: If you prefer longer storage, refrigerate for up to 5 days in an airtight container. Just warm each slice in the microwave for a few seconds before serving!
Freezer: Freeze individual slices wrapped tightly in plastic wrap for up to 3 months. Thaw at room temperature or microwave for a quick indulgence.
Reheating: Warm the cake gently in the microwave or an oven set to low to enjoy that gooey texture again—nothing beats the comfort of a freshly warmed slice!
Make Ahead Options
These Peanut Butter Cup Dump Cakes are perfect for busy home cooks looking to save time! You can prepare the peanut butter layer and cake batter up to 24 hours in advance. Simply spread the room-temperature peanut butter in the greased baking dish, then cover and refrigerate. When you’re ready to bake, pour the batter over the peanut butter layer and top with mini peanut butter cups, baking the cake as instructed. For the best results, store leftovers in an airtight container at room temperature for up to 3 days. This cake retains its gooey texture and rich flavors, making it just as delightful when served later!
What to Serve with Peanut Butter Cup Dump Cake Delight
There’s something magical about creating a complete meal around this indulgent treat, bringing warmth and excitement to your table.
- Vanilla Ice Cream: A classic pairing that adds a creamy, cooling contrast to the rich, fudgy cake, elevating each bite.
- Whipped Cream: Light and airy, whipped cream adds an inviting sweetness that lifts the flavors of the cake.
- Fresh Berries: The tartness of berries, like strawberries or raspberries, provides a refreshing contrast to the cake’s richness.
- Chocolate Drizzle: A luscious chocolate sauce drizzled on top intensifies the chocolate experience and makes every slice extra delightful.
- Caramel Sauce: Adding a drizzle of warm caramel creates an irresistible sweet-salty flavor profile that balances the cake beautifully.
- Coffee: A rich cup of coffee brings out the chocolate notes while complementing the peanut butter; it’s a match made in heaven!
- Milkshakes: Thick and creamy peanut butter or chocolate milkshakes can heighten the indulgence, making dessert an adventure!
- Peanut Butter Cup Coffee: For the ultimate nutty drink, serve a hot cup brewed with peanut butter flavor to enhance the cultural connection of this dessert.
- Chocolate Chip Cookies: Turn up the nostalgia by offering a plate of warm cookies; the combination of treats will delight everyone.
Peanut Butter Cup Dump Cake Recipe FAQs
How do I choose the right peanut butter for this recipe?
Absolutely! I recommend using a creamy peanut butter for this recipe, as it spreads easily and creates that rich, smooth layer. Look for natural brands without added sugars or oils for the best flavor. If you’re a crunchy peanut butter fan, feel free to use that, too!
What is the best way to store leftover Peanut Butter Cup Dump Cake?
You can store this delicious cake at room temperature in an airtight container for up to 3 days. For longer storage, refrigerate it for up to 5 days. If you prefer it warm, just pop a slice in the microwave for a few seconds to enjoy that gooey goodness again!
Can I freeze slices of Peanut Butter Cup Dump Cake?
Yes, you can freeze this cake! Wrap individual slices tightly in plastic wrap and place them in a freezer-safe bag or container. It will stay fresh in the freezer for up to 3 months. When you’re ready to indulge, simply thaw at room temperature or microwave for a delightful treat!
What should I do if my cake is too dry or dense after baking?
If your cake turns out dry, you might have overbaked it. Keep a close watch on the baking time; when edges pull away and a toothpick shows moist crumbs, it’s done! For a more decadent texture, you can adjust the melted butter and milk for a richer batter next time.
Can I use a different cake mix flavor for variations?
Very! You can swap the chocolate cake mix with yellow, vanilla, or even funfetti for a delightful twist. Each variation brings its own unique flavor profile while still maintaining that irresistible peanut butter layer.
Is this recipe suitable for those with peanut allergies?
Unfortunately, this Peanut Butter Cup Dump Cake contains peanut butter and peanut butter cups, which are not safe for those with peanut allergies. However, you can experiment with alternatives like sunflower seed butter or a peanut-free chocolate spread. Always check labels to ensure safety!
Peanut Butter Cup Dump Cake: The Ultimate Indulgent Treat
Ingredients
Equipment
Method
- Preheat the oven to 350°F (175°C) and grease a 9x13-inch baking dish.
- Spread the peanut butter evenly across the bottom of the greased dish.
- In a bowl, combine the chocolate cake mix, melted butter, and milk. Stir until smooth.
- Pour the chocolate batter over the peanut butter layer and spread evenly.
- Sprinkle mini peanut butter cups over the top of the batter.
- Bake for 35-40 minutes until edges pull away and a toothpick comes out with moist crumbs.
- Let cool for at least 15 minutes before serving.
Leave a Reply