
As I stood in my kitchen, the scent of chocolate wafting through the air, I felt an unmistakable excitement wash over me. There’s something magical about a Rich and Creamy Brownie Refrigerator Cake, and I couldn’t wait to share this delightful no-bake dessert with you. This layered masterpiece isn’t just a feast for the eyes; it’s a true crowd-pleaser that can effortlessly elevate any gathering. The best part? It’s make-ahead, meaning less time fussing in the kitchen and more time enjoying the company of friends and family. With its chewy brownie base, tangy cream cheese layer, and silky pudding topping, every bite offers a delightful harmony of flavors. Ready to indulge in a no-fuss dessert that’s sure to impress? Let’s dive into this incredible recipe together!
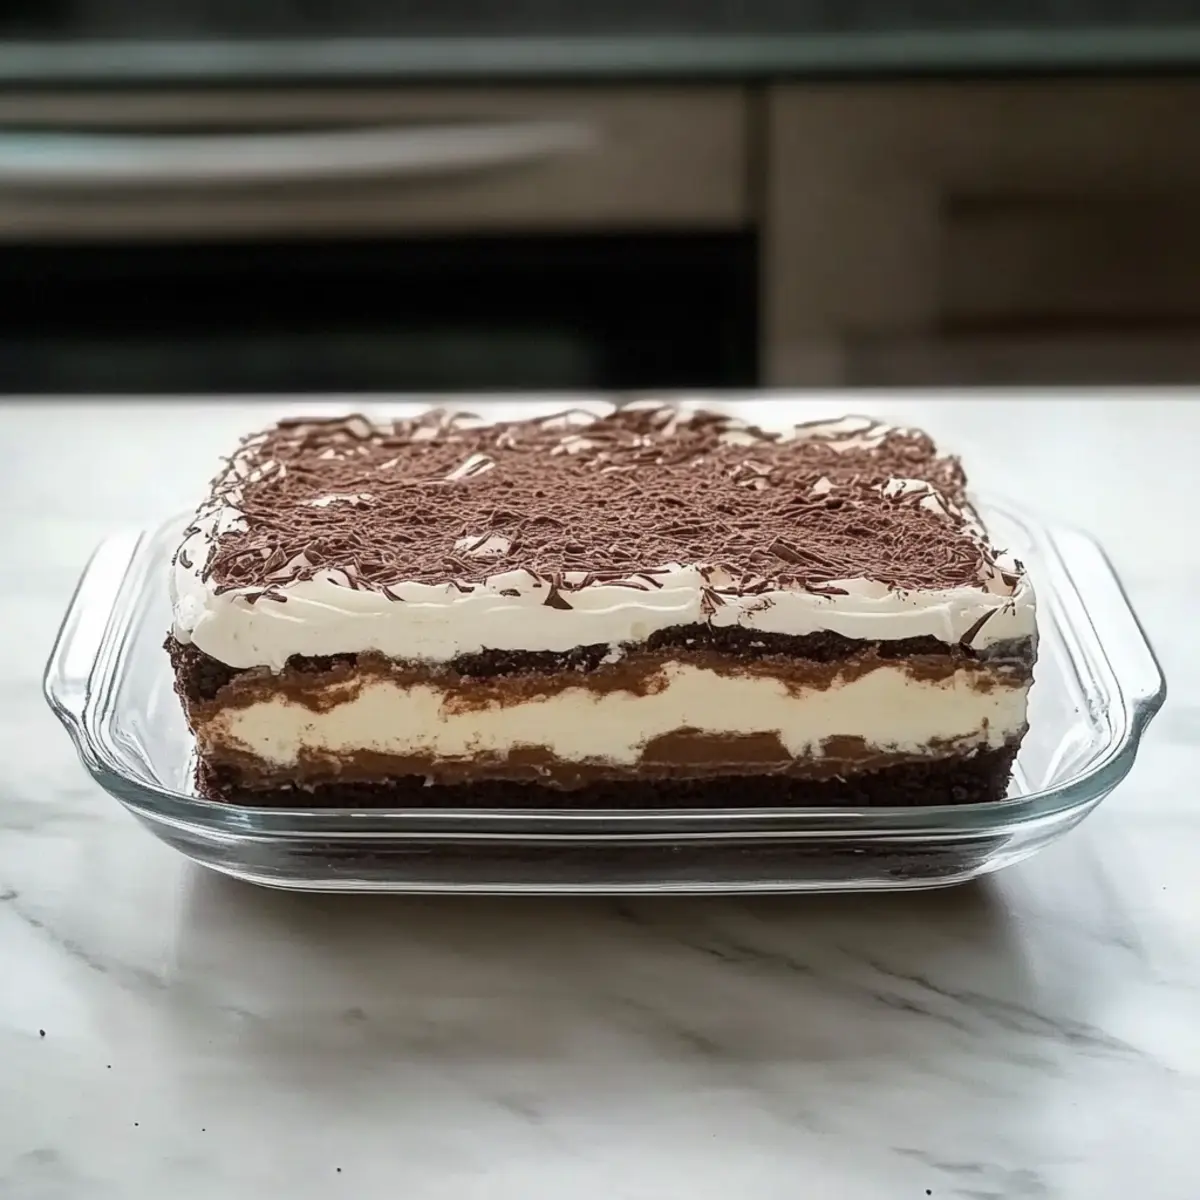
Why is This Brownie Refrigerator Cake a Must-Try?
Irresistible, this dessert combines rich chocolate with creamy layers that will make your taste buds dance. Easy to make, you’ll love that it comes together without any baking, perfect for busy days. Make-ahead magic means you can prepare it in advance and let the flavors meld overnight. Customizable options like adding crushed Oreos or peanut butter swirl make it truly yours! Plus, it’s a crowd-pleaser that will have everyone coming back for seconds — just like my Peach Cake Brown recipe! Get ready for compliments and satisfied smiles when you serve this stunning treat!
Brownie Refrigerator Cake Ingredients
• Gather your essentials for a delightful no-bake dessert!
For the Brownie Base
- Brownie Mix – Provides a simple yet delicious foundation for your dessert; swap for homemade if you prefer!
- Extra-Large Egg – Adds richness and helps achieve that perfect brownie texture.
For the Cream Cheese Layer
- Cream Cheese (8 ounces, softened) – Delivers a smooth and creamy element; consider low-fat cream cheese for a lighter option.
- Powdered Sugar (1 cup) – Sweetens and stabilizes the cream cheese layer for a perfect spread.
For the Pudding Layer
- Instant Chocolate Pudding Mix (3 ounces) – Contributes a rich chocolate flavor; essential for your Brownie Refrigerator Cake!
- Instant Vanilla Pudding Mix (3 ounces) – Balances the richness with a light, creamy layer.
- Cold Milk (3 ½ cups) – Vital for thickening the pudding; whole milk offers extra creaminess if desired.
For the Topping
- Cool Whip Frozen Whipped Topping (2 containers, thawed) – Ensures a fluffy finish; feel free to use homemade whipped cream if preferred.
- Hershey Candy Bar or Chocolate Syrup – As a delightful garnish, adds visual appeal and extra chocolatey goodness!
Step‑by‑Step Instructions for Rich and Creamy Brownie Refrigerator Cake
Step 1: Preheat and Prepare
Begin by preheating your oven to 350°F (175°C). Grease and line a 9×13-inch pan with parchment paper to ensure easy removal. This will set the stage for your chewy brownie base. Follow the instructions on the brownie mix package, combining it with the extra-large egg and mixing until fully combined.
Step 2: Bake the Brownies
Pour the prepared brownie batter into the lined pan, spreading it evenly with a spatula. Bake in the preheated oven for about 25 minutes, or until a toothpick inserted in the center comes out with moist crumbs (not wet batter). Once baked, remove from the oven and let the brownies cool completely on a wire rack before assembling the cake.
Step 3: Create the Cream Cheese Layer
In a large mixing bowl, use a hand mixer to beat 8 ounces of softened cream cheese with 1 cup of powdered sugar until smooth and creamy. The mixture should be free of lumps for a seamless layer. Gently fold in one container of thawed Cool Whip until fully combined, adding a light and airy texture that perfectly complements the brownie base.
Step 4: Spread the Cream Cheese Layer
Once the brownies have cooled completely, carefully spread the cream cheese mixture over the brownie layer, using an offset spatula for a smooth finish. This rich cream cheese layer adds a delightful tanginess to your Rich and Creamy Brownie Refrigerator Cake. Aim for an even distribution across the surface, creating a beautiful foundation for the pudding layers to follow.
Step 5: Whisk the Pudding Mixtures
In another bowl, combine the instant chocolate pudding mix and instant vanilla pudding mix with 3½ cups of cold milk. Using a whisk, stir vigorously for about 2 minutes until the pudding thickens. The mixture should be smooth and creamy, signaling that it’s ready to be poured over the cream cheese layer.
Step 6: Layer the Pudding
Pour the thickened pudding mixture over the cream cheese layer, spreading it evenly to cover the smooth cheese layer beneath. The richness of the chocolate and vanilla pudding creates a delightful contrast in flavors and textures in your Brownie Refrigerator Cake. Allow it to set for a moment as you prepare to top it off.
Step 7: Add Whipped Topping
Using the second container of thawed Cool Whip, gently spread it over the pudding layer, creating a fluffy topping that beautifully balances the dessert. Use a spatula to smooth it out, ensuring that no pudding is visible underneath. This topping will give your layered masterpiece a light and creamy finish, just perfect for a crowd-pleasing dessert.
Step 8: Chill for Flavor Development
Cover the assembled Rich and Creamy Brownie Refrigerator Cake with plastic wrap or foil, and refrigerate it for at least 4 hours, or preferably overnight. This chilling time allows the flavors to meld together beautifully, resulting in a more enjoyable dessert. For best results, serve cold and notice how the layers hold their shape when sliced.
Step 9: Garnish and Serve
When ready to serve, you can garnish your delicious Brownie Refrigerator Cake with chocolate shavings or a drizzle of chocolate syrup for that extra touch of indulgence. Use a sharp knife, dipped in hot water and wiped dry, to cut neat slices. This ensures each piece reveals the stunning layers within— a truly enticing treat for your guests!
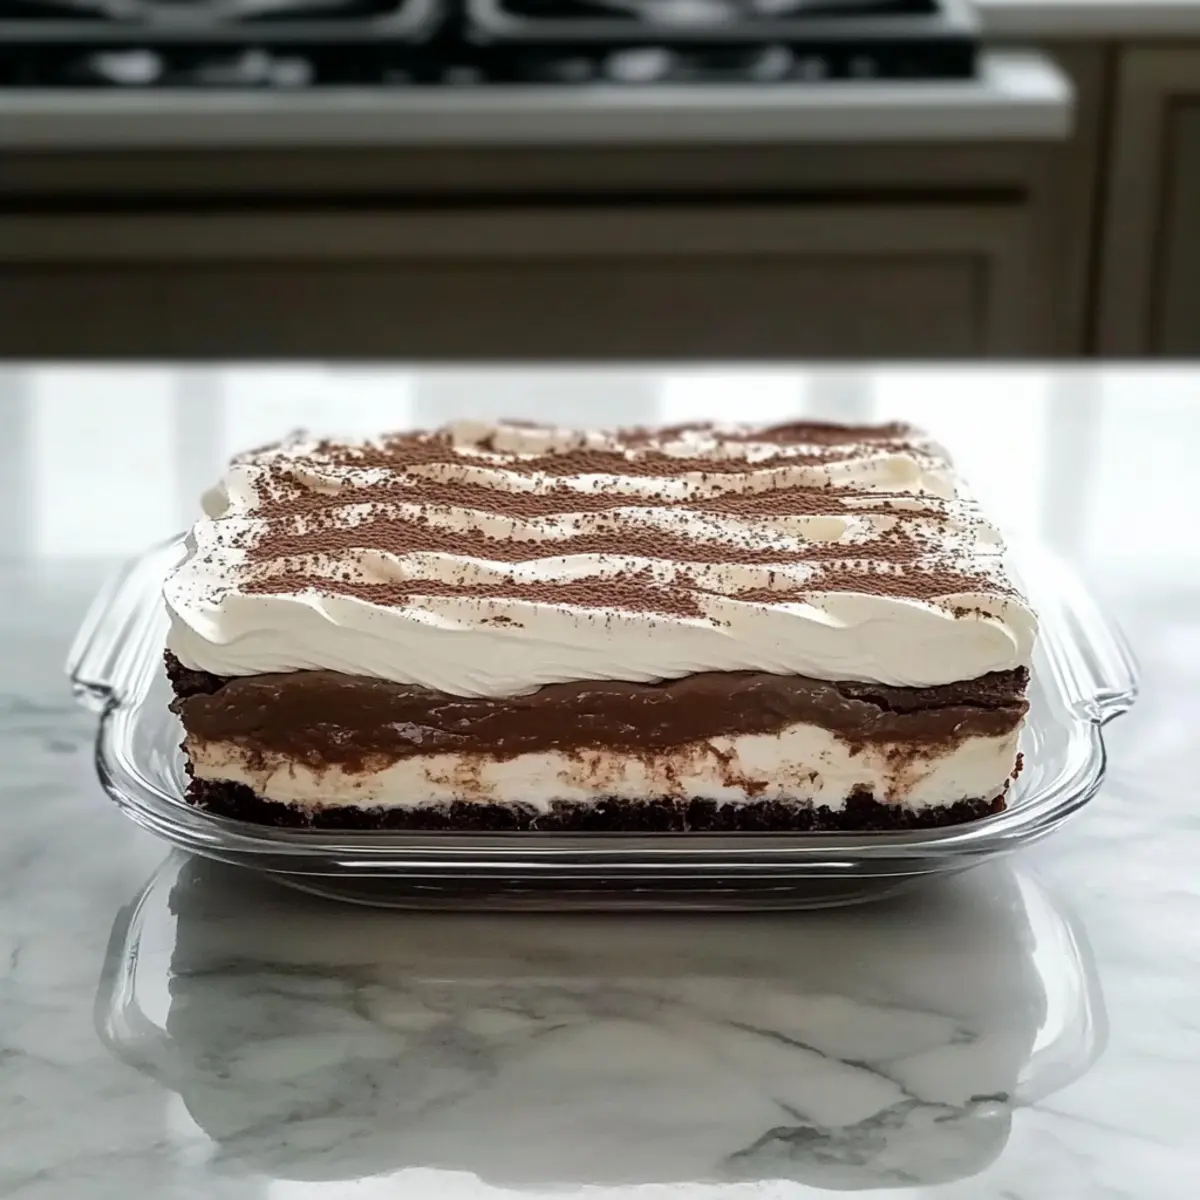
Storage Tips for Brownie Refrigerator Cake
Room Temperature: Although this dessert is best chilled, you can keep it at room temperature for up to 2 hours before serving. Ensure it’s covered to maintain freshness.
Fridge: Store your Brownie Refrigerator Cake covered in the refrigerator for 4 to 5 days. The flavors continue to improve, making each slice even more delightful!
Freezer: For longer storage, freeze the assembled cake for up to 3 months. Wrap it tightly in plastic wrap and aluminum foil to prevent freezer burn.
Reheating: Thaw the frozen Brownie Refrigerator Cake overnight in the refrigerator before serving. Enjoy it chilled to preserve its creamy layers and rich flavors!
Make Ahead Options
These Rich and Creamy Brownie Refrigerator Cakes are simply perfect for meal prep! You can prepare the brownie base and cream cheese layer up to 24 hours in advance, allowing you to save time on busy days. Simply bake the brownies and let them cool completely before spreading the cream cheese mixture over them. Keep the assembled cake covered in the refrigerator until you’re ready to whisk together the pudding layers, which can be done shortly before serving. This method helps maintain the dessert’s quality while ensuring a wonderfully chilled treat perfect for gatherings. When you’re ready to impress, simply layer the pudding and whipped topping, chill for at least 4 hours or overnight, and enjoy a stunning dessert that’s just as delicious as if made fresh!
Expert Tips for Brownie Refrigerator Cake
-
Chill Overnight: For the best flavors and firmer layers, allow your Brownie Refrigerator Cake to chill overnight. It’s worth the wait!
-
Cool Brownies Completely: Ensure the brownies cool completely before adding layers. This prevents soggy layers and ensures clean slicing.
-
Use Cold Milk: When preparing the pudding, opt for cold milk to achieve the right thickness. Warm milk can lead to a runny pudding.
-
Neat Slices: To cut clean slices, dip a sharp knife in hot water before each cut and wipe it dry. This technique keeps the layers intact.
-
Layer Variations: Customize your cake with mix-ins like crushed Oreos or peanut butter swirls to elevate your Brownie Refrigerator Cake.
Brownie Refrigerator Cake Variations
Feel free to personalize your dessert experience with these delightful twists that elevate your Brownie Refrigerator Cake!
-
Cookies & Cream: Fold in crushed Oreos into the cream cheese layer for a delicious cookies-and-cream flavor. It adds an irresistible crunch and extra chocolate goodness!
-
Peanut Butter Swirl: Swirl in creamy peanut butter into the pudding layer for a rich, nutty flavor that kids and adults alike will adore. The combination of chocolate and peanut butter is a classic favorite!
-
Nutty Crunch: Mix in chopped walnuts or pecans into the brownie batter for additional crunch and texture. The nuts provide a satisfying contrast to the creamy layers above.
-
Minty Twist: Add a few drops of peppermint extract to the cream cheese layer for a refreshing mint flavor. Topped with crushed Andes mints, it becomes a festive dessert for special occasions.
-
Fruit Fusion: Incorporate fresh sliced strawberries or raspberries between the cream cheese and pudding layers for a pop of color and tartness. It brings a delightful freshness to each bite!
-
Chocolate Lovers: Use chocolate pudding instead of vanilla for both pudding layers for an ultra-chocolatey experience. Top with chocolate shavings for a decadent finish!
-
Caramel Delight: Drizzle caramel sauce between layers or on top for an extra layer of sweetness. The rich flavors of caramel complement the chocolate beautifully.
-
Coconut Craze: Mix in shredded coconut to the pudding layer for a tropical twist. Topped with toasted coconut flakes, it adds an element of chewiness and a hint of the tropics.
For more delightful cake adventures, explore my Gingerbread Pudding Cake or the indulgent Pumpkin Spice Latte Cake for inspiration!
What to Serve with Rich and Creamy Brownie Refrigerator Cake
Creating the perfect meal is a delightful journey, and what better way to start than by pairing your decadent dessert with lovely accompaniments?
-
Fresh Berries: Juicy strawberries or raspberries add a refreshing brightness that cuts through the richness of the cake.
-
Vanilla Ice Cream: A scoop of creamy vanilla ice cream provides contrasting temperature and a classic pairing that everyone loves.
-
Coffee or Espresso: The bold flavors of a freshly brewed cup complement the chocolate and cream beautifully, enhancing the dessert experience.
-
Chocolate Sauce Drizzle: A warm drizzle of chocolate sauce elevates the dessert, making each bite even more indulgent.
-
Whipped Cream: Extra dollops of whipped cream on the side make for a light, fluffy addition that balances the dense layers of the cake.
-
Nutty Crunch: Serve with chopped walnuts or pecans to add a delightful crunch, providing a lovely textural contrast to the soft layers.
-
Mint Leaves: A sprig of fresh mint adds a vibrant color and a refreshing hint that brightens the dessert’s flavors.
-
Sweet Wine or Dessert Cocktail: A glass of sweet dessert wine or a creamy cocktail adds a touch of elegance, perfect for special occasions.
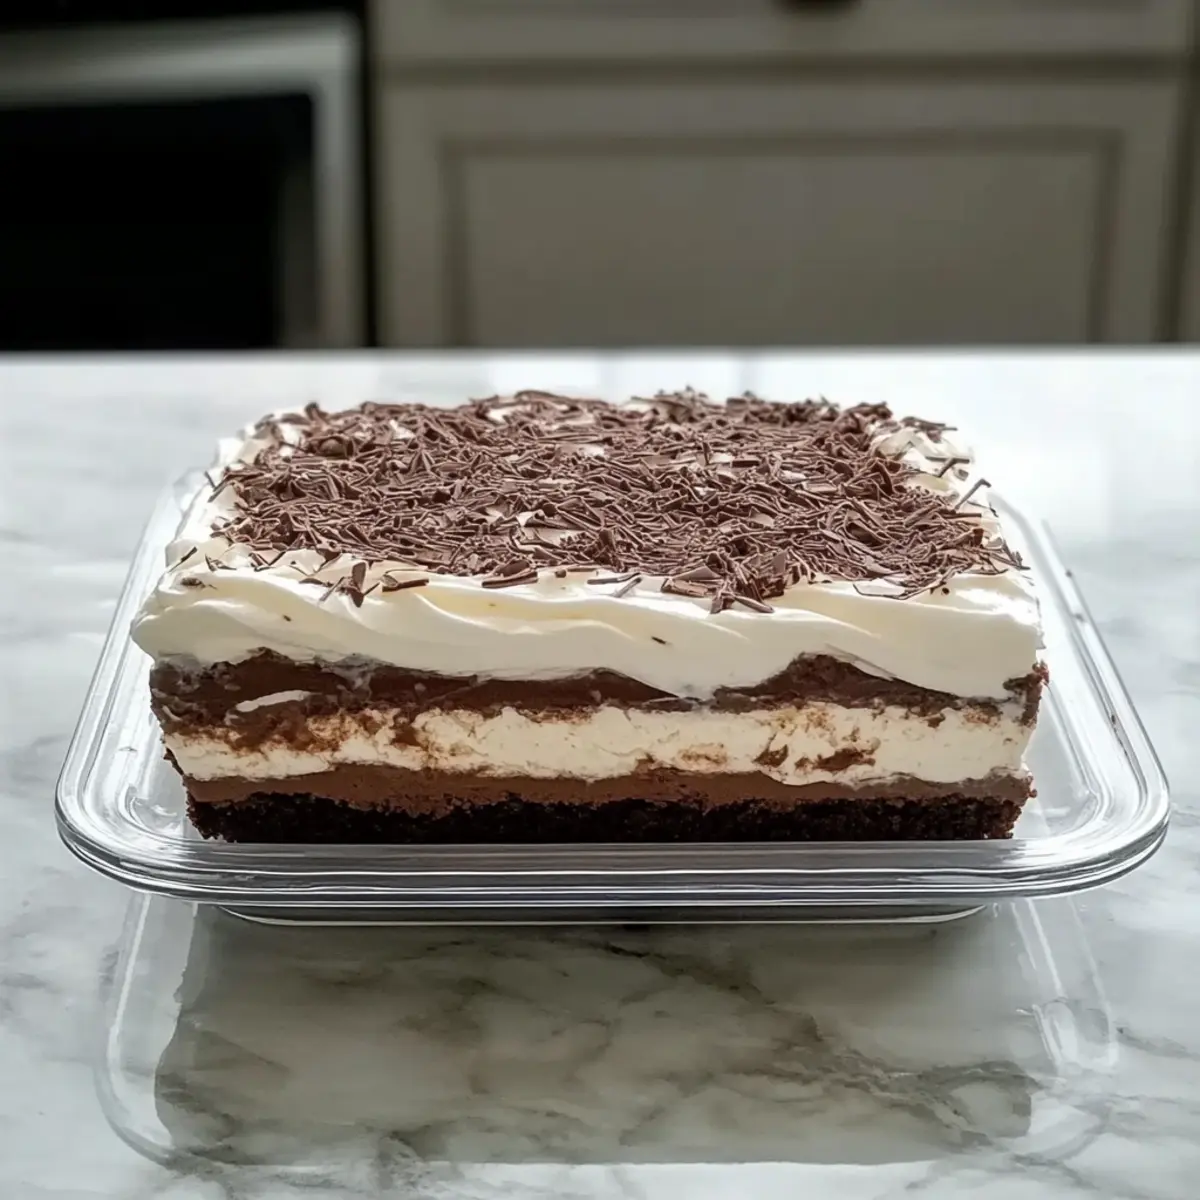
Brownie Refrigerator Cake Recipe FAQs
How do I choose the right brownie mix for my Brownie Refrigerator Cake?
When selecting a brownie mix, look for one that promises a chewy, fudgy texture. I often prefer mixes that specify a “cakelike” version if I want to lighten the layers. You can also make your brownies from scratch using a 9×13 brownie recipe for a more personalized dessert.
Can I make the Brownie Refrigerator Cake ahead of time, and how do I store it?
Absolutely! This dessert is perfect for making ahead. Store it covered in the refrigerator for up to 4 to 5 days. In fact, the flavors improve as it sits, making each slice even better! If needed, wrap it tightly in plastic wrap to keep it fresh.
What’s the best way to freeze the Brownie Refrigerator Cake?
To freeze your Brownie Refrigerator Cake, wrap it tightly in plastic wrap and then in aluminum foil to protect it from freezer burn. This way, it can be stored for up to 3 months. When you’re ready to enjoy it, simply thaw it overnight in the refrigerator before serving to maintain that lovely creamy texture.
What should I do if my pudding layer is runny?
If your pudding isn’t thickening as expected, make sure you whisk it vigorously with cold milk for at least 2 minutes. If it’s still runny, you can try adding a little more pudding mix to the bowl and whisking it in until it thickens up. Always ensure that the milk is cold; warm milk can prevent proper thickening.
Are there any dietary considerations I should be aware of for this recipe?
Yes, this recipe contains dairy ingredients, so keep that in mind if you or your guests have lactose intolerance or a dairy allergy. You can substitute with lactose-free cream cheese, whipped topping, and pudding mixes to adapt the recipe for those dietary needs. Additionally, double-check the brownie mix for any potential allergens.
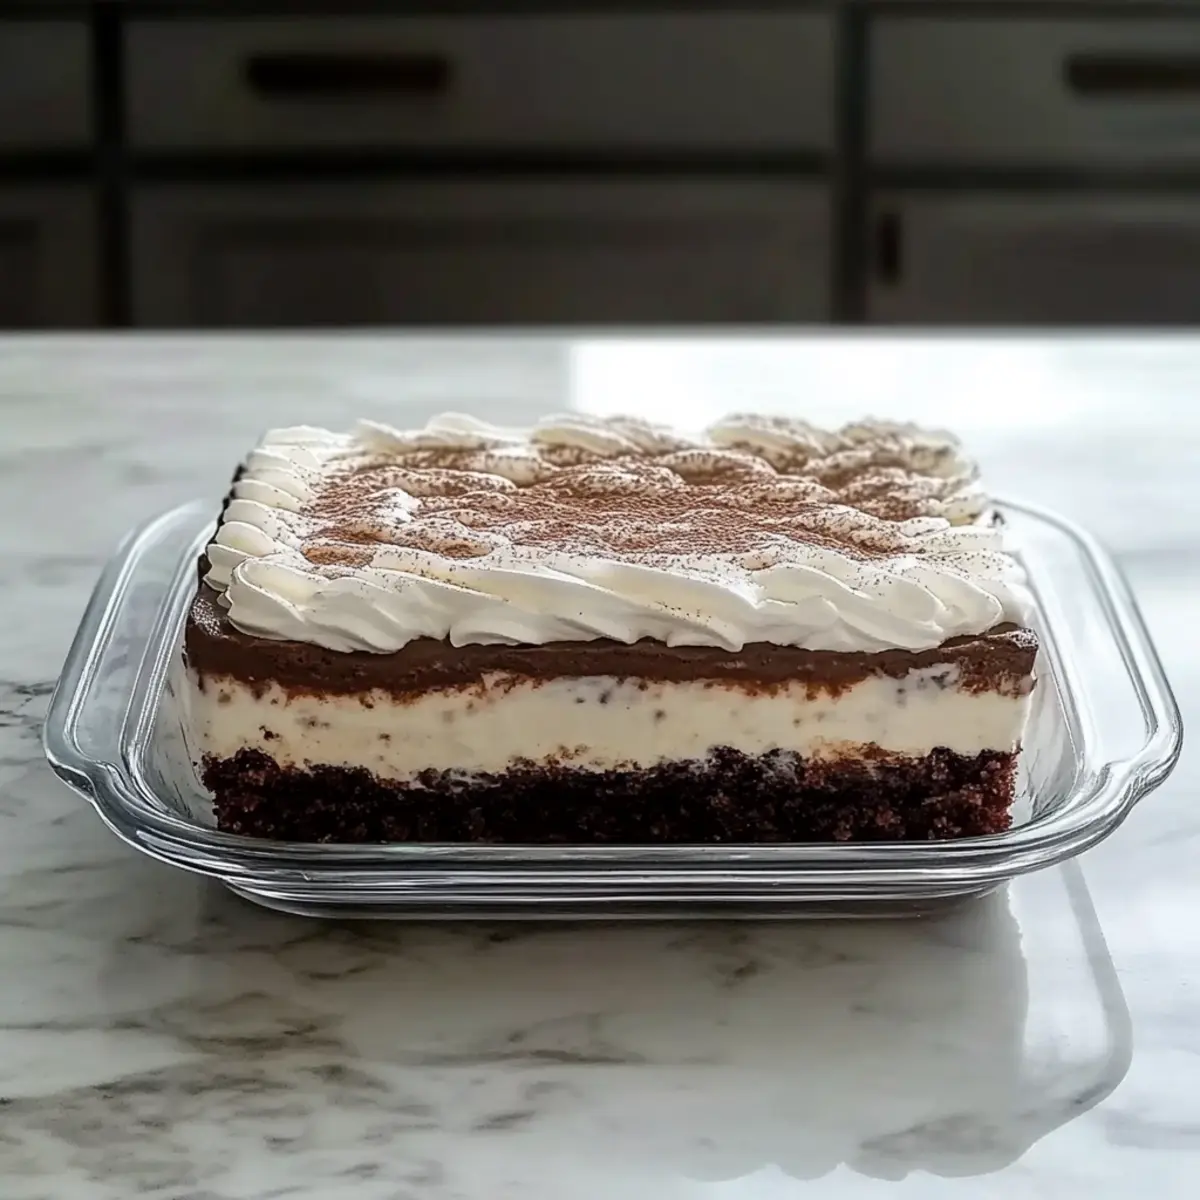
Irresistibly Rich Brownie Refrigerator Cake for Sweet Cravings
Ingredients
Equipment
Method
- Preheat your oven to 350°F (175°C). Grease and line a 9x13-inch pan with parchment paper. Mix the brownie mix with the egg.
- Pour the batter into the lined pan and bake for about 25 minutes, or until a toothpick comes out with moist crumbs. Let cool completely.
- In a bowl, beat cream cheese with powdered sugar until smooth. Fold in one container of Cool Whip.
- Spread the cream cheese mixture over the cooled brownies evenly.
- In another bowl, combine chocolate pudding mix, vanilla pudding mix with cold milk. Whisk for about 2 minutes until thickened.
- Pour the pudding mixture over the cream cheese layer and spread evenly.
- Spread the second container of Cool Whip over the pudding, smoothing it out evenly.
- Cover with plastic wrap and refrigerate for at least 4 hours, preferably overnight.
- Garnish with chocolate shavings or syrup before serving and cut neat slices with a hot knife.
Leave a Reply