
As I pulled the creamy Salmon Sushi Bake from the oven, the inviting aroma filled the kitchen, reminding me of cozy dinners shared with family. This dish is an effortless twist on traditional sushi that combines the rich taste of salmon and imitation crab, all baked on a fluffy layer of sushi rice. It’s perfect for busy weeknights and an absolute crowd-pleaser, with that delightful crispy top contrasting the gooey, savory filling underneath. This easy recipe is not just about convenience; it’s also a chance to introduce your loved ones to the world of sushi flavors without any fancy rolling! Are you ready to dive into this mouthwatering adventure?
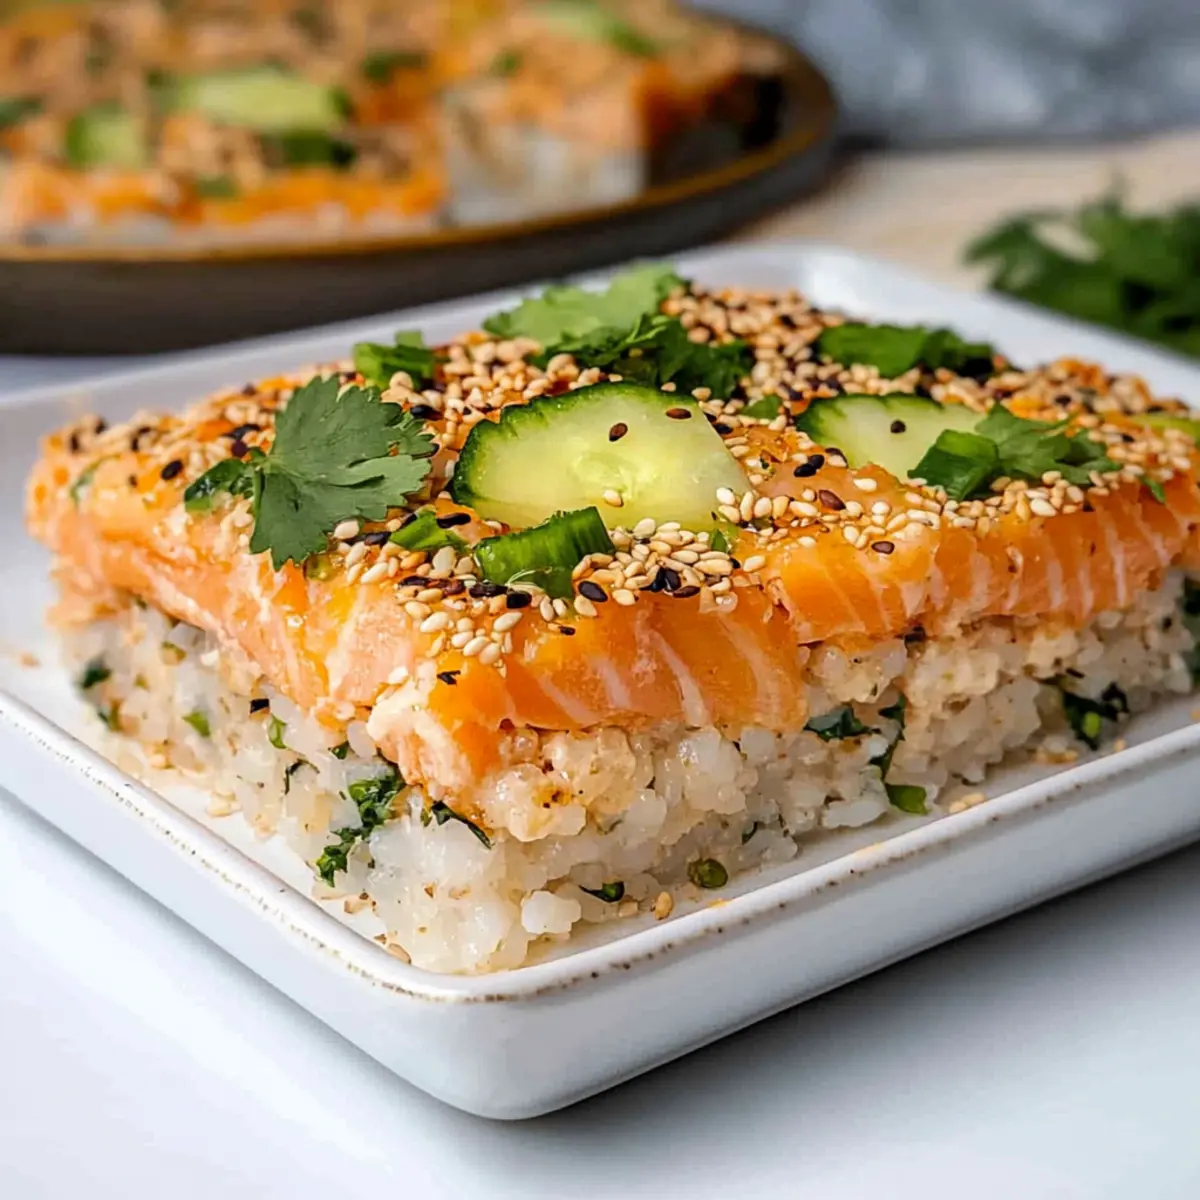
What makes this Sushi Bake special?
Family-Friendly: This recipe is designed to please everyone at the table, from kids to adults, making it a perfect family meal.
Effortless Preparation: With no rolling required, you can whip up this dish in no time, allowing you to focus on other tasks or simply relax.
Savory Goodness: The creamy filling boosts the salmon and imitation crab flavors, creating a rich and delectable dish that will have everyone coming back for seconds.
Texture Contrast: Enjoy the delightful combination of a slightly crispy top layer over a warm and gooey interior, offering a comforting twist on sushi.
Versatile Options: Feel free to mix and match fillings or serve it cold for refreshing summer bites, just like my Pumpkin Apple Baked recipe! Discover the joy of sushi in a bake that’s as convenient as it is delicious.
Sushi Bake Ingredients
Discover the essentials for a deliciously creamy Sushi Bake!
For the Rice Base
- Sushi Rice – Serves as the dish’s foundation, perfectly absorbing flavors; substitute with short-grain rice if needed.
- Rice Vinegar – Enhances the flavor of the rice with a pleasant acidity; apple cider vinegar can work in a pinch.
- Sugar – Balances the tanginess of the rice vinegar; reduce quantity for a less sweet taste.
- Salt – Essential for seasoning both the rice and the filling.
For the Filling
- Salmon Fillet – The star protein source, rich in flavor and omega-3s; can be swapped for tuna or shrimp.
- Imitation Crab (Surimi) – Adds a seafood taste while being easy to find.
- Japanese Kewpie Mayonnaise – Delivers a creamy texture to the filling; regular mayonnaise can substitute but will alter the flavor slightly.
- Sriracha Sauce – Introduces a kick of spice; adjust the amount based on your spice preference.
- Soy Sauce – Enhances the umami taste of the dish; opting for low-sodium soy sauce is healthier.
- Sesame Oil – Contributes a distinct nutty flavor and richness to the mixture.
For Serving & Topping
- Nori Sheet – A flavorful topping that adds a touch of the sea; can also be served alongside.
- Sesame Seeds – Provides a crunchy finish and decorative flair to your sushi bake.
- Optional Garnishes – Enhance your bake with spicy mayonnaise, chopped cilantro, black sesame seeds, seaweed snacks, sliced avocado, and cucumber for a fresh touch.
This easy Sushi Bake recipe will surely elevate your dinner game and impress your family!
Step‑by‑Step Instructions for Sushi Bake
Step 1: Prepare the Rice
Start by washing 2 cups of sushi rice until the water runs clear to remove excess starch. In a medium pot, combine the rinsed rice with 2 ½ cups of water, bringing it to a boil. Once boiling, reduce the heat to low, cover, and simmer for 15-20 minutes until the water is absorbed. After cooking, remove from heat and let the rice steam for an additional 5-10 minutes.
Step 2: Cook the Salmon
While the rice is steaming, season a fresh salmon fillet with salt and pepper. Preheat your air fryer to 400°F (200°C) and cook the salmon for about 10 minutes, or until it flakes easily with a fork. Once cooked, carefully remove the salmon from the air fryer, let it cool briefly, and then flake it into bite-sized pieces, setting it aside for the filling.
Step 3: Prepare the Filling
In a mixing bowl, combine the flaked salmon with shredded imitation crab, soy sauce, Kewpie mayonnaise, sriracha, and sesame oil. Mix until all ingredients are well incorporated and creamy, adjusting the sriracha to your desired spice level. This creamy filling will add depth to your Sushi Bake, marrying the flavors of salmon and crab beautifully.
Step 4: Prepare Rice Mixture
In a separate small bowl, stir together 3 tablespoons of rice vinegar, 1 tablespoon of sugar, and a pinch of salt until dissolved. Once the sushi rice has cooled slightly, gently fold this mixture into the rice, ensuring that each grain is seasoned without making it mushy. This seasoned rice will serve as the flavorful base for your Sushi Bake.
Step 5: Assemble the Bake
Preheat your oven to 400°F (200°C). Spread the seasoned sushi rice evenly into a greased 13 x 9-inch baking dish. Next, layer sheets of nori across the top of the rice, followed by a generous sprinkle of sesame seeds. Finally, evenly distribute the creamy seafood filling over the nori, pressing it down gently for an even finish.
Step 6: Bake
Place your assembled Sushi Bake in the preheated oven and bake for about 10 minutes, allowing the flavors to meld and the top to get slightly set. After this, switch to broil for an additional 2 minutes, keeping a close eye to avoid burning, until the top is golden and crispy, creating a delightful textural contrast.
Step 7: Serve
Once your Sushi Bake is perfectly golden, remove it from the oven and let it cool for a few minutes. Garnish with spicy mayonnaise, a sprinkle of chopped cilantro, and cut into squares for serving. Enhance the experience by offering nori sheets, sliced avocado, and cucumber on the side, turning this dish into a delightful family feast.
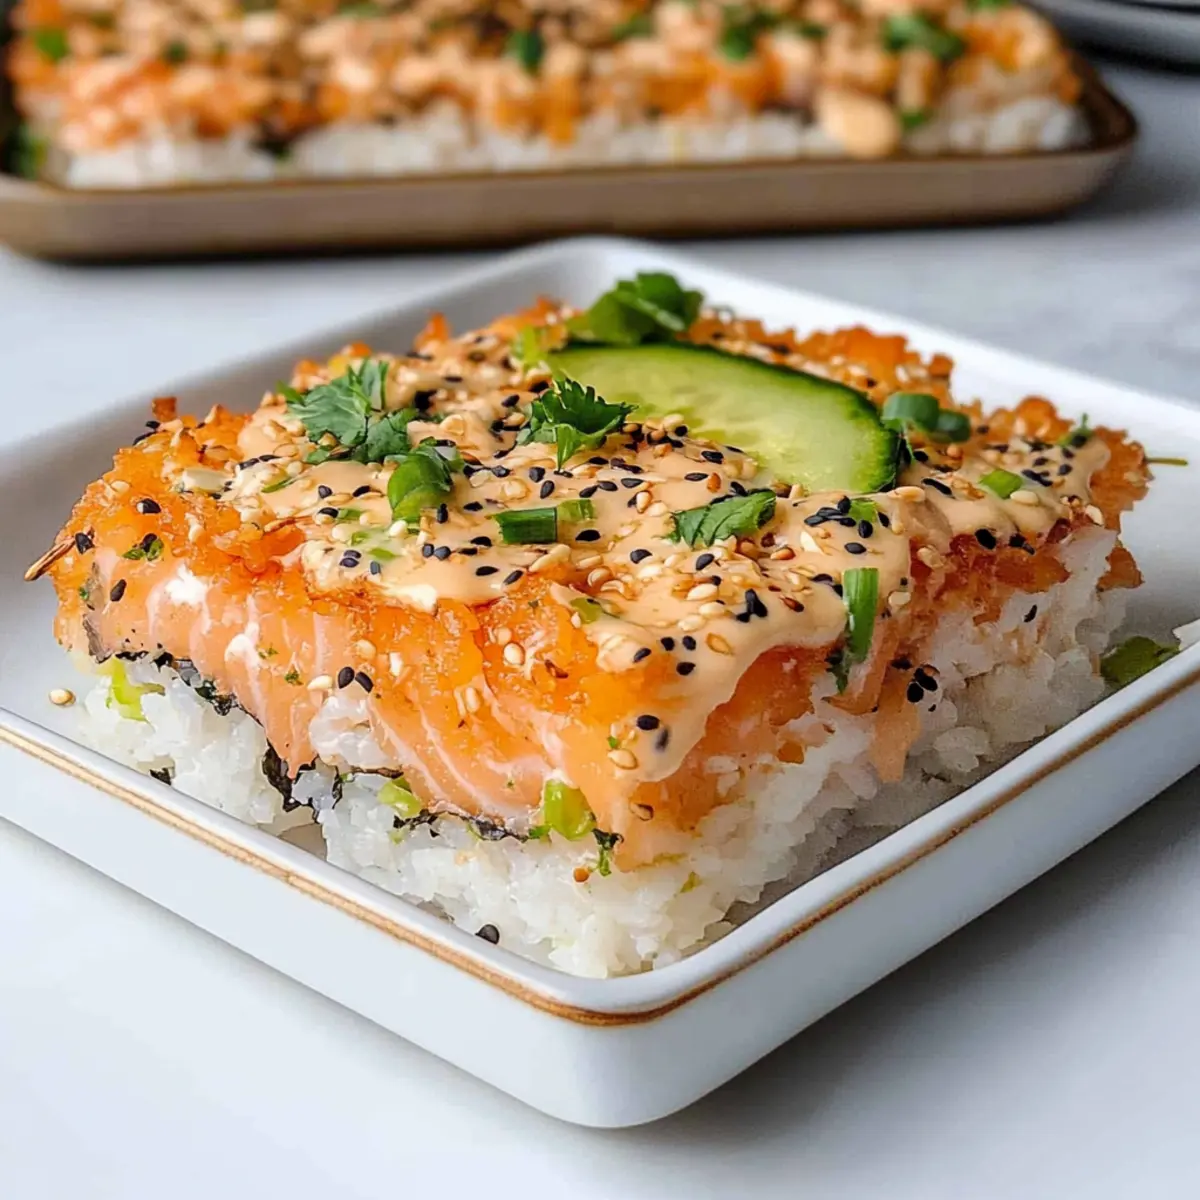
Sushi Bake Variations & Substitutions
Feel free to let your creativity shine as you explore these fun and delicious twists on the classic sushi bake!
-
Dairy-Free: Substitute Kewpie mayonnaise with an avocado-based or vegan mayo for a creamy texture without dairy.
Avocado lends a rich creaminess that complements the seafood beautifully, allowing everyone to enjoy this dish guilt-free! -
Spicy Crunch: Mix chopped jalapeños or diced spicy kimchi into the seafood filling for a zesty kick.
This adds not just heat but also an exciting depth of flavor that keeps taste buds dancing with each bite. -
Vegetarian Delight: Swap the seafood for a medley of sautéed mushrooms, zucchini, and carrots for a veggie-filled option.
You can truly embrace the umami flavors in this version while enjoying a lighter and fresh sushi bake for meat-free days. -
Flavorful Additions: Stir in a tablespoon of sesame seeds or furikake seasoning into the rice for extra flavor.
This enhances the dish’s aroma and adds delightful crunch, making every mouthful a delight to savor. -
Gourmet Touch: Replace standard soy sauce with tamari or coconut aminos for a gluten-free alternative and different umami notes.
This small swap elevates the dish in flavor while catering to those with dietary restrictions. -
Cold Version: Chill the bake after cooking and serve it as a refreshing summer dish, paired with a ponzu dipping sauce.
It’s a perfect picnic treat, combining sushi flavors with a cool and easy serving style, just like enjoying fresh sushi on the go! -
Seafood Swap: Experiment with different meats like shrimp or even crab for unique flavor profiles that keep meals interesting.
Each protein brings its own twist, ensuring an exciting bite every time, much like my Healthy Baked Feta variation! -
Crispy Topping: For an added crunch, sprinkle panko breadcrumbs over the top layer before baking.
The golden, crispy topping will contrast wonderfully with the soft interior, giving you that delightful texture you crave in every bite.
Make Ahead Options
This Creamy Salmon Sushi Bake is a fantastic candidate for meal prep, making busy weeknights a breeze! You can prepare the seasoned sushi rice and the creamy filling up to 24 hours in advance. Simply cook the rice and allow it to cool before mixing in the vinegar and seasoning. For the filling, combine flaked salmon, imitation crab, sauces, and mayonnaise, then refrigerate in an airtight container. To maintain quality, store the rice and filling separately until you’re ready to bake. When it’s time to serve, layer everything in your baking dish and heat it in the oven at 400°F (200°C) for about 10 minutes, broiling for 2 minutes for that perfect crispy top. Enjoy all the delicious flavors just as if you’d made it fresh!
How to Store and Freeze Sushi Bake
Fridge: Store leftover Sushi Bake in an airtight container for up to 2 days. Gently reheat in the microwave or oven to maintain the creamy texture.
Freezer: For longer storage, freeze the Sushi Bake after it has cooled completely. Wrap it tightly in plastic wrap and aluminum foil to prevent freezer burn for up to 2 months.
Reheating: Thaw frozen Sushi Bake in the fridge overnight. Reheat in a preheated oven at 350°F (175°C) for 20-25 minutes or until heated through.
Serving: Enjoy the reheated Sushi Bake with fresh garnishes like avocado and cucumber to enhance the flavors, just like you did when freshly made!
What to Serve with Creamy Salmon Sushi Bake
This vibrant dish is the perfect centerpiece for a family dinner, inviting you to explore delightful pairings that enhance its flavors.
- Cucumber Salad: A refreshing crunch that contrasts with the creamy texture of the sushi bake, brightening each bite with crispness.
- Miso Soup: Light and comforting, this traditional soup complements the umami of the sushi, creating a well-rounded meal that warms the soul.
- Avocado Slices: Rich and creamy, adding slices of fresh avocado elevates the dish with healthy fats and a smooth texture, perfect with the savory bake.
- Pickled Ginger: Offers a zingy burst that cleanses the palate, enhancing the flavors of seafood while giving a nod to classic sushi accompaniments.
- Sesame Green Beans: Roasted or sautéed, these bring a nutty crunch and vibrant color to your table, balancing the richness of the sushi bake.
- Sparkling Water with Lime: A refreshing drink with a twist, it hydrates and cuts through the creaminess, bringing a delightful brightness to your meal.
By thoughtfully pairing these sides, you’ll create an unforgettable dining experience that highlights the magic of your Creamy Salmon Sushi Bake!
Expert Tips for the Best Sushi Bake
-
Perfectly Seasoned Rice: Ensure your sushi rice is properly mixed with the vinegar mixture. Gently fold to avoid mushiness and maintain texture.
-
Flaky Salmon: Air fry salmon until just cooked through. Overcooking will lead to dryness; avoid this by checking for flakiness as a doneness indicator.
-
Creamy Filling: For the perfect creamy texture, don’t skip the Japanese Kewpie mayonnaise. If using regular mayonnaise, consider adding a dash of lemon juice for richness.
-
Crispy Topping: Broil the Sushi Bake for an additional 2 minutes at the end of baking for that delightful crispy top, keeping a close eye to prevent burning.
-
Neat Slices: When serving, use a sharp knife to cut through the layers for clean squares. Press filling down firmly when assembling to help with slicing.
-
Customize Your Flavor: Don’t hesitate to experiment with fillings and garnishes based on your family’s taste preferences, ensuring a personalized and delicious sushi bake every time!
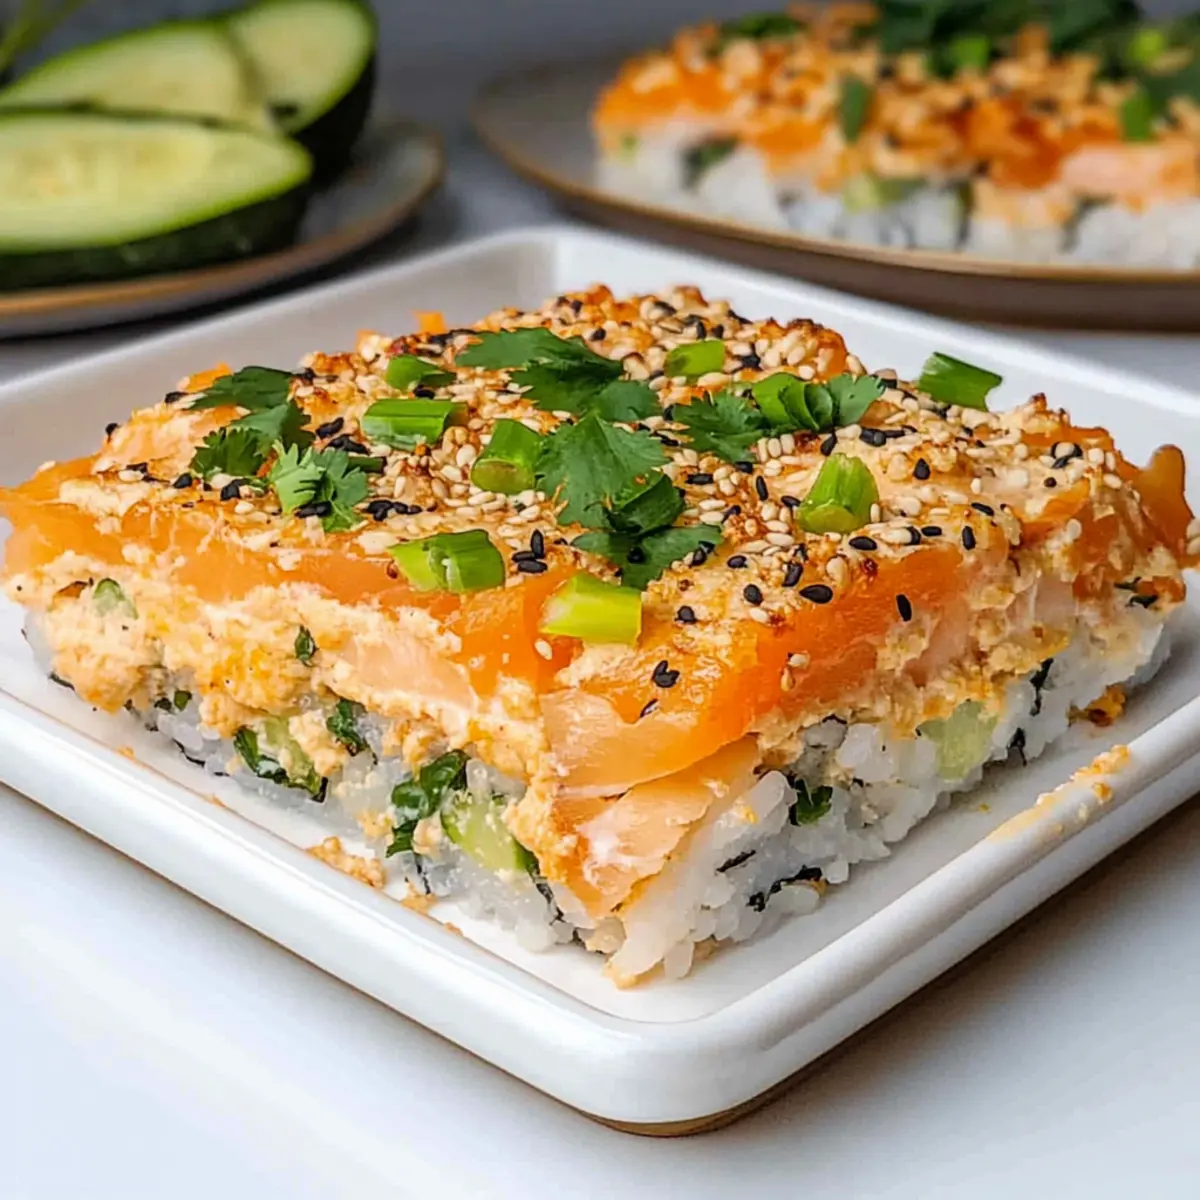
Sushi Bake Recipe FAQs
What kind of rice should I use for Sushi Bake?
Absolutely! Sushi rice is the best choice for this recipe due to its sticky texture, which holds everything together beautifully. If you can’t find sushi rice, you can use short-grain rice as a substitute. Just be sure to rinse it well until the water runs clear to reduce excess starch for better results.
How should I store leftover Sushi Bake?
Leftovers can be refrigerated in an airtight container for up to 2 days. Before serving, gently reheat it in the microwave or oven to maintain its creamy texture. If reheating in the oven, cover it with foil to keep it from drying out.
Can I freeze Sushi Bake?
Yes, you can! After it cools completely, wrap the Sushi Bake tightly in plastic wrap and then in aluminum foil to prevent freezer burn. It can be stored in the freezer for up to 2 months. To reheat, thaw it in the fridge overnight and then bake at 350°F (175°C) for about 20-25 minutes until heated through.
What if my Sushi Bake mixture is too watery or dry?
Very! If your filling seems too watery, try adding a bit more sushi rice or some crushed crackers to absorb excess moisture. If it’s too dry, a splash of soy sauce or a bit more Kewpie mayonnaise will help combine the flavors and creaminess. Be careful to balance flavors though!
Is this recipe suitable for those with seafood allergies?
It’s essential to be cautious! If you’re making this for someone with seafood allergies, I recommend swapping out the salmon and imitation crab for cooked chicken or even tofu for a delicious vegetarian alternative. Always check for allergy-friendly ingredients to ensure safety.
How can I customize my Sushi Bake?
The more the merrier! Feel free to get creative with your fillings. You can use different seafood like shrimp or tuna, or switch things up with vegetables like avocado or cucumber. Just remember to keep a good balance of flavors for the best result, and enjoy discovering new combinations!
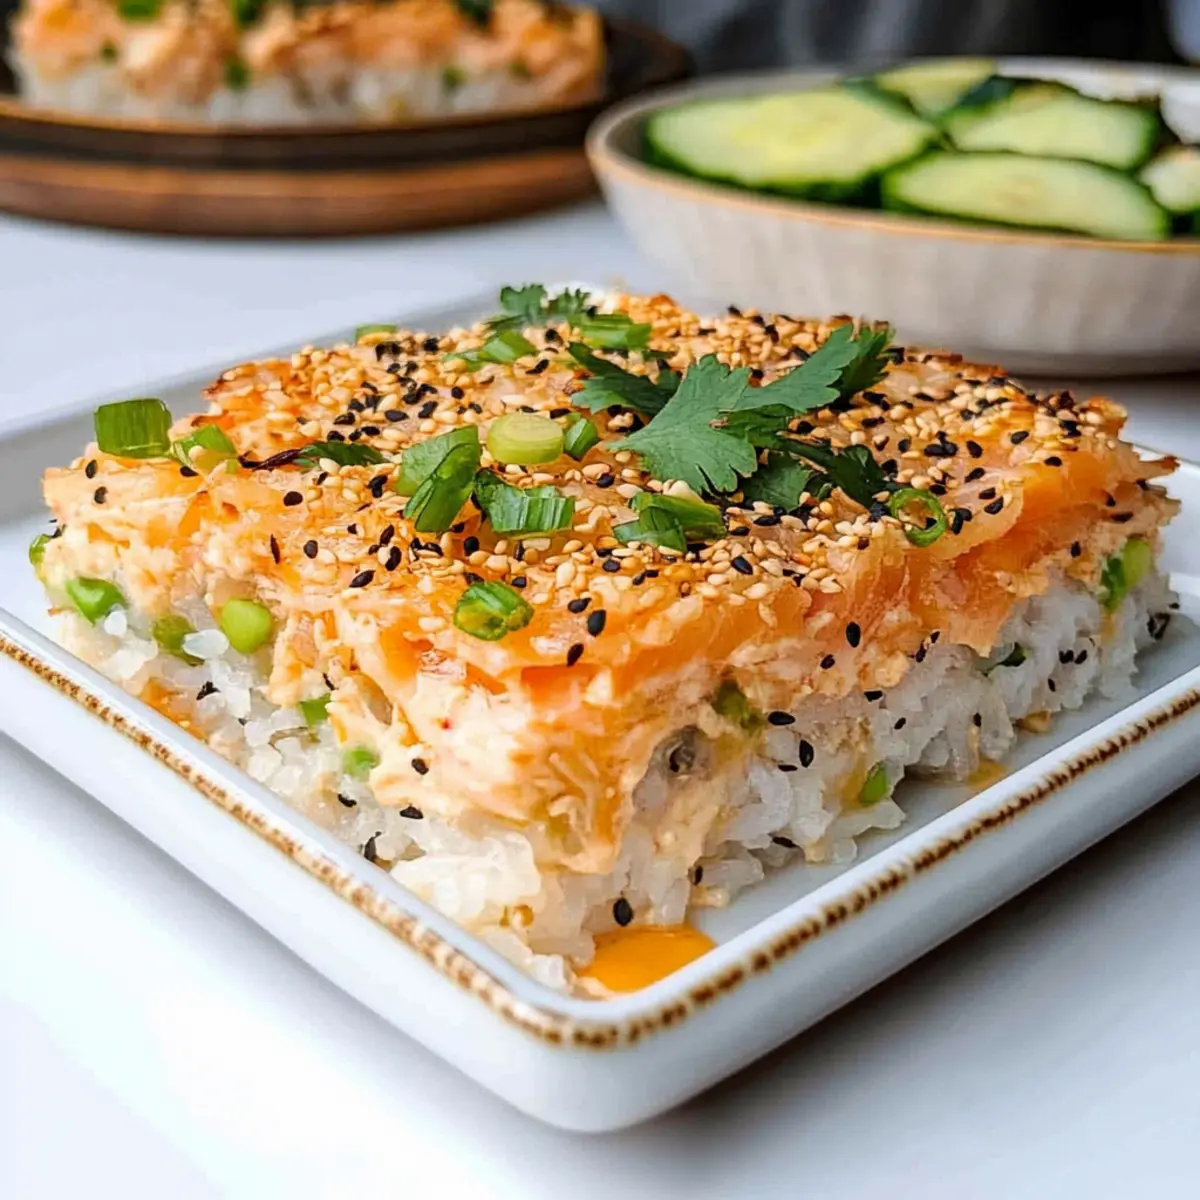
Sushi Bake: A Creamy, Family-Friendly Dinner Delight
Ingredients
Equipment
Method
- Wash sushi rice until the water runs clear. Combine the rinsed rice with water in a pot, boil, reduce heat and simmer for 15-20 minutes. Let it steam off heat for 5-10 minutes.
- Season salmon fillet with salt and pepper, preheat air fryer to 400°F (200°C), and cook for about 10 minutes or until flaky. Once cooked, flake salmon into bite-sized pieces.
- In a mixing bowl, combine flaked salmon with imitation crab, soy sauce, Kewpie mayonnaise, sriracha, and sesame oil. Mix until creamy.
- In a bowl, stir together rice vinegar, sugar, and salt until dissolved. Fold mixture into cooled sushi rice.
- Preheat oven to 400°F (200°C). Spread seasoned rice into a greased baking dish, layer nori on top, sprinkle sesame seeds, and distribute the creamy filling evenly.
- Bake in preheated oven for about 10 minutes, then broil for an additional 2 minutes until top is golden and crispy.
- Remove from oven, let cool for a few minutes, garnish with spicy mayonnaise, and cut into squares for serving.
Leave a Reply