
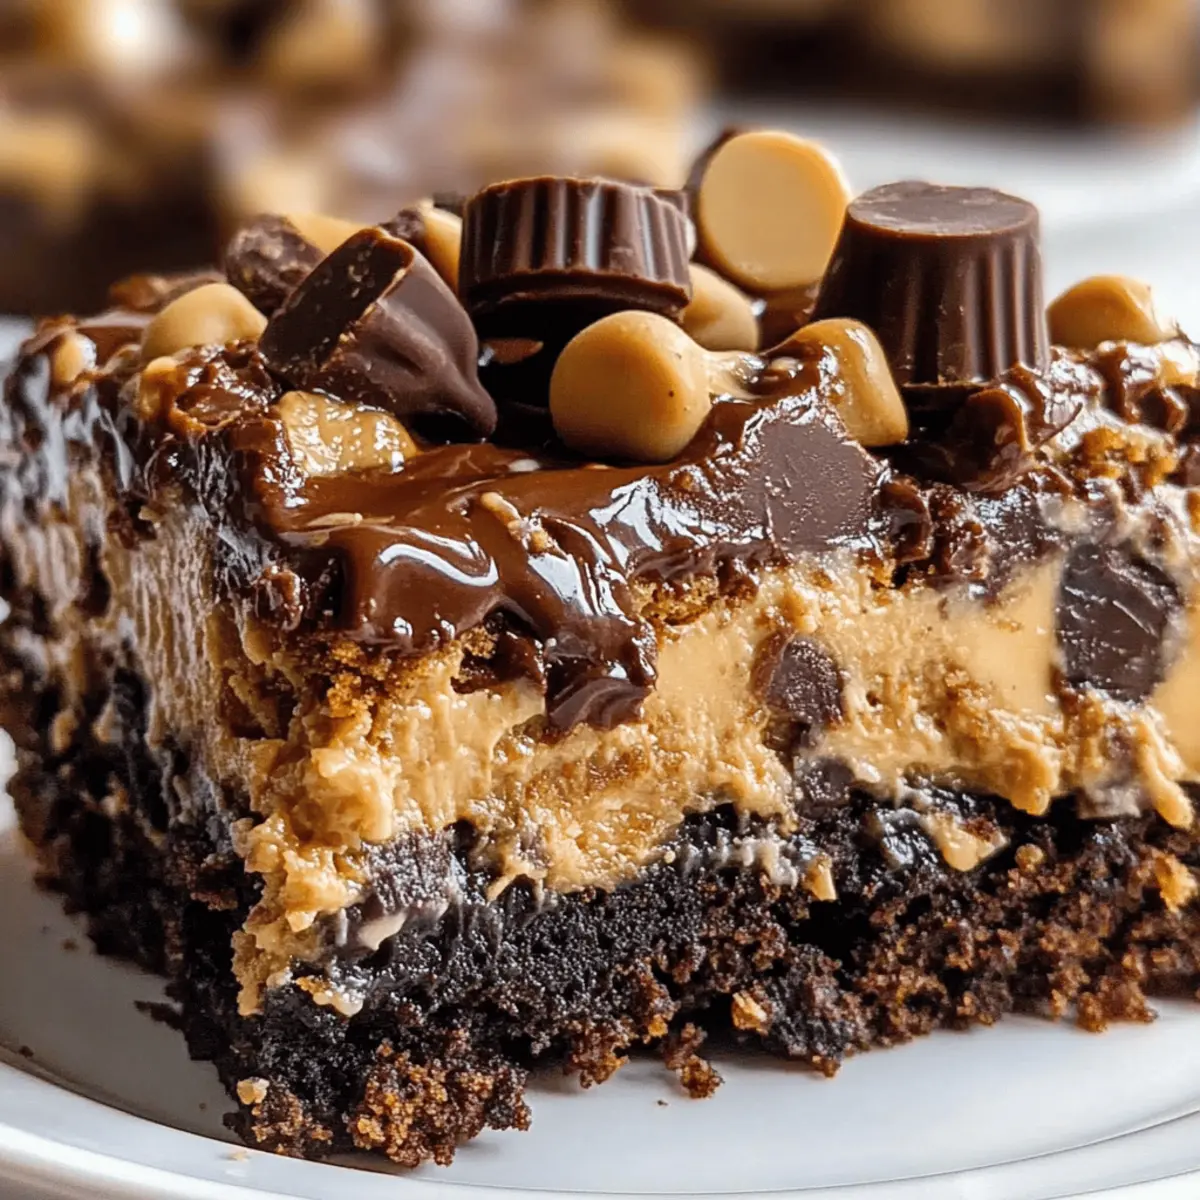
As I stood in the kitchen, the aroma of melting chocolate and creamy peanut butter filled the air, whispering promises of indulgence. There’s something enchanting about a Peanut Butter Cup Dump Cake—a dessert that brings together layers of rich, gooey happiness with minimal effort. This decadent treat is not only a crowd-pleaser perfect for gatherings but also a lifesaver for those late-night cravings. With an effortless preparation style and delightful textures that range from crunchy toppings to fudgy centers, it’s destined to warm hearts and satisfy sweet tooth cravings alike. Embrace the magic of no-fuss baking as you get ready to transform simple pantry staples into a delightful masterpiece. Curious about how to whip up this deliciousness? Let’s dive into the recipe!
Why is this dump cake a must-try?
Simplicity and Convenience: In just a few steps, you’ll create a show-stopping dessert without the need for mixing or complicated techniques.
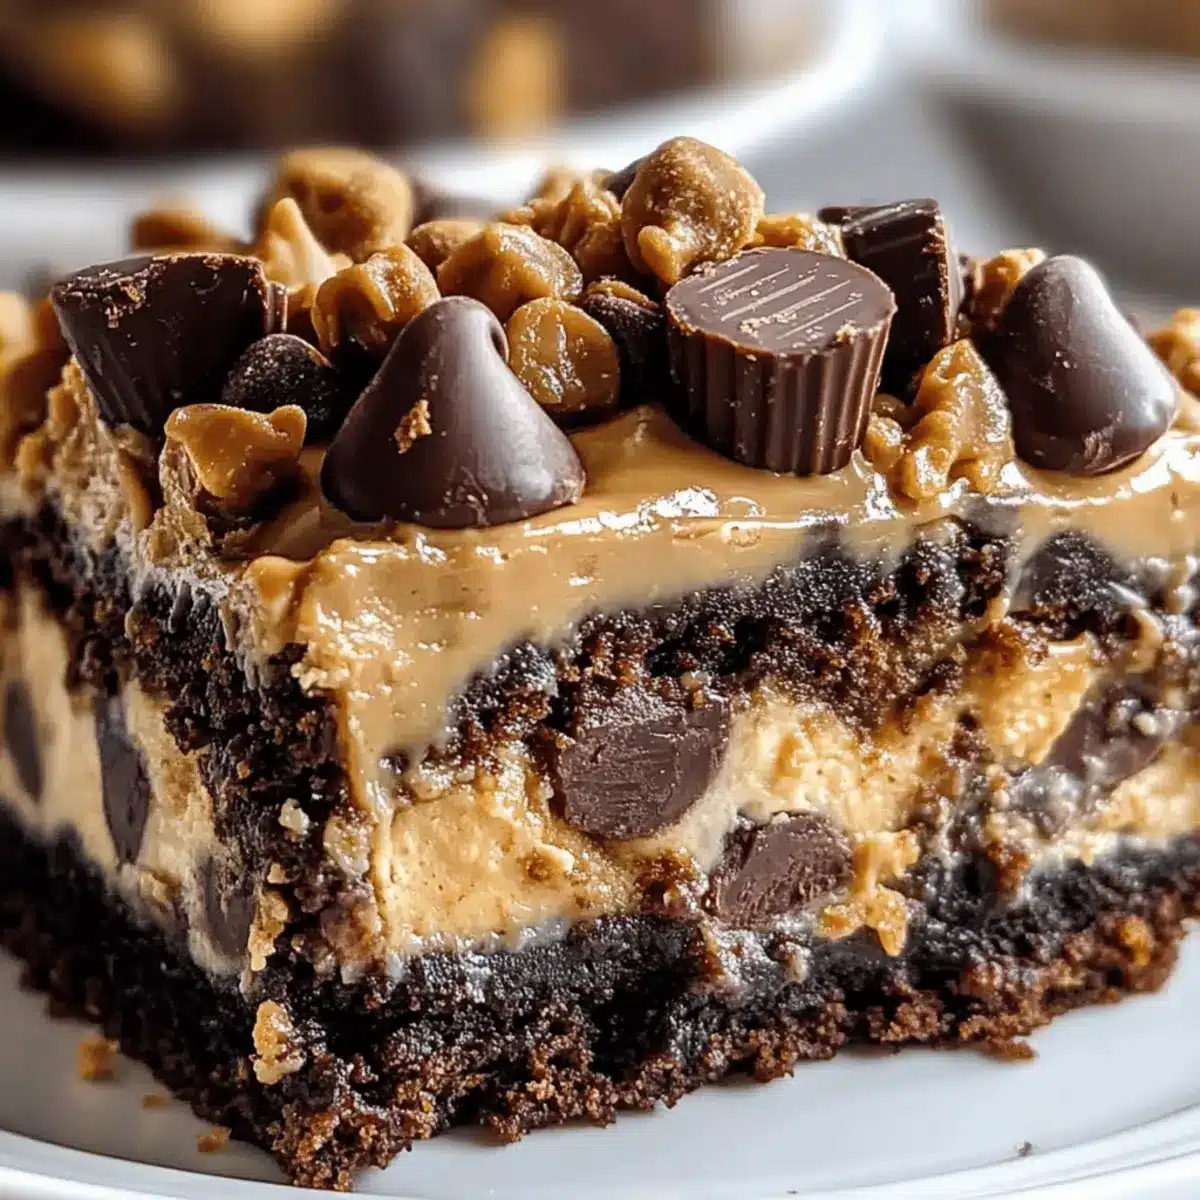
Decadent Layers: The rich combination of creamy peanut butter and melted chocolate delivers an explosion of flavors with every bite.
Crowd-Pleasing Comfort: Perfect for any occasion, this cake is guaranteed to be the highlight of your next gathering.
Versatile Ingredients: Customize it to your taste by substituting sunflower seed butter for a nut-free option or using gluten-free chocolate cake mix for a dietary-friendly treat.
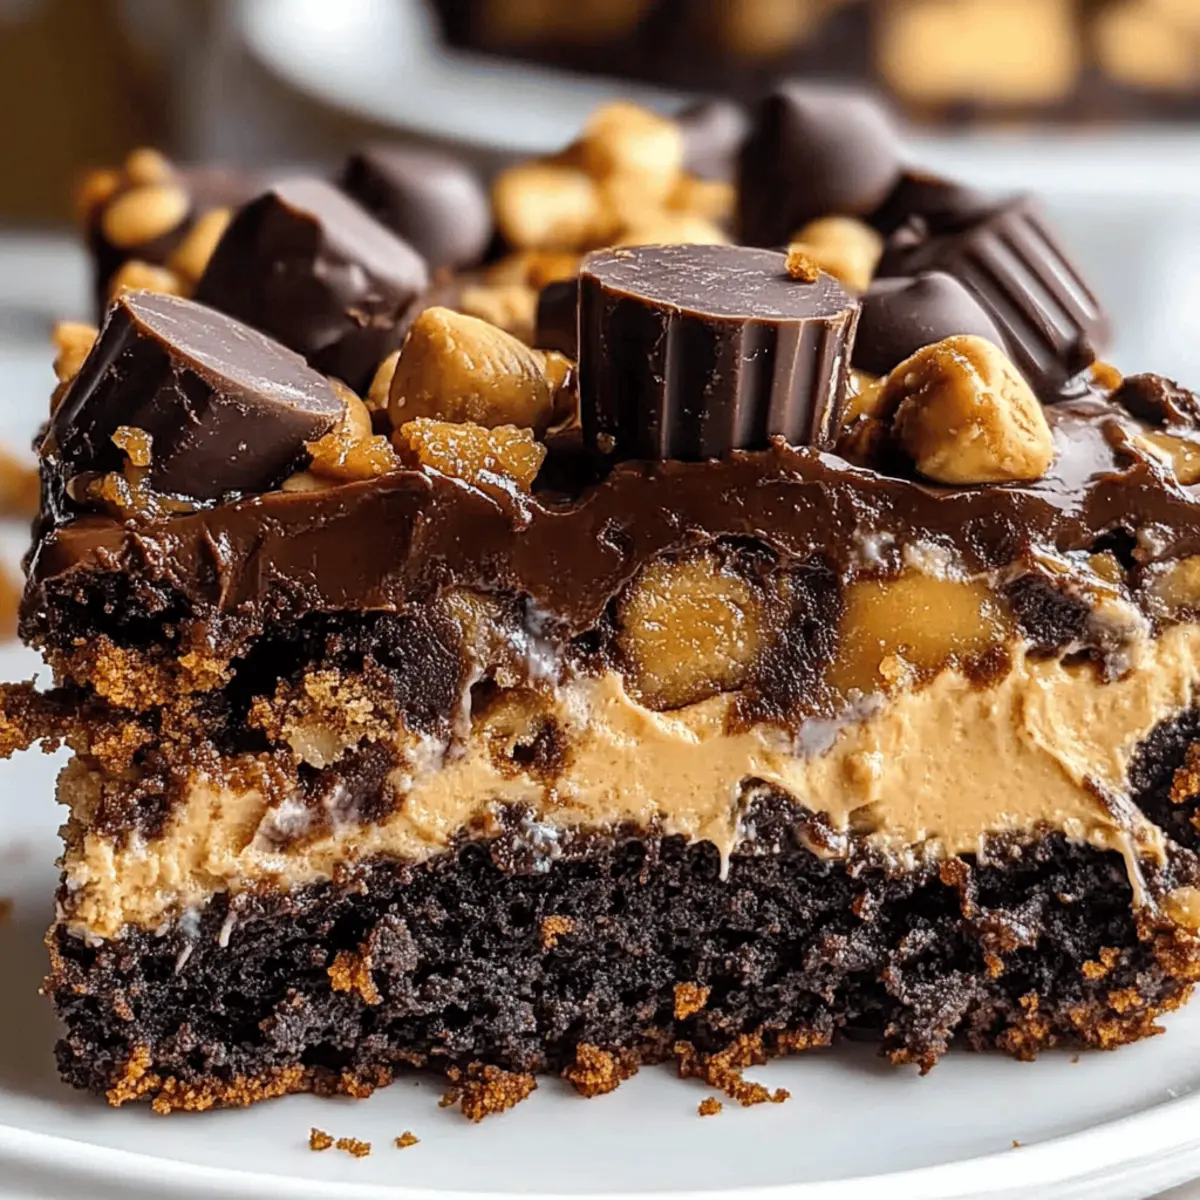
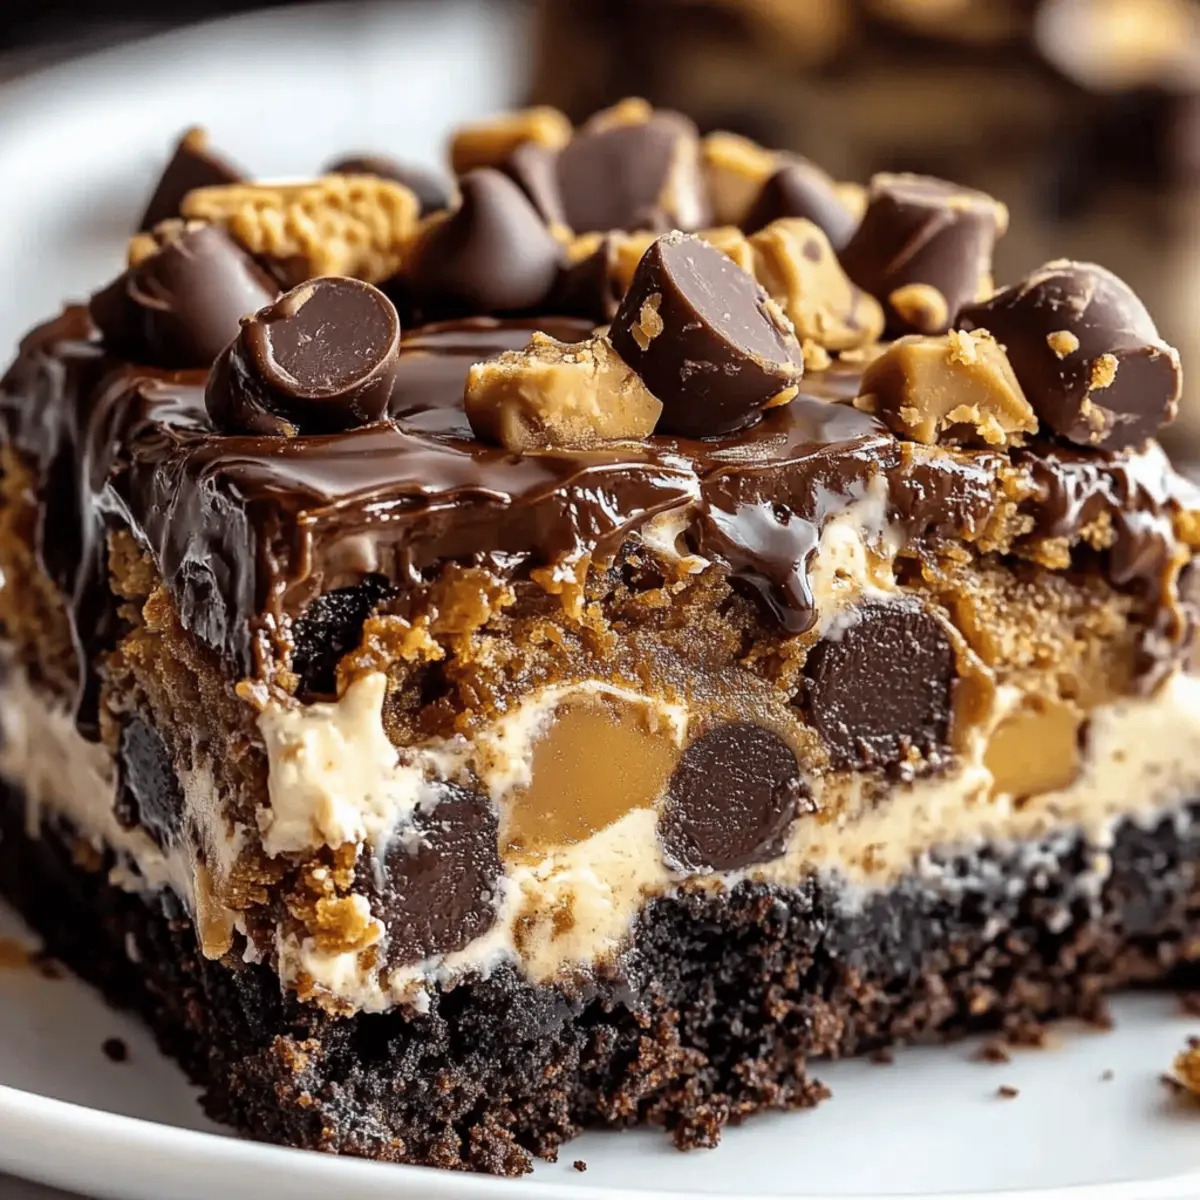
Indulgent Texture: Each slice boasts a lovely contrast of fudgy and crunchy textures, making it irresistibly satisfying.
Ready in a Flash: Bake and serve warm for an extra touch of comfort; it’s the perfect quick fix for those late-night dessert cravings! For more delightful cake options, don’t miss my Peach Cake with Brown Sugar Frosting or Brown Butter Dubai Pistachio Chocolate Chip Cookie Bars.
Peanut Butter Cup Dump Cake Ingredients
For the Cake Base
• Creamy Peanut Butter – Adds richness and a creamy layer; for a nut-free version, you can use sunflower seed butter.
• Dry Chocolate Cake Mix – Acts as the base, providing a decadent chocolate flavor; opt for gluten-free chocolate cake mix if desired.
• Sweetened Condensed Milk – Ensures moisture and sweetness throughout the cake; no direct substitutions are recommended.
• Unsalted Butter (melted) – Coats the cake mix for moisture and helps with even baking.
For the Mix-ins
• Chopped Peanut Butter Cups – Provides delicious bursts of chocolate and peanut butter flavor; you can substitute mini peanut butter cups or other favorite candies if you’d like.
• Milk Chocolate Chips – Enhance the chocolaty goodness and add a touch of texture to the cake.
Optional Toppings
• Whipped Cream – Serve for a creamy contrast, enriching the dessert experience.
• Vanilla Ice Cream – A delightful addition that pairs beautifully when the cake is served warm.
Step‑by‑Step Instructions for Peanut Butter Cup Dump Cake
Step 1: Preheat and Prepare
Begin by preheating your oven to 350°F (175°C). Grease a 9×13-inch baking dish with cooking spray or butter to ensure easy removal after baking. The greased surface will help form a lovely crust on your Peanut Butter Cup Dump Cake. Set it aside as you prepare the ingredients, allowing the oven to reach the perfect baking temperature for a beautifully cooked cake.
Step 2: Spread the Peanut Butter
Using a spatula, spread a generous layer of creamy peanut butter evenly across the bottom of the greased baking dish. This rich base will provide a mouthwatering foundation for your dump cake, ensuring that every bite is filled with that delightful peanut butter flavor. Aim for an even layer to create a consistent texture in the final bake.
Step 3: Add Peanut Butter Cups
Sprinkle half of the chopped peanut butter cups over the peanut butter layer, distributing them evenly. As you create this tasty layer, envision the rich bursts of chocolate and peanut butter flavor that will melt together during baking. This part is key for ensuring that your Peanut Butter Cup Dump Cake has those delightful pockets of sweetness throughout.
Step 4: Drizzle the Sweetened Condensed Milk
Pour the sweetened condensed milk evenly over your layered ingredients, ensuring every part is coated. This will help to keep your dump cake moist and add a luscious sweetness throughout. Watch as the milk begins to seep into the layers below, creating a tantalizing combination of flavors as it bakes.
Step 5: Sprinkle the Cake Mix
Next, sprinkle the dry chocolate cake mix evenly over the entire surface, without mixing it with any of the previous layers. This no-mix technique is what makes this Peanut Butter Cup Dump Cake a cinch to prepare. Make sure to cover all areas so that the chocolate flavor permeates all layers as it bakes.
Step 6: Drizzle the Melted Butter
Melt the unsalted butter and drizzle it generously over the top of the cake mix. This will moisten the cake mix and create a wonderfully crisp top as it bakes. Pay attention to the coverage to ensure that every speck of the cake mix has a chance to combine with the delicious flavors below, resulting in a rich and delectable dessert.
Step 7: Top with More Treats
Now, sprinkle the remaining chopped peanut butter cups and milk chocolate chips evenly on top of the cake mix. This will add texture and ensure that every slice of your Peanut Butter Cup Dump Cake is bursting with delicious chocolate and peanut butter goodness. You can also add additional chocolate chips if you want an extra decadent touch.
Step 8: Bake to Perfection
Place the baking dish in the preheated oven and bake for 35-40 minutes. You’ll know it’s done when the edges are bubbling and the top is slightly crisp. The aroma of melting chocolate and peanut butter wafting through your kitchen is a sure sign that you’re on the right track to a fantastic dessert.
Step 9: Cool and Serve
Allow the Peanut Butter Cup Dump Cake to cool for 10-15 minutes before serving. This slight cooling period will help maintain the gooey texture while making it easier to cut into squares. Serve warm for the best experience, optionally adding whipped cream or vanilla ice cream for an indulgent treat that will have everyone coming back for seconds.
What to Serve with Peanut Butter Cup Dump Cake
Indulging in a decadent dessert like this may leave you wondering what delightful accompaniments will elevate your experience further.
-
Creamy Vanilla Ice Cream: A classic pairing that adds a cold, velvety contrast to the warm, gooey cake. The scoop slowly melts, enhancing each bite with a delightful creaminess.
-
Whipped Cream Topping: Light and fluffy, whipped cream adds a fresh, airy element that balances the rich chocolate and peanut butter flavors beautifully.
-
Fresh Berries: Strawberries or raspberries bring a refreshing tartness that cuts through the richness while adding a pop of color, elevating the dessert’s visual appeal.
-
Salted Caramel Sauce: Drizzling warm salted caramel over each slice enhances the sweetness while introducing a satisfying savory note that makes every bite feel indulgently special.
-
Chocolate Milkshake: A delicious drink that echoes the chocolatey notes of the dump cake. This creamy companion is perfect for those who crave a sweet beverage with their dessert.
-
Coffee or Espresso: The rich, bold flavors of a good cup of coffee create a splendid contrast and heighten the dessert experience, perfect for those cozy evenings.
-
Peanut Butter Sauce: Intensify the peanut flavor by drizzling a silky peanut butter sauce over the cake, making it a haven for peanut butter lovers.
-
Ice Cold Milk: A classic pairing with any dessert, nothing complements the richness of a Peanut Butter Cup Dump Cake quite like a glass of chilled milk.
-
Chopped Nuts: Sprinkle some crushed peanuts or walnuts on top to add a delightful crunch and enhance the flavor profile, creating a wonderful texture contrast.
-
Chocoholics Delight: Consider pairing with chocolate chip cookies for an extra dose of decadence—this combination is sure to please any sweet tooth!
Expert Tips for Peanut Butter Cup Dump Cake
• Cooling Time: Allow the cake to cool slightly before serving to maintain its dreamy, gooey texture. This step is crucial!
• Serving Warm: For the best indulgence, serve warm with a scoop of vanilla ice cream or whipped cream on top, amplifying the dessert’s appeal.
• Watch the Bake Time: Keep an eye on the cake as it bakes; every oven is different. The top should be slightly crisp and the edges bubbly, ensuring it’s perfectly done.
• Mix-In Variety: Feel free to experiment with mix-ins! Chopped Reese’s Pieces or a blend of chocolate chips can add extra crunch and fun.
• Storage Secrets: Store leftovers in an airtight container at room temperature for up to 3 days. Reheat in the microwave to restore that gooey goodness before serving.
• Nut-Free Option: Substitute the creamy peanut butter with sunflower seed butter to make this Peanut Butter Cup Dump Cake nut-free while still delicious.
Make Ahead Options
These Peanut Butter Cup Dump Cake components are ideal for meal prep lovers looking to save time! You can spread the creamy peanut butter and layer half of the chopped peanut butter cups up to 24 hours in advance; simply cover with plastic wrap to keep it fresh. The sweetened condensed milk, dry chocolate cake mix, and melted butter can also be prepared ahead of time, just keep them separate until you’re ready to bake. When it’s time to serve, add the remaining peanut butter cups and chocolate chips, then bake as directed. This way, you’ll enjoy a homemade dessert with minimal effort on busy weeknights, all while keeping the flavors just as delightful!
Peanut Butter Cup Dump Cake Variations
Feel free to customize your Peanut Butter Cup Dump Cake in exciting ways that tickle your taste buds!
-
Nut-Free: Substitute creamy peanut butter with sunflower seed butter for a nut-free delight that’s just as creamy and rich.
-
Gluten-Free: Use a gluten-free chocolate cake mix to ensure everyone can enjoy this sweet treat, making it accessible for all dietary needs.
-
Chocolate Peanut Butter Chip Boost: Swap half of the milk chocolate chips for chocolate peanut butter chips for an extra chocolatey twist that melts in your mouth.
-
Candy Crunch: For an added textural crunch, fold in some chopped Reese’s Pieces or your favorite chocolate candies before baking. This adds delightful bursts of flavor throughout.
-
Spicy Twist: Add a pinch of cayenne or chili powder to the melted butter for a warm, subtly spicy kick that contrasts beautifully with the sweetness.
-
Flavor Infusion: Experiment with different flavored extracts, like almond or coconut, to give your cake a unique twist. A splash of almond extract can elevate the cake’s flavor to unexpected heights.
-
Dulce de Leche Drizzle: Drizzle some dulce de leche over the warm cake before serving for an indulgent caramel touch that’s hard to resist.
-
Serving Style: Take it up a notch by serving your warm cake in dessert bowls topped with a rich scoop of vanilla ice cream and a sprinkle of sea salt, reminiscent of my Crockpot Garlic Butter Beef or a rich Brown Butter Dubai.
Let your creativity flow and adapt this recipe to suit your taste and dietary preferences—there’s no wrong way to enjoy this delicious treat!
How to Store and Freeze Peanut Butter Cup Dump Cake
Room Temperature: Store leftovers in an airtight container at room temperature for up to 3 days to maintain freshness and flavor.
Fridge: If you prefer a longer storage time, refrigerate the cake in an airtight container for up to 1 week. This helps keep the Peanut Butter Cup Dump Cake moist.
Freezer: For longer storage, you can freeze pieces of the cake wrapped in plastic wrap and then placed in a freezer bag for up to 3 months.
Reheating: To restore the gooey texture, microwave individual portions for 15-30 seconds until warmed through before serving.
Peanut Butter Cup Dump Cake Recipe FAQs
What type of peanut butter is best for this recipe?
Absolutely! I recommend using creamy peanut butter to achieve that rich, gooey layer. If you’re looking for a nut-free version, sunflower seed butter is a delicious substitute that works beautifully in this Peanut Butter Cup Dump Cake.
How do I store leftover Peanut Butter Cup Dump Cake?
For short-term storage, keep the cake in an airtight container at room temperature for up to 3 days. If you want to keep it longer, refrigerate it for up to 1 week. Just remember to let it cool completely before sealing it up to maintain that yummily gooey texture!
Can I freeze Peanut Butter Cup Dump Cake?
Yes, you can! Wrap individual pieces of the cake tightly in plastic wrap, then place them in a freezer bag. This will keep them fresh for up to 3 months. To enjoy it later, just thaw in the refrigerator overnight, then microwave for about 15-30 seconds to restore its gooey goodness!
What should I do if my cake doesn’t rise properly?
If your Peanut Butter Cup Dump Cake doesn’t rise or is overly dense, it might be due to old baking mix or not enough moisture. Always ensure you use fresh ingredients, and check that your condensed milk is evenly distributed over the cake mix. Next time, sprinkle extra chocolate chips on top to tempt fate a little!
Is this dump cake suitable for people with allergies?
The Peanut Butter Cup Dump Cake contains peanuts, milk, and wheat (gluten), so be sure to check for any allergy concerns! For a nut-free treat, use sunflower seed butter, gluten-free cake mix, and be cautious with any toppings to maintain allergy safety.
Irresistible Peanut Butter Cup Dump Cake for Easy Comfort
Ingredients
Equipment
Method
- Preheat your oven to 350°F (175°C) and grease a 9x13-inch baking dish.
- Spread a generous layer of creamy peanut butter evenly across the bottom of the greased baking dish.
- Sprinkle half of the chopped peanut butter cups over the peanut butter layer.
- Pour the sweetened condensed milk evenly over your layered ingredients.
- Sprinkle the dry chocolate cake mix evenly over the entire surface.
- Melt the unsalted butter and drizzle it generously over the top of the cake mix.
- Sprinkle the remaining chopped peanut butter cups and milk chocolate chips evenly on top.
- Place the baking dish in the oven and bake for 35-40 minutes.
- Allow the cake to cool for 10-15 minutes before serving warm.
Leave a Reply