
As the sizzle of crispy cutlets fills the kitchen, I can’t help but feel a wave of nostalgia wash over me. These Japanese Katsu Bowls are a delightful embrace of comfort food, offering tender meat—be it chicken or pork—nestled on a bed of fluffy, seasoned rice. With their crunchy exterior and savory flavor, they’re not just a meal; they’re a celebration of homemade goodness. This recipe is not only quick to prepare but also wonderfully customizable, making it a hit for both family dinners and gatherings with friends. Ready to unravel the secrets behind this savory delight? What will your perfect katsu bowl look like?
Why Are Japanese Katsu Bowls So Irresistible?
Crunchy, Golden Perfection: The signature panko breadcrumbs create an addictive crunch that elevates your meal to a whole new level.
Ultimate Comfort Food: Picture each bite as a warm hug—crispy cutlets atop fluffy rice drizzled with tangy sauce, making every mouthful truly satisfying.
Endless Customization: Whether you prefer chicken, pork, or a delicious vegetarian option like tofu, this dish adapts to your taste, allowing for delightful variations every time.
Quick and Easy: Whip up this recipe in under an hour, perfect for busy weekdays or spontaneous gatherings, while avoiding the usual fast food rush.
Crowd-Pleasing Appeal: Whether serving to family or friends, these bowls are sure to impress everyone at the table—if you love our Katsu, check out our Cheesesteak Rice Bowls for another crowd-pleasing favorite!
Japanese Katsu Bowls Ingredients
For the Katsu
• Boneless Chicken Breasts (or Pork Loin) – Your main protein; swap with eggplant or tofu for a vegetarian delight.
• Salt and Pepper – Essential for enhancing flavor; adjust to taste for a personal touch.
• All-Purpose Flour – Used for dredging the meat; gluten-free flour is a great alternative if needed.
• Large Eggs – Binds the breadcrumbs to your protein; flax eggs or aquafaba work well for a vegan option.
• Panko Breadcrumbs – Provides that iconic crunch; regular breadcrumbs can substitute, but you’ll miss some texture.
• Vegetable Oil – Essential for frying, achieving that crispy goodness; canola or peanut oil are good alternatives.
For the Rice
• Japanese Short-Grain Rice – The staple carbohydrate for authentic texture; sushi rice is an option if you’re in a bind.
• Water – The magic liquid that cooks your rice to perfection.
• Rice Vinegar – Adds a tangy note to the rice; apple cider vinegar is a great substitute.
• Sugar – Sweetens your rice seasoning; adjust to balance the flavor.
• Salt – To enhance the deliciousness of your rice.
For the Sauce
• Tonkatsu Sauce – The heart of the dish, delivering savory flavor; feel free to use either homemade or store-bought.
• Soy Sauce – Adds umami goodness; ensure it’s gluten-free if necessary.
• Worcestershire Sauce – Brings complexity to your flavor profile; vegan alternatives are available.
• Ketchup – Adds a hint of sweetness to round out the sauce.
For Garnishing
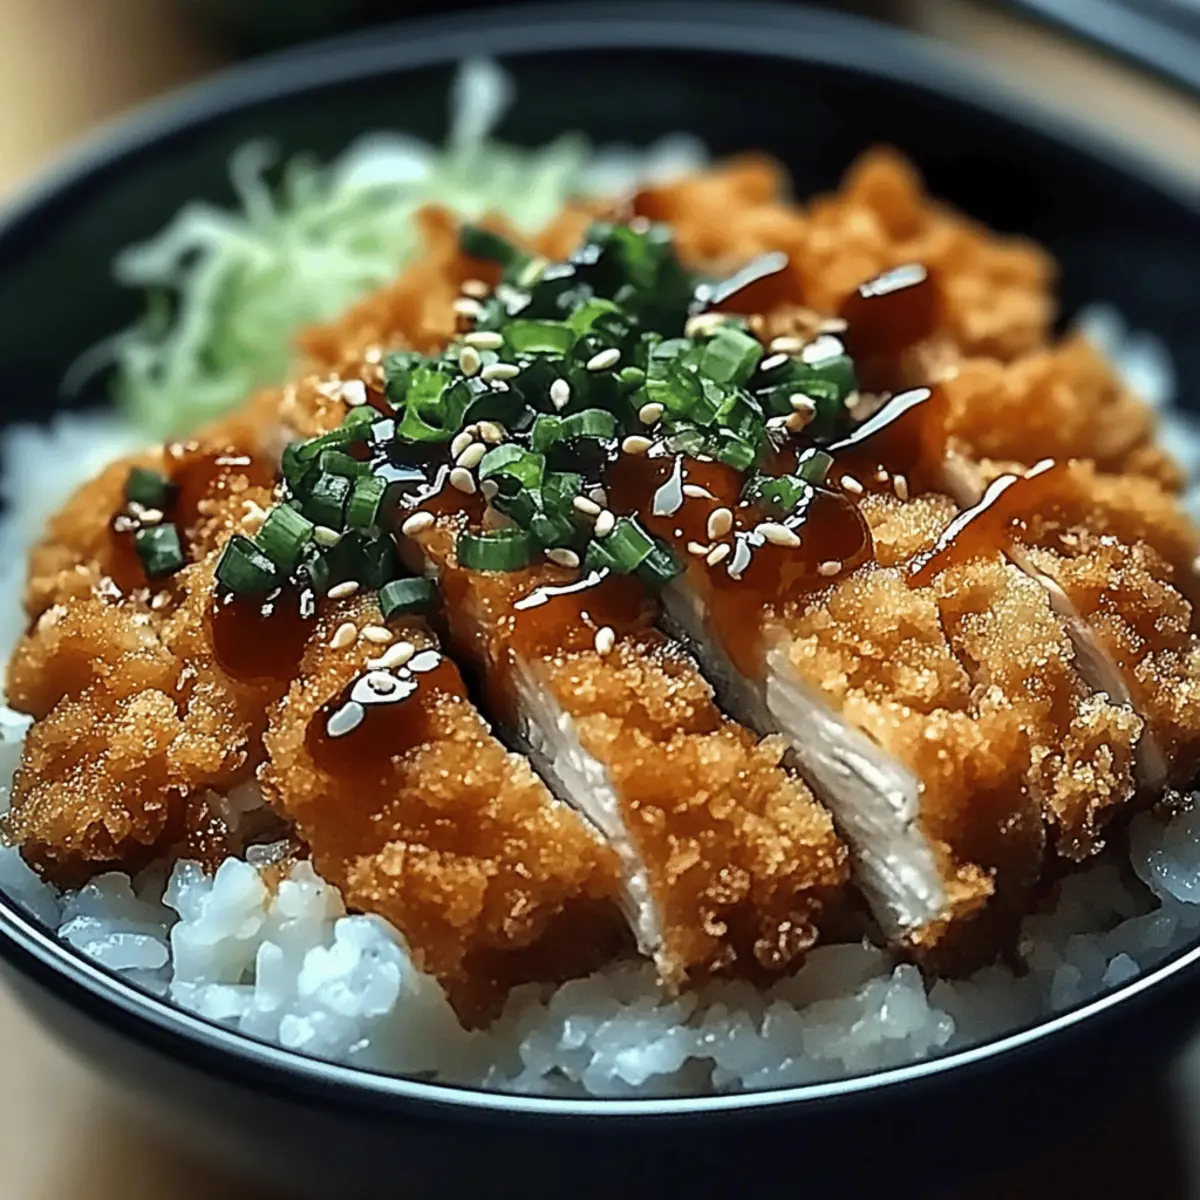
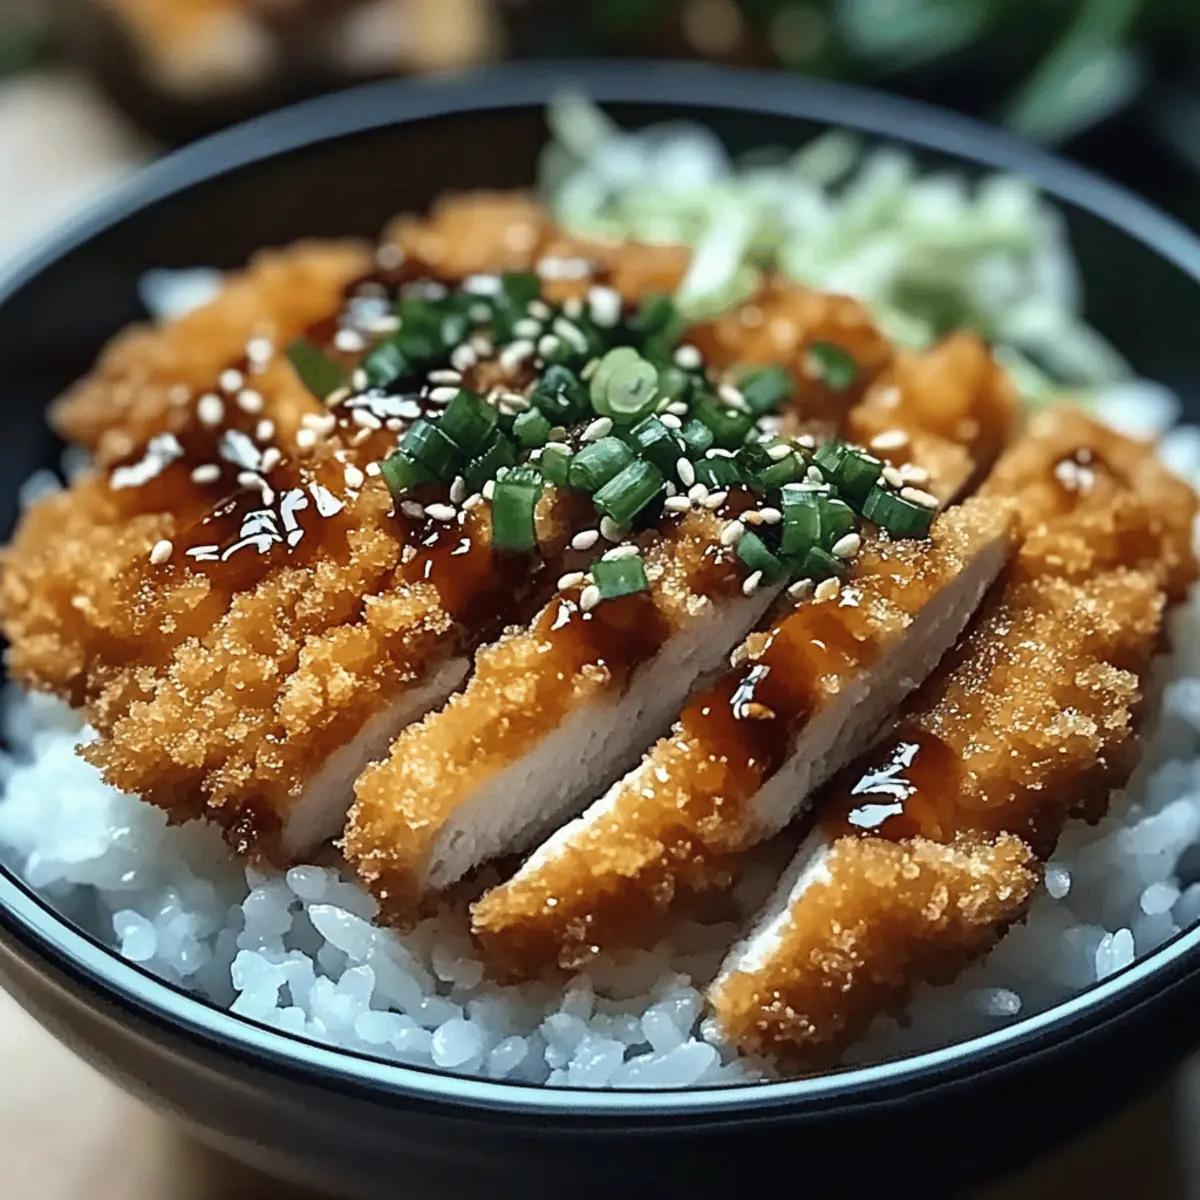
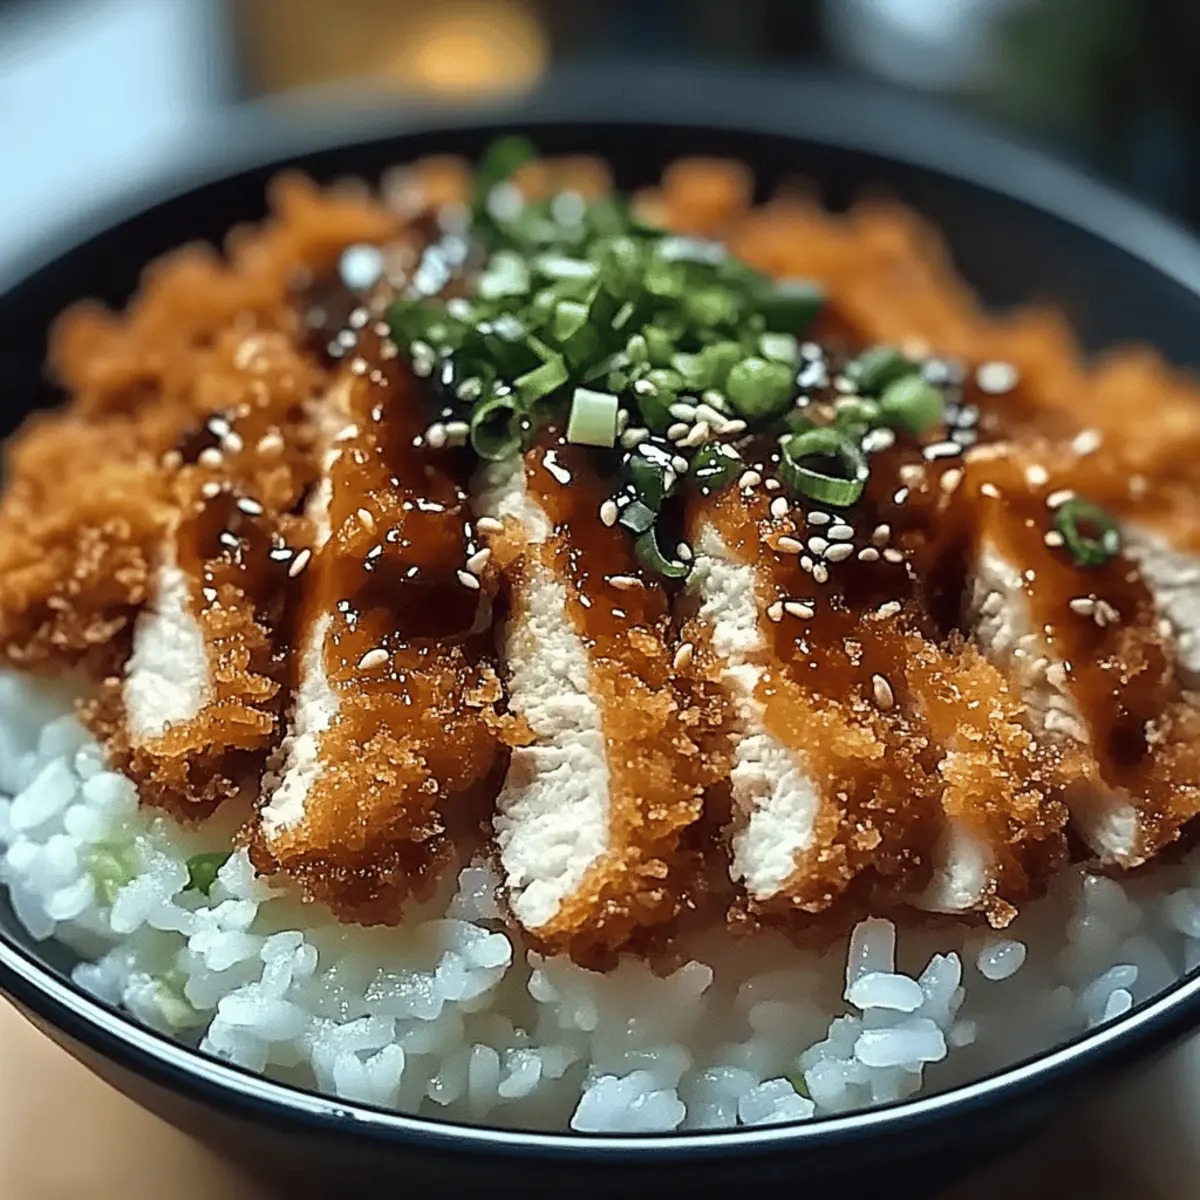
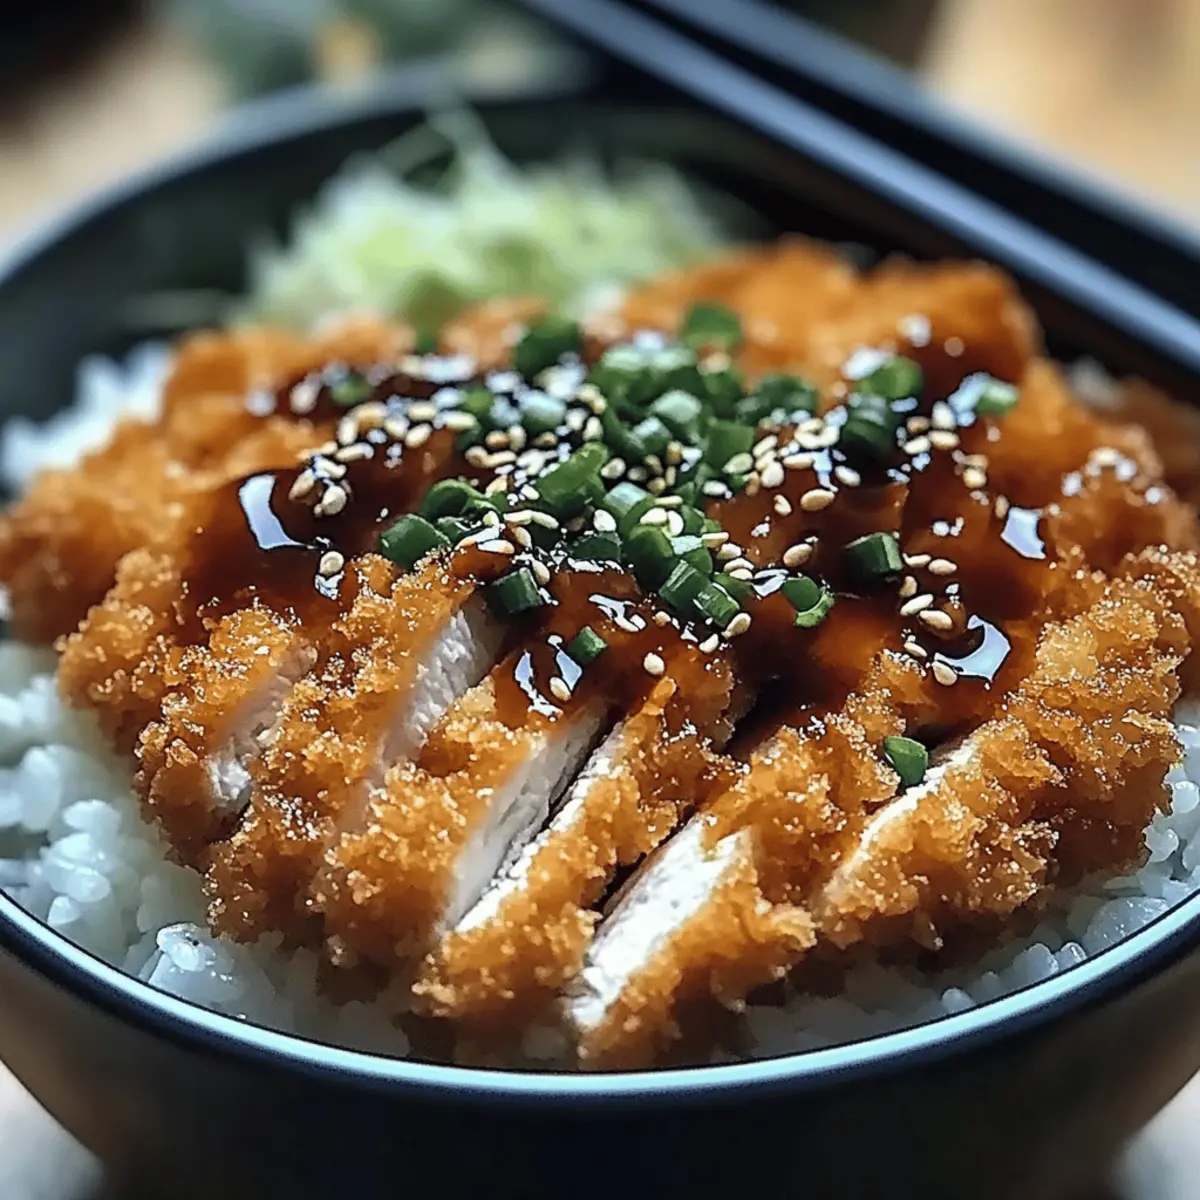
• Shredded Cabbage, Green Onions, Sesame Seeds, Pickled Ginger (optional) – These garnishes not only add crunch but also brighten up your bowl.
Step‑by‑Step Instructions for Japanese Katsu Bowls
Step 1: Prepare the Rice
Begin by rinsing 1 cup of Japanese short-grain rice thoroughly under cold water until the water runs clear. Soak the rice for about 30 minutes, then drain. In a pot, combine the soaked rice and 1.5 cups water, bring to a boil, cover, and reduce to low heat for 15 minutes. Once cooked, remove from heat and let it rest for 10 minutes. Mix 2 tablespoons rice vinegar, 1 teaspoon sugar, and a pinch of salt, then fold into the rice gently.
Step 2: Prepare the Katsu
While the rice is resting, flatten 2 boneless chicken breasts or pork loin using a meat mallet until about ½-inch thick for even cooking. Season each piece generously with salt and pepper. Set up a breading station with three shallow dishes: one with ½ cup all-purpose flour, another with 2 beaten eggs, and the last with 1 cup panko breadcrumbs. Coat each piece of meat in flour, dip in egg, and press into panko until fully covered.
Step 3: Fry the Katsu
In a large skillet, heat ½ cup vegetable oil over medium-high heat until shimmering—test readiness with a small piece of bread that should sizzle. Carefully add the breaded chicken or pork, cooking for 4-5 minutes on each side until it turns golden brown and reaches an internal temperature of 165°F (75°C). Using tongs, transfer the cooked katsu to paper towels to drain excess oil, then slice into strips.
Step 4: Make the Sauce
In a small bowl, whisk together ¼ cup tonkatsu sauce, 1 tablespoon soy sauce, 1 tablespoon Worcestershire sauce, and 1 tablespoon ketchup until well combined. This tangy sauce will elevate your Japanese Katsu Bowls with a delicious burst of flavor. Adjust the ingredients as necessary for your taste preferences.
Step 5: Assemble Bowls
For a delightful presentation, spoon a serving of the seasoned rice into each bowl. Arrange the sliced katsu generously over the rice, then drizzle the homemade sauce on top. Garnish each bowl with a handful of shredded cabbage, chopped green onions, sesame seeds, and optional pickled ginger for an extra burst of freshness. Enjoy your delicious Japanese Katsu Bowls!
Storage Tips for Japanese Katsu Bowls
Fridge: Store your Japanese Katsu Bowls in an airtight container for up to 3 days. This keeps the meat and rice fresh without losing too much flavor.
Freezer: If you want to save for later, freeze the cooked katsu cutlets individually wrapped in plastic wrap for up to 2 months. Reheat in the oven for best results!
Reheating: For reheating, avoid the microwave as it can make the katsu soggy. Instead, oven-reheat at 375°F (190°C) for about 10 minutes, keeping that crispy texture intact.
Rice Storage: The seasoned rice can last in the fridge for up to 3 days as well. Just make sure to store it in a separate container to maintain its fluffy consistency.
Make Ahead Options
These Japanese Katsu Bowls are perfect for meal prep, making them a go-to choice for busy weeknights! You can prep the katsu cutlets up to 24 hours in advance by breading them, then wrapping them tightly in plastic wrap and refrigerating. The seasoned rice can be made ahead too, as it stays fresh in the fridge for up to 3 days; just reheat gently with a splash of water to revive its fluffiness. When you’re ready to enjoy, simply fry the prepped cutlets straight from the fridge to make them crispy again, and serve over warm rice with your favorite sauces. This way, you’ll have comforting Japanese Katsu Bowls ready with minimal effort!
What to Serve with Japanese Katsu Bowls
The perfect meal experience is all about balance, and these delightful Katsu Bowls are no exception. Let’s elevate your dining table with some tantalizing sides!
-
Crispy Tempura Vegetables: These light and crunchy bites add a delicious contrast to your katsu, enhancing the overall flavor profile while keeping things fresh and vibrant.
-
Edamame with Sea Salt: A simple yet flavorful snack, these protein-packed pods complement the savory cutlets, providing a nutty taste that rounds out your meal.
-
Refreshing Cucumber Salad: The cool and crunchy salad, dressed in rice vinegar, brightens up your plate and adds a lovely balance to the rich flavors of the katsu.
-
Miso Soup: This traditional Japanese soup, with its umami-rich broth, warms the soul and pairs beautifully with the textured Katsu Bowls, providing a comforting experience.
-
Pickled Ginger: This tangy and slightly sweet garnish offers a refreshing palate cleanser, perfectly cutting through the richness of the katsu and enhancing each delectable bite.
-
Soft-Boiled Eggs: Adding a velvety texture, these eggs not only make for a rich topping but also create a delightful harmony with the crunchy coating of the katsu.
-
Japanese Green Tea: This light and fragrant beverage pairs effortlessly with your meal, bringing a calming element that enhances the savory notes of the Katsu Bowls.
-
Pineapple Sorbet: For dessert, this refreshing and fruity sorbet cleanses the palate, offering a sweet and tangy finale to your Japanese cuisine adventure.
Japanese Katsu Bowls Customizations
Feel free to get creative with your Japanese Katsu Bowls—each variation brings a delightful twist to this comforting dish!
-
Chicken or Pork: The classic choice of proteins, but why not swap them based on what you have or prefer? Chicken’s lightness pairs perfectly with tangy sauce, while pork delivers a heartier bite.
-
Vegetarian Delight: Want to keep it plant-based? Substitute chicken or pork with eggplant or tofu. Simply slice them into thick pieces and follow the same breading method for irresistible crunch.
-
Gluten-Free Twist: Use gluten-free flour and panko breadcrumbs for a sensitive-friendly option. This allows the same delicious crunch and flavor without the gluten.
-
Saucy Diversions: Experiencing a sauce craving? Try drizzling on spicy mayo or switching tonkatsu sauce for a zesty ponzu. Each version will give your Katsu Bowls an exciting flavor kick.
-
Creamy Extras: Elevate the richness by adding a soft-boiled egg or sliced avocado on top. The creaminess complements the crispy katsu and fluffy rice beautifully.
-
Flavor Boost: Toss in some additional spices or seasonings to the breading mix. Adding a pinch of paprika or garlic powder can inject an extra layer of flavor that might surprise you.
Planning on hosting a dinner? Check out our tasty Crockpot Chipotle Bowls or indulge in our luxurious Korean BBQ Steak Rice Bowls for more crowd-pleasing ideas!
- Veggie Add-Ons: Don’t forget to include some fresh veggies in your bowls! Sautéed or grilled vegetables like bell peppers and zucchini can elevate your meal, adding color and nutrition.
With these variations and substitutions, your Japanese Katsu Bowls are bound to become a favorite in your home, with each experience delivering a delightful surprise!
Expert Tips for Japanese Katsu Bowls
- Oil Temperature Check: Ensure the oil is hot enough before frying—test with a small piece of bread, which should sizzle upon contact.
- Avoid Overcrowding: Fry the katsu in batches to maintain oil temperature; overcrowding can lead to soggy cutlets instead of crispy perfection.
- Crispier Katsu: For an extra crunchy texture, use fresh panko breadcrumbs and fry in small batches, ensuring even cooking.
- Perfect Rice Texture: Rinse rice thoroughly to remove excess starch, which prevents it from becoming gummy during cooking.
- Customization Options: Feel free to experiment with protein choices—chicken, pork, or even eggplant and tofu for a vegetarian take on Japanese Katsu Bowls.
- Serve Immediately: Serve your katsu immediately after frying for the best texture, ensuring that every bite is a delicious crunch!
Japanese Katsu Bowls Recipe FAQs
What type of meat is best for Katsu?
Absolutely! You can use boneless chicken breasts or pork loin for your Katsu. If you’re looking for a vegetarian option, eggplant and tofu are both excellent substitutes, bringing a delicious twist to this classic dish.
How should I store leftover Katsu Bowls?
After enjoying your meal, store your Japanese Katsu Bowls in an airtight container in the fridge for up to 3 days. This will keep the ingredients fresh, though the katsu may lose some crispness. When ready to reheat, I recommend using an oven instead of a microwave—set it to 375°F (190°C) and warm for about 10 minutes to maintain that delightful crunch.
Can I freeze the cooked Katsu?
Very! To freeze your cooked katsu cutlets, wrap each piece tightly in plastic wrap and place them in a freezer-safe bag for up to 2 months. When you’re craving that crispy delight, simply reheat them in the oven at 375°F (190°C) for about 10 minutes after thawing. This keeps them nice and crispy!
What if my Katsu is soggy after frying?
Oh no! If you find your katsu is soggy, it may be because the oil temperature was too low. Always check that the oil is hot enough before frying—test it with a small piece of bread; it should sizzle upon contact. Additionally, avoid overcrowding the pan, as that can also trap steam and lead to a less crunchy texture.
Are there any dietary considerations for this recipe?
Indeed! For those with gluten sensitivities, opt for gluten-free flour and panko breadcrumbs. Additionally, you can use flax eggs or aquafaba as a substitute for large eggs for a vegan version. Always check labels to ensure sauces like soy sauce and Worcestershire are gluten-free or vegan, depending on your dietary needs.
How long does cooked rice last in the fridge?
Cooked rice can last in the fridge for up to 3 days if stored properly in an airtight container. Be sure to let it cool completely before storing to prevent moisture buildup, which can lead to spoilage. When reheating, add a splash of water and cover to help maintain its fluffy texture.
Crispy Japanese Katsu Bowls That Will Hug Your Taste Buds
Ingredients
Equipment
Method
- Rinse 1 cup of Japanese short-grain rice thoroughly under cold water until the water runs clear. Soak the rice for about 30 minutes, then drain. In a pot, combine the soaked rice and 1.5 cups water, bring to a boil, cover, and reduce to low heat for 15 minutes. Once cooked, remove from heat and let it rest for 10 minutes. Mix 2 tablespoons rice vinegar, 1 teaspoon sugar, and a pinch of salt, then fold into the rice gently.
- Flatten 2 boneless chicken breasts or pork loin using a meat mallet until about ½-inch thick. Season each piece with salt and pepper. Set up a breading station with three shallow dishes: one with ½ cup all-purpose flour, another with 2 beaten eggs, and the last with 1 cup panko breadcrumbs.
- Coat each piece of meat in flour, dip in egg, and press into panko until fully covered.
- In a large skillet, heat ½ cup vegetable oil over medium-high heat until shimmering. Carefully add the breaded chicken or pork, cooking for 4-5 minutes on each side until golden brown and cooked through. Transfer to paper towels to drain.
- In a small bowl, whisk together ¼ cup tonkatsu sauce, 1 tablespoon soy sauce, 1 tablespoon Worcestershire sauce, and 1 tablespoon ketchup until well combined.
- For service, spoon seasoned rice into each bowl, arrange sliced katsu over the rice, drizzle with sauce, and garnish with shredded cabbage, green onions, sesame seeds, and optional pickled ginger.
Leave a Reply