
The aroma of warm, cheesy goodness wafting through the kitchen is hard to resist, and that’s exactly what these Mini Grilled Cheese Hawaiian Rolls deliver. Blending the classic comfort of grilled cheese with the soft, sweet surprise of Hawaiian rolls, these delightful bites are a game-changer for snack time. Made to be effortlessly customizable, you can play around with your favorite cheeses or toss in bacon and fresh herbs for an extra kick. Whether you’re hosting a gathering or just need a quick lunch fix, these party-friendly finger foods can be whipped up in no time, bringing a smile to everyone’s face. Ready to discover how to elevate your grilling game with this easy recipe? Let’s dive in!

Why are these rolls a must-try?
Irresistible Flavor: Each Mini Grilled Cheese Hawaiian Roll features a rich combination of cheddar and mozzarella that oozes deliciously with every bite.
Customizable: You can easily switch up the cheese or add crispy bacon or even roasted veggies to suit your taste preferences.
Quick & Easy: With just a few simple steps and minimal prep time, you’ll have warm, cheesy snacks ready in about 30 minutes.
Perfect for Sharing: Ideal for parties or game days, these finger foods are sure to impress your guests and satisfy their cravings.
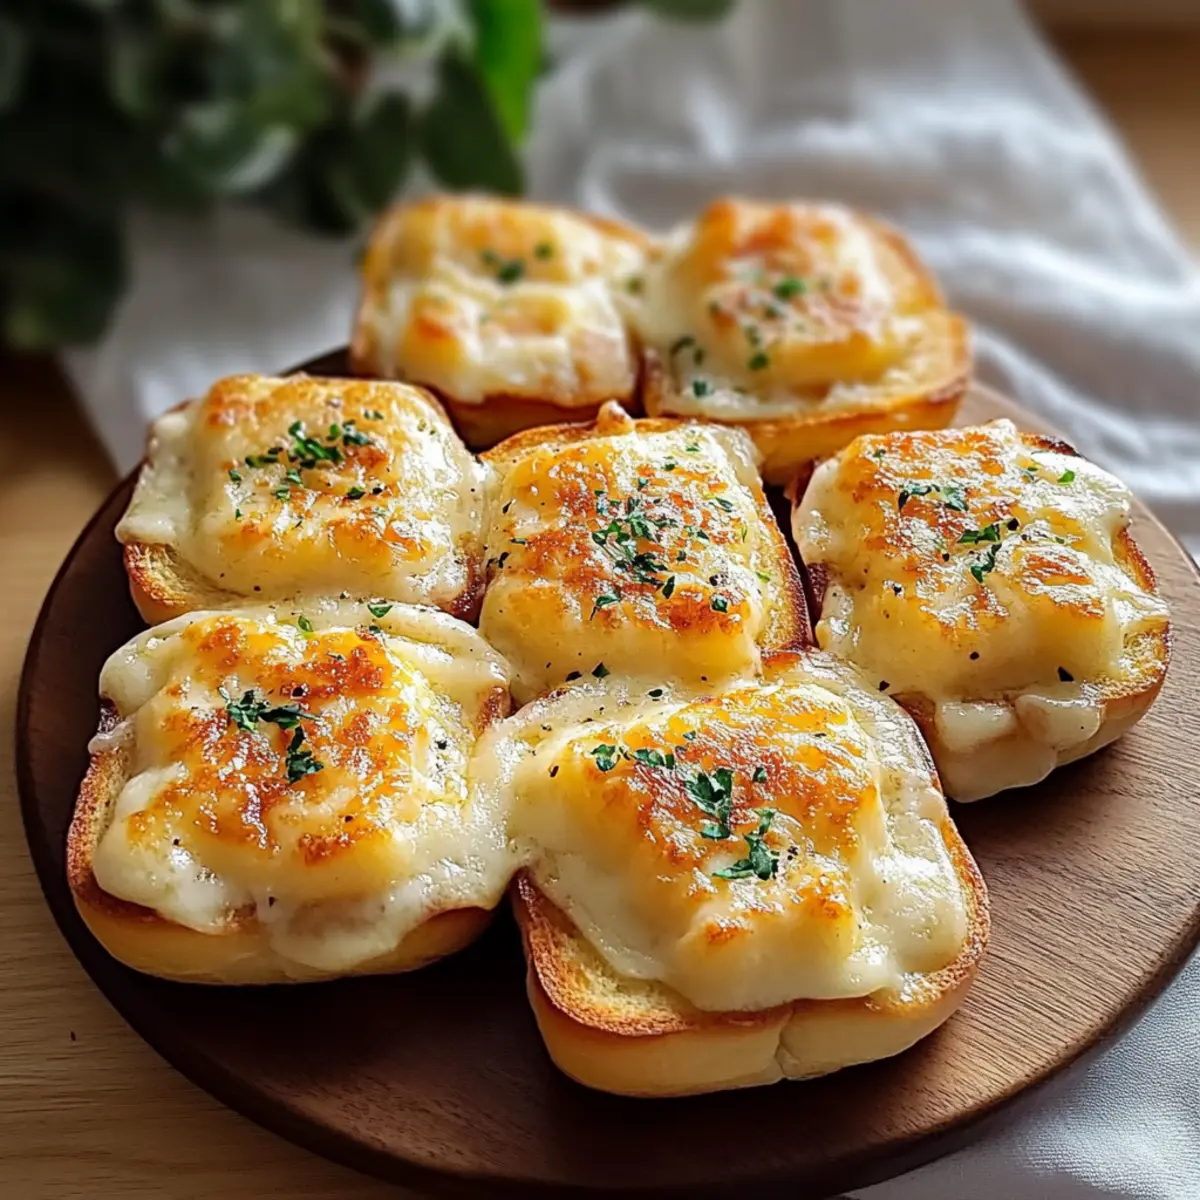
Gooey Goodness: The finished rolls come out with a golden crust and a soft, fluffy interior that captures the essence of comfort food.
If you’re looking for another delightful twist on classic flavors, don’t miss out on these Honey Pepper Cheese bites that will surely fascinate your taste buds!
Mini Grilled Cheese Hawaiian Rolls Ingredients
Get ready to create some cheesy magic!
For the Rolls
- 12 Hawaiian rolls – The sweet, soft base pairs perfectly with melted cheese; substitute with dinner rolls for a different flavor profile.
For the Cheese Filling
- 1 cup shredded cheddar cheese – Adds a sharp, delicious flavor; feel free to substitute with gouda or pepper jack if you’re craving a kick.
- 1 cup shredded mozzarella cheese – This cheese brings incredible creaminess and stretchiness; any melting cheese will do!
For the Butter Mixture
- 1/2 cup butter, softened – Ensures a rich taste and beautiful golden toast; margarine works as a great substitute if needed.
- 1 teaspoon garlic powder (optional) – Elevates the flavor with a subtle savory note; fresh minced garlic can also be used for a stronger punch.
- 1 teaspoon dried herbs (oregano or basil, optional) – Adds aromatic complexity; fresh herbs can bring an even brighter flavor to the rolls.
Dive into these Mini Grilled Cheese Hawaiian Rolls and savor the explosion of cheesy goodness!
Step‑by‑Step Instructions for Mini Grilled Cheese Hawaiian Rolls
Step 1: Preheat the Oven
Begin by preheating your oven to 350°F (175°C). This temperature is perfect for achieving that delightful golden crust while ensuring the cheese melts beautifully. While the oven warms up, gather your ingredients and equipment, including a baking dish and aluminum foil for wrapping the rolls later.
Step 2: Prepare the Rolls
Take the package of Hawaiian rolls and, without separating them, carefully slice them in half horizontally. This allows you to maintain that comforting cohesive shape. Make sure to use a serrated knife for a clean cut, and lay the bottom half of the rolls flat in your baking dish, ready for the cheesy goodness to come.
Step 3: Butter the Rolls
Generously spread the softened butter on both cut sides of the Hawaiian rolls. This step is crucial for achieving a rich, flavorful crust and preventing sticking. Be sure to cover each slice evenly, as it enhances the overall taste of your Mini Grilled Cheese Hawaiian Rolls when they bake.
Step 4: Add Flavor
If you are including garlic powder or dried herbs, now’s the time to sprinkle them onto the buttered sides of the rolls. The optional garlic powder will provide a savory depth of flavor that perfectly complements the gooey cheese. A sprinkle of dried herbs like oregano or basil will elevate the aroma and taste of your rolls, inviting everyone to the table.
Step 5: Layer the Cheese
Distribute the shredded cheddar and mozzarella cheese evenly over the bottom half of the rolls. Feel free to pile it generously for that irresistibly gooey effect as it melts. This layer of cheesy goodness is the heart of your Mini Grilled Cheese Hawaiian Rolls, ensuring each bite is delectably satisfying.
Step 6: Top the Rolls
Carefully place the top half of the Hawaiian rolls back on top of the cheese layer. Press down gently to help the cheese adhere as it melts. This not only encapsulates that warm cheesy filling but also helps keep everything together as it bakes, creating a unified slider for easy serving.
Step 7: Wrap in Foil
Take a sheet of aluminum foil and tightly wrap the entire pressed sandwich. This wrapping is essential as it traps moisture, allowing your Mini Grilled Cheese Hawaiian Rolls to steam and stay soft while the cheese melts inside. Make sure the foil is snug for effective baking.
Step 8: Bake
Place the foil-wrapped rolls in the preheated oven and bake for about 15-20 minutes. Keep an eye on them; they’re ready when the cheese is melted and the rolls are warm throughout. You should smell the delightful aroma of melted cheese filling your kitchen—it’s a good sign!
Step 9: Toast for Crispiness
After the initial baking, carefully unwrap the foil and return the rolls to the oven for an additional 5 minutes. This step allows the top to become golden and crispy, adding that delightful texture contrast to the soft, cheesy interior. You’ll want that beautiful golden crust to impress your family and friends.
Step 10: Slice and Serve
Once out of the oven, let the rolls cool for a few minutes before slicing them into smaller portions for serving. This resting time allows the cheese to set slightly, making it easier to handle. Serve your Mini Grilled Cheese Hawaiian Rolls warm, and watch as smiles spread all around!

Mini Grilled Cheese Hawaiian Rolls Variations
Feel free to get creative and make these Mini Grilled Cheese Hawaiian Rolls your own with delicious twists and turns!
-
Dairy-Free: Use plant-based cheese alternatives for a tasty, lactose-free version without sacrificing flavor.
-
Bacon Lovers: Add crispy bacon slices between the cheese layers for that smoky goodness that perfectly contrasts the sweetness of the rolls.
-
Tropical Twist: Incorporate thin slices of fresh pineapple to introduce a juicy, sweet flavor that complements the cheesy richness.
-
Veggie Delight: Swap in roasted vegetables like bell peppers and zucchini for a wholesome, colorful option that adds nutrition and texture.
-
Spiced Up: Mix in sliced jalapeños or a sprinkle of cayenne pepper for a spicy kick that will make your taste buds dance!
-
Herby Infusion: Experiment with fresh herbs such as dill or cilantro for an aromatic burst; fresh basil pairs wonderfully with the cheesy goodness, elevating every bite.
-
Cheese Mix: Combine different cheeses like gouda, provolone, or even a touch of blue cheese to create a complex, flavor-packed filling that will wow your guests.
If you’re looking for more cheesy delights, check out my Goat Cheese Grilled recipe or try the Grilled Cheese Burrito for a fun fusion!
What to Serve with Mini Grilled Cheese Hawaiian Rolls?
There’s nothing quite like indulging in a burst of cheesy flavors while enjoying a full-fledged meal experience.
-
Creamy Tomato Soup: The classic pairing enhances the comforting, gooey goodness of the rolls while adding a touch of acidity and warmth. Dip your rolls for the ultimate satisfaction!
-
Fresh Garden Salad: A light, crisp salad with mixed greens and a tangy vinaigrette balances the richness of the cheese and butter in the rolls.
-
Sweet Potato Fries: Their sweet and crunchy texture adds a delightful contrast to the soft, cheesy bites and complements the Hawaiian rolls beautifully.
-
Bacon-Wrapped Jalapeño Poppers: For spice lovers, these appetizers can elevate your meal with bold flavors and extra crunch. The heat pairs wonderfully with the melty cheese.
-
Fruit Platter: A vibrant mix of seasonal fruits brings freshness and a hint of sweetness that cuts through the richness of the rolls, offering a refreshing palate cleanser.
-
Craft Beer or Sparkling Lemonade: A cold beverage adds a festive touch, with beer enhancing the savory experience and lemonade bringing a zesty spark to your gathering.
-
Key Lime Pie: For dessert, this tart and creamy pie makes for a perfect ending, uplifting flavors with its brightness after the savory cheese rolls.
Your Mini Grilled Cheese Hawaiian Rolls will shine even brighter alongside these delicious partners!
Storage Tips for Mini Grilled Cheese Hawaiian Rolls
Fridge: Store any leftovers in an airtight container for up to 3 days to keep them fresh while preserving their cheesy goodness.
Freezer: To freeze, wrap the rolls tightly in plastic wrap and then in foil. They can last up to 2 months in the freezer.
Reheating: When ready to enjoy, reheat directly from frozen at 350°F (175°C) for 10-15 minutes until the cheese is melty again.
Make Ahead Options
These Mini Grilled Cheese Hawaiian Rolls are a fantastic choice for meal prep, saving you precious time on busy weeknights! You can assemble the entire roll mixture up to 24 hours in advance by wrapping them tightly in aluminum foil and refrigerating. Just make sure to keep them tightly sealed to maintain moisture and avoid drying out. When you’re ready to serve, simply pop them in a preheated oven at 350°F (175°C) for about 15-20 minutes, unwrapping the foil for the last 5 minutes to achieve that perfect golden crust. With this make-ahead strategy, you’ll have delicious, gooey rolls ready to impress in no time!
Expert Tips for Mini Grilled Cheese Hawaiian Rolls
-
Choose Quality Cheese: Always opt for high-quality cheese, as this will elevate the flavor and gooeyness of your Mini Grilled Cheese Hawaiian Rolls.
-
Experiment with Blends: Mix different cheeses like provolone or blue cheese for a unique flavor profile. Don’t be afraid to get creative!
-
Wrap Tightly: Ensure the rolls are tightly wrapped in foil to maintain moisture while baking; this prevents dryness and guarantees a soft, melty filling.
-
Serve Immediately: For the best gooey texture, serve your rolls right after baking. Reheating later may affect their delightful ooze.
-
Customize Creatively: Try adding ingredients like crispy bacon, roasted vegetables, or jalapeños. Enhancing your rolls this way can lead to delightful surprises at snack time!
Mini Grilled Cheese Hawaiian Rolls Recipe FAQs
What kind of rolls should I use for Mini Grilled Cheese Hawaiian Rolls?
I recommend using Hawaiian rolls for their sweet, soft texture that beautifully complements the cheesy filling. However, you can also substitute them with soft dinner rolls or even sourdough for a different flavor twist!
How should I store leftover Mini Grilled Cheese Hawaiian Rolls?
Store any leftovers in an airtight container in the fridge for up to 3 days. This keeps them fresh while preserving that gooey deliciousness that everyone loves!
Can I freeze Mini Grilled Cheese Hawaiian Rolls?
Absolutely! To freeze, wrap the rolls tightly in plastic wrap and then in aluminum foil. They can last in the freezer for up to 2 months. When you’re ready to enjoy, simply reheat them directly from frozen at 350°F (175°C) for 10-15 minutes until the cheese is melted and gooey again.
What should I do if my cheese isn’t melting properly?
If the cheese isn’t melting as expected, it could be due to using low-fat cheese or not preheating the oven adequately. For the best results, always choose high-quality, full-fat cheeses. Also, ensure your oven is preheated to 350°F (175°C) before placing your rolls inside.
Are there any dietary considerations for Mini Grilled Cheese Hawaiian Rolls?
For those with allergies, be cautious with the cheese and butter, especially if lactose intolerant. There are lactose-free cheese options available. Additionally, if you have gluten sensitivities, make sure to use gluten-free rolls and check ingredient labels. Always feel free to customize your rolls to suit dietary needs!

Mini Grilled Cheese Hawaiian Rolls: Cheesy Goodness in Every Bite
Ingredients
Equipment
Method
- Preheat your oven to 350°F (175°C).
- Slice the Hawaiian rolls in half horizontally without separating them.
- Spread softened butter on both cut sides of the rolls.
- Sprinkle garlic powder and dried herbs on the buttered sides.
- Distribute shredded cheddar and mozzarella cheese evenly over the bottom half.
- Place the top half of the rolls back on top of the cheese layer and press down gently.
- Wrap the entire sandwich tightly in aluminum foil.
- Bake for about 15-20 minutes until the cheese is melted and rolls are warm.
- Unwrap the foil and return rolls to the oven for an additional 5 minutes to toast.
- Let cool for a few minutes before slicing and serving warm.
Leave a Reply