
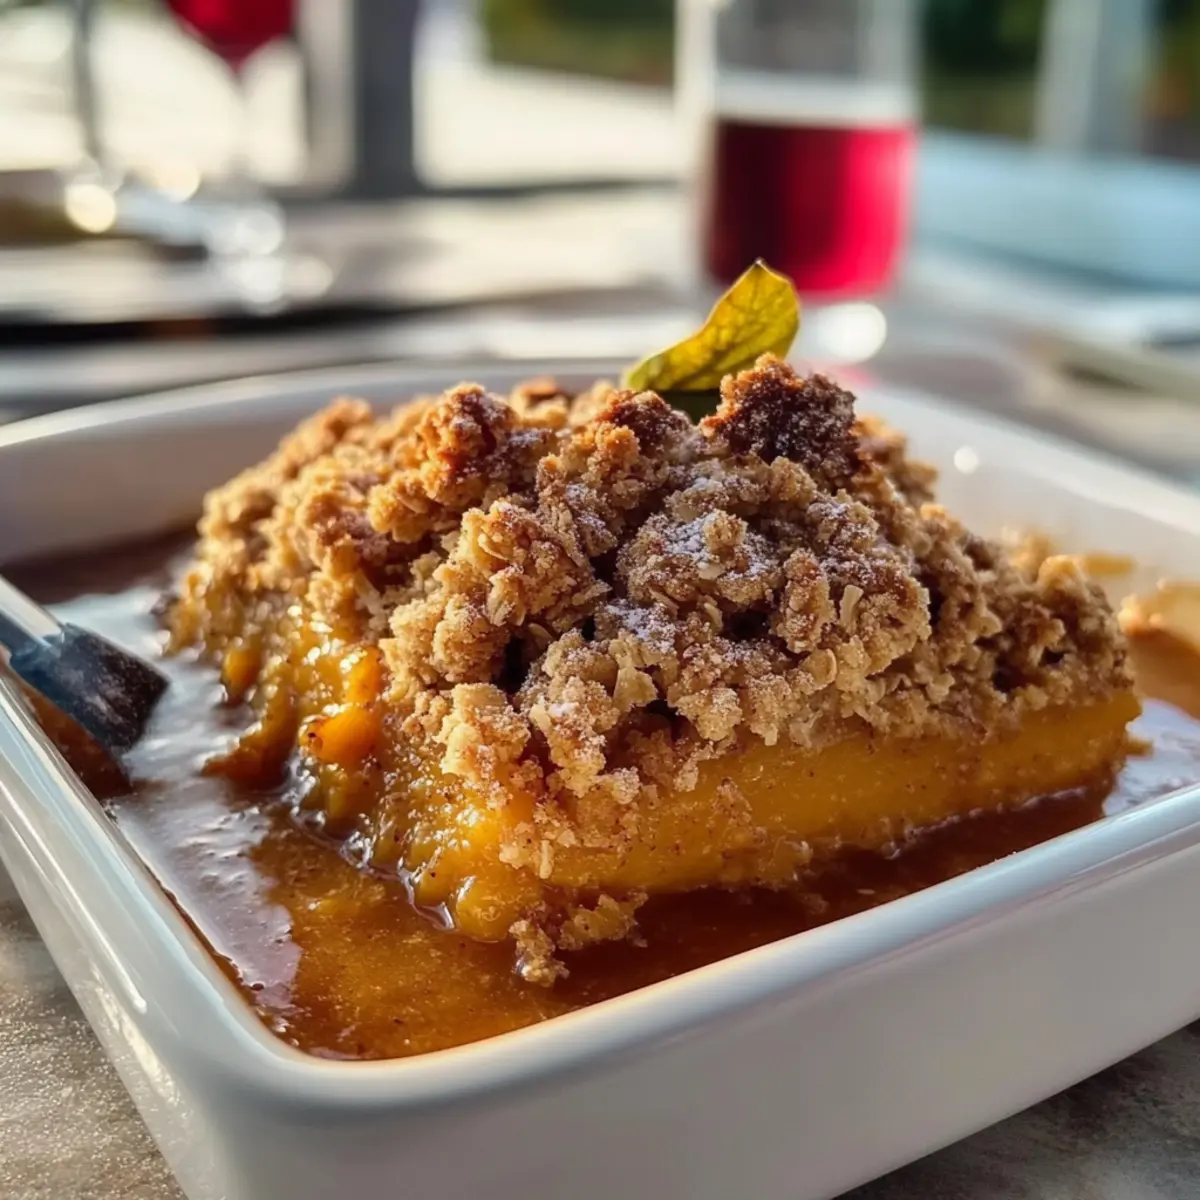
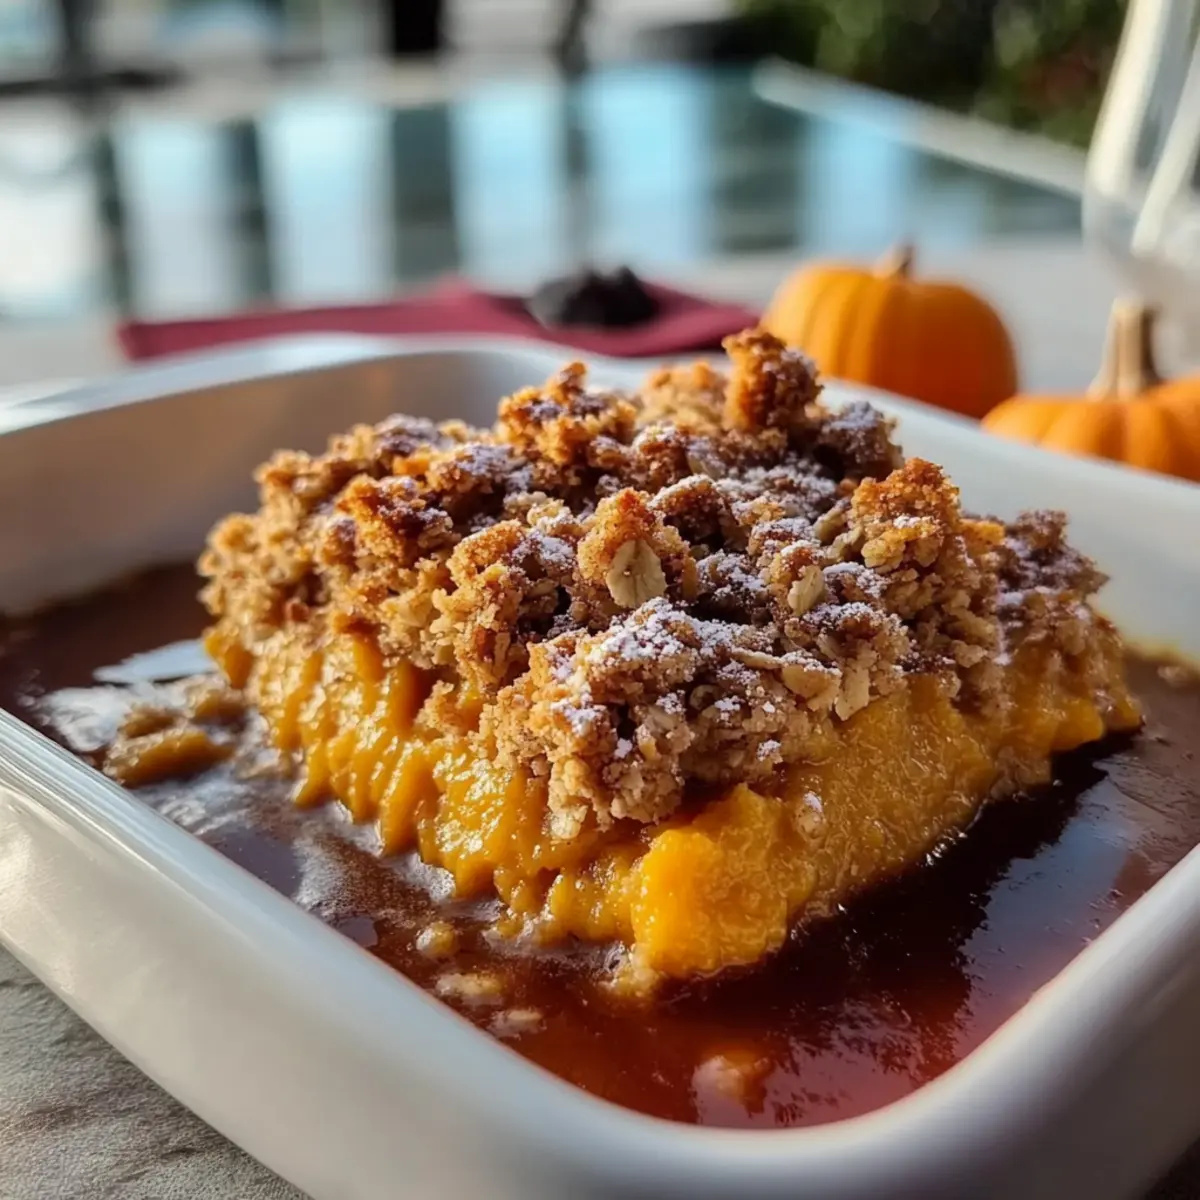
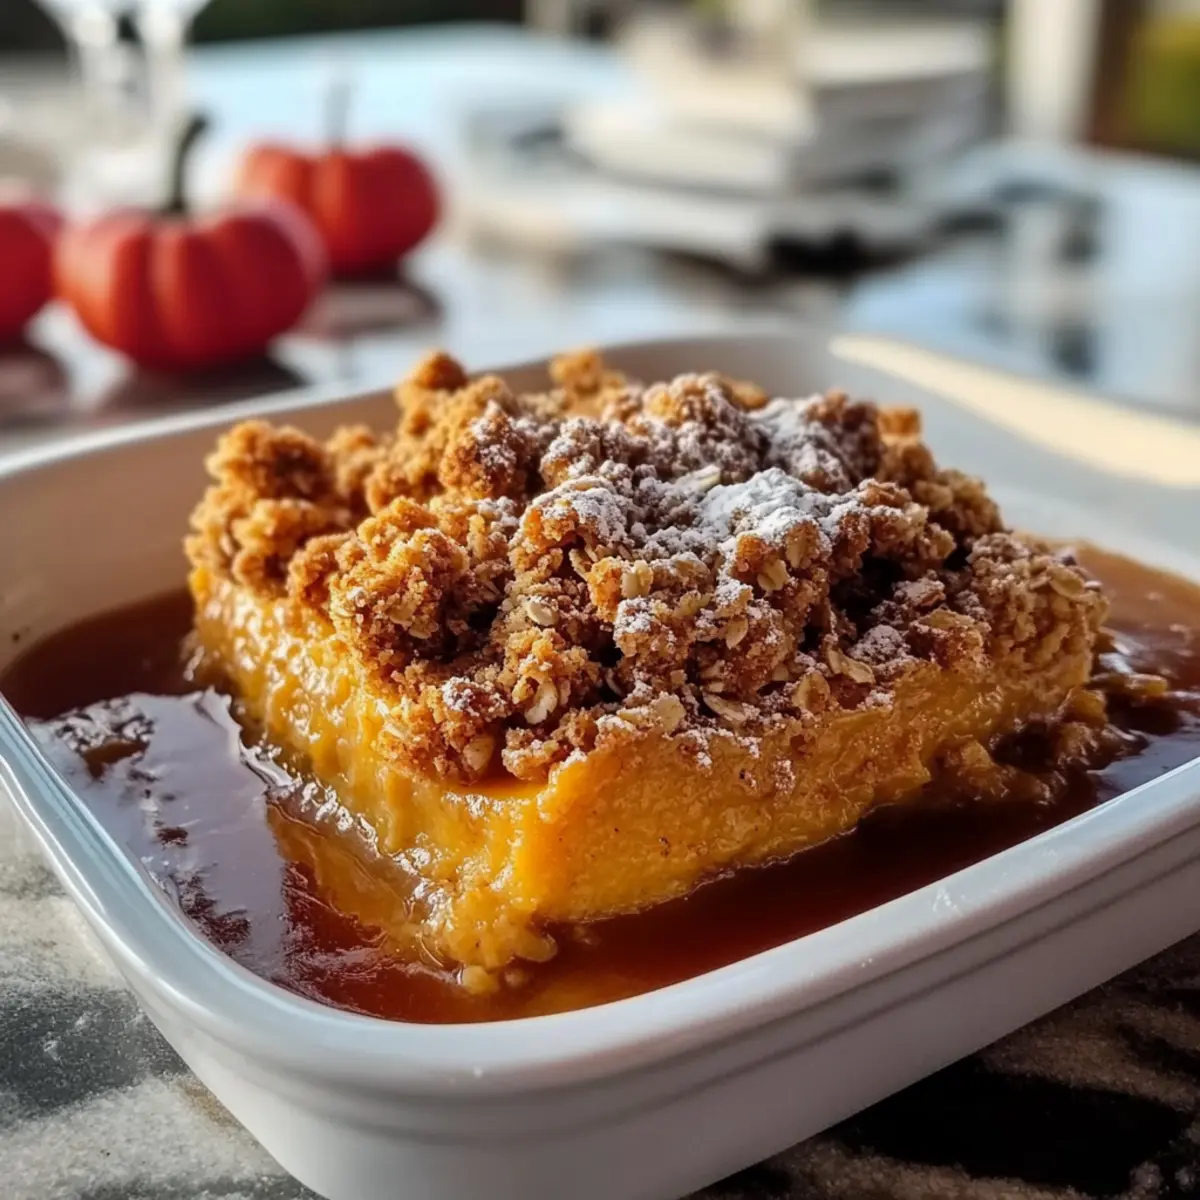
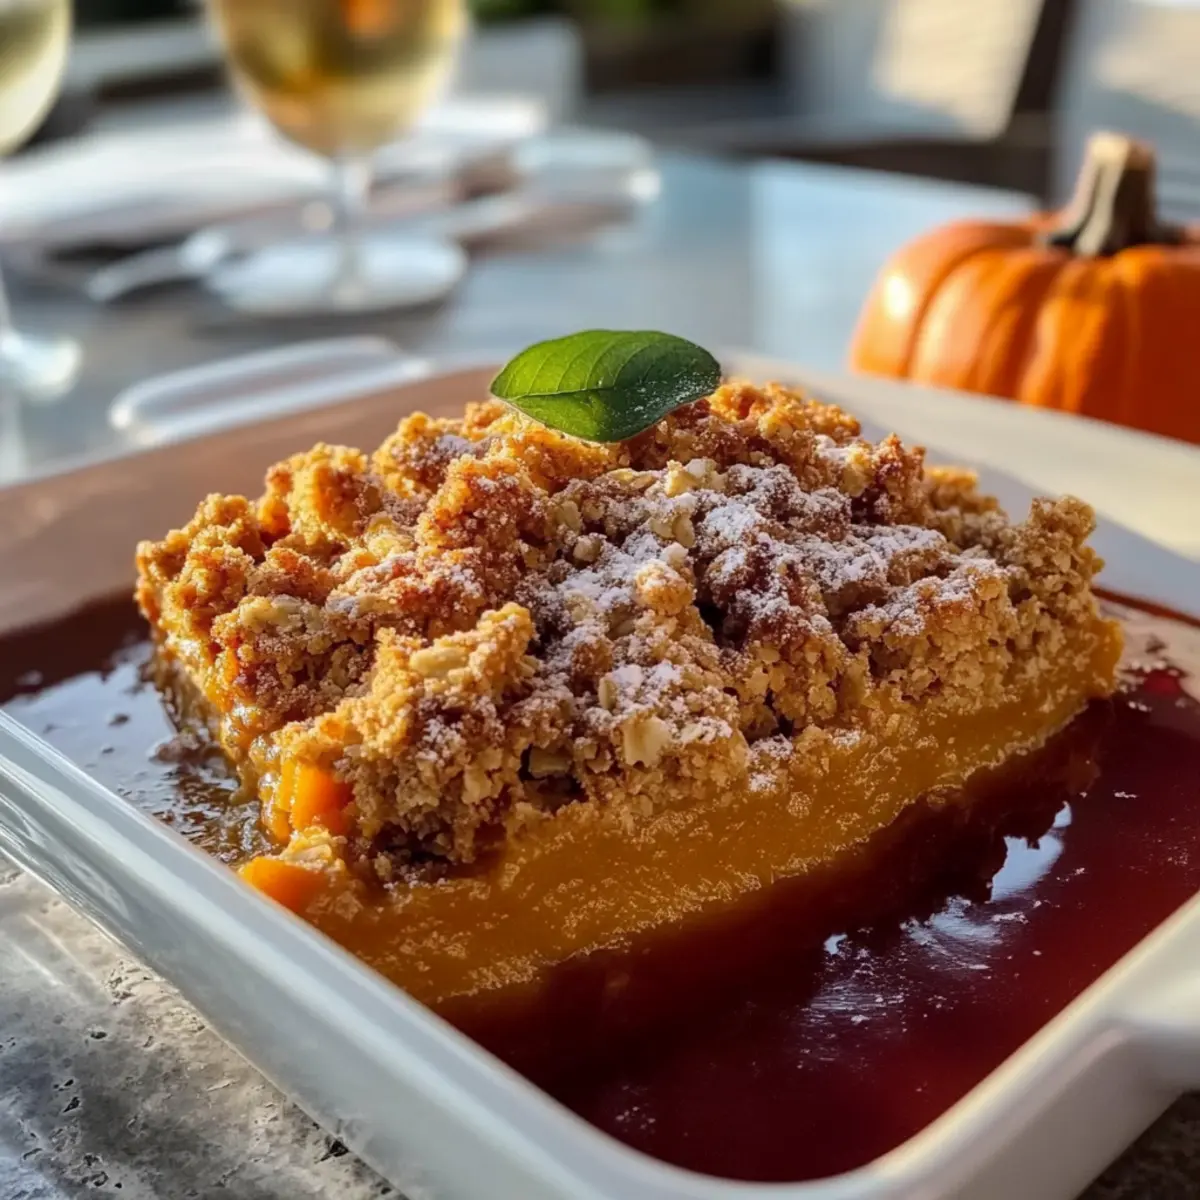
As I stood in the kitchen, the chill of autumn seeping through the windows, the smell of spices filled the air and wrapped around me like a warm blanket. This Easy Pumpkin Crisp with Crunchy Oat Topping is my go-to dessert, combining the comforting flavors of fall with minimal effort. Unlike traditional pumpkin pie, this delightful recipe is effortlessly simple—no need to worry about making a crust! It features creamy pumpkin custard that pairs perfectly with a buttery, crunchy topping. Not only does it come together quickly, but it’s also a vegetarian-friendly treat that is sure to impress your guests. Ready to fill your home with the irresistible aroma of fall? Let’s dive into this cozy dessert that’s perfect for gatherings or a quiet night in!
Why Is This Pumpkin Crisp a Must-Try?
Simplicity at Its Best: With just a few simple ingredients and no need for a pie crust, you’ll have a delicious dessert ready in no time.
Delightful Texture: Experience the creamy pumpkin base complemented by a crunchy oat topping—every bite offers a satisfying contrast.
Versatile Topping Options: Customize your Pumpkin Crisp by swapping in your favorite nuts or spices, ensuring each batch is uniquely yours.
Perfect for Fall Gatherings: This cozy dessert is a crowd-pleaser, making it ideal for your autumn celebrations or dinner parties.
Make Ahead Friendly: You can prepare it a day in advance, allowing you to enjoy more time with loved ones—just reheat before serving!
Once you try this delightful Pumpkin Crisp, you might want to explore more delicious recipes like Chewy Pumpkin Cookies or Chewy Pumpkin Oatmeal to keep the fall flavors going!
Pumpkin Crisp Ingredients
• The key to your delicious Pumpkin Crisp starts here!
For the Custard
- Pumpkin Puree – Provides the base flavor and creaminess; use canned, not pie filling, for better texture.
- Granulated Sugar – Adds sweetness to the custard that can be adjusted to taste.
- Eggs – Acts as a binder and adds richness to the filling.
- Vanilla Extract – Enhances the overall flavor profile, making it even more inviting.
- Whole Milk & Heavy Cream – Contributes creaminess and richness; can substitute with half-and-half if desired.
- Ground Cinnamon, Ginger, Nutmeg, Cloves – Spice blend for that traditional pumpkin flavor; feel free to adjust according to your preference.
- Salt – Balances sweetness and enhances the overall flavor.
For the Topping
- All-Purpose Flour – Provides structure to the topping for a satisfying crunch.
- Old-Fashioned Oats – Adds texture and crunch; can substitute with quick oats, but avoid instant oats for best results.
- Brown Sugar – Adds depth of flavor and moisture to your topping.
- Chopped Pecans – Adds nuttiness and crunch; substitute with walnuts or omit if nut-free.
- Unsalted Butter – Binds the topping ingredients together and adds richness; it’s best melted before mixing.
Gather these simple ingredients, and you’re on your way to creating a comforting Pumpkin Crisp that is perfect for the fall season!
Step‑by‑Step Instructions for Pumpkin Crisp
Step 1: Preheat the Oven
Begin by preheating your oven to 350°F (175°C). While the oven heats, lightly grease a 9-inch square baking dish with butter or cooking spray to prevent sticking. This ensures your Pumpkin Crisp will come out easily and maintains its beautiful shape.
Step 2: Prepare the Pumpkin Filling
In a large mixing bowl, combine pumpkin puree, granulated sugar, eggs, vanilla extract, whole milk, and heavy cream. Whisk these ingredients together until smooth and well combined, creating a rich, creamy mixture that’s bursting with flavor. Once blended, pour the filling into the prepared baking dish, spreading it evenly for consistent cooking.
Step 3: Add the Spices
Stir in the ground cinnamon, ginger, nutmeg, cloves, and a pinch of salt into the pumpkin mixture. Mix until the spices are fully incorporated, infusing the custard with that delightful fall aroma and taste. This step is crucial as it ensures that your Pumpkin Crisp is flavorful throughout.
Step 4: Make the Oat Topping
In a separate bowl, mix together all-purpose flour, old-fashioned oats, brown sugar, additional cinnamon, salt, and chopped pecans. Pour the melted unsalted butter over this combination, stirring gently until the mixture resembles a crumbly texture. This crunchy topping will complement your creamy filling beautifully.
Step 5: Assemble the Pumpkin Crisp
Evenly distribute the oat topping over the spiced pumpkin filling in the baking dish. Aim for an even layer, which will create a delightful crunch on top as it bakes. Take a moment to admire the layers before sliding the dish into the oven to bake.
Step 6: Bake to Perfection
Place the baking dish in the preheated oven and bake for 40-45 minutes. Keep an eye on it; the top should turn golden brown, while the filling sets with a slight jiggle in the middle. This is the key visual cue that your Pumpkin Crisp is nearing completion.
Step 7: Cool and Serve
Once baked, remove the Pumpkin Crisp from the oven and allow it to cool for at least 15 minutes. This cooling time helps the filling set and makes serving easier. Once cooled, slice into squares, and it’s ready to be enjoyed warm or with a scoop of ice cream.
What to Serve with Easy Pumpkin Crisp with Crunchy Oat Topping
There’s nothing quite like complementing this warm, spiced dessert with thoughtful side dishes that enhance its cozy flavors.
-
Whipped Cream: A classic pairing that adds a light, airy sweetness, balancing the rich, creamy pumpkin. This simple topping elevates every spoonful.
-
Vanilla Ice Cream: The creamy texture and vanilla flavor create a delightful contrast to the spiced pumpkin filling. Serve it warm over a scoop for a comforting dessert experience.
-
Cranberry Sauce: The tartness of cranberry sauce cuts through the richness of the pumpkin, adding a refreshing bite that brightens the dish beautifully.
-
Maple Syrup Drizzle: A sweet drizzle of maple syrup brings an extra layer of warmth and flavor, enhancing the autumnal feel of the dessert and perfectly complementing the spices.
-
Candied Pecans: Adding an extra crunch, candied pecans provide an additional sweet and nutty touch, marrying perfectly with the oat topping’s texture.
-
Apple Cider: A warm glass of spiced apple cider serves as a comforting drink that resonates with the flavors of fall, making every bite of your Pumpkin Crisp even more enjoyable.
-
Coffee or Chai Tea: A warm beverage like coffee or chai tea pairs beautifully with each cozy bite, deepening the experience with their warm spices and comforting richness.
Creating a meal around your Pumpkin Crisp not only elevates the dessert but also enhances the experience of gathering with loved ones this autumn.
Pumpkin Crisp Variations & Substitutions
Feel free to put your own spin on this Pumpkin Crisp and make it uniquely yours!
- Nut-Free: Omit the pecans altogether for a delightful crisp that’s safe for nut allergies. The topping still offers a satisfying crunch without them.
- Gluten-Free: Swap all-purpose flour with a 1:1 gluten-free baking blend for a gluten-free version that retains the delicious taste and texture.
- Dairy-Free: Use coconut or almond milk and substitute unsalted butter with coconut oil for a dairy-free twist. The subtle coconut flavor can add an interesting layer to your dessert!
- Extra Spice: Enhance the flavor profile by adding a touch of cardamom or a bit of allspice along with your other spices. This can elevate your Pumpkin Crisp to new aromatic heights!
- Chocolate Chip Delight: Fold in some semi-sweet or dark chocolate chips into the oat topping for a richer treat. The combination of pumpkin and chocolate is simply irresistible!
- Fruit Addition: Mix in some dried cranberries or raisins to the topping for a chewy surprise that pairs wonderfully with the creamy filling. A fruity twist can brighten the overall flavor.
- Maple Sweetener: Substitute granulated sugar with maple sugar or syrup for a robust maple flavor that complements the pumpkin. Just remember to adjust wet ingredients accordingly!
- Spicy Kick: For those who love a bit of heat, add a pinch of cayenne or chili powder to the filling for an unexpected kick that dances on your palate.
As you explore these variations, don’t hesitate to check out other comforting recipes like Creamy Pumpkin Gnocchi Delight or Thick Chewy Pumpkin Chocolate Chip Cookies to keep the fall flavors rolling!
How to Store and Freeze Pumpkin Crisp
Fridge: Store the Pumpkin Crisp covered in the refrigerator for up to 3 days. This preserves its creamy pumpkin custard and crunchy topping while keeping it fresh for your next indulgence.
Freezer: Freeze the Pumpkin Crisp for up to 2 months. Allow it to cool completely, then wrap it tightly in plastic wrap and aluminum foil to prevent freezer burn.
Reheating: Thaw in the refrigerator overnight, then reheat in the oven at 350°F (175°C) until warmed through, about 20-25 minutes. This ensures a delightful texture in every bite.
Make-Ahead Tips: Prepare the Pumpkin Crisp a day in advance and store it covered before serving. Just pop it in the oven for a warm, comforting dessert during gatherings!
Expert Tips for Pumpkin Crisp
Choose the Right Dish: Using a ceramic baking dish helps ensure even cooking, so your Pumpkin Crisp doesn’t end up overcooked on one side.
Bake Until Set: Look for a firm edge but a slight jiggle in the center; this indicates your filling is perfectly set and ready to serve.
Mix Gently: When combining your topping ingredients, mix just until crumbly—overmixing can create a dense topping instead of a light, crunchy finish.
Adjust Spices to Taste: Feel free to play with the spice amounts in your Pumpkin Crisp. Don’t hesitate to add more cinnamon or a sprinkle of nutmeg for that extra autumnal warmth.
Serve with a Twist: Try serving your Pumpkin Crisp warm with a dollop of whipped cream or a scoop of vanilla ice cream for an indulgent treat!
Make Ahead Options
These Easy Pumpkin Crisp recipes are perfect for busy home cooks looking to save time. You can prepare the pumpkin custard up to 24 hours in advance; simply whisk together the pumpkin puree, sugar, eggs, vanilla, milk, and cream, then store it covered in the refrigerator. The topping can be made and stored in an airtight container at room temperature for up to 3 days, keeping it crunchy and delicious. When you’re ready to serve, pour the custard into your greased baking dish, add the oat topping, and bake it straight from the fridge—no need to wait for the custard to come to room temperature. You’ll have a cozy dessert that’s just as delightful as if you made it all in one go!
Pumpkin Crisp Recipe FAQs
What type of pumpkin puree should I use?
Absolutely, using canned pumpkin puree is recommended for this recipe. Avoid pumpkin pie filling, as it contains added sugars and spices that can alter the flavor and texture of your Pumpkin Crisp. Look for 100% pure pumpkin puree to achieve the best creamy custard.
How can I store leftovers of Pumpkin Crisp?
You can store your Pumpkin Crisp covered in the refrigerator for up to 3 days. Make sure it’s in a tight-sealing container to maintain its freshness, keeping both the creamy custard and crunchy oat topping intact for your next indulgence.
Can I freeze Pumpkin Crisp?
Yes! To freeze your Pumpkin Crisp, allow it to cool completely after baking. Then, wrap it tightly in plastic wrap followed by a layer of aluminum foil to prevent freezer burn. It can be stored in the freezer for up to 2 months. When you’re ready to enjoy it, thaw it in the refrigerator overnight and reheat gently in the oven at 350°F (175°C) for about 20-25 minutes.
What should I do if my filling is too runny?
If your Pumpkin Crisp filling ends up runny, it could be due to undercooked eggs or insufficient baking time. To fix this, return it to the oven and bake for an additional 5-10 minutes. If it’s still not firm enough, it’s best to allow it to cool completely, as the filling will continue to set as it cools. If you consistently have this issue, you may want to mix the egg mixture a bit longer to ensure it’s combined well before pouring into the dish.
Is Pumpkin Crisp safe for people with nut allergies?
Certainly! To make your Pumpkin Crisp nut-free, simply omit the chopped pecans from the topping or substitute them with seeds like pumpkin or sunflower seeds for crunch without the nuts. Always double-check that your other ingredients, especially packaged items like oats or flour, are processed in a nut-free facility to ensure safety.
Can I make Pumpkin Crisp ahead of time?
Yes, you can prepare your Pumpkin Crisp a day in advance! Just assemble the recipe and store it covered in the refrigerator. Then, simply pop it in the oven to reheat when you’re ready to serve, which is especially handy for gatherings or busy weeknights.
Irresistible Pumpkin Crisp: A Cozy Fall Dessert Delight
Ingredients
Equipment
Method
- Preheat your oven to 350°F (175°C) and lightly grease a 9-inch square baking dish.
- In a large mixing bowl, combine pumpkin puree, granulated sugar, eggs, vanilla extract, whole milk, and heavy cream. Whisk until smooth.
- Stir in ground cinnamon, ginger, nutmeg, cloves, and a pinch of salt. Mix until incorporated.
- In a separate bowl, mix together all-purpose flour, old-fashioned oats, brown sugar, additional cinnamon, salt, and chopped pecans. Pour melted butter over and stir until crumbly.
- Evenly distribute the oat topping over the pumpkin filling in the baking dish.
- Bake for 40-45 minutes until golden brown on top with a slight jiggle in the center.
- Allow to cool for at least 15 minutes before slicing into squares and serving.
Leave a Reply