
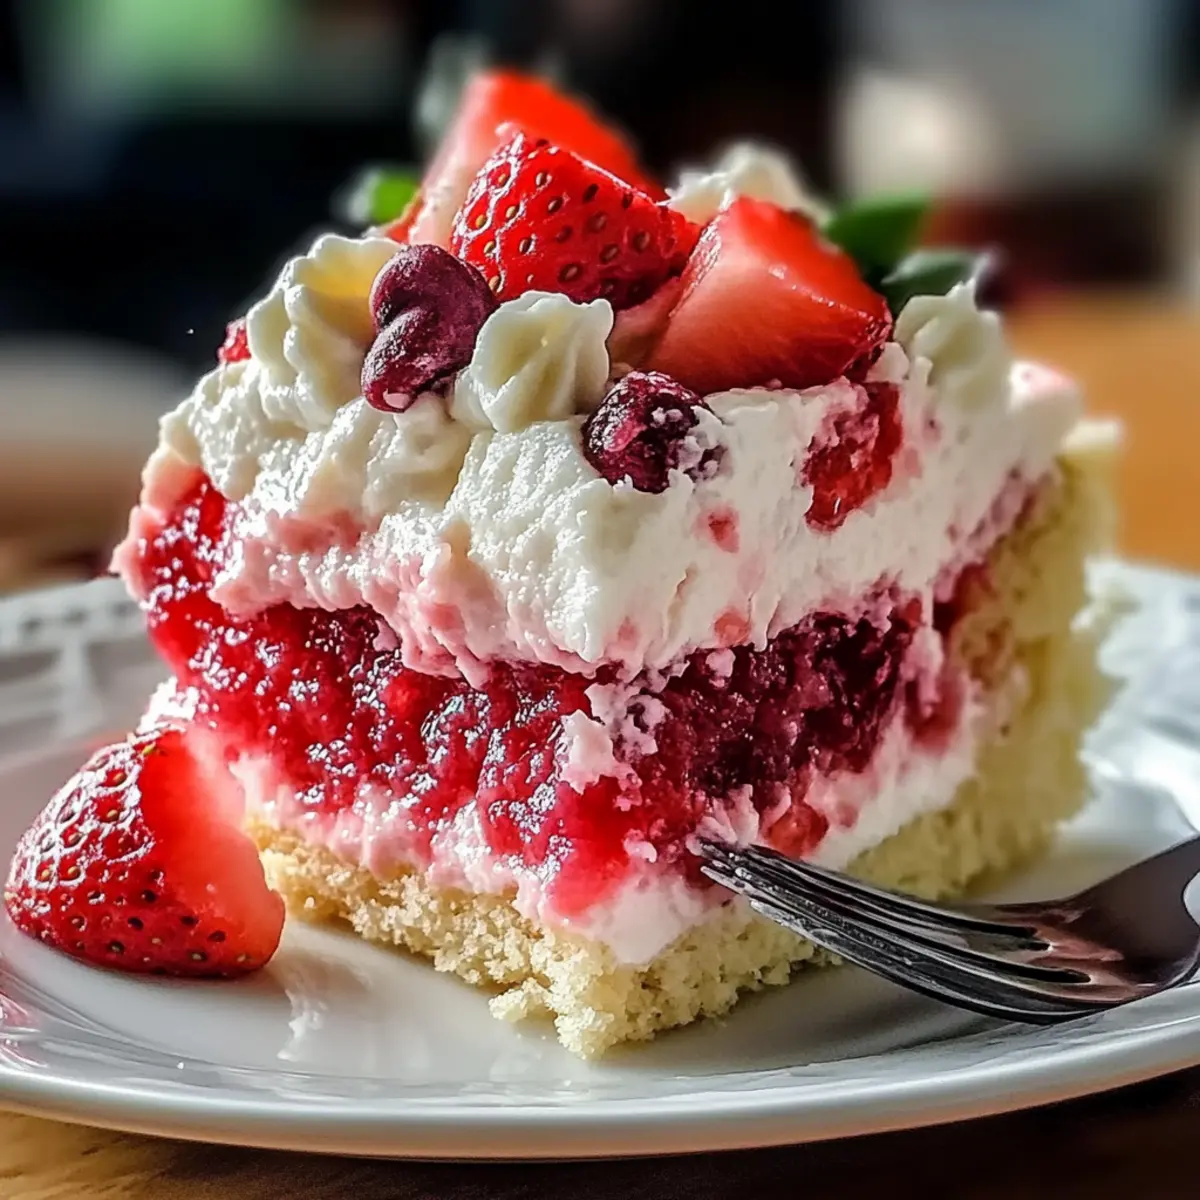
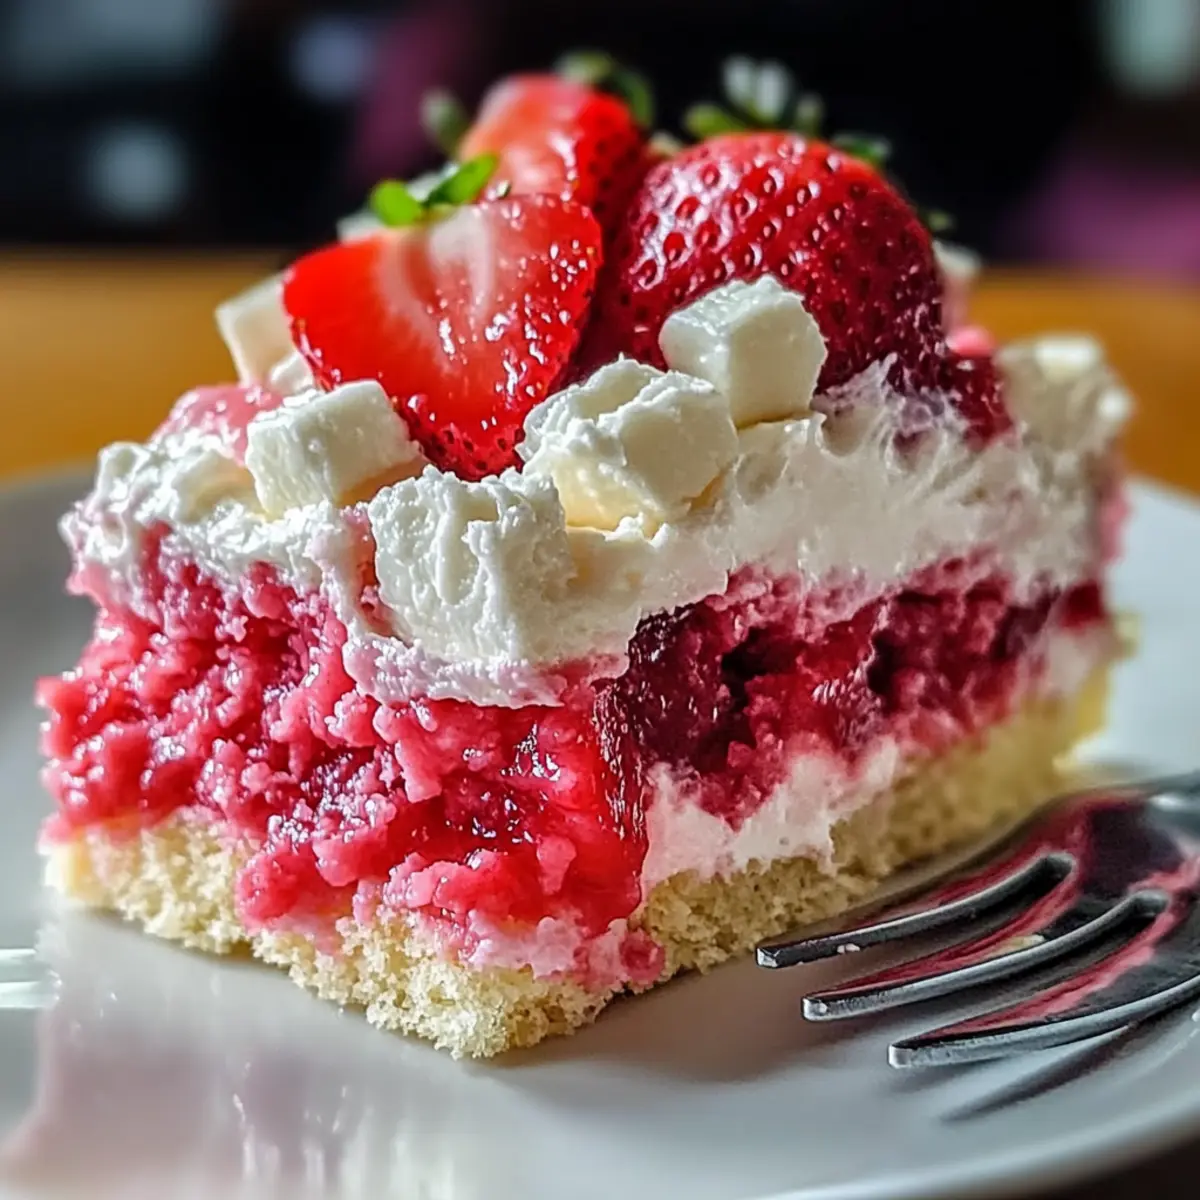
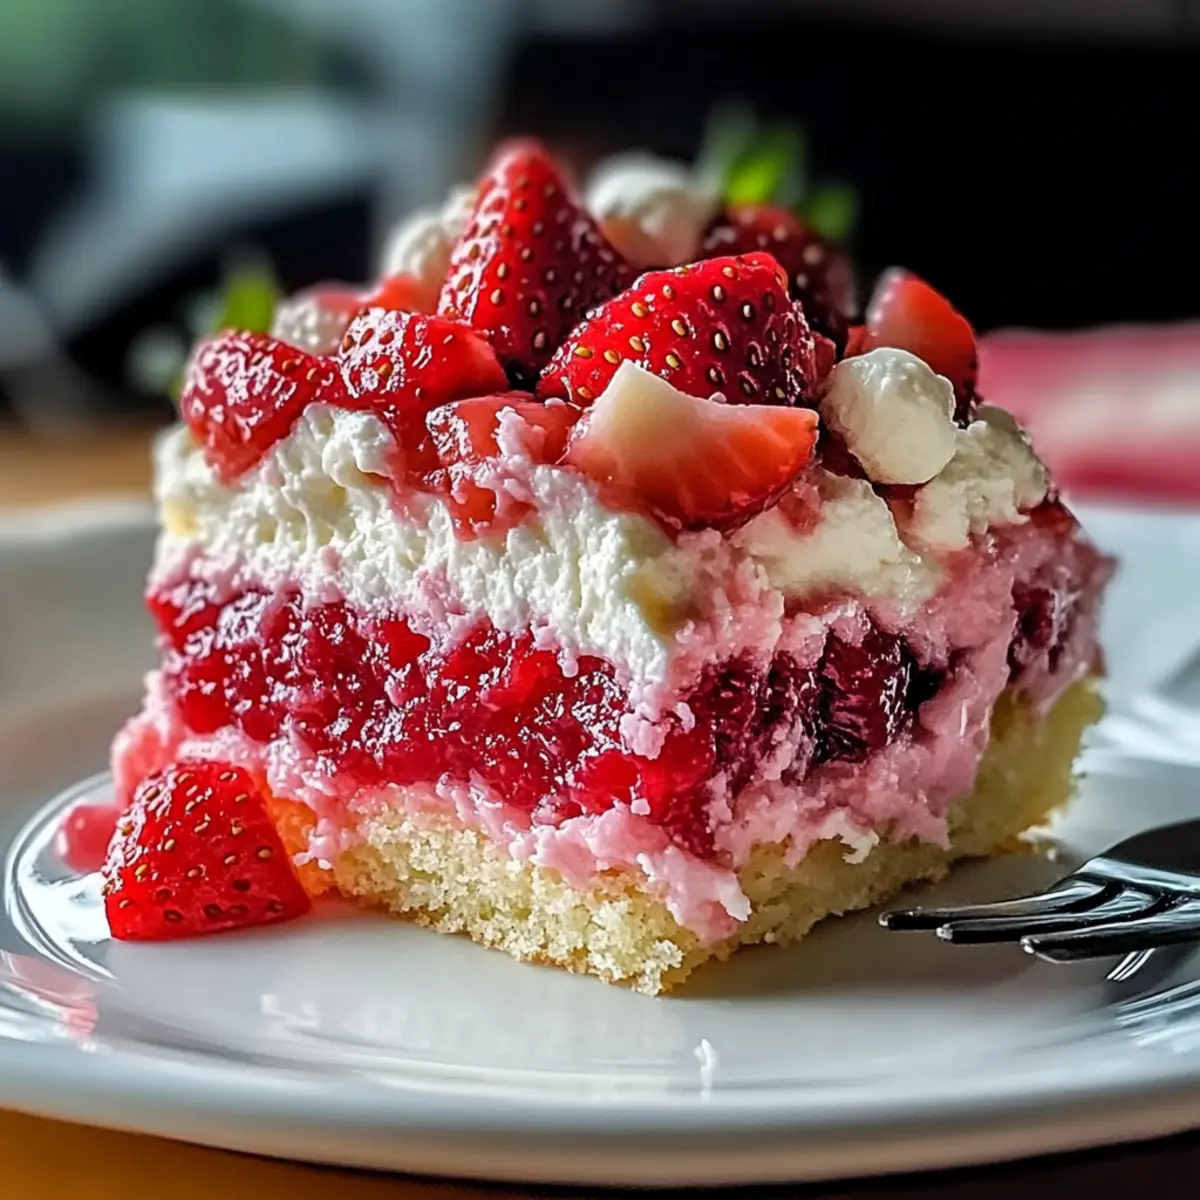
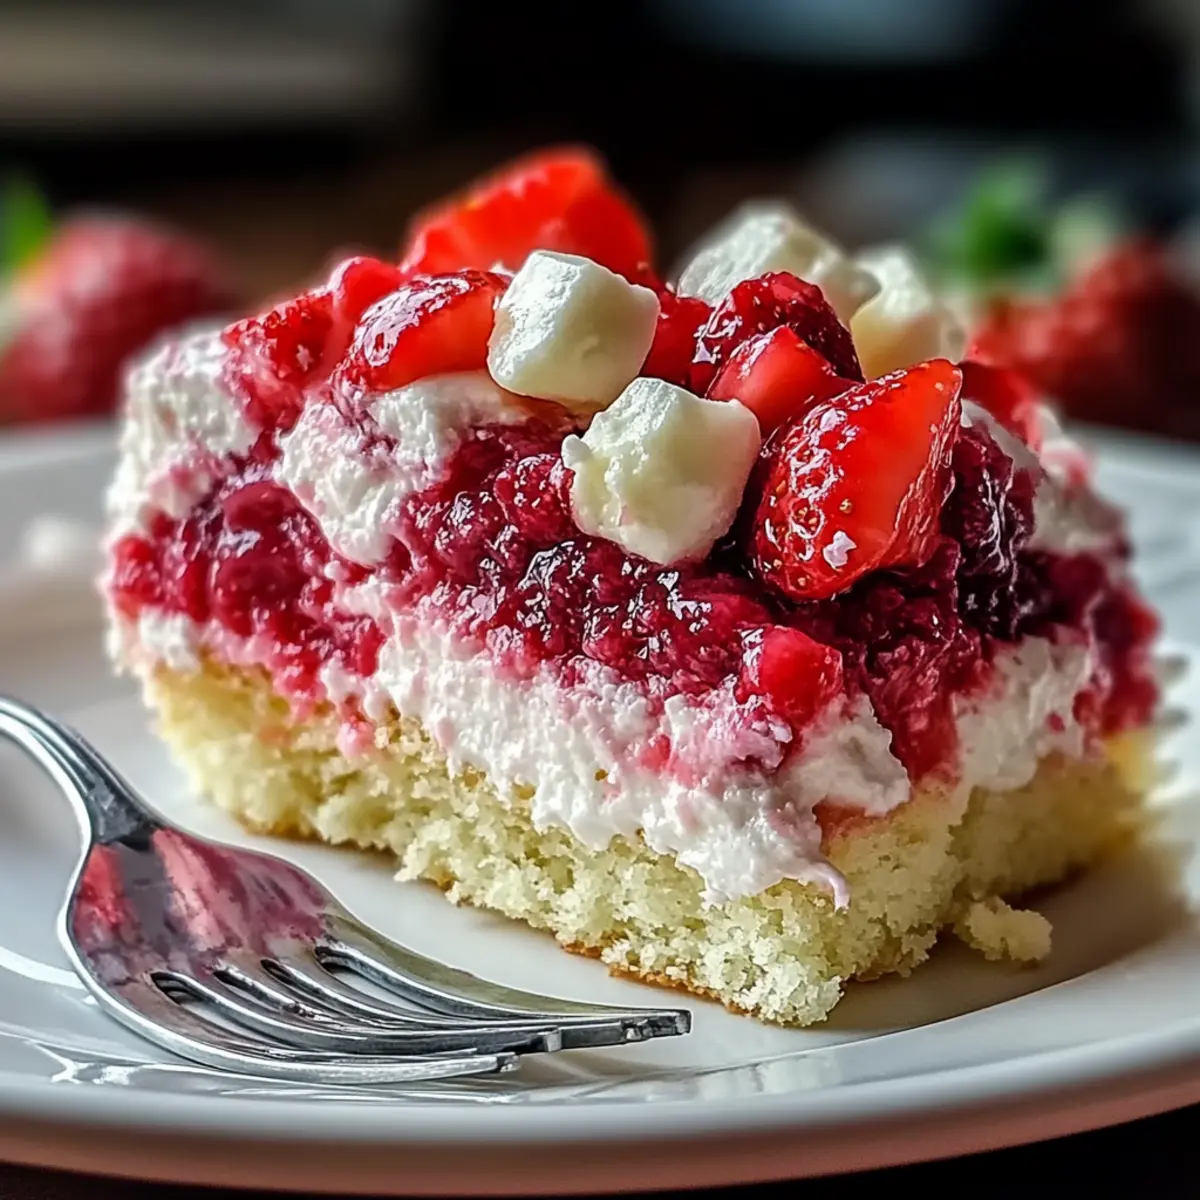
There’s something magical about the first slice of Strawberry Earthquake Cake that leaves me in awe every time. This delightful dessert isn’t just a cake; it’s an experience that brings smiles to faces, especially during summer gatherings or potlucks. With its moist strawberry flavor and a creamy cream cheese topping, this easy-to-make treat is destined to be the star of your dessert table. The “earthquake” effect, where the luscious cream cheese magically sinks into the still-warm cake, adds an irresistible twist that will have your friends asking for seconds. Not only is it a visual showstopper, but it also packs a punch in the flavor department, making it an unforgettable comfort food. Discover how to create this stunning Strawberry Earthquake Cake that promises to elevate your baking game. Are you ready to dive into this deliciously easy recipe?
Why is Strawberry Earthquake Cake a Must-Try?
Ultimate Showstopper: This Strawberry Earthquake Cake is a visual delight that captivates at any gathering.
Irresistible Flavor: The combination of moist strawberry cake and rich cream cheese creates a flavor explosion that keeps everyone coming back for more.
Effortless Preparation: Easy to make with just a few ingredients, this cake is perfect for both novice bakers and seasoned pros.
Versatile Toppings: Experiment with different chocolate or fruit toppings to suit your palate. Consider adding a scoop of ice cream or a dollop of whipped cream for an extra special treat.
Perfect for Any Occasion: Whether it’s a summer barbecue or a holiday potluck, this cake is sure to impress guests of all ages.
Dive deeper into other delectable options like our Peach Cake Brown or explore the delightful Swirl Bundt Cake for more dessert inspiration!
Strawberry Earthquake Cake Ingredients
For the Cake
- Strawberry Cake Mix – This is the foundation of the cake; opt for your favorite brand.
- Eggs – They bind the ingredients and add moisture; flaxseed meal works as a vegan alternative.
- Water – Hydrates the mix; using milk can enrich the flavor.
- Vegetable Oil – Adds moisture; you can swap it for melted coconut oil for a lighter touch.
For the Cream Cheese Topping
- Cream Cheese – Provides creaminess and tang; choose full-fat or low-fat based on your preference.
- Unsalted Butter – Enhances richness; margarine can serve as a substitute if necessary.
- Confectioners’ Sugar – Sweetens the topping; powdered erythritol is an option for a low-sugar version.
- Vanilla Extract – Boosts flavor; pure vanilla extract gives a more profound aroma.
- Kosher Salt – Balances out the sweetness; regular salt works well if kosher isn’t available.
For the Toppings
- Diced Strawberries – Adds freshness and texture; ensure they are evenly diced for consistency.
- White Chocolate Chips – Brings sweetness and creaminess; consider using dark chocolate chips for a deeper flavor.
Get ready to whip up this stunning Strawberry Earthquake Cake, perfect for your next gathering!
Step‑by‑Step Instructions for Strawberry Earthquake Cake
Step 1: Preheat and Prepare
Begin by preheating your oven to 350°F (175°C). While the oven heats, grease a 9×13 inch baking pan thoroughly to ensure the Strawberry Earthquake Cake rises beautifully without sticking. This initial step is crucial for a smooth baking process and helps achieve a lovely golden crust on your cake.
Step 2: Mix the Cake Batter
In a large mixing bowl, combine the strawberry cake mix, eggs, water, and vegetable oil. Use a hand mixer or whisk to blend the ingredients until the batter is smooth and well-incorporated, typically about 2-3 minutes. You’ll know it’s ready when the mixture is lump-free and has a lovely pink hue, indicative of your moist cake.
Step 3: Bake the Base Cake
Pour the smooth, vibrant batter into the prepared baking pan, spreading it evenly with a spatula. Place the pan into the preheated oven and bake for 30-35 minutes. The cake is done when a toothpick inserted in the center comes out clean or with a few moist crumbs, signaling it’s perfectly baked and ready for the next layer of deliciousness.
Step 4: Prepare the Cream Cheese Mixture
While the cake is baking, prepare the creamy topping. In a separate bowl, beat together the softened cream cheese and melted butter until smooth and fluffy. Gradually add the confectioners’ sugar, vanilla extract, and kosher salt, mixing until the mixture is thoroughly combined and airy—this should take about 2-3 minutes, bringing a delightful creaminess to your Strawberry Earthquake Cake topping.
Step 5: Add Toppings
Once the base cake is baked, remove it from the oven and let it cool for a few minutes. Sprinkle the diced strawberries and white chocolate chips generously over the warm cake. Then, dollop the prepared cream cheese mixture over the top, allowing it to sink into the cake details. This step creates the signature “earthquake” effect as it melds with the warm cake beneath.
Step 6: Final Bake
Return the beautifully topped cake to the oven for an additional 15-20 minutes. Keep an eye on it; the cream cheese topping should be set and slightly golden at the edges. This final baking step ensures that the flavors meld together beautifully while achieving that luscious, creamy texture that makes the Strawberry Earthquake Cake so irresistible.
Step 7: Cool and Serve
After the final baking is complete, take your Strawberry Earthquake Cake out of the oven and allow it to cool for at least 30 minutes. This cooling period allows the flavors to develop further. For added flair, consider garnishing with extra strawberries or serving with a scoop of vanilla ice cream, making this dessert a delightful treat for any occasion.
Tips for the Best Strawberry Earthquake Cake
-
Soften the Cream Cheese: Ensure your cream cheese is at room temperature for easy mixing, creating that smooth, creamy topping everyone loves.
-
Don’t Overmix Batter: Mix just until combined to maintain a light texture. Overmixing can lead to a dense, chewy Strawberry Earthquake Cake.
-
Evenly Dice Strawberries: Cut strawberries into uniform pieces for consistent flavor and an attractive presentation. This helps each slice look as delightful as it tastes.
-
Add Warm Toppings: Sprinkle the topping ingredients over the cake while it’s warm; this allows the cream cheese to melt into the cake, enhancing that “earthquake” effect.
-
Chill Before Serving: Let the cake cool completely before serving. This helps set the cream cheese, intensifying the flavors and making it easier to slice.
-
Customize with Toppings: Feel free to swap white chocolate chips for dark or introduce nuts for added texture to the creamy topping. This makes your Strawberry Earthquake Cake uniquely yours!
How to Store and Freeze Strawberry Earthquake Cake
Fridge: Store the cake covered in the refrigerator to keep it fresh and moist for up to 3–4 days. This allows the flavors to meld beautifully over time.
Freezer: If you need to keep it longer, freeze the cake for up to 3 months. Wrap it tightly in plastic wrap and then in foil to prevent freezer burn.
Reheating: To enjoy leftovers, thaw in the fridge overnight. Warm individual slices in the microwave for about 10–15 seconds for a cozy treat.
Serving Cold: Enjoy the cake cold for a refreshing dessert on hot summer days. The chilled cream cheese topping pairs perfectly with the sweet strawberry flavor!
What to Serve with Strawberry Earthquake Cake
There’s nothing quite like enhancing your delicious dessert experience with the perfect accompaniments to your Strawberry Earthquake Cake.
-
Vanilla Ice Cream: The creamy, cold richness of vanilla ice cream complements the warm cake beautifully, balancing flavors and textures.
-
Fresh Berries: A medley of ripe berries adds brightness and a fresh pop, enhancing the summer essence of the cake while providing a delightful contrast.
-
Whipped Cream: Light and airy whipped cream adds a luscious element that pairs wonderfully with the moist cake, making each bite heavenly.
-
Mint Sprigs: A sprinkle of fresh mint not only elevates the presentation but also introduces a refreshing note of flavor that contrasts delightfully with the sweetness.
-
Lemonade or Iced Tea: Serve alongside a chilled glass of lemonade or iced tea for a refreshing drink that balances the dessert’s sweetness perfectly during summer gatherings.
-
Chocolate Sauce Drizzle: A warm drizzle of chocolate sauce adds an indulgent touch, enhancing both flavor and decadence, making the cake feel even more special.
Let these pairings elevate your dessert game for a charming finale to your meal!
Make Ahead Options
These Strawberry Earthquake Cakes are perfect for busy home cooks looking to save time! You can bake the cake base up to 24 hours in advance. Allow it to cool completely, then cover and refrigerate it to maintain its moistness. The cream cheese topping can also be prepared up to 3 days ahead—simply store it in an airtight container in the fridge until you’re ready to use it. When it’s time to serve, just sprinkle the diced strawberries and white chocolate chips on top, dollop the cream cheese mixture, and return it to the oven for about 15-20 minutes to melt it all together. This way, you’ll have a stunning, delicious Strawberry Earthquake Cake with minimal last-minute effort!
Strawberry Earthquake Cake Variations
Feel free to get creative with your Strawberry Earthquake Cake and make it your own!
-
Dairy-Free: Replace cream cheese with vegan cream cheese and use plant-based milk to keep it delicious and dairy-free.
For a delectable twist, consider coconut cream for a lighter touch that still offers that rich creaminess. -
Gluten-Free: Swap the regular cake mix with a gluten-free variant to accommodate dietary needs.
This way, everyone can enjoy a slice of your delightful treat, ensuring nobody feels left out at the dessert table. -
Nutty Addition: Stir in chopped walnuts or pecans into the cream cheese mixture for an added crunch.
The delightful texture will complement the creaminess, creating a satisfying contrast that’s hard to resist. -
Berry Medley: Mix in blueberries or raspberries along with the strawberries for a berry-filled explosion.
This adds a vibrant pop of color and complexity that will delight your taste buds with every bite. -
Chocolate Lovers: Use dark chocolate chips instead of white chocolate for a richer flavor experience.
The depth of flavor will elevate your cake to new heights—perfect for chocolate aficionados! -
Spice it Up: Incorporate a pinch of cinnamon or nutmeg into the cream cheese mixture for a warm, aromatic twist.
This simple adjustment can transform the flavors, making each bite even more comforting and inviting. -
Fruit Sauce Drizzle: Top your finished cake with a homemade strawberry or raspberry sauce for extra sweetness and a burst of flavor.
Drizzling sauce before serving not only enhances the look but intensifies the fruity goodness in every slice. -
Ice Cream Pairing: Serve the cake alongside a scoop of vanilla or strawberry ice cream for a decadent dessert experience.
The combination will give you that perfect cold and creamy contrast against the warm cake, making it a true treat!
For more delightful ideas, check out our Espresso Cheesecake Decadent or add a seasonal twist with a slice of Gingerbread Pudding Cake. Happy baking!
Strawberry Earthquake Cake Recipe FAQs
How do I choose ripe strawberries for the cake?
Absolutely! When selecting strawberries, look for berries that are vibrant red, firm, and free from dark spots or wrinkles. The texture should be smooth and shiny, a sign of freshness. Avoid any that have mold or are overly soft, as these can lead to a mushy texture in your cake.
What’s the best way to store Strawberry Earthquake Cake?
To keep your Strawberry Earthquake Cake fresh, store it covered in the refrigerator. It maintains its best texture and flavor for up to 3-4 days. Make sure to use an airtight container or wrap it tightly in plastic wrap to prevent it from drying out or absorbing any odors from your fridge.
Can I freeze the Strawberry Earthquake Cake?
Yes, you can! To freeze your Strawberry Earthquake Cake, let it cool completely after baking. Then, wrap individual slices tightly in plastic wrap, followed by foil to prevent freezer burn. It will stay fresh for up to 3 months. When you’re ready to enjoy it, thaw slices in the refrigerator overnight and warm them in the microwave for about 10-15 seconds for that just-baked taste.
What if my cream cheese mixture isn’t fluffy?
Very good question! If your cream cheese mixture isn’t achieving that fluffy consistency, ensure that your cream cheese is softened to room temperature before mixing—it makes a significant difference! Mix it with melted butter until smooth, then gradually add in the confectioners’ sugar, which helps aerate the mixture. If needed, beat it for an additional minute or two until light and fluffy.
Are there any dietary considerations for this recipe?
Indeed! If you or your loved ones have dietary restrictions, consider using flaxseed meal instead of eggs for a vegan option. For gluten-free needs, you can substitute the strawberry cake mix with a gluten-free variety. Be cautious of the cream cheese topping regarding dairy allergies; there are plant-based cream cheese alternatives available for those with lactose intolerance.
How do I prevent the cream cheese from sinking to the bottom?
To ensure that your cream cheese mixture stays on top rather than sinking completely, try the following technique: after you bake the base cake and while it’s still warm, immediately sprinkle diced strawberries and chips on top, followed by dollops of the cream cheese mixture. This allows the cream cheese to melt slightly while the cake cools, creating that iconic “earthquake” effect instead of sinking straight to the bottom!
Strawberry Earthquake Cake: A Creamy Summer Delight
Ingredients
Equipment
Method
- Preheat your oven to 350°F (175°C) and grease a 9x13 inch baking pan.
- In a large mixing bowl, combine the strawberry cake mix, eggs, water, and vegetable oil until smooth.
- Pour the batter into the prepared baking pan and bake for 30-35 minutes, until a toothpick comes out clean.
- Beat together the softened cream cheese and melted butter, then add confectioners’ sugar, vanilla extract, and kosher salt.
- Remove the cake from the oven, sprinkle with strawberries and white chocolate chips, then dollop on the cream cheese mixture.
- Return the cake to the oven for an additional 15-20 minutes until set and golden at the edges.
- Let the cake cool for at least 30 minutes before serving. Garnish with extra strawberries if desired.
Leave a Reply