
As I sifted through my pantry looking for a quick treat, a spark of inspiration hit me—what if I could whip up something indulgent yet guilt-free? Enter these 4-Ingredient No-Bake Chocolate Oat Cookies! With just a handful of wholesome ingredients, they’re not only deliciously chewy and rich in chocolate flavor but also a lifesaver for those hectic days when time is short. Perfect for gluten-free diets or a quick snack, these cookies come together faster than you can say “homemade.” Plus, they require zero baking—ideal for those hot summer afternoons when turning on the oven feels like a chore. Curious to see how easily you can bring a sweet moment of joy to your day? Let’s dive into this simple recipe!

Why Are These Cookies a Must-Try?
Simplicity at Its Core: With just four ingredients, these cookies come together effortlessly—no complex techniques required!
Nutritious and Guilt-Free: Packed with healthy fats from nut butter and fiber from oats, they’re a smart choice for any snack.
Perfectly Chewy Texture: Enjoy the delightful chewiness that makes them reminiscent of your favorite granola clusters.
No Baking Required: Ideal for hot days when the oven feels like a burden, these no-bake cookies are set in just 30 minutes.
Endless Customization: Feeling adventurous? Substitute oats with quinoa flakes or add your favorite nuts for unique flavors! Plus, don’t miss out on pairing these treats with a cup of coffee or a glass of milk for the ultimate experience.
Chocolate Oat Cookies Ingredients
For the Cookies
• Oats – Rolled oats provide the perfect chewy texture; however, for a different feel, steel-cut oats can also work.
• Nut Butter – Almond or peanut butter binds the ingredients together; swap in sunflower seed butter for a nut-free alternative.
• Honey or Maple Syrup – Adds natural sweetness and moisture; for a vegan-friendly option, use maple syrup instead.
• Cocoa Powder – Infuses rich chocolate flavor; Dutch-processed cocoa gives a smoother taste.
Optional Add-Ins
• Shredded Coconut – Adds a tropical twist and extra texture; try unsweetened for a healthier option.
• Chopped Nuts – Introduce a crunchy element and additional healthy fats; walnuts or pecans are solid choices.
• Quinoa Flakes – Substituting oats with these will boost the protein content while keeping it gluten-free.
These Chocolate Oat Cookies are not only simple to make but provide a deliciously satisfying treat for anyone looking to enjoy something wholesome!
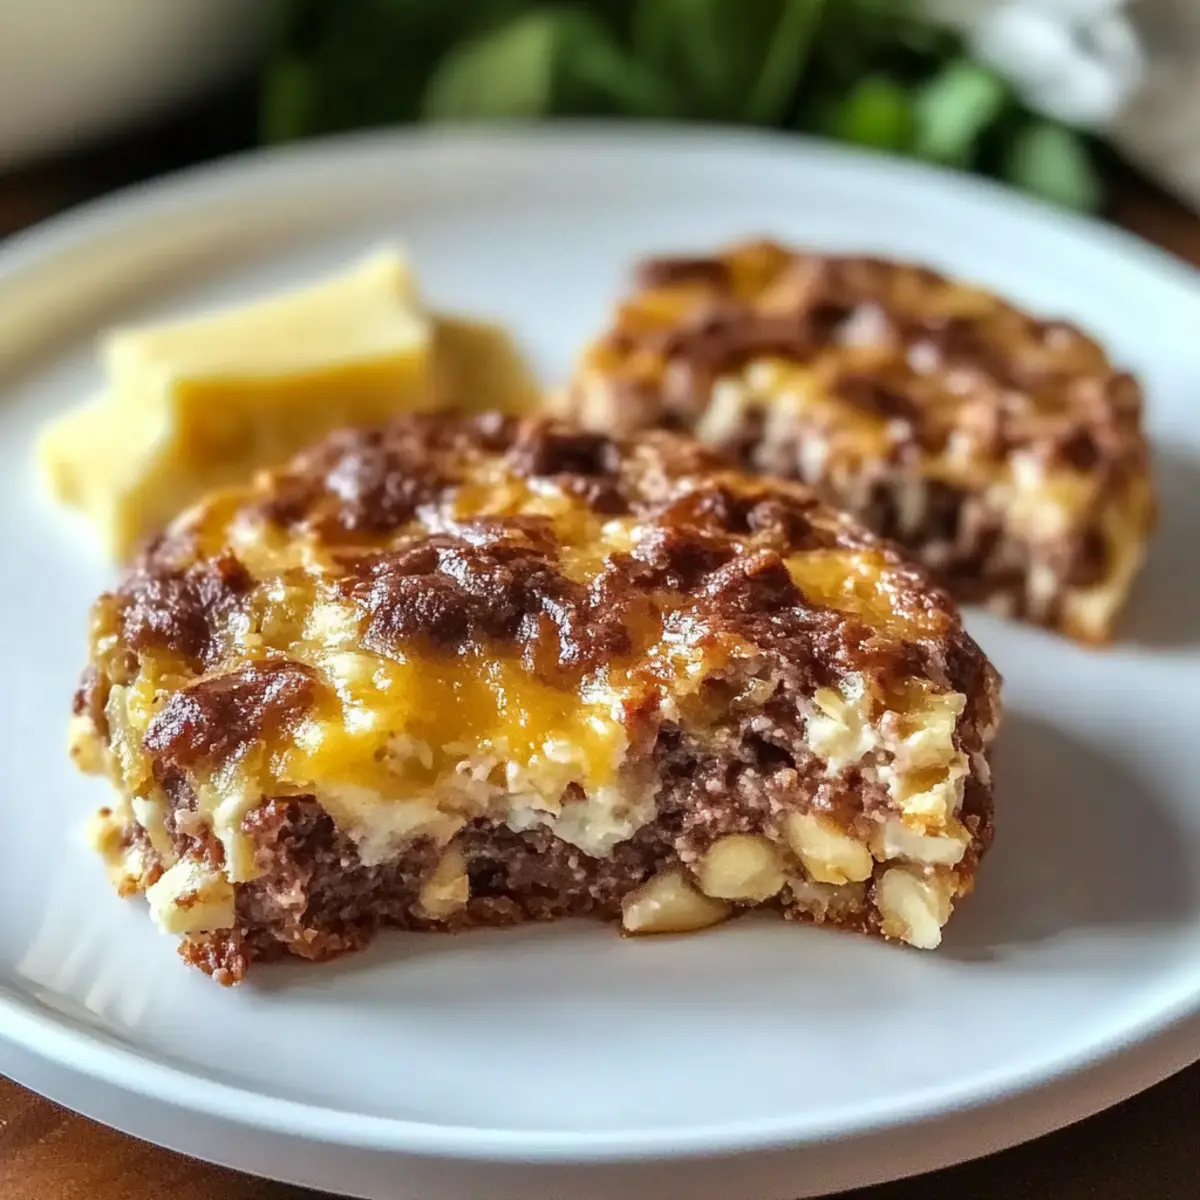
Step‑by‑Step Instructions for Easy Sausage and Egg Casserole
Step 1: Preheat the Oven
Begin by preheating your oven to 350°F (175°C). This ensures that the Easy Sausage and Egg Casserole cooks evenly and achieves that golden, bubbling finish. As the oven warms, gather your ingredients and prepare an 8×8-inch baking dish by lightly greasing it with cooking spray or butter.
Step 2: Cook the Sausage
In a medium skillet over medium heat, add your preferred sausage and cook for about 5-7 minutes, stirring occasionally until it’s browned and cooked through. This step infuses the casserole with rich flavors as the sausage releases its juices. Once browned, remove from heat and allow it to cool slightly before mixing with other ingredients.
Step 3: Whisk the Eggs
In a large mixing bowl, crack 6 eggs and whisk them thoroughly until well blended. Aim for a light and fluffy mixture, incorporating a pinch of salt and pepper to taste. This egg mixture serves as the base of your Easy Sausage and Egg Casserole, promising a satisfying texture that holds everything together.
Step 4: Combine Ingredients
Add the cooked sausage to the egg mixture. Next, stir in shredded cheese and any desired vegetables—like bell peppers or spinach—creating a colorful and nutritious mixture. Ensure all ingredients are well combined, and the cheese starts to melt into the warm sausage for extra richness.
Step 5: Pour into Baking Dish
Carefully pour the sausage and egg mixture into the prepared baking dish, spreading it evenly with a spatula. This helps in achieving a uniform cook throughout your Easy Sausage and Egg Casserole. You’ll notice the vibrant colors of the veggies and cheese peeking through, creating an inviting appearance.
Step 6: Bake the Casserole
Place the baking dish in the preheated oven and bake for 25-30 minutes, or until the eggs are set and the top is lightly golden. To ensure it’s fully cooked, insert a knife in the center; it should come out clean. The enticing aroma will fill your kitchen as the casserole bakes, making it difficult to wait!
Step 7: Cool and Serve
Once baked, remove the casserole from the oven and let it cool for about 5 minutes. This resting time allows flavors to meld and makes cutting easier. Use a sharp knife to serve generous pieces of this hearty Easy Sausage and Egg Casserole, perfect for breakfast or brunch gatherings!
Storage Tips for Chocolate Oat Cookies
Fridge: Store your chocolate oat cookies in an airtight container in the refrigerator for up to one week. This keeps them fresh while maintaining their chewy texture.
Freezer: For longer storage, place cookies in a freezer-safe bag or container. They can be frozen for up to 3 months, ensuring a quick treat whenever cravings hit!
Reheating: Let cookies thaw at room temperature, or enjoy them slightly chilled right from the fridge. For a warm touch, briefly microwave them for about 10 seconds.
Wrapping: If stacking cookies in a container, separate layers with parchment paper to prevent them from sticking together. Enjoy your easy chocolate oat cookies anytime!
Easy Chocolate Oat Cookies Variations
Feel free to customize these delightful cookies to suit your taste buds and dietary needs!
-
Nut-Free: Swap nut butter with sunflower seed butter for a tasty, nut-free alternative that’s still creamy and delicious.
-
Vegan Delight: Replace honey with maple syrup to make your cookies completely vegan while keeping the sweet flavor intact.
-
Coconut Crunch: Add shredded coconut for a tropical twist—use unsweetened to keep it healthy and add texture.
-
Fruit Fusion: Mix in dried fruits like cranberries or raisins for a chewiness that adds bursts of sweetness. Each bite will surprise you!
-
Different Oats: Use quinoa flakes instead of oats for a protein boost; they keep the cookies gluten-free while providing a unique texture.
-
Spicy Kick: Incorporate a pinch of cinnamon or cayenne pepper for a subtle warmth that elevates the chocolate flavor to new heights.
-
Chocolate Lovers: Increase the cocoa powder to two tablespoons for an even richer chocolate taste. It’s a chocolate explosion in every bite!
-
Nutty Boost: Consider adding chopped nuts like walnuts or pecans for added crunch and healthy fats—not to mention, they’ll taste divine alongside the chocolate.
These variations not only enhance the flavor but can also cater to your dietary preferences. If you love a hearty, filling meal in the morning, you might also enjoy Cheesy Pumpkin and Spicy Sausage Stuffed Shells or explore different flavors with the Spicy Southern Casserole. Remember, making each recipe your own is part of the joy of cooking!
What to Serve with 4-Ingredient No-Bake Chocolate Oat Cookies
Indulging in these luscious cookies opens the door to a delightful array of pairings that will elevate your snacking experience.
-
Creamy Almond Milk: A glass of chilled almond milk enhances the chocolatey goodness while providing a smooth, nutty contrast to the cookies.
-
Fresh Berries: Juicy strawberries or raspberries add a burst of tartness, balancing the sweetness of the cookies with their refreshing flavors.
-
Yogurt Parfait: Layer your cookies with Greek yogurt and granola for a delightful parfait that adds creaminess and crunch, perfect for breakfast or a snack.
-
Coffee: A cup of freshly brewed coffee pairs beautifully, with its rich depth accentuating the chocolate flavor for a satisfying treat.
-
Chocolate-Dipped Fruit: For an extra touch of indulgence, serve your cookies alongside chocolate-dipped bananas or apple slices—it’s a match made in heaven.
-
Ice Cream: Scoop vanilla or chocolate ice cream on the side for a decadent dessert that invites you to savor every crunchy-chewy bite.
-
Coconut Macaroons: The chewy sweetness of coconut macaroons contrasts nicely with the chocolate cookies, creating a delightful cookie platter for sharing.
The beauty of these cookies lies in their versatility, making each pairing a chance to create a memorable moment of joy!
Expert Tips for Chocolate Oat Cookies
-
Creamy Nut Butter: Ensure your nut butter is smooth and creamy for easy mixing. Chunks can lead to uneven textures in your cookies.
-
Mixing Consistency: Avoid overmixing the ingredients to maintain a light, chewy texture. Stir just until combined for the best results.
-
Binding Adjustments: If the cookie mixture feels too crumbly, simply add a splash more nut butter or a touch of water to help bind it.
-
Chilling Time: Don’t skip the chilling step! Allowing the cookies to set in the fridge for about 30 minutes ensures they firm up nicely.
-
Flavor Variations: Experiment with different nut butters or add-ins like coconut or nuts for unique flavor profiles in your chocolate oat cookies.
Make Ahead Options
These 4-Ingredient No-Bake Chocolate Oat Cookies are perfect for busy home cooks! You can prepare the cookie mixture up to 24 hours in advance; simply combine the oats, nut butter, honey or maple syrup, and cocoa powder, and store it in an airtight container in the refrigerator. When you’re ready to enjoy them, just scoop and shape the cookies, then chill for an additional 30 minutes to set. To maintain their chewy texture, keep them cool and avoid exposure to heat. Trust me, they’ll taste just as delicious as if they were made fresh, making your week a little sweeter with minimal effort!
Chocolate Oat Cookies Recipe FAQs
How do I choose the right oats for the recipe?
Absolutely! For the best chewy texture, I recommend using rolled oats. They provide the right amount of chewiness and absorb the ingredients well. If you only have steel-cut oats on hand, you can use them, but be aware they will change the texture and require longer soaking.
How should I store leftover cookies?
Storing them in an airtight container in the refrigerator is perfect! They will stay fresh for up to one week. Just ensure the container is sealed tightly to prevent them from drying out or absorbing other odors from the fridge.
Can I freeze these chocolate oat cookies?
Yes, definitely! To freeze, place the cookies in a single layer on a baking sheet and freeze until firm. Then, transfer them to a freezer-safe bag or container for up to 3 months. This method keeps them from sticking together. Just let them thaw at room temperature when you’re ready to enjoy them!
My cookies are too crumbly. What should I do?
No worries! If your cookie mixture is too crumbly, that’s an easy fix. Simply add an extra tablespoon of nut butter or a tiny splash of water to the mix. Stir it in gently until the dough holds together better, and you should be good to go!
Can I customize these cookies for allergies?
Very much so! To cater to nut allergies, you can use sunflower seed butter instead of traditional nut butters; it works beautifully! If you’re looking for a gluten-free option, ensure that your oats are certified gluten-free, which many brands offer.
What can I add to make these cookies more exciting?
The more the merrier! Consider adding 1/4 cup of shredded coconut or a mix of your favorite chopped nuts within the recipe for added texture and flavor. You can also substitute one of the sweeteners with a dash of vanilla extract for a delightful twist!

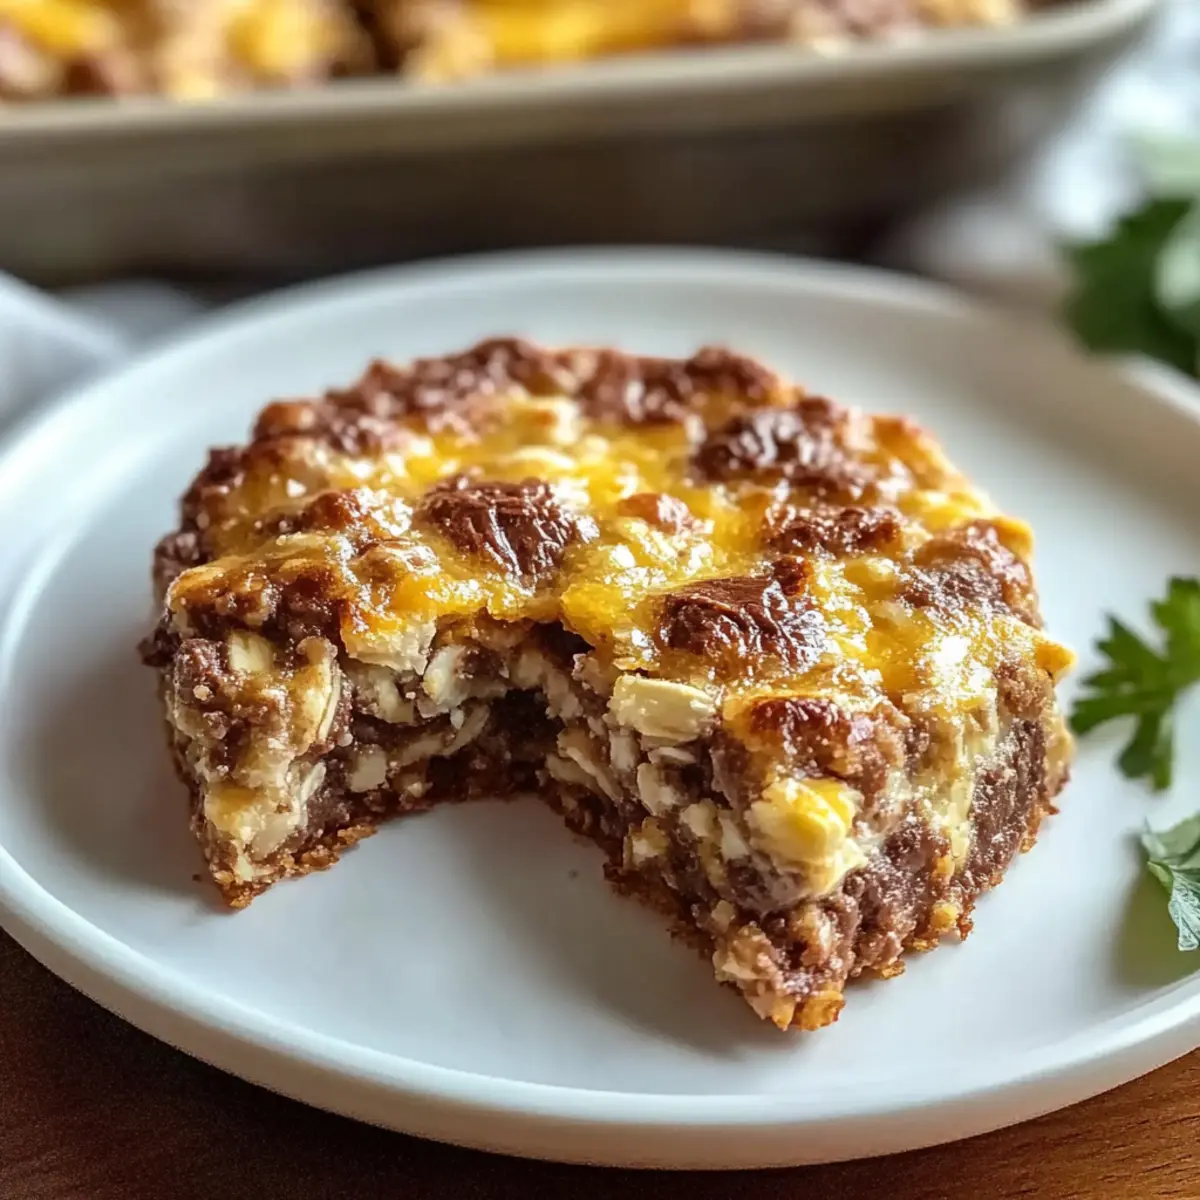
Hearty Easy Sausage and Egg Casserole for a Cozy Breakfast
Ingredients
Equipment
Method
- Preheat your oven to 350°F (175°C). Prepare an 8x8-inch baking dish by lightly greasing it.
- In a medium skillet, cook the sausage over medium heat for 5-7 minutes until browned.
- Whisk the eggs in a large mixing bowl until well blended. Add a pinch of salt and pepper.
- Combine the cooked sausage with the egg mixture. Stir in the shredded cheese and vegetables.
- Pour the mixture into the prepared baking dish and spread evenly.
- Bake in the preheated oven for 25-30 minutes until eggs are set and lightly golden.
- Remove from the oven and let cool for 5 minutes before serving.
Leave a Reply