
There’s nothing quite like the aroma of a fresh batch of Classic Homemade Chocolate Chip Cookies wafting through the house, beckoning everyone to the kitchen. When I whip up this beloved recipe, I’m not just baking cookies; I’m creating a moment—a chewy, chocolate-studded experience that’s just as comforting on a rainy afternoon as it is at joyful family gatherings. This straightforward recipe guarantees delightful cookies in under 30 minutes, making it the perfect option for rewarding yourself with a homemade treat or impressing guests without the fuss. Plus, it’s wonderfully customizable: add nuts for a satisfying crunch or explore a gluten-free twist. Who could resist a homemade cookie warm from the oven? Are you ready to meet your new favorite comfort food?
Why choose homemade chocolate chip cookies?
Warm aroma: There’s nothing quite like the fresh scent of classic chocolate chip cookies filling your home. It beckons family and friends to gather round!
Customizable: Enjoy endless variations to suit everyone’s tastes—try adding nuts or even gluten-free options for those dietary preferences.
Quick preparation: No need to spend hours in the kitchen; this easy recipe delivers delicious cookies in under 30 minutes!
Crowd-pleaser: They’re perfect for any occasion, whether it’s a rainy afternoon snack or a family gathering, ensuring smiles all around.
Homemade goodness: There’s a special charm in crafting cookies from scratch; they’re not just treats but moments of joy waiting to happen!
Classic Chocolate Chip Cookie Ingredients
• Create delicious cookies with this straightforward list!
For the Batter
- All-Purpose Flour – Provides structure and stability; be sure to measure it accurately for the best results.
- Granulated Sugar – Adds sweetness and contributes to a crisp edge; can be substituted with coconut sugar for a lower-glycemic option.
- Brown Sugar – Introduces moisture and chewiness; using dark brown sugar will deepen the flavor profile.
- Unsalted Butter – Enhances flavor and texture; make sure it’s softened to room temperature for easy mixing.
- Eggs – Bind everything together and keep the cookies moist; for a vegan version, try flax eggs (1 tbsp flaxseed meal + 2.5 tbsp water per egg).
- Vanilla Extract – Adds a lovely depth of flavor; opt for pure vanilla extract for authenticity.
- Baking Soda – Helps the cookies rise and achieve that desirable chewy texture; do not substitute with baking powder.
- Salt – Balances the sweetness and enhances flavors; sea salt is a gourmet choice.
- Chocolate Chips – The star of the show; use semi-sweet or dark chocolate chips, or swap these for nuts or dried fruit for a delightful twist.
Optional Toppings
- Nuts – Consider adding chopped walnuts or pecans for added crunch and depth in flavor.
- Sea Salt – A sprinkle on top before baking enhances that sweet-salty profile, making each bite irresistibly delicious.
The focus keyword “Classic Chocolate Chip Cookies” is a reminder of the warm, comforting goodness that awaits you. Happy baking!
Step‑by‑Step Instructions for Classic Homemade Chocolate Chip Cookies
Step 1: Preheat and Prepare
Start by preheating your oven to 350°F (175°C). As the oven warms, line a baking sheet with parchment paper to prevent sticking and ensure even baking. This step is essential for achieving the perfect Classic Homemade Chocolate Chip Cookies with a delightful golden edge.
Step 2: Cream the Sugars and Butter
In a large mixing bowl, combine the softened unsalted butter, granulated sugar, and brown sugar. Use a hand mixer or a sturdy whisk to cream these ingredients together until the mixture is light and fluffy, approximately 2-3 minutes. This process incorporates air, creating that desired chewy texture in your cookies.
Step 3: Add Eggs and Vanilla
Next, add the eggs one at a time to the creamed mixture, mixing well after each addition. This ensures that everything binds together smoothly. Then, stir in the vanilla extract, enhancing the flavor profile of your Classic Homemade Chocolate Chip Cookies. The batter should appear creamy and uniform.
Step 4: Mix Dry Ingredients
In a separate medium bowl, whisk together the all-purpose flour, baking soda, and salt until well combined. This crucial step helps evenly distribute the leavening agent, which provides lift during baking. Once mixed, the dry ingredients will be ready to harmonize with the wet mixture.
Step 5: Combine Wet and Dry Mixtures
Gradually add the flour mixture to the wet ingredients, using a spatula or wooden spoon to mix until just combined. It’s important not to over-mix at this stage to keep your cookies tender and soft. You should see no visible flour for a perfect Classic Homemade Chocolate Chip Cookie dough.
Step 6: Fold in Chocolate Chips
Gently fold in the chocolate chips, allowing them to disperse throughout the dough without overworking it. This step ensures every bite is filled with rich, melty chocolate. Be mindful to keep the dough cohesive while incorporating the chips for optimal texture.
Step 7: Scoop the Dough
Use a cookie scoop or tablespoon to portion out the dough onto the prepared baking sheet, leaving about 2 inches between each cookie. This spacing allows the Classic Homemade Chocolate Chip Cookies to spread evenly as they bake, resulting in a perfectly uniform shape.
Step 8: Bake the Cookies
Place the baking sheet in the preheated oven and bake for 10-12 minutes, or until the edges are golden brown and the centers still look slightly soft. This visual cue ensures your cookies come out chewy while the edges remain crisp, a hallmark of great homemade cookies.
Step 9: Cool on Baking Sheet
Once baked, remove the cookies from the oven and let them cool on the baking sheet for about 5 minutes. During this time, the cookies will continue to set slightly, creating that sought-after texture. After, transfer them to a wire rack to cool completely, if you can resist!
Make Ahead Options
These Classic Homemade Chocolate Chip Cookies are perfect for meal prep, allowing you to enjoy freshly baked cookies any time with little fuss! You can prepare the cookie dough and refrigerate it for up to 3 days; simply scoop the dough into portions, place them on a baking sheet, and cover it tightly with plastic wrap. Alternatively, you can freeze the scooped dough balls for up to 3 months—just be sure to separate them with parchment paper to prevent sticking. When you’re ready to bake, no need to thaw; just bake straight from frozen, adding an extra minute or two to the baking time for delightful, warm cookies that are just as delicious as when freshly made. This makes it easy to whip up a batch on busy weeknights or surprise guests with a homemade treat!
What to Serve with Classic Homemade Chocolate Chip Cookies
There’s nothing quite like the joy of rounding out a meal with sweet, gooey cookies, perfect for any occasion.
- Ice Cream Sundaes: Serve your cookies warm with a scoop of vanilla ice cream on top, drizzled with chocolate sauce for a decadent dessert.
- Milk: Classic and comforting—sipping cold milk alongside these cookies brings out the rich chocolate flavor in every bite.
- Coffee: Pair with a cup of freshly brewed coffee or espresso, where the bitterness complements the cookie’s sweetness beautifully.
- Fresh Fruit Salad: Light and refreshing, a fruit salad served on the side enhances the meal’s sweetness while adding a pop of color and freshness.
- Nutty Granola: For a satisfying crunch, consider a bowl of nutty granola, which contrasts splendidly with the soft texture of the cookies.
- Hot Chocolate: Cozy up with a cup of hot chocolate; the warmth and rich flavor mirror the comforting taste of homemade cookies.
- Cheese Plate: For a unique twist, a cheese plate featuring creamy cheeses can balance sweet flavors, creating an interesting dessert option.
- Brownies: For double chocolate indulgence, serve alongside fudgy brownies, making for a delightful combo for chocolate lovers!
- Coconut Chips: Crunchy and lightly sweetened toasted coconut chips can add a tropical flair that pairs well with the rich chocolate, creating a unique flavor experience.
How to Store and Freeze Classic Chocolate Chip Cookies
Room Temperature: Store your Classic Homemade Chocolate Chip Cookies in an airtight container at room temperature for up to 1 week. This keeps them soft and fresh for delightful snacking!
Fridge: For longer freshness, cookies can be placed in the fridge for up to 2 weeks. Ensure they are in an airtight container to prevent them from drying out.
Freezer: If you want to bake later, freeze the cookie dough for up to 3 months. Scoop the dough onto a baking sheet, freeze until solid, and then transfer to a freezer bag. Bake from frozen without thawing!
Reheating: To enjoy warm cookies, briefly reheat in the microwave for 10-15 seconds or in a preheated oven at 300°F (150°C) for about 5 minutes until warmed through.
Expert Tips for Classic Homemade Chocolate Chip Cookies
Room Temperature Ingredients: Ensure your butter and eggs are at room temperature; this helps achieve a smooth and well-emulsified dough for your cookies.
Don’t Overmix: Mix until just combined to maintain a soft and tender texture. Overmixing can lead to tough cookies, so be gentle!
Chill for Chewiness: For an even chewier cookie, consider chilling the dough for 30 minutes before baking. This step enhances the flavors and gives you that classic thick texture.
Watch the Bake Time: Keep an eye on the cookies as they bake; they should be golden around the edges but still soft in the center. They’ll firm up as they cool.
Perfect Storage: Store your Classic Homemade Chocolate Chip Cookies in an airtight container at room temperature for up to a week. This will help maintain their softness!
Variations & Substitutions for Classic Chocolate Chip Cookies
Feel free to let your creativity shine as you customize these delightful cookies to suit your tastes!
-
Nutty Delight: Substitute half of the chocolate chips with walnuts or pecans for added crunch and flavor depth. The combination of chocolate and nuts is simply irresistible!
-
Gluten-Free Option: For a gluten-free version, use almond flour or a ready-made gluten-free flour blend. Enjoy the same soft and chewy texture without the gluten!
-
Vegan Twist: Replace eggs with flax eggs (1 tbsp flaxseed meal + 2.5 tbsp water per egg) for a wonderful vegan cookie. Your loved ones won’t even know it’s plant-based!
-
Sea Salt Spark: Sprinkle a bit of flaky sea salt on top before baking to enhance the flavor profile with a sweet-salty combo. Each bite becomes a delightful experience!
-
Add Some Spice: Try adding a pinch of cinnamon or nutmeg for a warm, aromatic twist. These spices elevate the flavor and make your cookies even more comforting.
-
Chocolate Variety: Swap out traditional chocolate chips for dark chocolate or even white chocolate for a playful contrast. Every batch can be a new adventure!
-
Fruitful Addition: Mix in dried fruit like cranberries or raisins for a chewy burst of flavor. This adds a whole new dimension to your classic cookie!
-
Zesty Surprise: Incorporate some orange or lemon zest into the batter for a refreshing citrus kick. It’s a unique twist that brightens each bite!
For more delectable options, check out my wonderful recipes such as Spinach Mushroom Lasagna or try the delicious Garlic Shrimp Potatoes. Happy baking!
Classic Homemade Chocolate Chip Cookies Recipe FAQs
How do I choose the right chocolate chips?
Absolutely! When selecting chocolate chips for your cookies, consider the flavor you want to achieve. Semi-sweet chocolate chips are classic, providing a balance of sweetness and chocolate flavor. Dark chocolate chips lend a richer taste, while milk chocolate chips sweeten the deal even further. You can also experiment with different types, such as butterscotch or white chocolate, for unique flavor combinations!
How should I store my chocolate chip cookies?
Very simple! To keep your Classic Homemade Chocolate Chip Cookies soft and fresh, store them in an airtight container at room temperature for up to 1 week. If you’d like them to last a bit longer, you can refrigerate them for up to 2 weeks. Just make sure they’re in an airtight container to maintain their delightful texture!
Can I freeze the cookie dough?
You sure can! Freezing cookie dough is a fantastic way to have fresh cookies on demand. Scoop the dough into individual portions on a baking sheet and freeze until solid. Then, transfer the frozen dough balls to a freezer bag and store for up to 3 months. When you’re ready to bake, you can cook the frozen dough directly from the freezer—just add a couple of extra minutes to the baking time!
What do I do if my cookies are too flat?
Good question! If your Classic Homemade Chocolate Chip Cookies turn out too flat, consider a few factors. First, check if you used enough flour; measuring correctly is crucial. Also, make sure your butter is softened, not melted—this can cause flattening as well. Lastly, chilling your dough for about 30 minutes before baking can help maintain shape and give you a thicker cookie!
Can I make gluten-free chocolate chip cookies?
Absolutely! For a gluten-free version of your Classic Homemade Chocolate Chip Cookies, simply substitute the all-purpose flour with a gluten-free flour blend. Look for a blend that contains xanthan gum, which helps give the cookies structure. Another delicious option is using almond flour, which adds a nutty flavor—delightfully customizable without sacrificing taste!
What’s the best way to enjoy my cookies?
The more the merrier! There’s nothing quite like enjoying a warm cookie straight from the oven. Pair your Classic Homemade Chocolate Chip Cookies with a tall glass of milk, or top them with a scoop of vanilla ice cream for a luxurious dessert sundae. Don’t forget to share with family and friends—baking is all about creating joyful moments together!
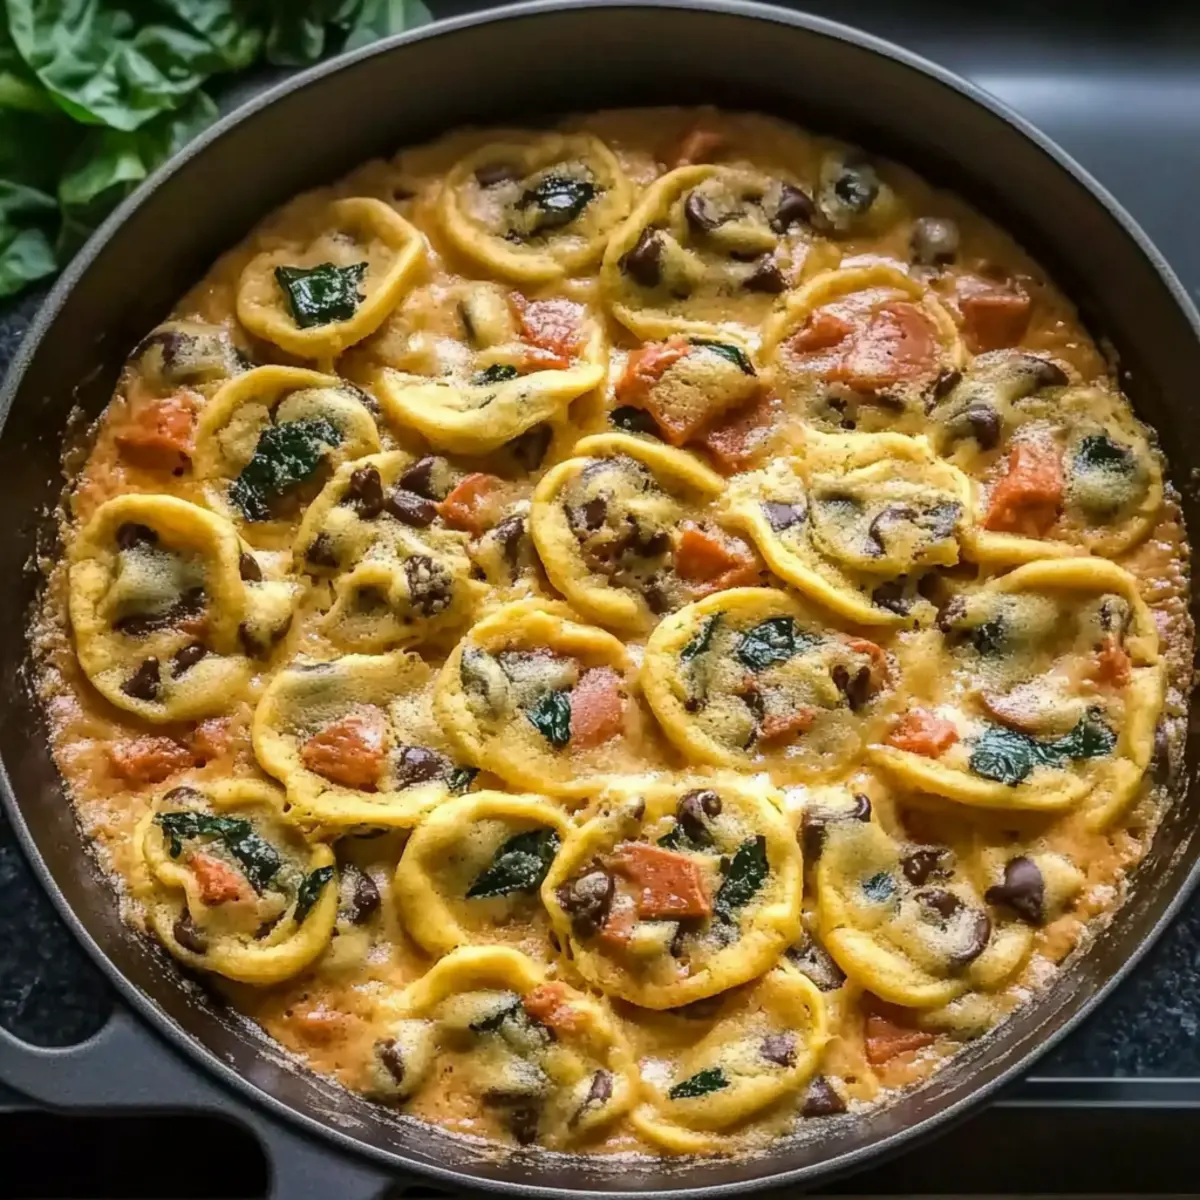
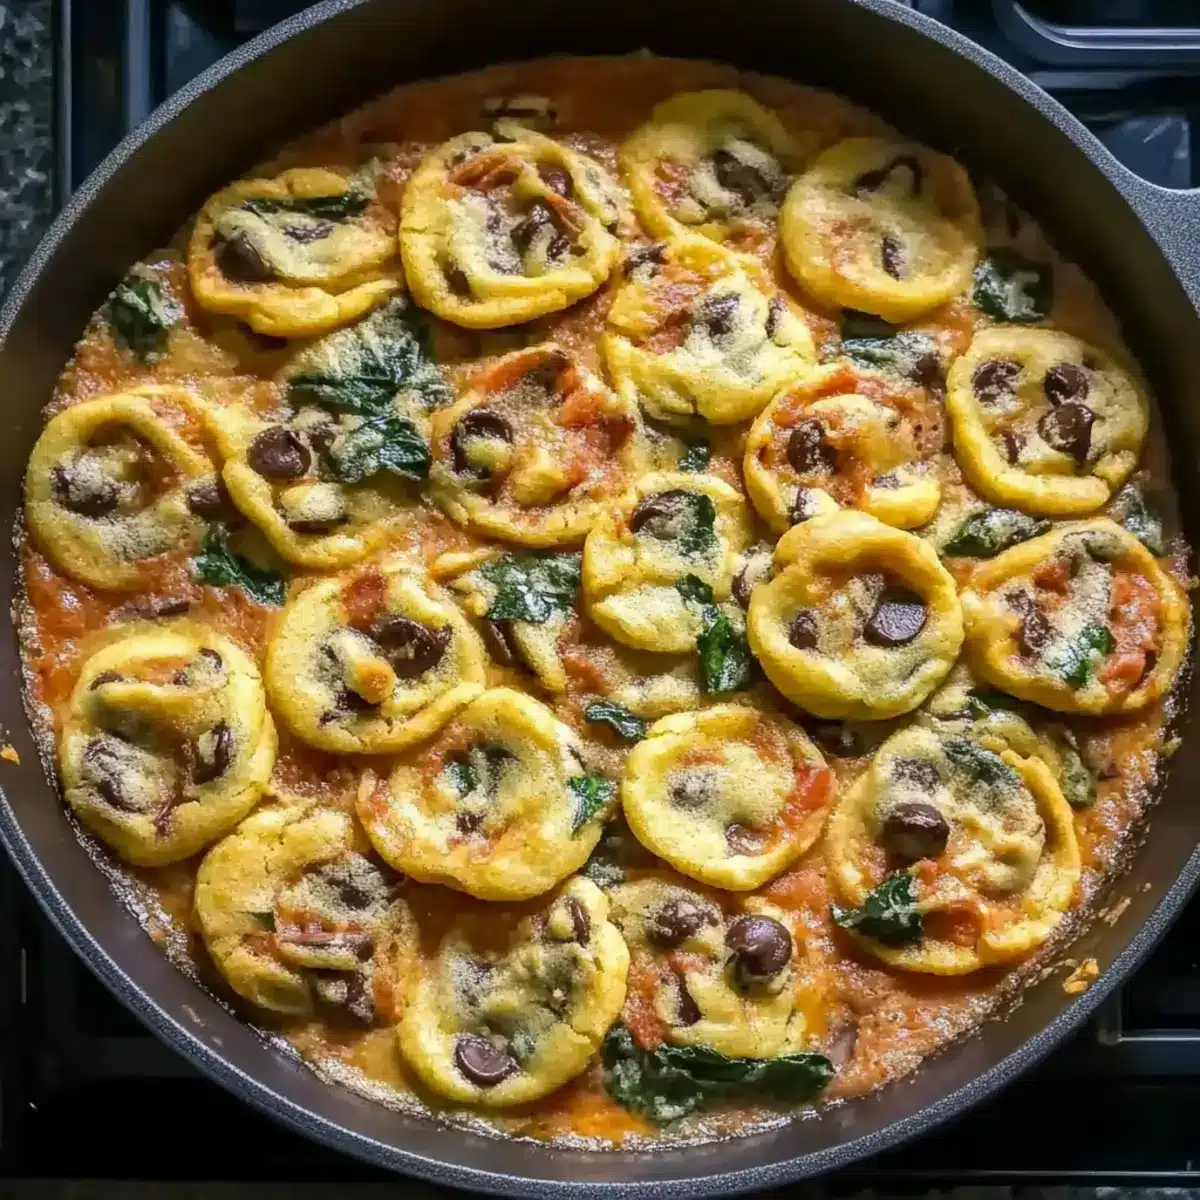
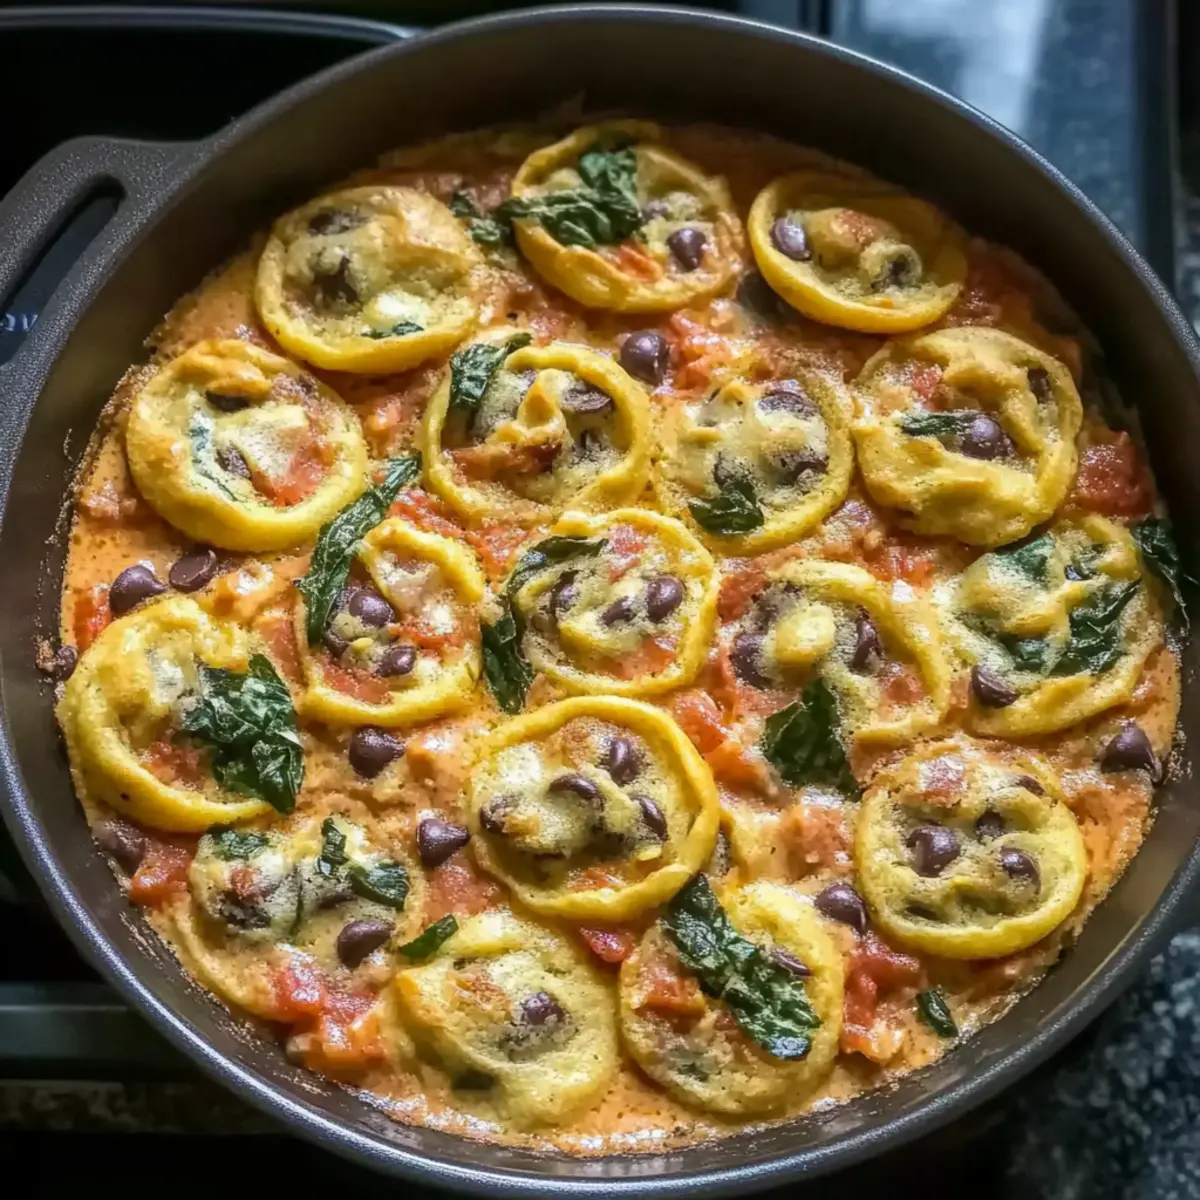
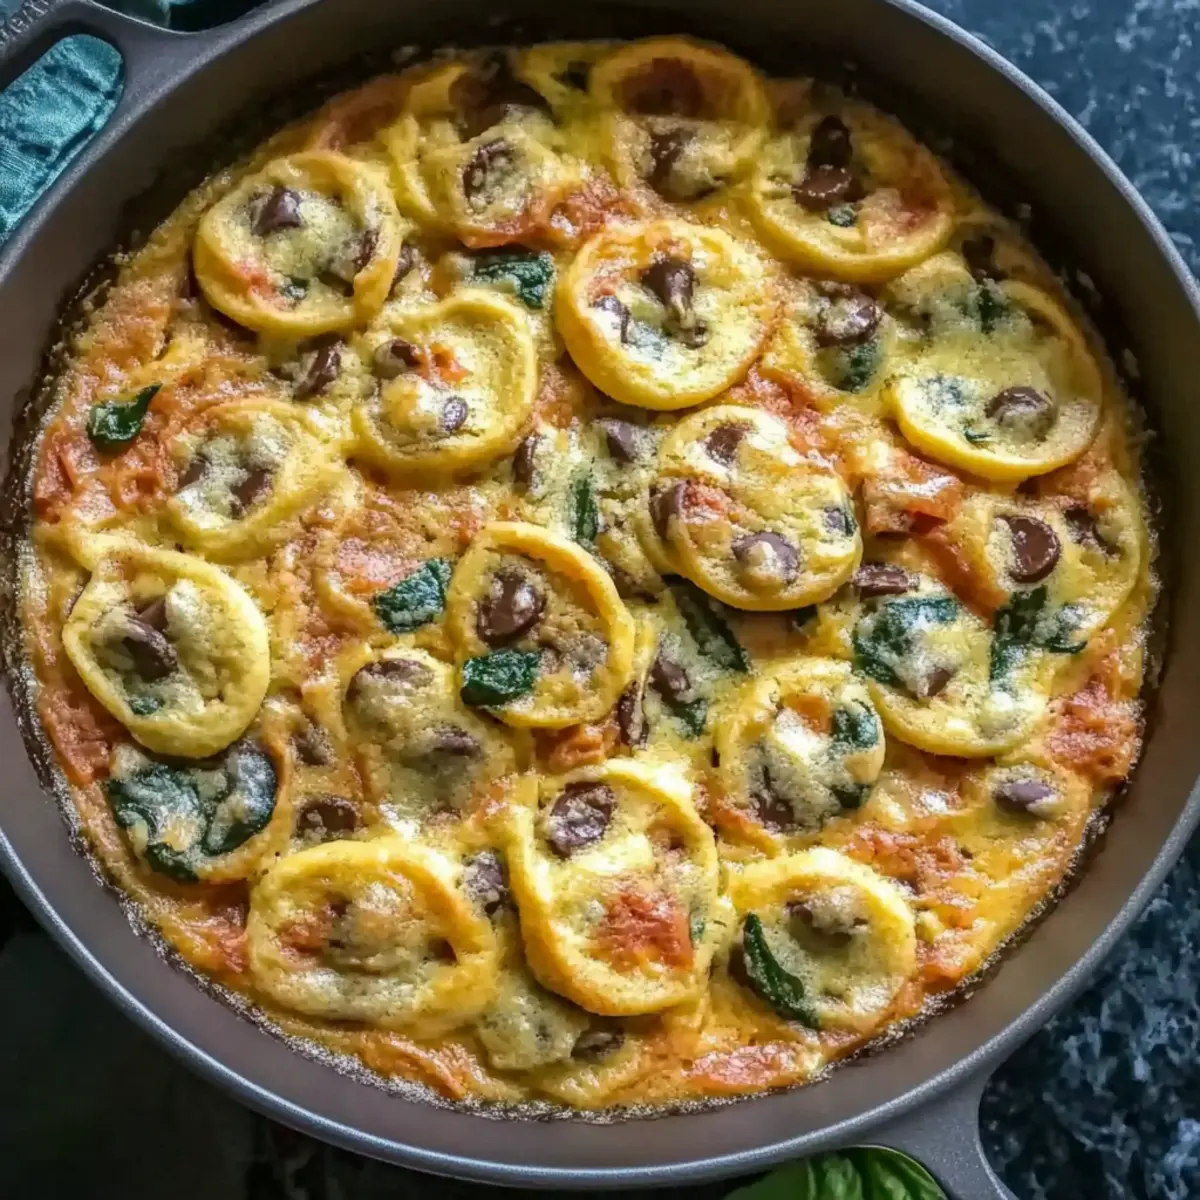
One Pot Creamy Spinach Tomato Tortellini in 30 Minutes
Ingredients
Equipment
Method
- In a large pot, heat olive oil over medium heat. Add minced garlic and sauté until fragrant.
- Add diced tomatoes and spinach, cooking until the spinach has wilted.
- Stir in the tortellini and cream, bringing to a simmer.
- Cook until the tortellini is tender, about 5-7 minutes.
- Season with Italian seasoning, salt, and pepper to taste. Serve warm.
Leave a Reply