
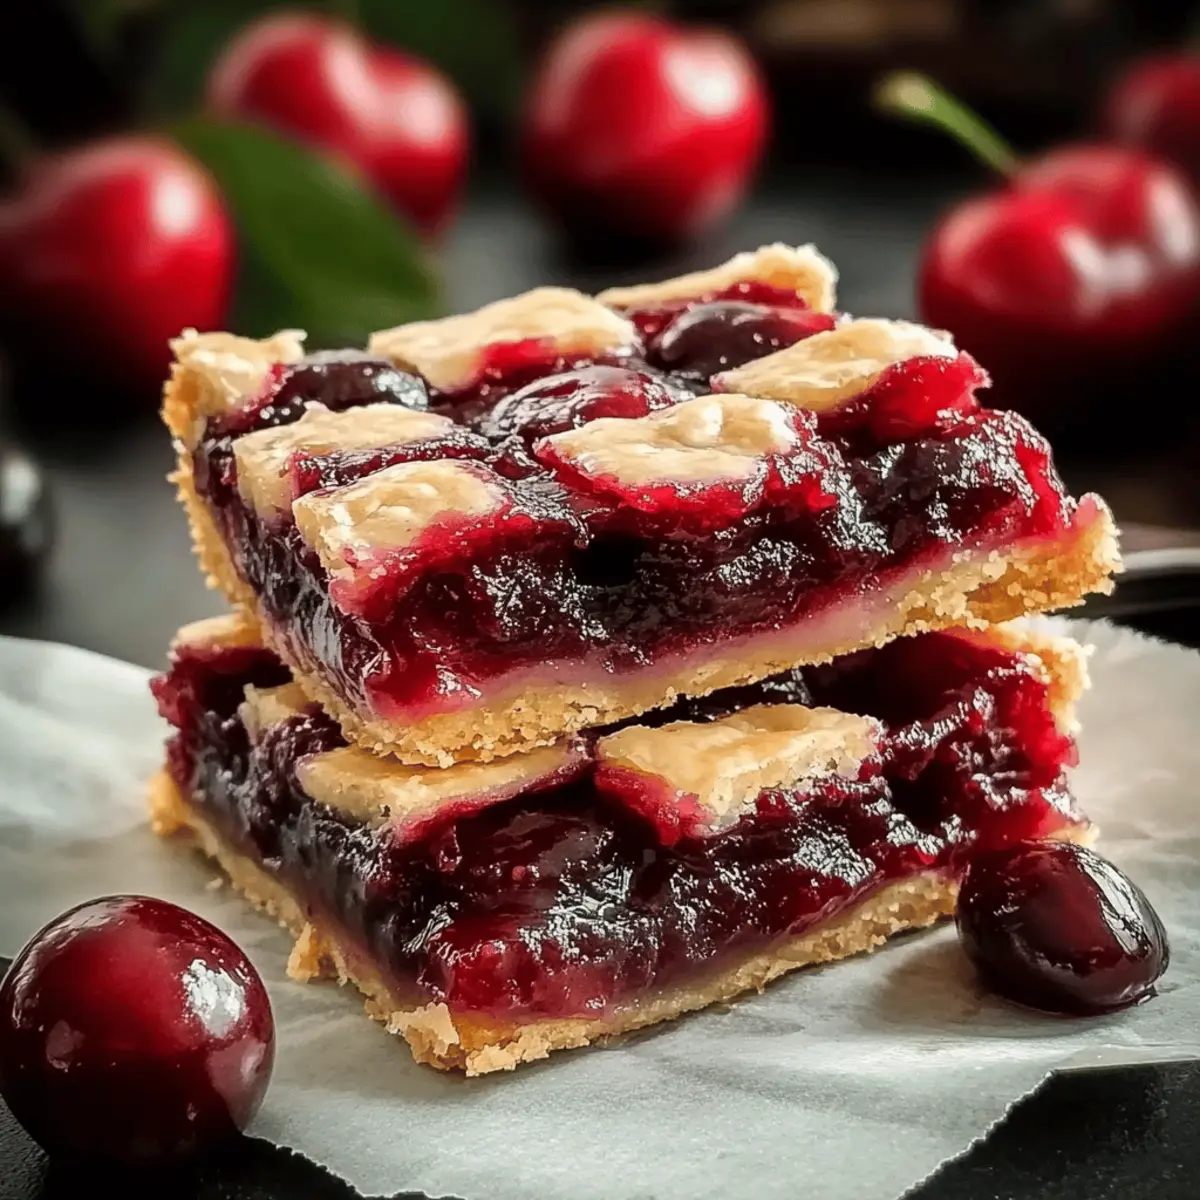
As the warm summer breeze flows through my kitchen window, the sweet scent of cherries fills the air, instantly transporting me back to childhood picnics. It’s moments like these that inspire me to whip up a batch of Easy Cherry Pie Bars, a simple dessert that captures the essence of summer’s bounty with minimal fuss. With a buttery, flaky crust and a quick prep time, these bars make the perfect family-friendly treat for both the young and young-at-heart. Plus, using canned cherry filling means you can enjoy this delectable dessert year-round, even when fresh cherries are out of season. Are you ready to create a nostalgic slice of heaven in your own kitchen? Let’s dive into this easy recipe together!
Why Are These Cherry Pie Bars So Special?
Simplicity shines through as this recipe requires just a handful of ingredients and is perfect for bakers of all skill levels. Irresistible flavor comes from the delightful mix of sweet cherries and nutty almond extract, creating a burst of taste in every bite. Versatile enough to switch out canned filling for fresh cherries during summer months, these bars adapt beautifully to your preferences. Crowd-pleaser status guarantees they’ll disappear at any gathering, making them a hit with family and friends. For those seeking ultimate dessert joy, pair them with a scoop of ice cream or a dollop of whipped cream for an indulgent treat. If you’re in the mood for more creative takes, check out my Brown Butter Bars for another delightful baking experience!
Cherry Pie Bars Ingredients
These easy cherry pie bars are a treat you won’t want to miss!
For the Crust
- Real Butter – Provides richness and creates a flaky crust; substitute with margarine if necessary.
- Sugar – Sweetens the crust and enhances flavor; no direct substitutions recommended.
- Eggs – Offers structure and richness to the dough; replace with flaxseed meal for a vegan option.
- All-Purpose Flour – Main structure for the bars; gluten-free flour blends can be used for gluten-free needs.
- Salt – Balances sweetness; essential for flavor enhancement.
For the Filling
- Canned Cherry Pie Filling – Provides a quick filling option; for a fresh taste, use real cherries when in season.
For the Glaze
- Confectioners’ Sugar – Used for the glaze, adding sweetness; can use powdered sugar substitutes if necessary.
- Almond Extract – Adds a unique nutty flavor that complements cherries; omit for almond-free variations.
- Vanilla Extract – Enhances overall flavor; can substitute with more vanilla if desired.
- Milk – Helps to achieve the right consistency for the glaze; use any non-dairy milk for a vegan option.
Step‑by‑Step Instructions for Cherry Pie Bars
Step 1: Preheat the Oven
Begin by preheating your oven to 350°F (175°C). This ensures the cherry pie bars bake evenly and develop a beautifully golden crust. While the oven warms up, gather your ingredients and prep a 15×10-inch baking pan by greasing it well to prevent sticking.
Step 2: Cream the Butter and Sugar
In a large mixing bowl, cream together 1 cup of softened real butter and 1 cup of sugar until the mixture is light and fluffy, usually taking about 3-4 minutes. The texture should be smooth and airy, which will help create a tender crust for your cherry pie bars.
Step 3: Add Eggs and Extracts
Next, crack in 2 eggs and add 1 teaspoon each of almond extract and vanilla extract into the creamed butter and sugar. Mix thoroughly until all ingredients are well combined and the batter is mixed smoothly. This mixture is the base for your cherry pie bars, contributing richness and flavor.
Step 4: Incorporate Flour and Salt
Gradually add 3 cups of all-purpose flour and 1/2 teaspoon of salt to the mixture. Stir with a wooden spoon or spatula until a soft dough forms—a couple of minutes will do. The dough should be slightly sticky but manageable. This dough will create that luscious, flaky crust you’re after.
Step 5: Press the Dough into the Pan
Divide the soft dough in half. Press one half evenly into the bottom of the greased baking pan to form the base. Make sure to create an even layer that covers the entire bottom, as this will support the cherry filling and hold the bars together beautifully.
Step 6: Spread the Cherry Filling
Open your canned cherry pie filling and spread it evenly over the crust layer in the baking pan. You want to cover the crust completely for that burst of sweet-tart flavor in every bite. If using fresh cherries, ensure they are pitted and halved before spreading them.
Step 7: Dot with Remaining Dough
Take the remaining half of the dough and crumble it over the cherry filling. Space it out evenly so that some cherry filling remains visible; this allows for a delicious mix of crust and filling in each bite. The dots of dough will create a lovely texture as it bakes.
Step 8: Bake the Bars
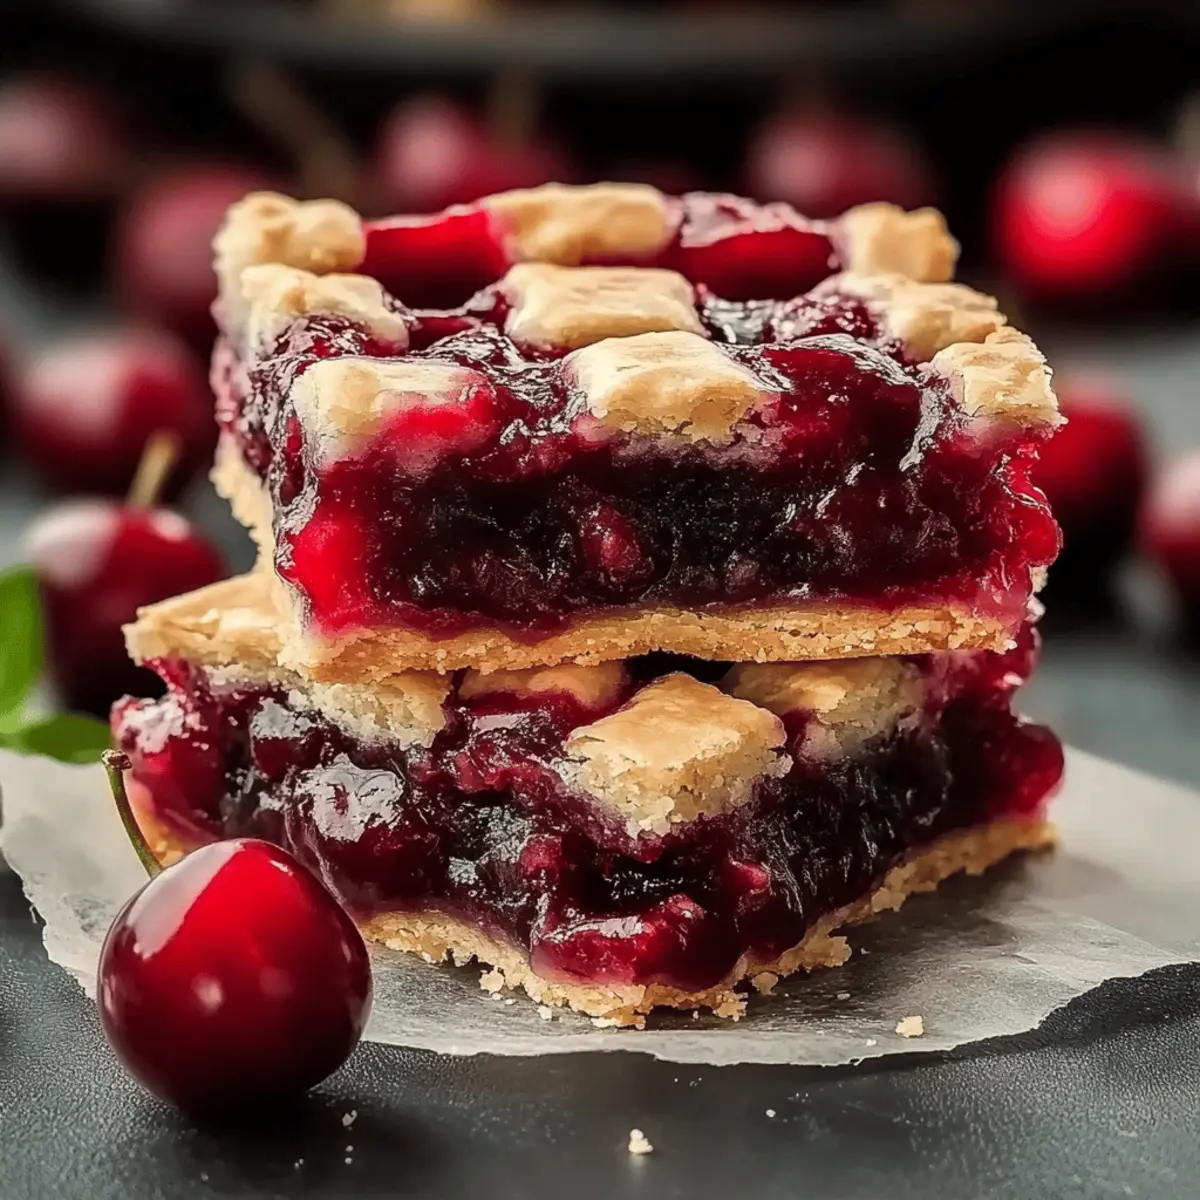
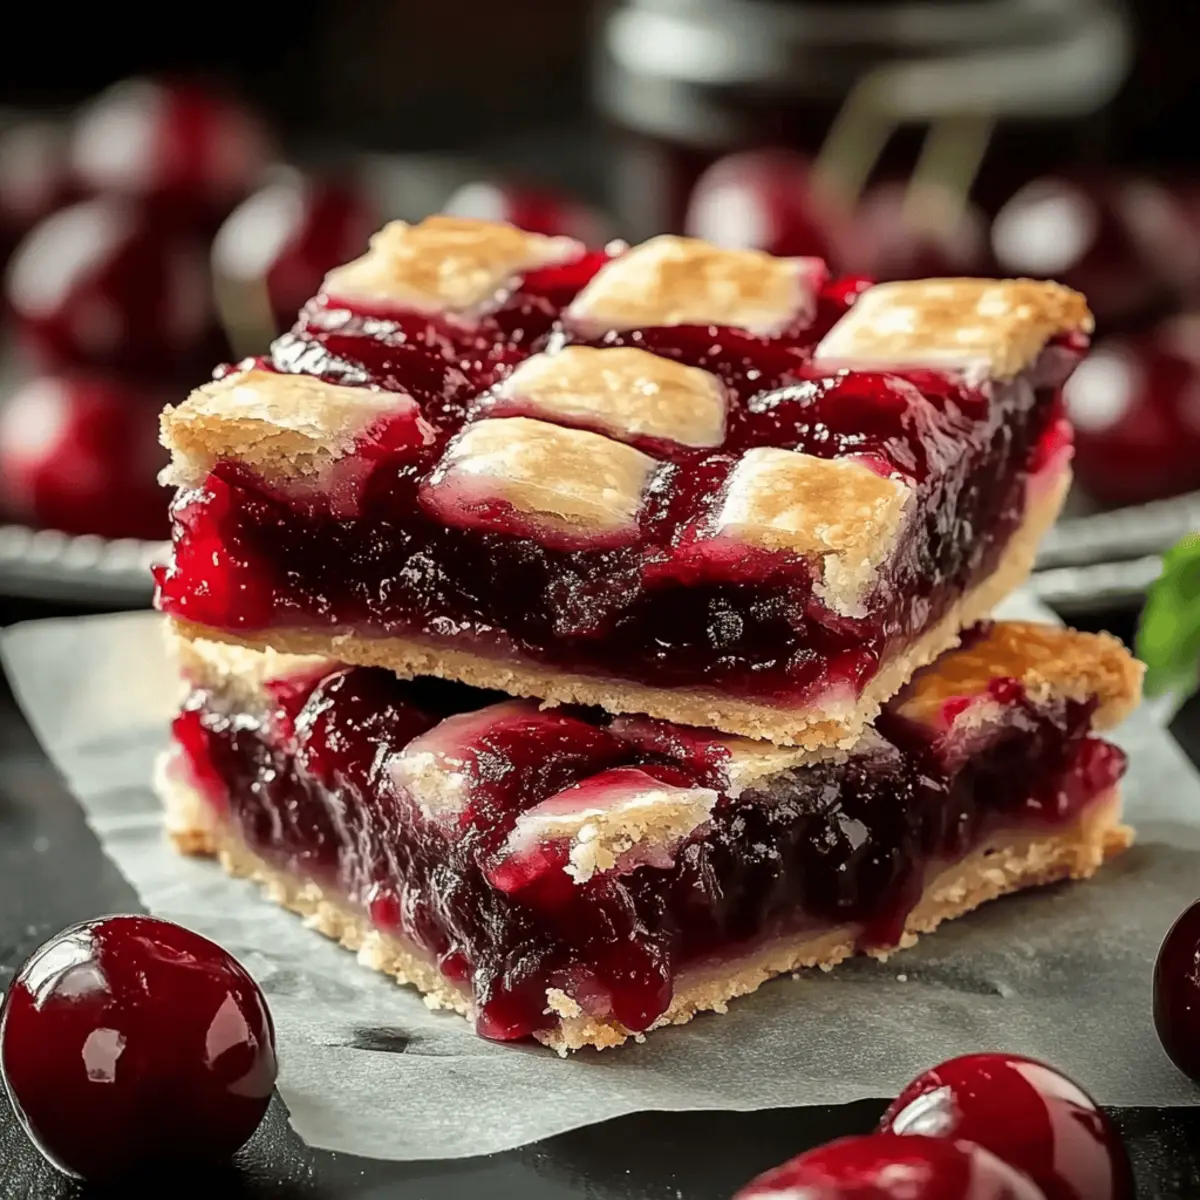
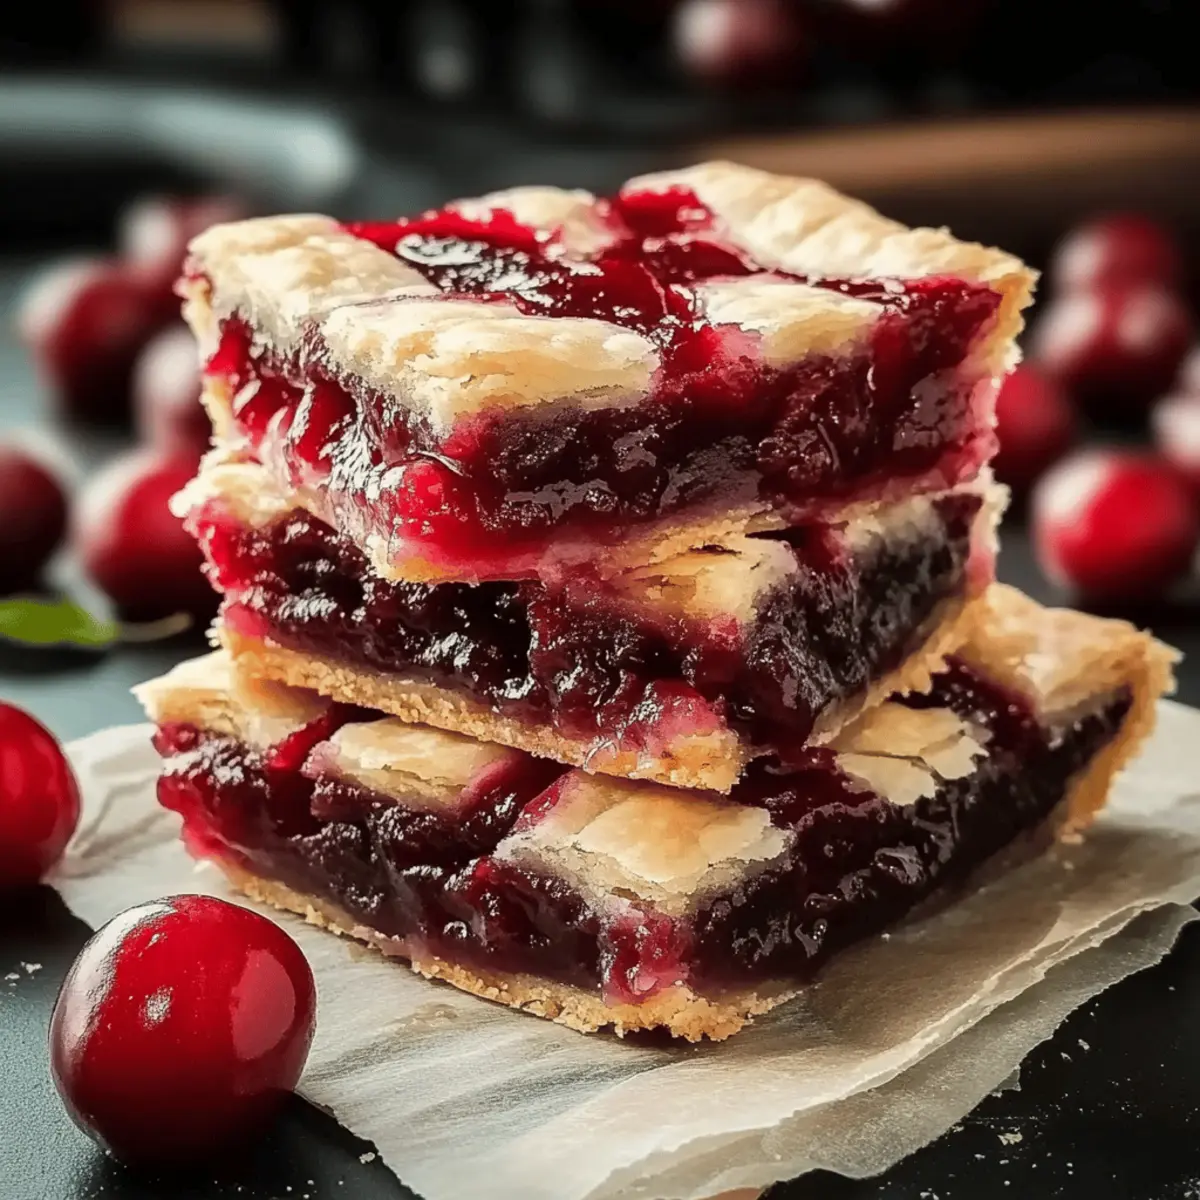
Place the baking pan in your preheated oven and bake for 35-40 minutes. Keep an eye on the bars; they’re ready when the top is golden brown and the filling is bubbling slightly. The smell of the cherry pie bars will surely fill your kitchen with warmth.
Step 9: Cool and Prepare the Glaze
Once baked, remove the pan from the oven and allow the cherry pie bars to cool on a wire rack for at least 30 minutes. Cooling them before glazing allows the filling to set and makes cutting easier. Meanwhile, prepare your glaze for a sweet finishing touch.
Step 10: Make the Glaze
In a small bowl, combine 1 cup of confectioners’ sugar, 1 teaspoon of almond extract, 1 teaspoon of vanilla extract, and 2 tablespoons of milk. Whisk until smooth and the glaze reaches your desired consistency. This sweet drizzle will beautifully enhance the cherry pie bars.
Step 11: Drizzle Over the Bars
Once your bars have cooled completely, drizzle the glaze evenly over the top. Feel free to get creative with your drizzle pattern! This adds an extra touch of sweetness and visual appeal, making your cherry pie bars not only delicious but also a feast for the eyes.
Step 12: Slice and Serve
After glazing, let the bars sit for another 10-15 minutes, then cut them into squares or rectangles. Serve your delightful cherry pie bars at room temperature, perhaps with a scoop of ice cream or a dollop of whipped cream for an indulgent treat.
Expert Tips for Cherry Pie Bars
-
Quality Ingredients: Use high-quality canned cherry filling for the best flavor; look for brands with natural juices and real fruit.
-
Cool Before Glazing: Allow the bars to cool completely before drizzling the glaze to prevent it from melting into the bars, ensuring a beautiful presentation.
-
Dough Texture: If your dough is too sticky to handle, add a little more flour gradually until it’s manageable. This will help you create that perfect flaky crust for your cherry pie bars.
-
Flavor Infusion: Let the bars sit overnight before serving; this enhances the flavors and makes the texture even more delightful.
-
Storage Tips: Cover leftover bars at room temperature for up to three days or freeze them for up to two months to enjoy later.
How to Store and Freeze Cherry Pie Bars
Room Temperature: Store covered at room temperature for up to 3 days. Ensure they are in an airtight container to maintain freshness and prevent drying out.
Fridge: If you prefer them chilled, these cherry pie bars can be kept in the refrigerator for up to 5 days. Just be sure to cover them to avoid absorbing other odors.
Freezer: For longer storage, freeze the bars in a single layer, wrapped tightly in plastic wrap, then in aluminum foil or a freezer-safe container for up to 2 months.
Reheating: To enjoy after freezing, simply thaw at room temperature for several hours. You can warm them in the microwave for about 10-15 seconds for a cozy dessert experience.
Cherry Pie Bars Variations & Substitutions
Feel free to get creative with these cherry pie bars, as there are plenty of delightful twists you can try to match your taste!
-
Fresh Cherries: Replace the canned cherry filling with fresh, pitted cherries for a seasonal treat. You’ll enjoy a burst of natural sweetness and unprecedented flavor.
-
Lemon Zest: Add a teaspoon of lemon zest to the cherry filling for a zesty twist that lifts the flavors beautifully. The brightness of lemon pairs perfectly with the richness of the cherries.
-
Vegan Option: Substitute eggs with flaxseed meal mixed with water for a vegan-friendly alternative. It’s a simple swap that keeps the texture light and delightful!
-
Nutty Crunch: Toss in a half-cup of chopped nuts, like almonds or walnuts, to enhance the texture and add a satisfying crunch. It creates a lovely contrast with the soft filling.
-
Spiced Up: Add a pinch of cinnamon or nutmeg to the crust for an aromatic flavor boost. Just a hint of spice can elevate the overall warmth of your bars.
-
Different Extracts: Swap out almond extract and use hazelnut extract instead for a distinct flavor profile. It’s an exciting way to change up this classic dessert!
-
Chocolate Drizzle: For a decadent flair, drizzle some melted chocolate over the cooled bars before serving. The rich chocolate complements the sweet-tart cherries beautifully.
For even more tasty ideas, you might want to try my Brown Butter Bars or explore other delightful desserts that make use of cherries. You’ll discover endless possibilities in the world of homemade treats!
Make Ahead Options
These Easy Cherry Pie Bars are perfect for busy home cooks looking to save time while still delivering a delicious dessert! You can prepare the dough up to 24 hours in advance; simply wrap it tightly in plastic wrap and refrigerate to keep it fresh. The cherry filling can also be spread over the crust up to 3 days ahead of when you’ll be serving. Just cover the assembled pan with foil to prevent drying out. When you’re ready to bake, simply pop the pan into the oven for that last-minute warm-up and glaze it afterward for a fresh, delightful finish. Enjoy the convenience of having a delicious, homemade treat on hand with minimal effort!
What to Serve with Easy Cherry Pie Bars
Indulging in a slice of these heavenly cherry pie bars is just the beginning—let’s explore delightful companions to enhance your dessert experience.
-
Vanilla Ice Cream: The creamy coldness of vanilla ice cream perfectly balances the sweet and tart flavors of the cherry pie bars, creating a delightful contrast.
-
Whipped Cream: A dollop of freshly whipped cream adds a light, airy texture that compliments the chewy crust and fruity filling beautifully.
-
Fresh Berries: Serve alongside a medley of fresh berries like blueberries and raspberries for a refreshing, juicy burst that brightens each bite.
-
Greek Yogurt: A scoop of plain or lightly sweetened Greek yogurt offers a tangy flavor profile that cuts through the sweetness, making each bite feel more indulgent yet balanced.
-
Lemon Sorbet: The zesty, chilled sorbet is a perfect palate cleanser between bites of the rich cherry pie bars, enhancing your tasting journey.
-
Sparkling Lemonade: A glass of homemade sparkling lemonade provides a refreshing citrusy kick that complements the dessert’s flavors while quenching your thirst on warm days.
-
Coffee: For the adults at the table, a cup of rich coffee or an espresso will enhance the dessert experience with its deep flavors, making every bite feel even more sophisticated.
-
Chocolate Sauce: Drizzling warm chocolate sauce over the cherry pie bars adds a decadent twist, transforming each square into a gourmet treat.
Let these delightful pairings elevate your cherry pie bar experience into a full summer dessert celebration!
Easy Cherry Pie Bars Recipe FAQs
What type of cherries should I use for Cherry Pie Bars?
Absolutely! While canned cherry pie filling is convenient and delicious, using fresh cherries can elevate your bars significantly. If you’re opting for fresh cherries, make sure to pit and halve them before spreading over the crust. Aim for about 2 cups of pitted cherries to replace the canned filling if desired, and consider adding a tablespoon of sugar to enhance the sweetness, especially if your cherries are tart.
How should I store my Cherry Pie Bars?
Very simple! Store covered at room temperature for up to 3 days, ensuring they are in an airtight container to maintain their freshness. If you’d like to chill them, they can also be kept in the refrigerator for up to 5 days. Just remember to cover them well to prevent them from absorbing any other odors!
Can I freeze Cherry Pie Bars?
Absolutely! To freeze your Cherry Pie Bars, first allow them to cool completely. Then, cut them into squares and wrap each piece tightly in plastic wrap. Allow a little space between each piece in the container to prevent sticking. Place the wrapped bars in a freezer-safe container or aluminum foil and store for up to 2 months. When you’re ready to enjoy, thaw them at room temperature or warm them slightly in the microwave for that freshly baked taste.
What if my dough is too sticky to work with?
No need to worry! If your dough has turned out a bit too sticky, simply sprinkle a little extra flour onto your work surface and your dough. Start with a tablespoon at a time, mixing it in gently until it’s still manageable but not overly sticky. Another tip is to let the dough rest in the fridge for about 30 minutes, which can make it easier to handle and shape when you’re ready to press it into the baking pan.
Are these Cherry Pie Bars suitable for those with dietary restrictions?
Very much so! For a gluten-free option, consider using a gluten-free all-purpose flour blend. For dairy-free or vegan diets, substitute real butter with coconut oil or margarine, and use flaxseed meal mixed with water as a replacement for eggs (1 tablespoon of flaxseed meal with 2.5 tablespoons of water equals one egg). Lastly, ensure your canned cherry filling is free from any allergens you may need to avoid, as some brands may contain added ingredients.
Irresistible Cherry Pie Bars That Will Delight Your Taste Buds
Ingredients
Equipment
Method
- Preheat your oven to 350°F (175°C) and grease a 15x10-inch baking pan.
- Cream together 1 cup of softened real butter and 1 cup of sugar until light and fluffy.
- Add 2 eggs, 1 teaspoon of almond extract, and 1 teaspoon of vanilla extract; mix until combined.
- Incorporate 3 cups of all-purpose flour and 1/2 teaspoon of salt, stirring until a soft dough forms.
- Press half of the dough into the bottom of the greased baking pan to form the base.
- Spread the canned cherry pie filling evenly over the crust layer.
- Crumble the remaining dough over the cherry filling evenly.
- Bake for 35-40 minutes until the top is golden brown and the filling is bubbling.
- Cool in the pan on a wire rack for at least 30 minutes before glazing.
- Combine 1 cup of confectioners’ sugar, 1 teaspoon of almond extract, 1 teaspoon of vanilla extract, and 2 tablespoons of milk for the glaze.
- Drizzle the glaze evenly over the cooled bars.
- Slice and serve the bars at room temperature.
Leave a Reply