
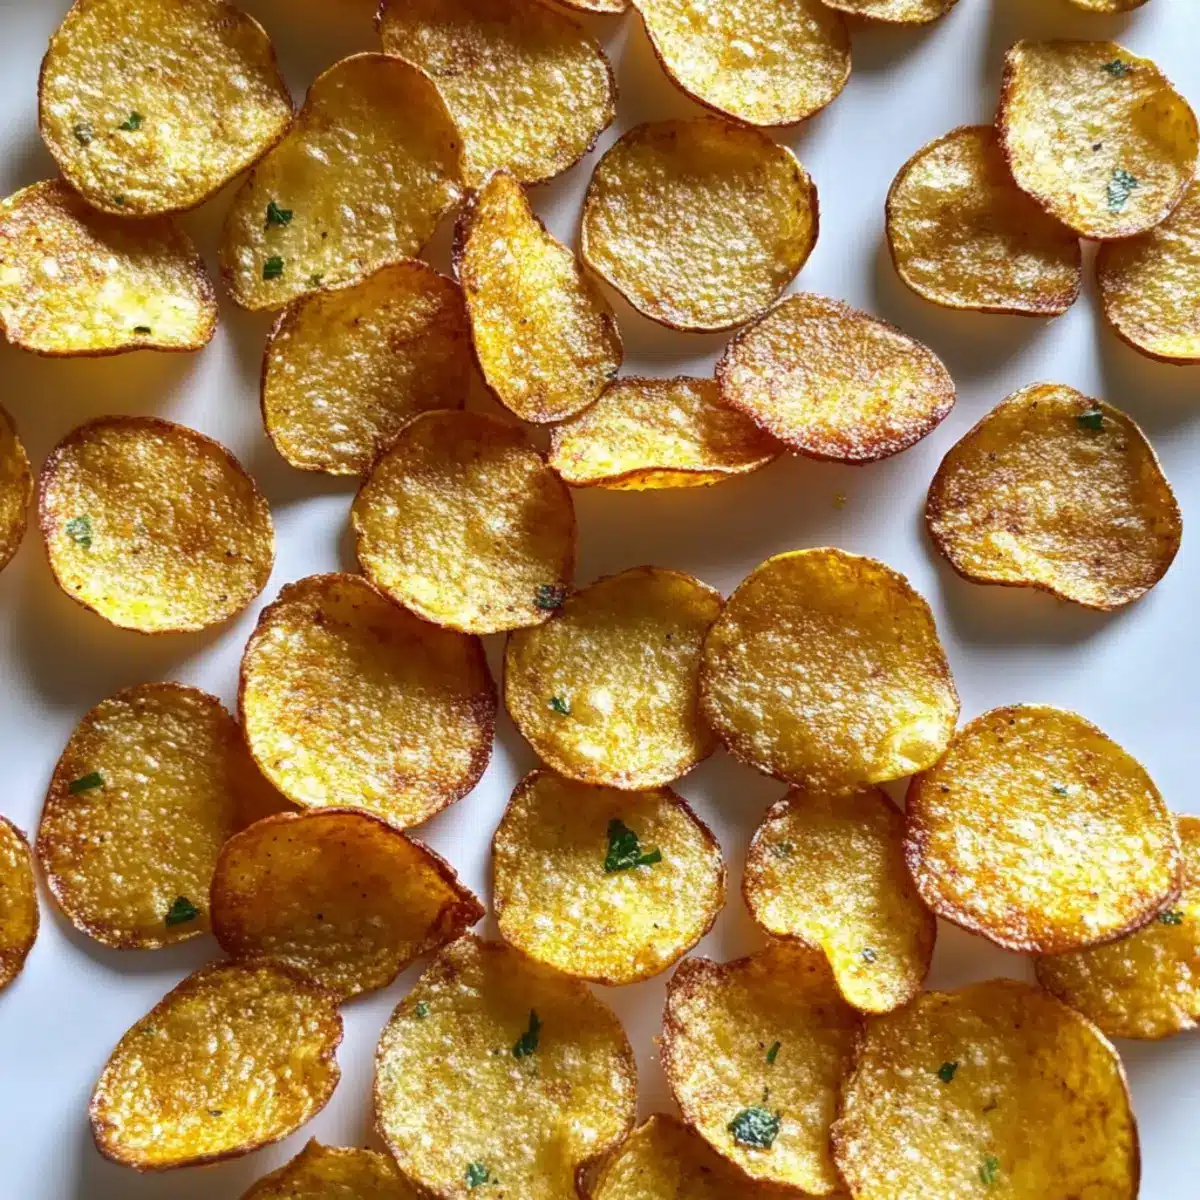
As I crunched down on a freshly baked chip, the light, nutty flavor danced on my palate, reminding me that wholesome snacking doesn’t have to be a chore. Enter my Chickpea Chips Recipe, a go-to that transforms simple chickpea flour into crispy delights in no time. These chips are not only gluten-free and vegan but also offer a fantastic option for busy families looking to swap out store-bought snacks for something homemade. A few herbs and spices can personalize the flavor; you might end up with a spicy kick or a Mediterranean twist! Perfect for dipping, topping salads, or just snacking straight from the bowl, these baked chickpea chips are a fun, healthy indulgence. What flavor combination will you try first?
Why are Chickpea Chips a Game Changer?
Healthy snacking doesn’t get better than this! These Chickpea Chips are not only nutrient-packed but also cater to gluten-free and vegan diets, making them incredibly versatile. Quick to make, your family will love helping out in the kitchen, and you can experiment with various herbs and spices to match any palate. Plus, they bring a delicious crunch that elevates your favorite dips, whether you prefer them with hummus or salsa. Storing them in an airtight container means you can enjoy a wholesome snack for days! If you’re looking for more tasty treats, don’t miss my Chewy Pumpkin Cookies or for a savory option, try my Shrimp Dirty Rice.
Chickpea Chips Recipe Ingredients
For the Batter
- Chickpea Flour – provides the base structure and protein; consider substituting half with rice flour for varied texture.
- Water – activates the flour and creates a pourable batter; use room temperature water for better mixing.
- Salt – enhances flavor; feel free to adjust to taste and add garlic powder for an extra kick.
For Seasoning
- Herbs/Spices – customize the flavor to your liking; options include rosemary, smoked paprika, or chili flakes to create your perfect Chickpea Chips Recipe.
Step‑by‑Step Instructions for Chickpea Chips Recipe
Step 1: Prepare the Batter
In a mixing bowl, whisk together chickpea flour, room temperature water, and salt until the mixture is smooth and free of lumps. This should take about 2–3 minutes, ensuring a well-combined batter for your Chickpea Chips Recipe. The consistency should be pourable but slightly thick; set it aside while you prepare your baking pans.
Step 2: Prep Baking Pans
Line two baking pans with parchment paper, ensuring to cover the entire surface for easy removal of your chips. This step is crucial as it prevents sticking and ensures even baking. Your pans will be the stage for the Chickpea Chips Recipe, so take a moment to get them ready while the batter rests.
Step 3: Spread Batter
Using a spoon, add dollops of the batter onto the lined parchment paper, spreading each dollop into thin circles about 2–3 inches in diameter. Aim to keep the layers as thin as possible, ideally no thicker than 1/8 inch, to achieve maximum crispiness in your baked chickpea chips.
Step 4: Season
Before baking, sprinkle your chosen herbs and spices over the batter circles. This is where you can get creative with flavors for your Chickpea Chips Recipe. A dash of smoked paprika or a pinch of chili flakes can elevate the taste, adding excitement to each crunchy bite.
Step 5: Bake
Preheat your oven to 400°F (approximately 200°C) and place the baking pans inside. Bake the chickpea chips for about 10 minutes, or until the edges are lightly browned and they lift away from the parchment easily. This golden color indicates that they are well on their way to crispy perfection.
Step 6: Cool Down
Once baked, remove the pans from the oven and allow the chips to cool for 15–20 minutes on the countertop. This cooling period is essential as it allows the chips to become even crispier as they cool. Once set, they’ll be ready to serve and enjoy as a healthy snack!
Make Ahead Options
These Chickpea Chips are perfect for meal prep enthusiasts! You can prepare the batter up to 24 hours in advance, storing it in an airtight container in the refrigerator. Just remember to give it a good stir before use to ensure a smooth consistency. Additionally, you can also line your baking pans with parchment paper and have them ready for quick assembly when you’re ready to bake. Once baked, these chips can be stored in an airtight container at room temperature for up to 4 days. If they soften, just pop them back in the oven for a few minutes to restore that delightful crispness. Enjoy the satisfaction of homemade snacks with minimal effort when you prep ahead!
How to Store and Freeze Chickpea Chips
Room Temperature: Store the baked chickpea chips in an airtight container at room temperature for up to 4 days to maintain their crunchiness.
Freezer: Place cooled chickpea chips in a freezer-safe bag or container, separating layers with parchment paper, for up to 3 months.
Reheating: To rejuvenate their crunch, bake frozen chips at 350°F (175°C) for 5-7 minutes before serving. This simple step revives their delicious texture!
Make-Ahead Tip: Make a bigger batch of your chickpea chips recipe, store them properly, and enjoy healthy snacking throughout the week.
Expert Tips for Chickpea Chips Recipe
-
Whisk Thoroughly: Ensure your batter is completely lump-free to avoid uneven baking. This step is vital for a consistent texture in your Chickpea Chips Recipe.
-
Spread Thinly: For maximum crunch, spread the batter as thinly as possible. Thicker chips will become chewy rather than crispy.
-
Patience is Key: Allow the chips to cool for 15-20 minutes after baking. This cooling time is crucial for achieving that satisfying crispiness.
-
Experiment with Flavors: Don’t hesitate to try different herbs and spices; custom flavoring can transform your chickpea chips into a delicious, personalized treat.
-
Check Oven Temperature: Ensure your oven is properly preheated to 400°F (200°C). A consistent temperature is important for even baking and perfect crispiness.
Chickpea Chips Recipe Variations
Feel free to unleash your creativity and customize these chips for a truly personalized snack experience!
-
Dairy-Free: Instead of adding cheese, try nutritional yeast for a cheesy flavor without the dairy. It adds depth while keeping it completely vegan.
-
Spicy Kick: Introduce some heat by mixing in cayenne pepper or crushed red pepper flakes into the batter. If you love spice, this twist will make your taste buds dance!
-
Herb Infusion: Use a fresh herb blend like dill or basil. Finely chop and mix into the batter for a vibrant flavor that transports you to your garden with every bite.
-
Nutty Crunch: Add crushed nuts or seeds, such as sunflower seeds or sesame seeds, to the batter for a delightful crunch. This variation not only adds texture but also boosts nutritional value!
-
Zesty Lemon: Incorporate lemon zest for a refreshing taste that elevates the flavors. Pair with a zesty dip for a perfect summer snack.
-
Smoky Flavor: Experiment with smoked paprika for a savory twist. This herb will give your chips a delightful smokiness that complements dips like guacamole or salsa beautifully.
-
Corn-Free: Substitute chickpea flour with a mix of millet flour and cornstarch for a different base. This mix maintains the gluten-free aspect while giving a unique taste profile.
-
Savory Sweetness: Add a touch of honey or maple syrup to the batter for a sweet contrast. Pair these sweetened chips with your favorite spiced dip for a delightful snack experience.
Remember, the world of flavors is vast. While you’re here, if you haven’t already, check out my Cinnamon Sugar Chips for a different take on sweet snacking, or explore my Shrimp Dirty Rice for a more savory option that pairs well with these delightful chickpea chips!
What to Serve with Crispy Baked Chickpea Chips?
Elevate your snacking experience with these delightful accompaniments that perfectly enhance the flavor and texture of your homemade chips.
-
Creamy Hummus: This smooth dip adds rich flavor and creaminess, balancing the crunchy texture of the chips beautifully.
-
Guacamole: The fresh, avocado goodness of guacamole complements the nuttiness of chickpea chips, creating a satisfying fusion of tastes.
-
Spicy Salsa: A zesty salsa brings a vibrant kick, making each bite an exciting adventure that pairs perfectly with the mild flavor of the chips.
-
Crumbled Feta Cheese: Adding a sprinkle of feta introduces a salty, tangy element that contrasts wonderfully with the crispy chickpeas.
-
Fresh Veggies: Crisp cucumber or bell pepper sticks provide a refreshing crunch alongside your chips, introducing added nutrients and an extra layer of texture.
-
Herbed Greek Yogurt Dip: This creamy dip, infused with fresh herbs, enhances the snack experience by adding a cool, herby flavor that is utterly irresistible.
-
Savory Olive Tapenade: A touch of olive tapenade offers a briny richness that pairs amazingly well with the light, crunchy chickpea chips.
-
Chai Tea: For a unique twist, serve your chips with a warm cup of chai which contrasts the crunch with cozy warmth and spices, creating a delightful snack experience.
Chickpea Chips Recipe FAQs
What kind of chickpea flour should I use?
Absolutely! I recommend using a fine chickpea flour for the best texture. You can also substitute half of the chickpea flour with rice flour if you’d like a different crunch. This combination works wonders for achieving a light and crispy chip!
How long can I store these chickpea chips?
Store your baked chickpea chips in an airtight container at room temperature for up to 4 days. They tend to lose their crunch after a while, so be sure to enjoy them within this timeframe for the best experience!
Can I freeze chickpea chips?
Yes, you can freeze your chickpea chips for up to 3 months! Just make sure to place them in a freezer-safe bag or container, and separate each layer with parchment paper to prevent them from sticking. When you’re ready to enjoy them, bake the frozen chips at 350°F (175°C) for about 5-7 minutes to bring back their crispiness.
What should I do if my chickpea chips turn out chewy?
If your chips end up chewy, it usually means they were too thick or not baked long enough. Make sure to spread the batter as thinly as possible (about 1/8 inch). Additionally, ensure that your oven is at the right temperature of 400°F (200°C). If they are a bit soft after baking, let them cool completely as they will firm up as they cool down.
Are chickpea chips suitable for pets?
While chickpea chips are gluten-free and vegan, it’s always best to avoid giving your pets any kind of human snack without checking with a vet first. Some ingredients, like certain herbs and spices, might not be suitable for your furry friends, so proceed with caution.
What are some flavor variations I can try?
The more the merrier! You can play with flavors by adding a variety of herbs and spices. Try smoked paprika for a smoky taste, garlic powder for a savory kick, or chili flakes for a spicy surprise. Get creative and mix them up to find your favorite combination!
Chickpea Chips Recipe: Crispy, Crunchy, and Totally Irresistible
Ingredients
Equipment
Method
- In a mixing bowl, whisk together chickpea flour, room temperature water, and salt until the mixture is smooth and free of lumps.
- Line two baking pans with parchment paper, ensuring to cover the entire surface.
- Using a spoon, add dollops of the batter onto the lined parchment paper, spreading each dollop into thin circles about 2–3 inches in diameter.
- Before baking, sprinkle your chosen herbs and spices over the batter circles.
- Preheat your oven to 400°F (approximately 200°C) and place the baking pans inside. Bake the chickpea chips for about 10 minutes, or until the edges are lightly browned.
- Once baked, remove the pans from the oven and allow the chips to cool for 15–20 minutes on the countertop.
Leave a Reply