
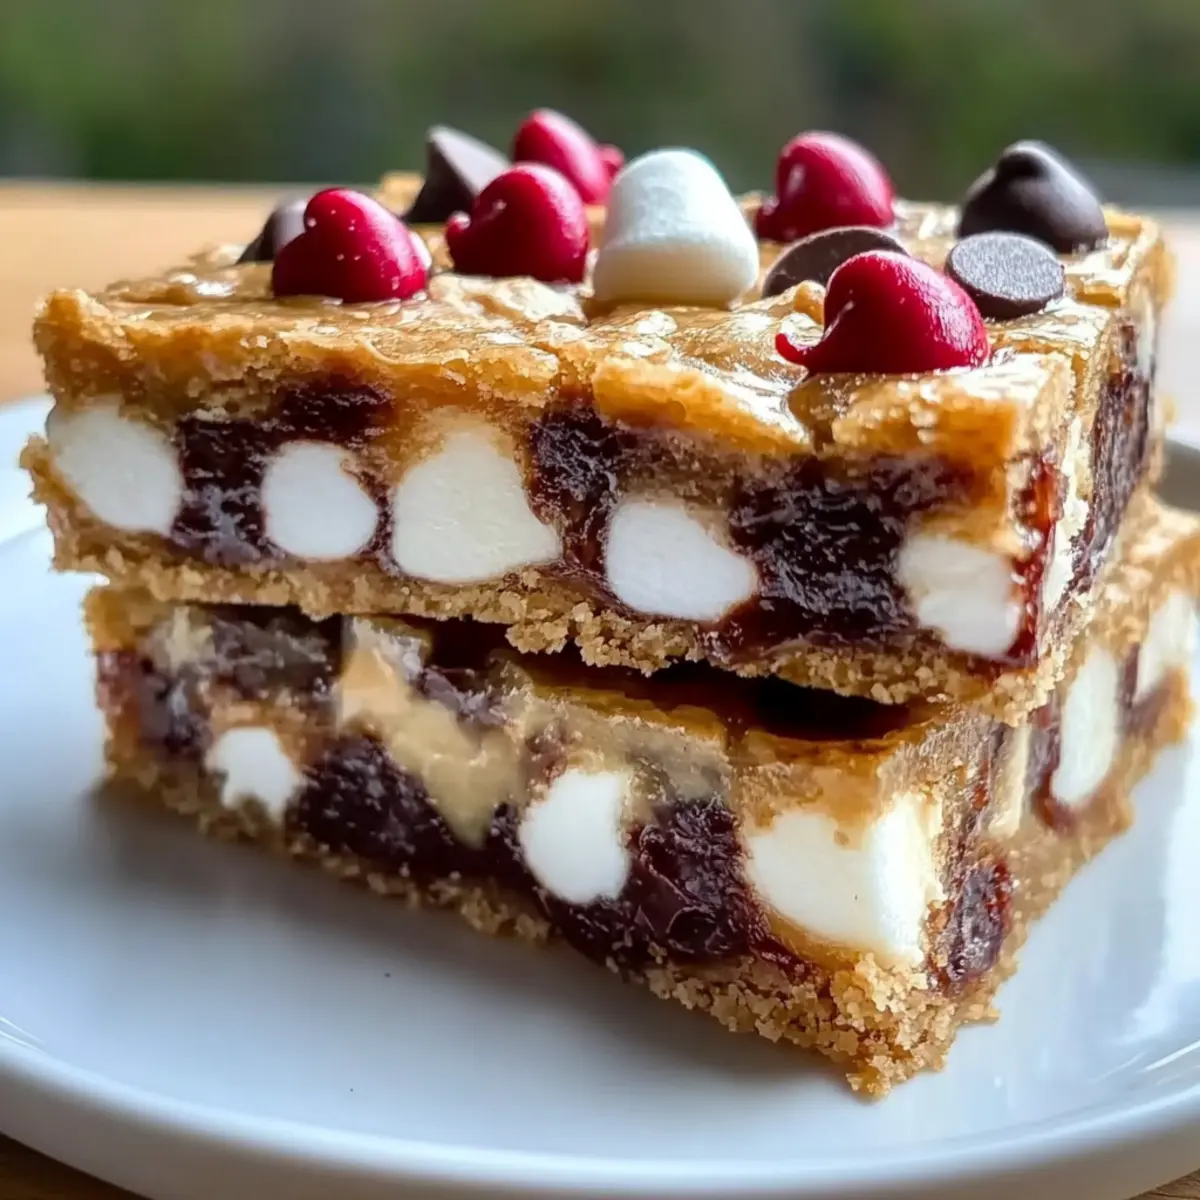
The air turns crisp, and suddenly, the scent of nostalgia fills the kitchen as I rush to prepare my favorite holiday treat. One of the simplest and most heartwarming recipes I turn to is these Easy Chewy Christmas Bars. This delightful dessert comes together in just 45 minutes and is surprisingly versatile, accommodating different dietary needs with options like nut-free and vegan adaptations. Perfect for sharing at holiday gatherings, these bars not only satisfy a sweet tooth but also evoke fond memories of cozy Christmases past. Plus, they’re easily customizable—add a mint twist or a fruit and nut medley to keep every batch unique! What flavor combination will you whip up this season?
Why Are These Christmas Bars a Must-Try?
Ease of Preparation: These bars are incredibly simple to whip up, making them perfect for both novice cooks and seasoned chefs. Flexible Variations: With options that cater to nut-free, gluten-free, and vegan diets, everyone can enjoy this festive treat. Decadent Flavor: The rich combination of chocolate, marshmallows, and graham crackers creates an irresistible indulgence. Quick Bake Time: Ready in just 45 minutes, you’ll have a delicious dessert for unexpected guests or last-minute gatherings. Endless Customization: Whether you prefer a mint twist or a fruit and nut medley, there’s a version for every palate! Check out our Brown Butter Bars for more festive ideas!
Christmas Bars Ingredients
• Here’s everything you need!
For the Base
- Graham Cracker Crumbs – Provides a sweet, crunchy base; can substitute whole graham crackers if preferred.
- Unsweetened Cocoa Powder – Adds rich chocolate flavor; opt for high-quality cocoa for best taste.
- Powdered Sugar – Sweetens the bars and gives them a smooth texture; essential for a melt-in-your-mouth experience.
- Unsalted Butter (melted) – Binds ingredients and adds richness; can substitute with melted coconut oil for a dairy-free option.
For the Chewy Texture
- Sweetened Condensed Milk – Adds moisture and sweetness, crucial for chewy texture; no direct substitution listed.
- Mini Marshmallows – Provide a fun, chewy element; regular marshmallows can be used, but mini ones distribute better.
For Extra Flavor
- Chocolate Chips – Adds extra chocolate goodness; use dark, milk, or white chocolate according to preference.
- Chopped Nuts (optional) – Introduces delightful crunch; omit if allergic; consider adding extra chocolate chips instead.
These ingredients lay the foundation for your Christmas Bars, ensuring a delightful and festive treat that everyone will love!
Step‑by‑Step Instructions for Christmas Bars
Step 1: Preheat the Oven
Begin by preheating your oven to 350°F (175°C) to ensure even baking for your Christmas Bars. This initial step is crucial for achieving that perfect chewy texture. While the oven heats, gather your baking equipment, including a greased 9×13 inch baking pan and mixing bowls, to streamline your process.
Step 2: Mix Dry Ingredients
In a large mixing bowl, combine graham cracker crumbs, unsweetened cocoa powder, and powdered sugar. Whisk them together until well blended and free of lumps; this step sets the foundation for your Christmas Bars. The combination should look uniform and light, signaling it’s ready for the next phase.
Step 3: Add Wet Ingredients
Pour in the melted butter and sweetened condensed milk to the dry mixture. Stir vigorously until everything is well incorporated, and the mixture becomes thick and sticky. Don’t be alarmed by its density; this is what gives your Christmas Bars that delightful chewy consistency.
Step 4: Fold in Mix-ins
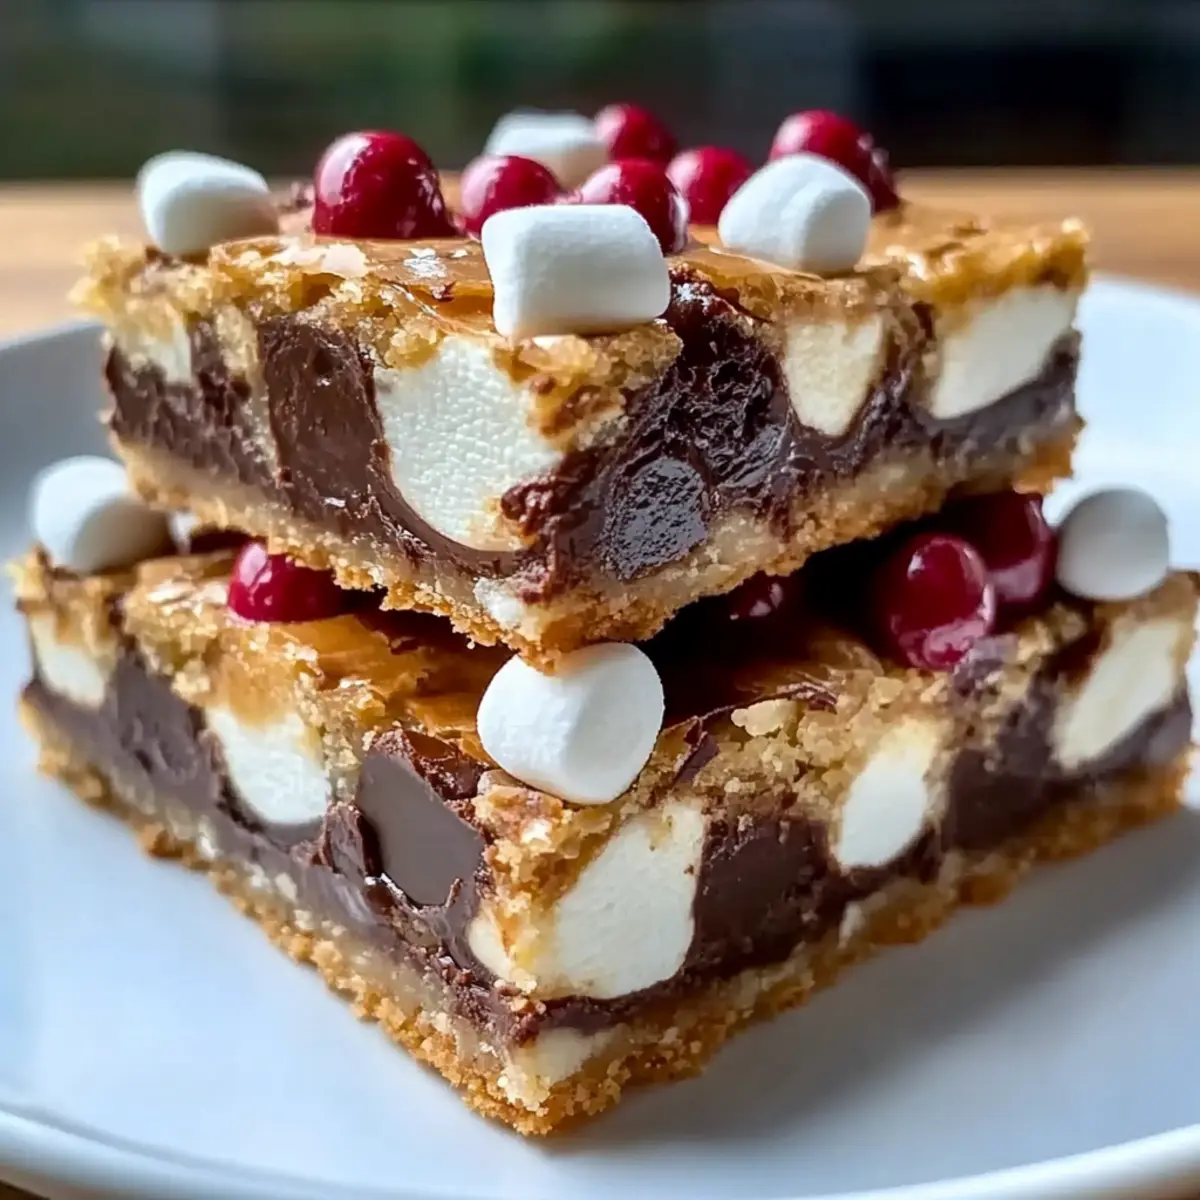
Gently fold in the mini marshmallows, chocolate chips, and chopped nuts (if using). Take care not to overmix, as you want to keep the marshmallows intact for those gooey bites. Your mixture should be studded with chocolate and marshmallows, showcasing the festive spirit of your Christmas Bars.
Step 5: Spread and Bake
Transfer the mixture into your greased baking pan, spreading it evenly to create a smooth top. Use a spatula to press down gently for an even layer. Bake in your preheated oven for 25-30 minutes until the edges appear set and the center feels slightly firm yet soft to the touch.
Step 6: Cool and Cut
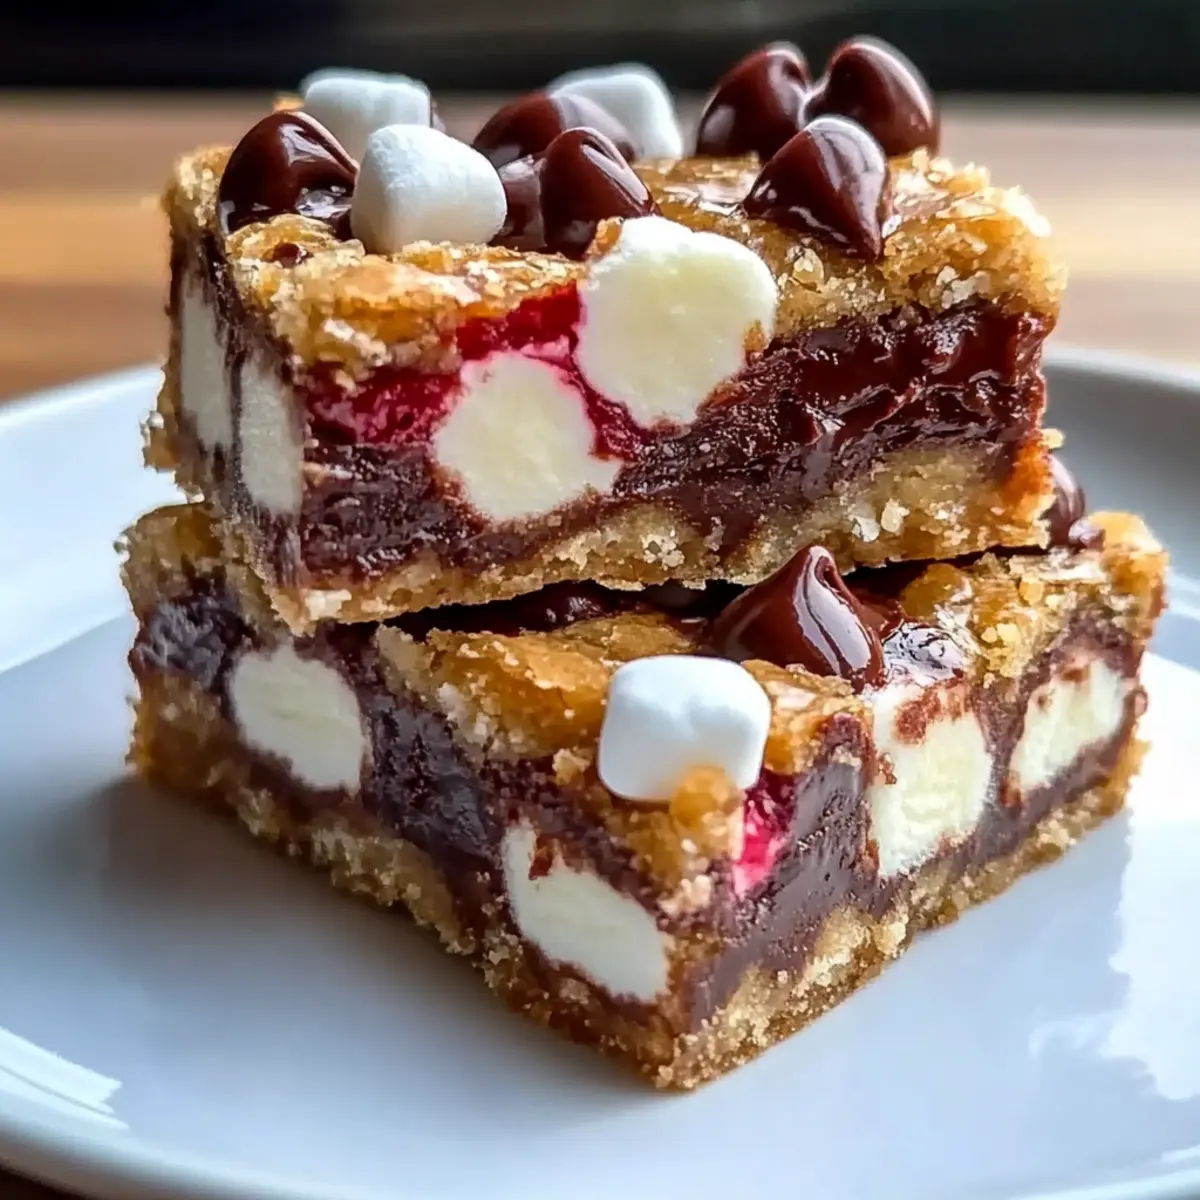
Remove the pan from the oven and allow the Christmas Bars to cool completely in the pan. Once cooled, use a sharp knife to cut them into squares, carefully lifting them out to preserve their shape. You’ll want to see that rich chocolatey color and gooey marshmallow chunks in every bite!

What to Serve with Easy Chewy Christmas Bars?
The perfect assortment of sides and drinks can elevate these delightful treats into a full-blown festive feast, warming hearts and filling bellies.
-
Hot Cocoa: This classic pairing enhances the rich chocolate flavors, creating a cozy, indulgent moment of pure bliss.
-
Spiced Apple Cider: The fruity warmth of spiced cider beautifully contrasts the bars’ sweetness, making every bite feel festive.
-
Vanilla Ice Cream: A scoop of creamy vanilla adds a delightful temperature contrast and richness to the chewy texture of the bars.
-
Whipped Cream: Light and airy, it brings a creamy touch that elevates the bar’s chocolatey goodness with each spoonful.
-
Chocolate Drizzle: A simple drizzle of melted chocolate on top turns each bar into a decadent dessert centerpiece, visually stunning and delicious.
-
Holiday Fruit Platter: Fresh fruits like strawberries and oranges provide a refreshing contrast, balancing sweetness with a burst of tartness.
-
Gingerbread Cookies: Pairing the bars with these spiced cookies can create a nostalgic harmony, evoking the joys of childhood holidays.
-
Peppermint Tea: The minty freshness cuts through the sweetness beautifully, offering a cleansing palate experience after each bar.
-
Coffee or Espresso: For adults, the natural bitterness of coffee complements the sweetness, heightening the chocolate flavor and providing a warm kick.
Christmas Bars Customization Ideas
Feel free to play around with these variations to make the Christmas bars truly your own and delight everyone at your celebration!
- Nut-Free Version: Omit chopped nuts; increase chocolate chips for that extra burst of flavor and texture. This way, even those with allergies can indulge without worry.
- Gluten-Free Option: Substitute graham cracker crumbs with gluten-free options like almond flour or gluten-free graham crackers, ensuring everyone can partake in the festivities without missing out.
- Vegan Adaptation: Replace melted butter with coconut oil and explore a vegan version of sweetened condensed milk for a deliciously plant-based treat! Just as indulgent and satisfying, your vegan friends will thank you!
- Mint Chocolate Twist: Add a teaspoon of peppermint extract into the mix for a refreshing, holiday-inspired flavor that pairs beautifully with the chocolate. Picture the warmth of Christmas and a delightful minty finish!
- Fruit and Nut Medley: Incorporate dried cranberries or cherries along with your favorite nuts for added color and flavor, introducing a festive touch that complements the sweetness of the bars perfectly.
- Cookie Crumble Topping: Crumble some chocolate or gingerbread cookies on top before baking for a fun textural contrast and additional flavor complexity.
- Spicy Version: Add a pinch of cinnamon or cayenne pepper for a subtle warm heat that elevates the chocolatey goodness. Your guests will be pleasantly surprised by this delicious twist!
- S’mores Inspired: Layer some crushed graham crackers and marshmallows on top of the batter before baking, creating a s’mores-inspired version that will take everyone back to cozy campfire nights.
While you’re whipping up variations of these Christmas bars, you might also want to check out our scrumptious Brown Butter Bars for more festive ideas to impress your family and friends!
Make Ahead Options
These Easy Chewy Christmas Bars are perfect for busy home cooks looking to save time during the hectic holiday season! You can prepare the dry ingredients (graham cracker crumbs, cocoa powder, and powdered sugar) up to 3 days in advance—just store them in an airtight container to keep moisture out. Additionally, you can mix the wet ingredients (melted butter and sweetened condensed milk) and refrigerate them for up to 24 hours before combining them with the dry ingredients. When you’re ready to bake, simply mix everything together, fold in the mini marshmallows and chocolate chips, and spread the mixture in the baking pan. By prepping ahead, you’ll have all your components ready to create these delightful Christmas Bars with minimal effort right when you need them!
Expert Tips for Christmas Bars
-
Perfectly Melted Butter: Ensure your butter is fully melted for a smooth consistency in the mixture, which is crucial for your Christmas Bars’ texture.
-
Easy Removal: Line your baking pan with parchment paper before adding the mixture or use cooking spray to prevent sticking and make clean-up a breeze.
-
Cooling Time: Allow the bars to cool completely in the pan before cutting to avoid crumbling and ensure clean squares.
-
Mix-In Variations: Feel free to experiment with mix-ins like dried fruits or different types of chocolate to add a personal twist to your Christmas Bars.
-
Measure Ingredients Accurately: Use precise measurements for graham cracker crumbs and powdered sugar to maintain the intended texture and taste of your bars.
Storage Tips for Christmas Bars
Room Temperature: Store your Christmas Bars in an airtight container at room temperature for up to 1 week to maintain their chewy texture and flavor.
Fridge: If you prefer a cooler treat, keep the bars in the fridge for up to 2 weeks. Just make sure they are well-wrapped to avoid drying out.
Freezer: For longer storage, freeze the bars wrapped in plastic wrap and then sealed in a freezer-safe container for up to 3 months. Allow to thaw in the fridge before enjoying.
Reheating: When ready to enjoy, simply allow the frozen Christmas Bars to come to room temperature, or warm them briefly in the microwave for a gooey experience!
Easy Chewy Christmas Bars Recipe FAQs
How do I choose the right graham cracker crumbs?
Absolutely! For the best flavor and texture, use high-quality graham cracker crumbs. If you can only find whole graham crackers, simply crush them into fine crumbs using a food processor or a rolling pin for that perfect crunchy base.
How long can I store these Christmas Bars?
I recommend storing your Christmas Bars in an airtight container at room temperature for up to 1 week. If you want to keep them longer, simply place them in the fridge, where they’ll last for up to 2 weeks, or freeze them for up to 3 months. Just be sure they’re well-wrapped to maintain moisture!
Can I freeze these Christmas Bars?
Indeed! To freeze your Christmas Bars, wrap them tightly in plastic wrap, then place them in a freezer-safe container or bag. They can be frozen for up to 3 months. When ready to enjoy, allow them to thaw in the fridge or at room temperature for a delightful, chewy treat.
What should I do if my bars crumble when cutting?
If your bars are crumbling, it may be due to not letting them cool completely. Make sure to let them sit and cool in the pan for several hours before cutting. Additionally, using a sharp knife and cutting in a gentle, smooth motion can help preserve the structure.
Are these Christmas Bars suitable for people with nut allergies?
Very! To make these bars nut-free, simply omit the chopped nuts altogether, and if desired, increase the amount of chocolate chips. This way, everyone can indulge in this festive treat without worry, making it a crowd-pleaser for holiday gatherings.
Can I make a vegan version of these Christmas Bars?
Absolutely! For a delicious vegan adaptation, substitute the unsalted butter with melted coconut oil and use a vegan version of sweetened condensed milk. This way, you can enjoy the same rich flavor while catering to dietary preferences, ensuring that everyone can partake in the joy of these festive bars!
Chewy Christmas Bars Perfect for Holiday Gatherings
Ingredients
Equipment
Method
- Begin by preheating your oven to 350°F (175°C).
- In a large mixing bowl, combine graham cracker crumbs, unsweetened cocoa powder, and powdered sugar. Whisk until well blended.
- Pour in the melted butter and sweetened condensed milk. Stir until everything is well incorporated.
- Gently fold in the mini marshmallows, chocolate chips, and chopped nuts (if using).
- Transfer the mixture into your greased baking pan, spreading it evenly and bake for 25-30 minutes.
- Remove the pan from the oven and allow the bars to cool completely before cutting into squares.
Leave a Reply