
The aroma of fresh pancakes sizzling on a hot griddle instantly transports me back to carefree weekends spent in my grandmother’s cozy kitchen. These Classic Old-Fashioned Pancakes have been a staple in my family for generations, and I love how they effortlessly combine nostalgia with practicality. Not only are they quick to whip up, making them perfect for those busy mornings, but they also offer endless customization to please every palate. Whether you prefer them topped with a drizzle of pure maple syrup or a handful of fresh berries, each fluffy stack is a delightful way to start your day. Ready to elevate your breakfast game? Let’s dive into this scrumptious recipe!
Why Choose Classic Old-Fashioned Pancakes?
Versatile Base: With just a handful of ingredients, these pancakes are a blank canvas for your creativity. You can easily swap in your favorite flavors or toppings, creating endless varieties to satisfy any craving.
Time-Saving Recipe: Quick to assemble and even faster to cook, these pancakes mean you’ll spend less time in the kitchen and more time enjoying leisurely mornings with family.
Budget-Friendly Meal: Affordable yet delicious, this recipe is perfect for any budget. You can whip up a feast without breaking the bank!
Crowd-Pleasing Breakfast: Ideal for serving at family gatherings or brunch with friends, everyone will love diving into a stack of warm, fluffy pancakes.
Nostalgic Experience: There’s something heartwarming about the smell of pancakes wafting through your home, making every bite feel like a joyful trip down memory lane. You can also enhance your breakfast with some classic toppings, a great way to try our make-ahead tips for future breakfasts!
Classic Old-Fashioned Pancakes Ingredients
For the Batter
- All-Purpose Flour – Provides the structure of the pancakes; swap for whole wheat flour for a healthier option.
- Sugar – Adds sweetness to the batter; consider reducing for less sweetness.
- Baking Powder – Acts as a leavening agent for fluffy pancakes; ensure it’s fresh for optimal rise.
- Baking Soda – Works with buttermilk to create a light texture; essential for reaction with acidic ingredients.
- Salt – Enhances the flavors of the batter.
- Buttermilk – Adds tanginess and contributes to the fluffiness; substitute with milk mixed with vinegar for a quick alternative.
- Egg – Binds the ingredients and adds richness to the mixture.
- Melted Butter – Contributes moisture and flavor; can be replaced with oil if preferred.
For Cooking
- Additional Butter or Oil – For greasing the skillet, ensuring pancakes don’t stick.
These Classic Old-Fashioned Pancakes will take your breakfast experience to flavorful heights, so gather your ingredients and get ready to create a delightful morning treat!
Step‑by‑Step Instructions for Classic Old-Fashioned Pancakes
Step 1: Mix Dry Ingredients
In a large mixing bowl, whisk together 1 cup of all-purpose flour, 2 tablespoons of sugar, 2 teaspoons of baking powder, 1/2 teaspoon of baking soda, and 1/4 teaspoon of salt until evenly combined. This step ensures all leavening agents are active and ready to work their magic. The mixture should be light and airy, signaling that you’re on your way to delicious Classic Old-Fashioned Pancakes!
Step 2: Prepare Wet Ingredients
In a separate bowl, combine 1 cup of buttermilk, 1 large egg, and 2 tablespoons of melted butter. Whisk these ingredients together until they form a smooth consistency, which should take about a minute. The addition of buttermilk is essential for achieving the tangy flavor and fluffy texture that make these pancakes truly classic.
Step 3: Combine
Gently pour the wet mixture into the bowl with the dry ingredients. Using a spatula, stir until just combined, ensuring you don’t overmix—some lumps are perfectly fine! This gentle blending will keep your pancakes light and fluffy. Set the batter aside for about 5 minutes to allow it to rest, which will enhance the pancake’s texture.
Step 4: Heat Skillet
While the batter rests, preheat a skillet or griddle over medium heat, aiming for around 350°F (175°C). Lightly grease the surface with a little butter or oil; a non-stick surface is ideal for preventing sticking. When the surface becomes hot enough for water droplets to sizzle, it’s time for the next step!
Step 5: Cook Pancakes
For each pancake, pour about 1/4 cup of batter onto the skillet. Cook for about 2-3 minutes or until bubbles appear on the surface and the edges begin to set. Once they look beautifully golden around the edges, flip the pancakes with a spatula and cook for an additional 1-2 minutes until they turn golden brown on the other side.
Step 6: Serve
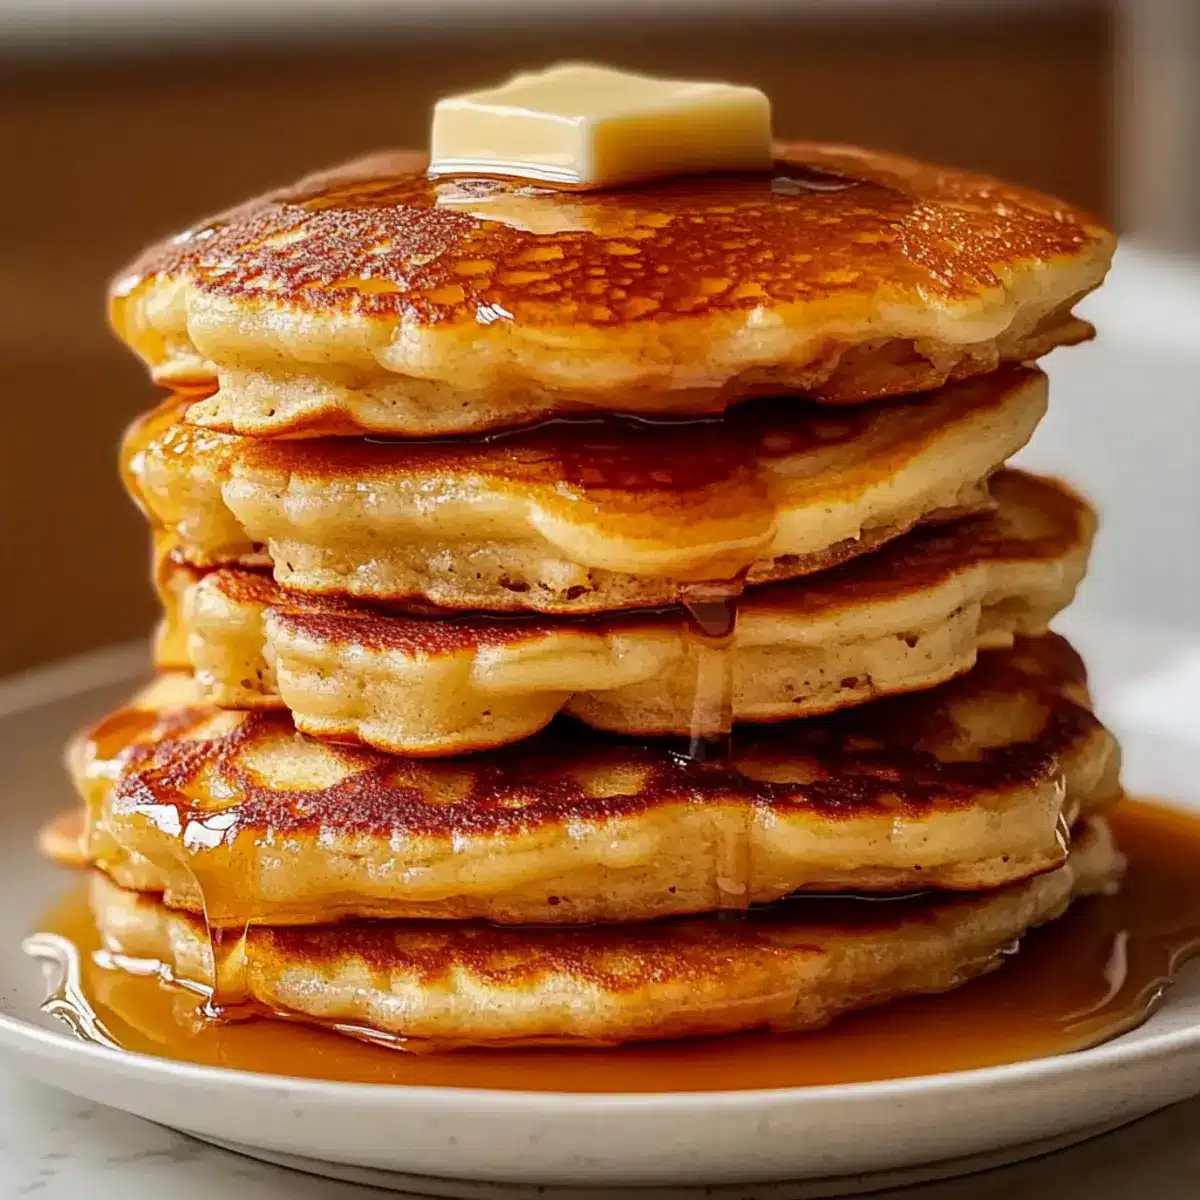
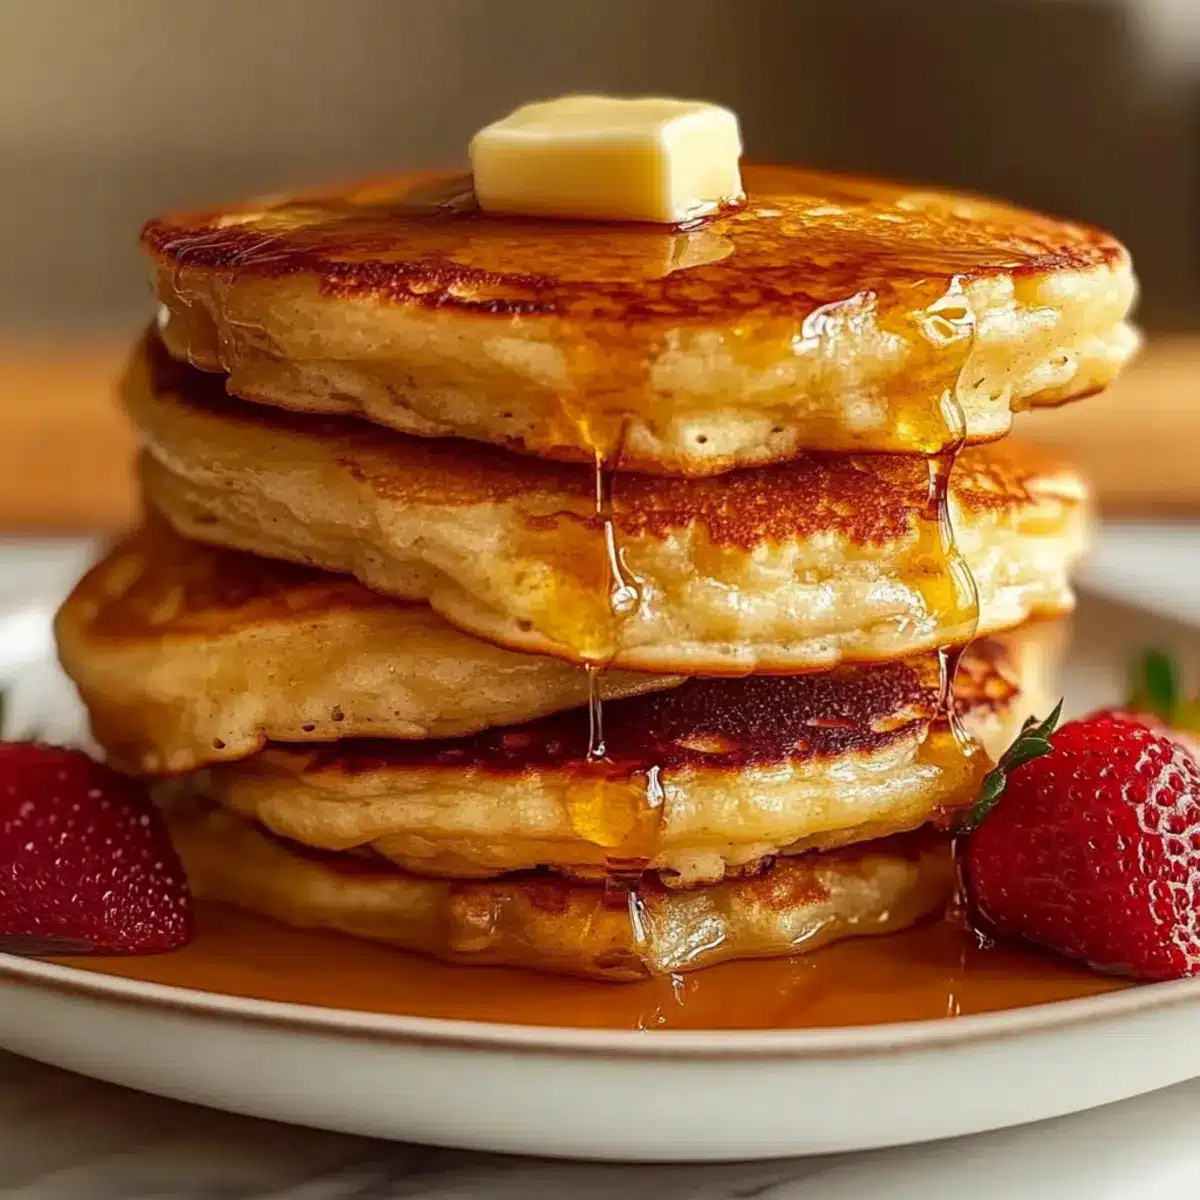
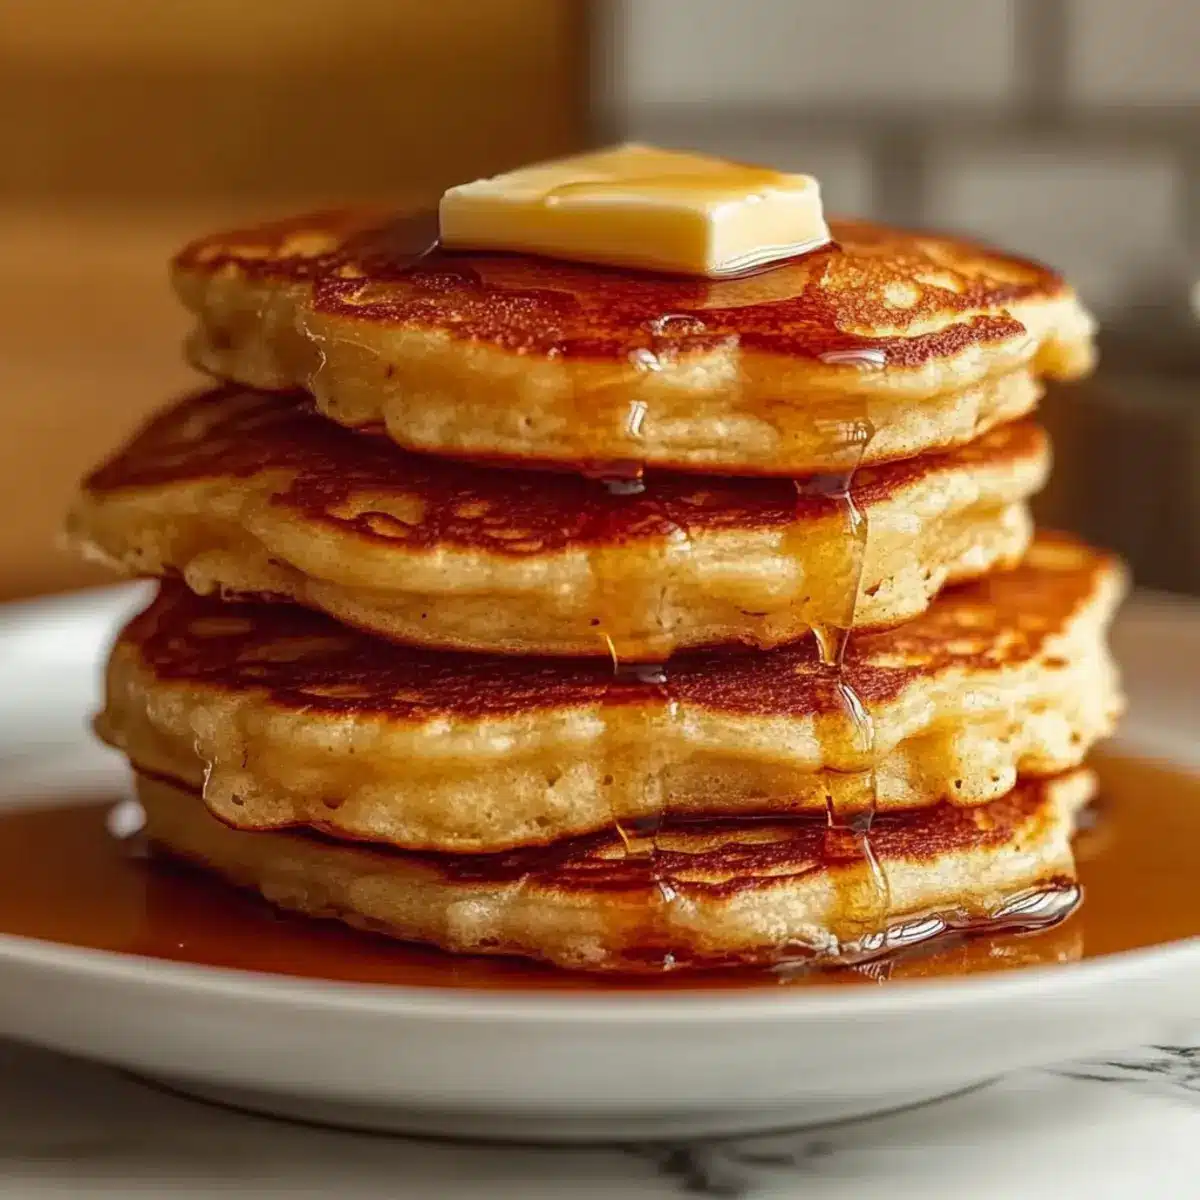
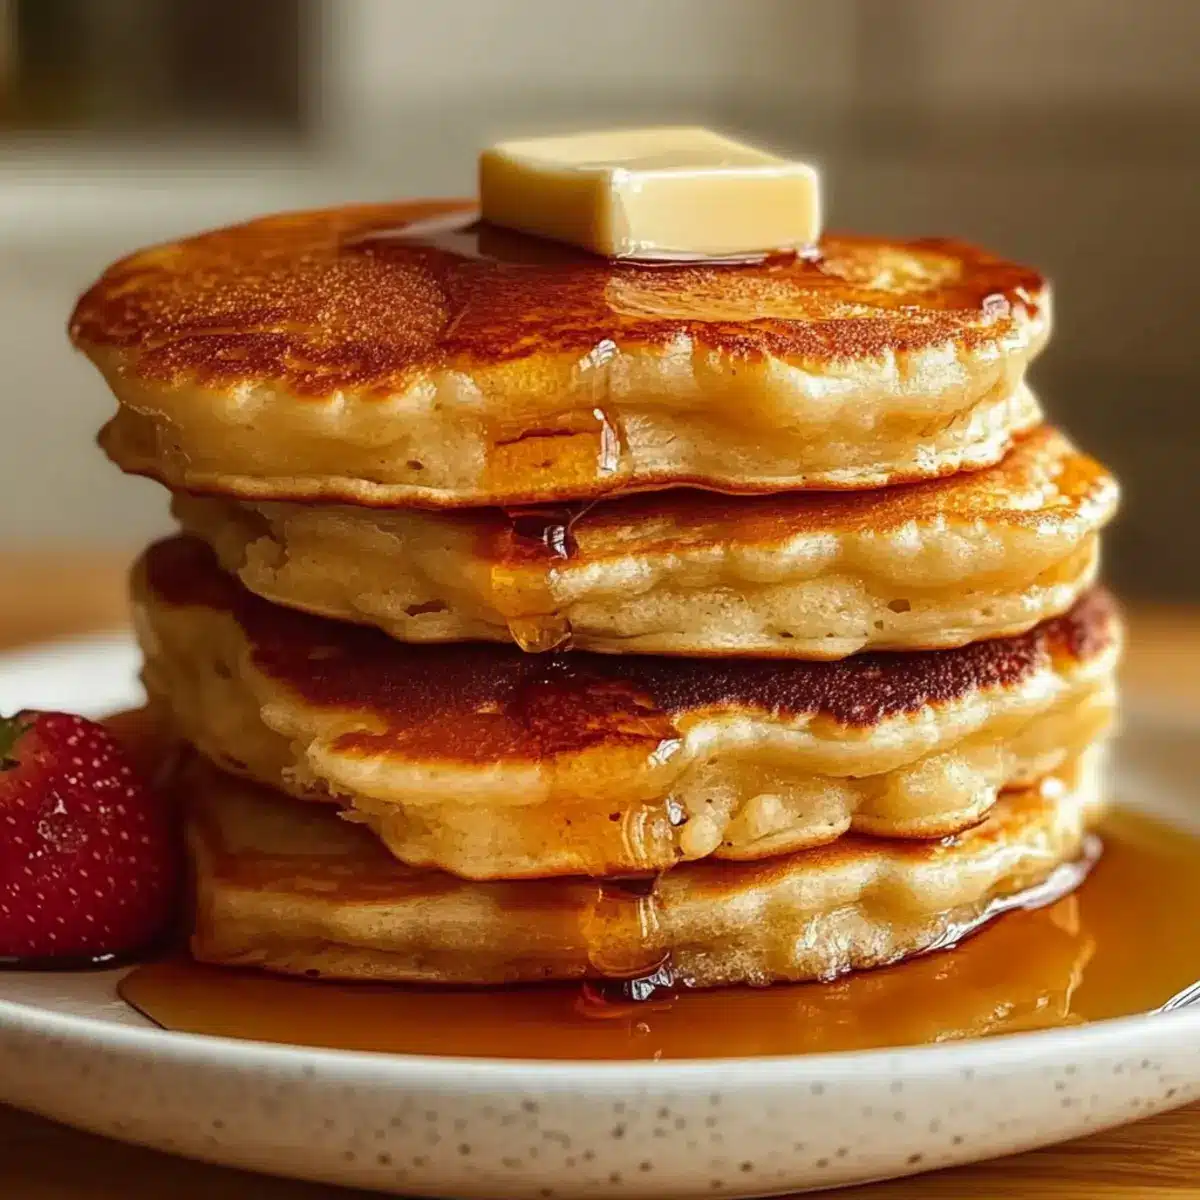
Remove the pancakes from the skillet and stack them high on a warm plate. Serve immediately with your favorite toppings like maple syrup, fresh fruit, or whipped cream. These Classic Old-Fashioned Pancakes are best enjoyed warm, making every bite a delightful experience.
Storage Tips for Classic Old-Fashioned Pancakes
Fridge: Store leftover pancakes in an airtight container in the refrigerator for up to 3 days to keep them fresh and flavorful.
Freezer: For longer storage, freeze pancakes stacked with parchment paper between them in an airtight container for up to 2 months. This prevents them from sticking together.
Reheating: To enjoy those delicious pancakes again, simply pop them in the toaster or microwave for a quick reheat, adding a splash of water in the microwave to keep them moist.
Make-Ahead Storage: If you’re planning a busy week, consider making a batch ahead of time! These Classic Old-Fashioned Pancakes are perfect for meal prepping and enjoying on the go.
What to Serve with Classic Old-Fashioned Pancakes?
Elevate your breakfast experience with delightful sides and sweet extras that perfectly complement fluffy pancake stacks!
-
Crispy Bacon: The savory, salty crunch of crispy bacon contrasts beautifully with the sweetness of the pancakes, creating a satisfying balance. Crispy bacon puts an indulgent twist on your meal that everyone will love.
-
Fresh Berries: A mix of strawberries, blueberries, and raspberries adds a burst of juicy freshness, enhancing the flavor of each fluffy bite. The vibrant colors on your plate create an eye-catching presentation.
-
Maple Syrup: This classic topping is a must, with its rich, buttery sweetness pouring over the pancakes. A generous drizzle of pure maple syrup elevates each forkful into a heavenly experience.
-
Whipped Cream: Light and airy, whipped cream adds a luxurious touch to your pancakes. It’s wonderfully versatile, combining effortlessly with fruit or syrups for a decadent finish.
-
Greek Yogurt: A dollop of tangy Greek yogurt provides a creamy texture, cutting through the sweetness of the pancakes while adding a protein boost. It’s a delightful way to keep things light!
-
Scrambled Eggs: Fluffy scrambled eggs add a savory note and extra protein to your breakfast spread. The eggs’ richness enhances the meal, making it a complete and satisfying affair.
-
Hot Chocolate or Coffee: Cozy up with a warm drink that complements the comforting flavors of your pancakes. A rich hot chocolate or bold coffee can elevate your breakfast experience, providing a perfect way to start your day.
-
Cinnamon Sugar: A sprinkle of cinnamon sugar on top can turn ordinary pancakes into something extraordinary! It adds warmth and spice, offering a sweet twist to each bite.
Make Ahead Options
These Classic Old-Fashioned Pancakes are perfect for meal prep enthusiasts! You can mix the dry ingredients (1 cup of flour, 2 tablespoons of sugar, 2 teaspoons of baking powder, 1/2 teaspoon of baking soda, and 1/4 teaspoon of salt) and store them in an airtight container for up to 3 days. Additionally, you can prepare the wet ingredients (1 cup of buttermilk, 1 large egg, and 2 tablespoons of melted butter) and refrigerate them for up to 24 hours. When you’re ready to cook, simply combine both mixtures, let the batter rest for 5 minutes, and cook as directed for delicious, fluffy pancakes that taste just as fresh. This way, you can enjoy a delightful breakfast with minimal effort, saving you precious time on busy mornings!
Expert Tips for Classic Old-Fashioned Pancakes
-
Avoid Overmixing: Stir the batter gently; it’s okay to have lumps. Overmixing can lead to tough pancakes instead of light and fluffy ones.
-
Check Freshness: Always ensure your baking powder and baking soda are fresh for optimal fluffiness. Expired leavening agents won’t do their job well.
-
Consistent Temperature: Cook pancakes over medium heat. If they brown too quickly, lower the temperature to ensure they cook evenly.
-
Perfect Pouring: Use a measuring cup to pour about 1/4 cup of batter for each pancake. This ensures uniform size and cooking time for your Classic Old-Fashioned Pancakes.
-
Resting Time: Let the batter rest for about 5 minutes before cooking. This short break allows the flour to hydrate and the leavening agents to activate, resulting in fluffier pancakes.
Classic Old-Fashioned Pancakes Variations
Discover delightful ways to customize your pancake experience, adding your personal touch to each fluffy bite!
-
Whole Wheat: Swap all-purpose flour for whole wheat flour for a heartier texture and a nutty flavor, perfect for health-conscious eaters. It’s a simple change that can elevate your breakfast nutrition.
-
Banana Pancakes: Mash a ripe banana into the batter for naturally sweet and moist pancakes. This adds a subtle banana flavor that’s both delicious and nutritious, making breakfast even more enjoyable.
-
Vegan Pancakes: Replace buttermilk with almond milk mixed with apple cider vinegar and use flaxseed meal instead of egg for a vegan version. These pancakes will be just as fluffy and satisfying without any animal products.
-
Gluten-Free: Use a gluten-free flour blend as a direct substitute for all-purpose flour. This way, those with gluten sensitivities can indulge in a stack of pancakes alongside family and friends.
-
Zesty Lemon: Add lemon zest to the batter for a fresh, citrusy twist that brightens up the pancakes with each bite. Serve them with a lemon-infused syrup for an uplifting morning treat.
-
Nutty Add-Ins: Stir in chopped nuts like walnuts or pecans for extra crunch and rich flavor. These add a delightful texture contrast that pairs beautifully with the fluffy pancakes.
-
Spicy Cinnamon: Mix in cinnamon and a pinch of nutmeg for a warm, spiced flavor. This is an inviting twist, especially during the cozy fall months.
-
Chocolate Chip Extravaganza: Fold in chocolate chips or mini chocolate chunks for a sweet surprise in every bite. This variation is perfect for satisfying sweet cravings any time of day!
Feel free to explore these ideas, and don’t forget to check out our make-ahead tips for delightful breakfast prep. Happy cooking!
Classic Old-Fashioned Pancakes Recipe FAQs
What type of flour is best for Classic Old-Fashioned Pancakes?
All-purpose flour is the traditional choice for Classic Old-Fashioned Pancakes, as it provides the right structure and texture. If you’re looking for a healthier alternative, you can easily substitute it with whole wheat flour, which adds a nutty flavor and extra fibers.
How long can I store leftover pancakes?
You can store leftover pancakes in an airtight container in the refrigerator for up to 3 days. When you’re ready to enjoy them again, simply reheat them in the toaster or microwave, and they’ll taste nearly fresh!
Can I freeze my pancakes? If so, how?
Absolutely! To freeze your Classic Old-Fashioned Pancakes, stack them with parchment paper between each pancake to prevent sticking, then place them in an airtight freezer-safe container. They can be frozen for up to 2 months. When you’re ready to eat, just reheat them in the toaster or microwave, adding a splash of water in the microwave to keep them moist!
What should I do if my pancakes turn out too dense?
If your pancakes are dense, it’s likely due to overmixing the batter. To achieve the light and fluffy texture of Classic Old-Fashioned Pancakes, stir the ingredients until just combined—it’s okay to leave a few lumps. Also, make sure your baking powder and baking soda are fresh to ensure proper leavening.
Are these pancakes suitable for people with gluten allergies?
For those with gluten allergies or sensitivities, you can make these pancakes gluten-free by using a 1:1 gluten-free flour blend. Just ensure the blend contains a leavening agent, or you can add a teaspoon of baking powder for fluffiness. Always check labels to ensure they meet dietary needs.
Can I make these pancakes in advance?
Definitely! To save time, you can mix the dry ingredients ahead of time and store them in an airtight container. On the day you want to serve them, simply combine with the wet ingredients and cook. This method allows you to enjoy homemade pancakes even on your busiest mornings!
Classic Old-Fashioned Pancakes for a Cozy Breakfast Delight
Ingredients
Equipment
Method
- In a large mixing bowl, whisk together flour, sugar, baking powder, baking soda, and salt until evenly combined.
- In a separate bowl, combine buttermilk, egg, and melted butter. Whisk until smooth.
- Gently pour the wet mixture into the dry ingredients. Stir until just combined and set aside for 5 minutes.
- Preheat a skillet over medium heat and grease it with butter or oil.
- Pour about 1/4 cup of batter onto the skillet. Cook for 2-3 minutes until bubbles appear, then flip and cook for another 1-2 minutes.
- Remove from the skillet, stack on a warm plate, and serve immediately with toppings.
Leave a Reply