
You know that feeling when you crave something comforting yet guilt-free? Enter my High-Protein Cottage Cheese Wraps—a delightful twist on traditional wraps that promises to satisfy your cravings while offering a nourishing boost. These wraps are not only high in protein (over 12g per serving) but also low-carb and gluten-free, making them perfect for anyone looking to enjoy homemade goodness without compromising their diet. With just a handful of simple ingredients, they whip up effortlessly in the oven, leaving you with a versatile base for all kinds of delicious fillings. Whether you’re in the mood for a breakfast burrito or a savory lunch option, these wraps are ideal for meal prepping and keeping you on track. Ready to discover creative ways to fill them? Let’s dive into the delectable possibilities!
Why choose Cottage Cheese Wraps?
Health Benefits: Packed with over 12g of protein per serving, these wraps are a fantastic choice for fitness enthusiasts and anyone looking to boost their protein intake.
Low-Carb Delight: As a low-carb and gluten-free option, they’re perfect for keto followers or those seeking healthier meal alternatives.
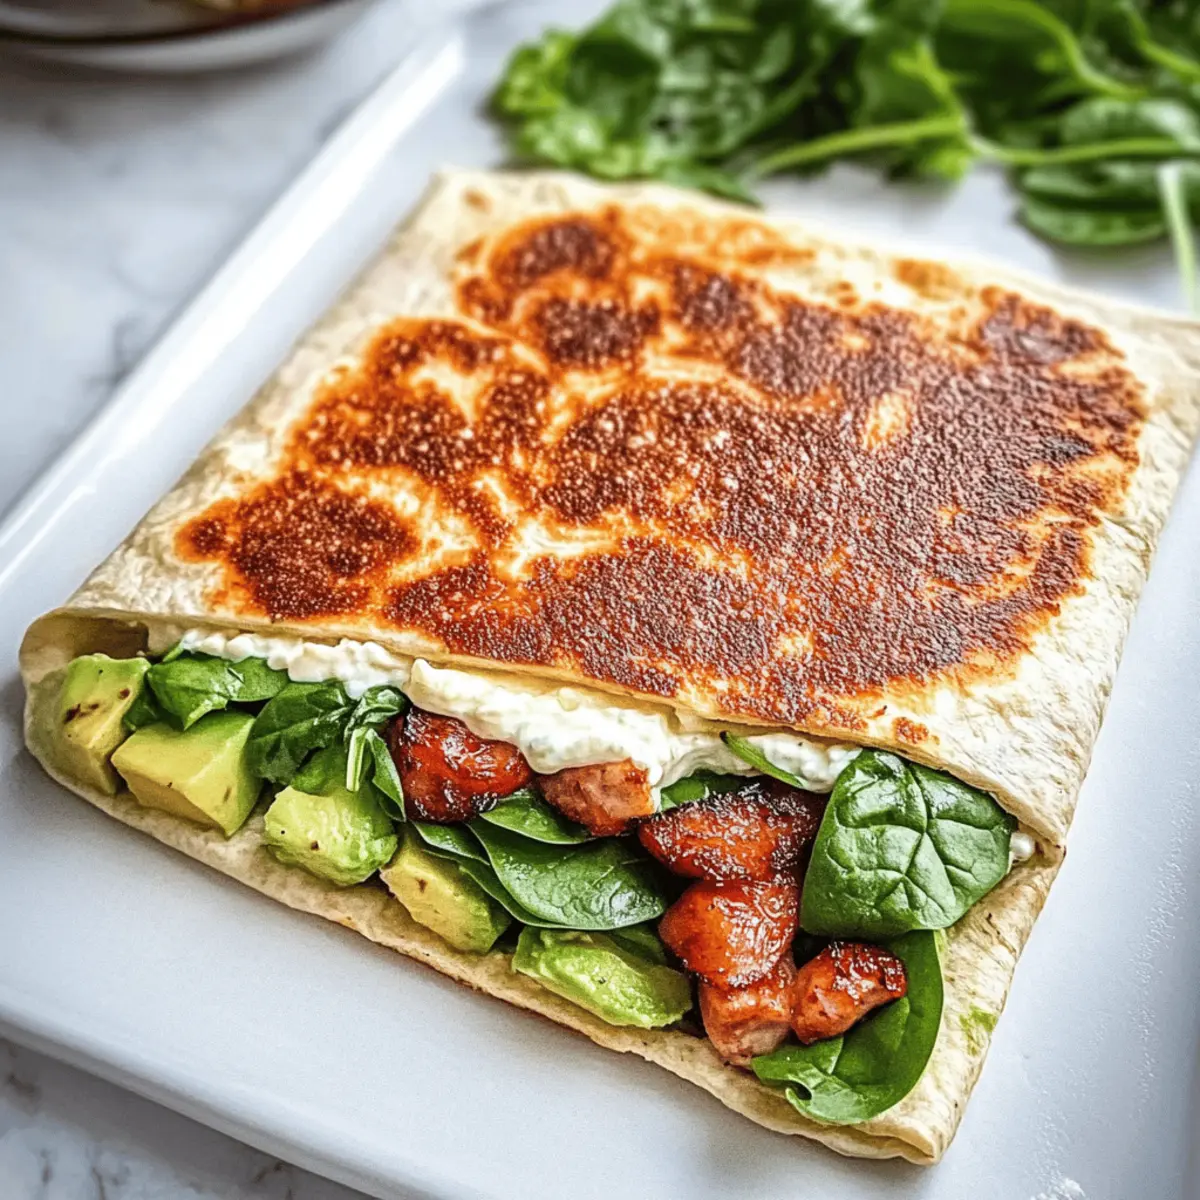
Versatile Fillings: Customize your wraps with a range of delicious fillings, from grilled chicken to sautéed vegetables, satisfying every palate.
Meal Prep Perfection: Prepare these wraps in advance for effortless meals that can be enjoyed at home or on the go.
Quick and Easy: With minimal ingredients and straightforward instructions, you’ll be whipping up these wraps in no time, making them an excellent option for busy weeknights.
Whether you adore Honey Pepper Cheese or crave a savory Grilled Cheese Burrito, this recipe encourages creativity while ensuring you stay nourished and satisfied!
Cottage Cheese Wraps Ingredients
• Discover the perfect foundation for your wraps!
For the Wrap Base
• Full-fat cottage cheese – Provides protein and moisture; for a leaner option, low-fat can be used but may yield a drier wrap.
• Large eggs – Acts as a binding agent, ensuring a cohesive structure; essential for the best texture.
• Grated Parmesan cheese – Adds depth and richness; swap with finely grated mozzarella or your favorite melting cheese if desired.
• Garlic powder – Infuses savory flavor; fresh garlic is a fantastic alternative if you prefer a bolder taste.
• Italian seasoning – Delivers aromatic notes; feel free to use your favorite herb mix for a personal touch.
For Additional Flavor
• Optional spices – Experiment with smoked paprika or chili flakes for a kick; these can transform your cottage cheese wraps into something extraordinary!
These Cottage Cheese Wraps are a fantastic way to embrace wholesome ingredients while maintaining your health goals. From savory to sweet, the filling options are endless! Enjoy crafting your perfect combination.
Step‑by‑Step Instructions for Cottage Cheese Wraps
Step 1: Preheat the Oven
Start by preheating your oven to 350°F (175°C). While it’s heating, prepare a baking sheet by lining it with parchment paper. Lightly grease the surface with cooking spray or a thin layer of oil to ensure that your Cottage Cheese Wraps don’t stick later—a crucial step for easy removal!
Step 2: Blend the Mixture
In a blender, combine the full-fat cottage cheese, large eggs, grated Parmesan cheese, garlic powder, and Italian seasoning. Blend the mixture until it reaches a smooth and creamy consistency, which should take about 1 minute. The blend should look velvety and uniform—this consistency is key to achieving the perfect wrap texture.
Step 3: Spread the Mixture
Pour the blended mixture onto your prepared baking sheet. Using a spatula, gently spread it into a thin, even rectangle about 1/4 inch thick. Make sure the edges are evenly spread to help it bake uniformly. This shape will become your versatile Cottage Cheese Wrap base, perfect for various fillings.
Step 4: Bake the Wrap
Place the baking sheet in the preheated oven and bake for 30-35 minutes. Keep an eye on it, looking for the top to be set and lightly golden. The edges might also have a slight browning, signaling that your wrap is ready to come out. Adjust the baking time if necessary, depending on your oven’s quirks.
Step 5: Cool the Wrap
Once baked, remove the wrap from the oven and allow it to cool on the baking sheet for about 10-15 minutes. This step is essential—letting it cool completely ensures that the wrap firms up and is easier to handle without tearing when you peel it off the parchment paper.
Step 6: Cut and Fill
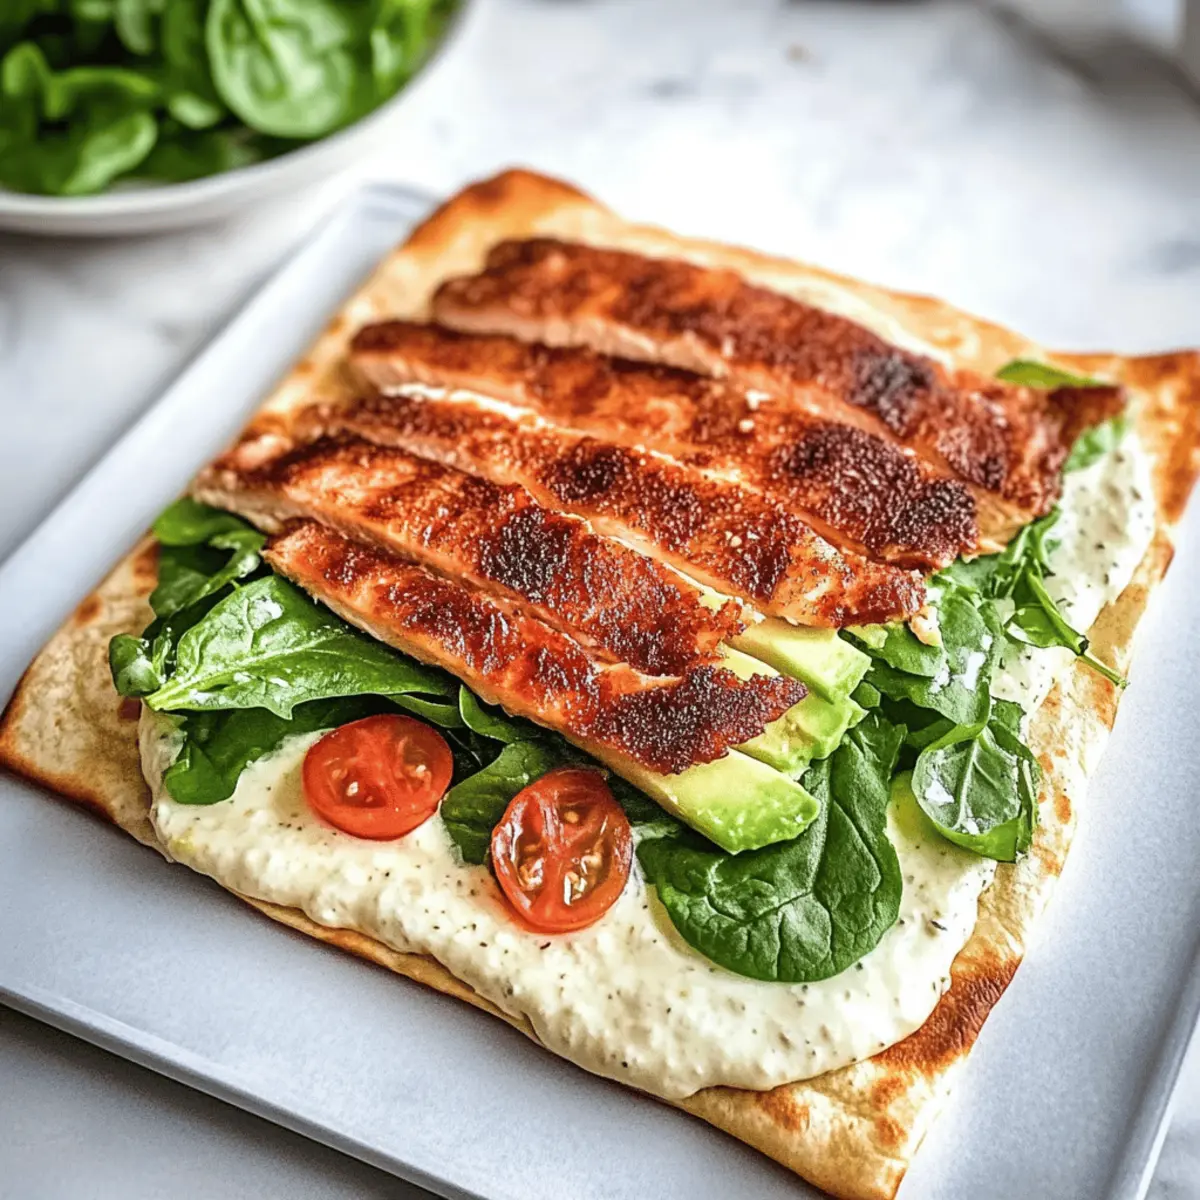
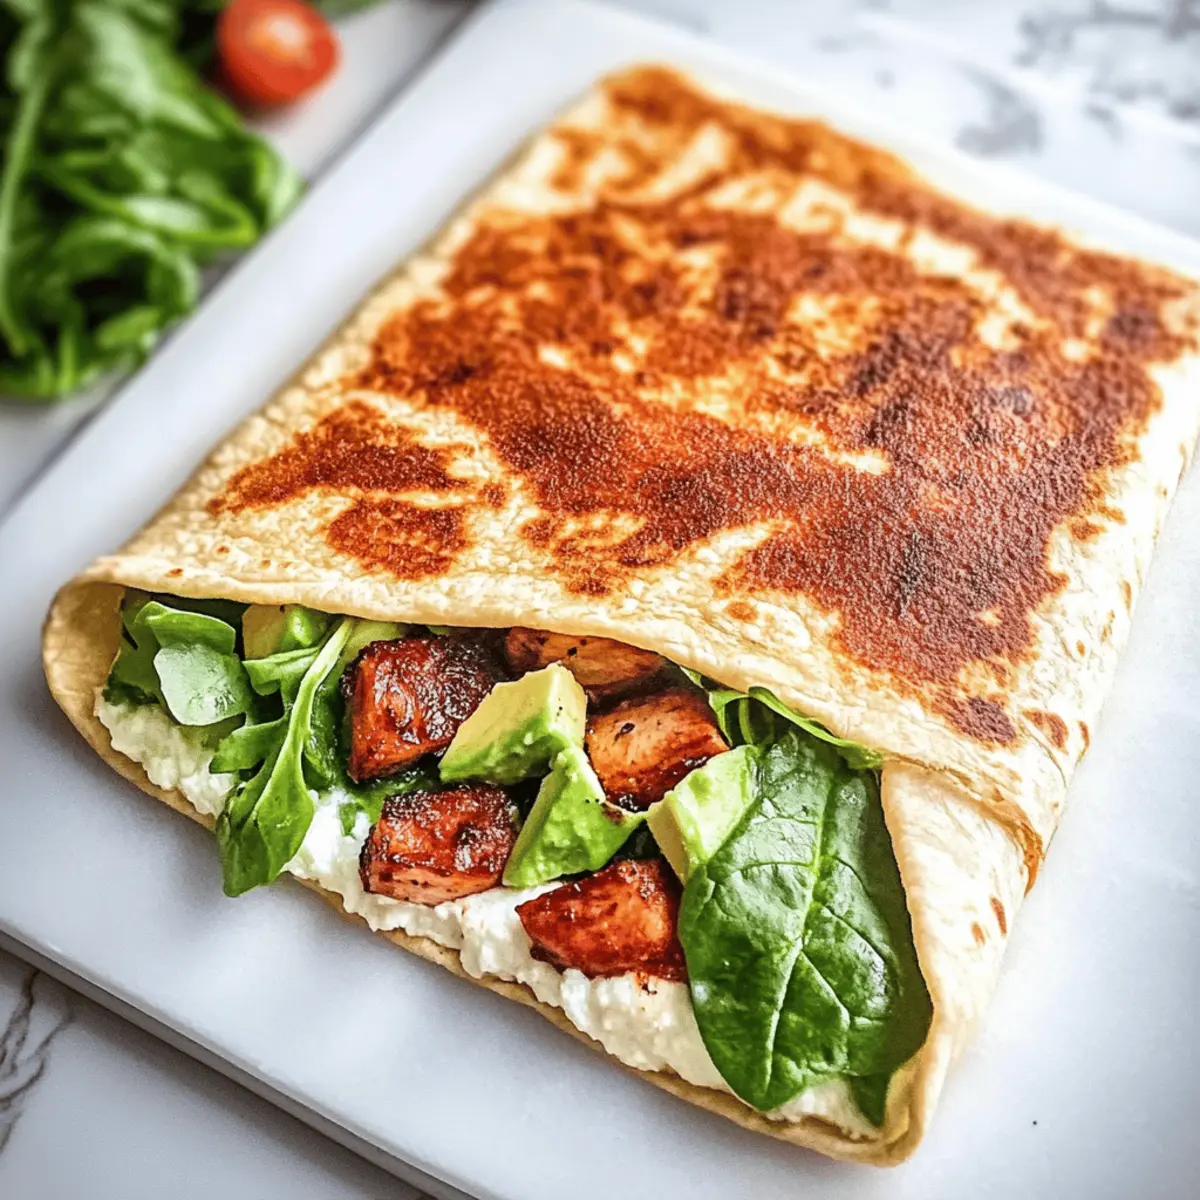
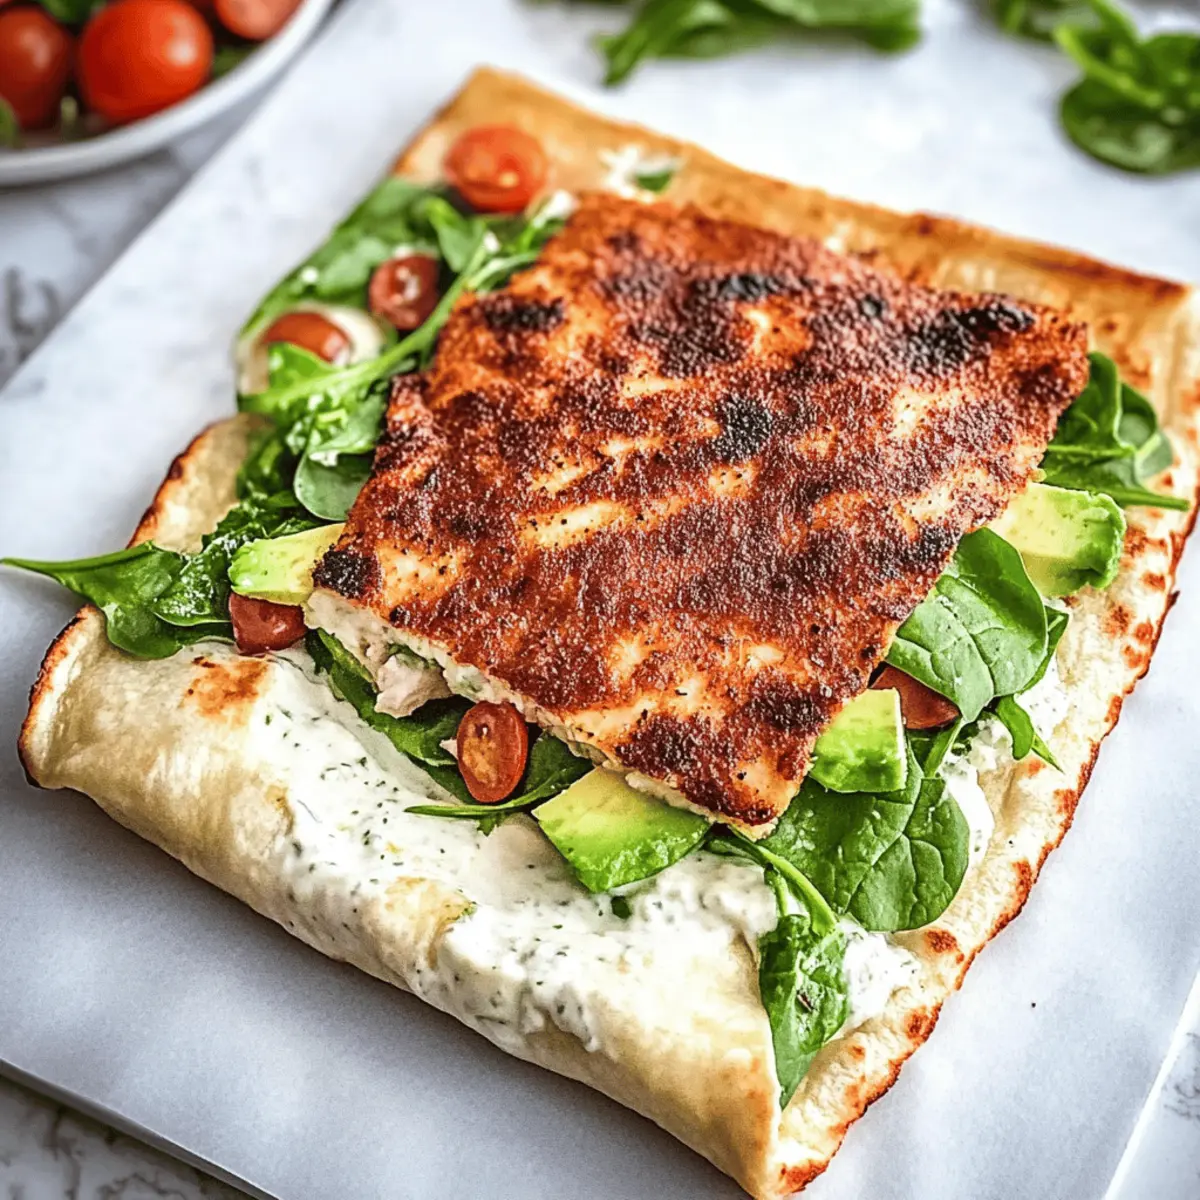
Carefully peel the cooled wrap off the parchment paper and place it on a cutting board. Using a sharp knife, cut it into sections or strips based on your preference. Now, it’s time to fill your Cottage Cheese Wraps with your desired ingredients, whether it’s grilled chicken, veggies, or a breakfast burrito filling!
How to Store and Freeze Cottage Cheese Wraps
Fridge: Store the wraps in an airtight container for up to 5 days. Place parchment paper between layers to prevent sticking, ensuring they remain fresh and ready to enjoy.
Freezer: Freeze the wraps for up to 2 months. Layer them with parchment paper between each wrap to prevent them from sticking together. Thaw overnight in the fridge before reheating.
Reheating: Reheat the wraps in the oven at 350°F (175°C) for about 10–15 minutes or until heated through. This helps maintain their texture and flavor for a satisfying meal.
Make-Ahead: These cottage cheese wraps are perfect for meal prep, making it easy to have healthy options ready when hunger strikes!
Cottage Cheese Wraps Variations
Feel free to unleash your culinary creativity and personalize these wraps to suit your taste buds!
-
Protein-Packed: Add shredded chicken or turkey to your wraps for an extra protein boost and a heartier meal.
-
Veggie Delight: Load up on sautéed spinach, bell peppers, and mushrooms for a colorful, nutritious filling that’s bursting with flavor.
-
Spicy Kick: Incorporate jalapeños or a dash of hot sauce into your mixture for an exciting twist; the heat will elevate your wrap to a whole new level.
-
Cheesy Goodness: Swap in cooked bacon or crumbled feta cheese for a rich, savory infusion; these additions make every bite a flavor explosion.
-
Sweet Treat: Transform your wrap into a delightful breakfast dessert by spreading a thin layer of yogurt and adding fresh fruit—think strawberries or blueberries.
-
Herbed Cream Cheese: Use a blend of cream cheese and herbs as a filling for a rich and creamy experience; this pairs beautifully with smoked salmon.
-
Mediterranean Magic: Fill with roasted red peppers, olives, and hummus for a Mediterranean-inspired wrap; the flavors will transport your taste buds on a journey.
These flexibility options ensure your Cottage Cheese Wraps will never feel repetitive. For even more inspiration, you might enjoy trying out a delightful Grilled Cheese Burrito or an indulgent twist with Brie Mac Cheese. Happy wrapping!
Expert Tips for Cottage Cheese Wraps
-
Grease Well: Ensure the parchment paper is well-greased. This prevents sticking and allows for easy removal of the wrap after baking.
-
Cool Completely: Let the wrap cool completely before handling. This helps firm it up, preventing tears during slicing and filling.
-
Blend Smoothly: Achieve a smooth texture by blending ingredients thoroughly. A well-blended mixture guarantees a pliable and cohesive wrap, enhancing your overall Cottage Cheese Wrap experience.
-
Experiment with Fillings: Don’t be afraid to get creative! Try various flavors and combinations, from spicy to savory, to keep your meals exciting and satisfying.
-
Store Properly: For meal prep, store wraps in an airtight container for up to 5 days, or freeze with parchment in between. Reheat when ready to enjoy!
What to Serve with Cottage Cheese Wraps
Transform your Cottage Cheese Wraps into a delightful meal by pairing them with a variety of sides and flavors that awaken the senses.
-
Crispy Garden Salad: This fresh mix of greens, tomatoes, and cucumbers elevates your wraps, adding a refreshing crunch and vibrant colors.
-
Zesty Hummus: A smooth, creamy dip that perfectly complements the wraps’ subtle flavors while adding an extra layer of protein. Pairing it with crisp veggies creates a delightful munching experience.
-
Sautéed Vegetables: Lightly seasoned bell peppers and zucchini bring warmth and flavor, making your meal more satisfying while adding nutrient-rich elements.
-
Spicy Salsa: Bright and zesty, this vibrant salsa adds a kick that enhances each bite, balancing the wraps’ creaminess with its tangy notes. Perfect for a flavor contrast!
-
Garlic Yogurt Sauce: Serve a cooling garlic yogurt sauce on the side for a tangy, creamy enhancement that rounds out the dish. This refreshing dip is a crowd-pleaser and takes minutes to prepare.
-
Roasted Sweet Potatoes: Sweet and savory, these tender bites provide a hearty, nourishing side that pairs beautifully with the Cottage Cheese Wraps, making it a fulfilling meal.
-
Iced Herbal Tea: A refreshing drink that complements the flavors of your meal while keeping you hydrated. Add a slice of lemon for a zesty twist.
-
Mixed Berry Parfait: End your meal on a sweet note with a parfait layered with yogurt, granola, and fresh berries—a delightful dessert that feels indulgent but remains healthy!
Make Ahead Options
These Cottage Cheese Wraps are perfect for busy home cooks looking to streamline their meal prep! You can easily make the wrap base up to 24 hours in advance—simply bake, cool, and store it in an airtight container in the refrigerator. For longer storage, freeze the cooked wrap with layers of parchment paper in between for up to 2 months. When it’s time to enjoy your wraps, just thaw them overnight in the fridge and reheat in a skillet or microwave. To maintain their softness and quality, avoid overcooking and ensure they’re fully cooled before storing. Your homemade Cottage Cheese Wraps will be just as delicious as the day you made them!
Cottage Cheese Wraps Recipe FAQs
What type of cottage cheese should I use for the wraps?
Absolutely! For the best results, I recommend using full-fat cottage cheese as it provides both protein and moisture. If you’re looking to reduce fat, you can opt for low-fat cottage cheese, but be aware that it may result in a slightly drier wrap.
How should I store leftover Cottage Cheese Wraps?
Very simple! Store your wraps in an airtight container in the fridge for up to 5 days. To keep them fresh, layer parchment paper between each wrap to prevent sticking. You’ll love how easy they are to grab for a quick meal!
Can I freeze Cottage Cheese Wraps?
Yes, you can! To freeze, stack the wraps with parchment paper between each layer to prevent sticking, and place them in a freezer-safe container. They can be frozen for up to 2 months. When you’re ready to enjoy, simply thaw overnight in the fridge and reheat in the oven or microwave.
What if my Cottage Cheese Wraps are too wet or falling apart?
If you’re experiencing a soggy wrap, it may be due to excess moisture in the cottage cheese. To troubleshoot, try blending the mixture for a shorter time to retain some chunkiness, and ensure you’re spreading it evenly and thinly on the baking sheet. Also, make sure they bake long enough until they are set and lightly golden.
Are Cottage Cheese Wraps suitable for gluten-free diets?
Absolutely! These Cottage Cheese Wraps are naturally gluten-free, making them a fantastic choice for anyone with gluten sensitivities. Just be sure to double-check that any additional fillings or sauces you use are also gluten-free to stay on track with your dietary needs.
Can I make spicy Cottage Cheese Wraps?
Yes! Feel free to add spices like chili flakes or smoked paprika into the mixture for a flavorful kick. By getting creative with spices, you can customize your Cottage Cheese Wraps to suit your taste buds perfectly!
Cottage Cheese Wraps: Delicious Low-Carb Meal Prep Magic
Ingredients
Equipment
Method
- Preheat the oven to 350°F (175°C). Line a baking sheet with parchment paper and grease it lightly.
- In a blender, combine cottage cheese, eggs, Parmesan cheese, garlic powder, and Italian seasoning. Blend until smooth.
- Pour the mixture onto the prepared baking sheet and spread into a thin rectangle about 1/4 inch thick.
- Bake for 30-35 minutes until the top is set and lightly golden. Edges may brown slightly.
- Remove from the oven and let cool on the baking sheet for 10-15 minutes.
- Peel off the wrap from the parchment and cut it into sections or strips.
Leave a Reply